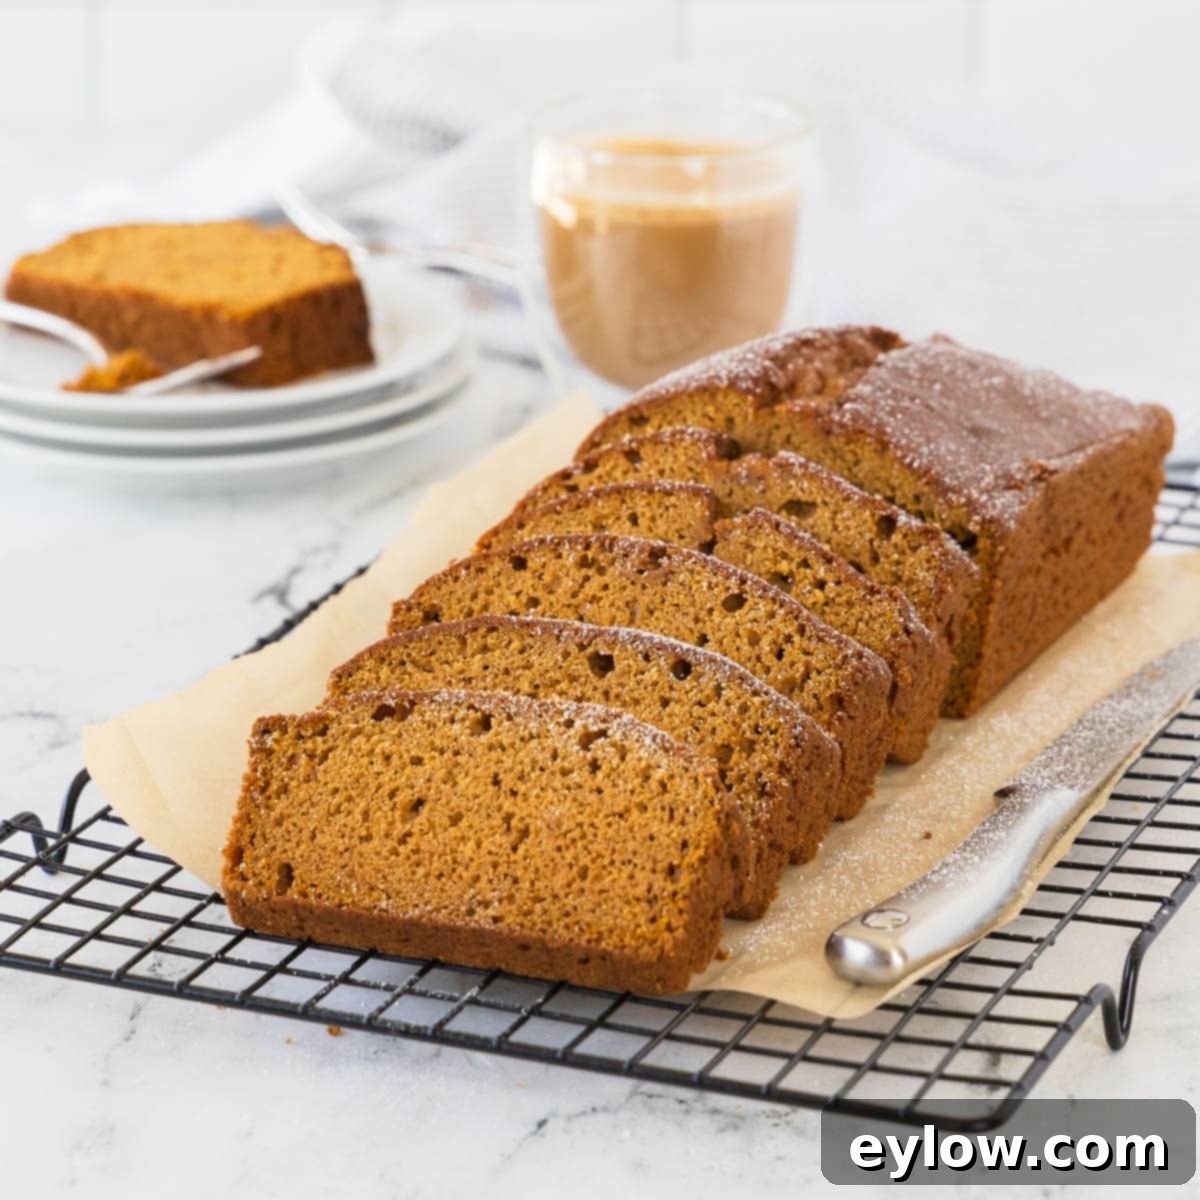
Easy Gluten-Free & Dairy-Free Pumpkin Bread: Your Ultimate Fall Baking Companion
As the leaves begin to turn and a crisp autumn breeze fills the air, there’s nothing quite like the comforting aroma of freshly baked pumpkin bread wafting through your home. If you’re searching for that quintessential fall treat that’s not only incredibly delicious but also easy to make, gluten-free, and dairy-free, then look no further! This gluten-free pumpkin bread recipe is precisely what you need for a truly satisfying autumn baking experience. Crafted with a harmonious blend of warm, inviting spices, rich and creamy pumpkin purée, and perfectly sweetened with brown sugar, this bread is wonderfully moist, exceptionally tender, and bursting with cozy seasonal flavor. The best part? You likely already have most of the ingredients in your pantry, making this a convenient and delightful baking project for any day of the week. Let’s gather our ingredients and dive into the warmth of fall baking!
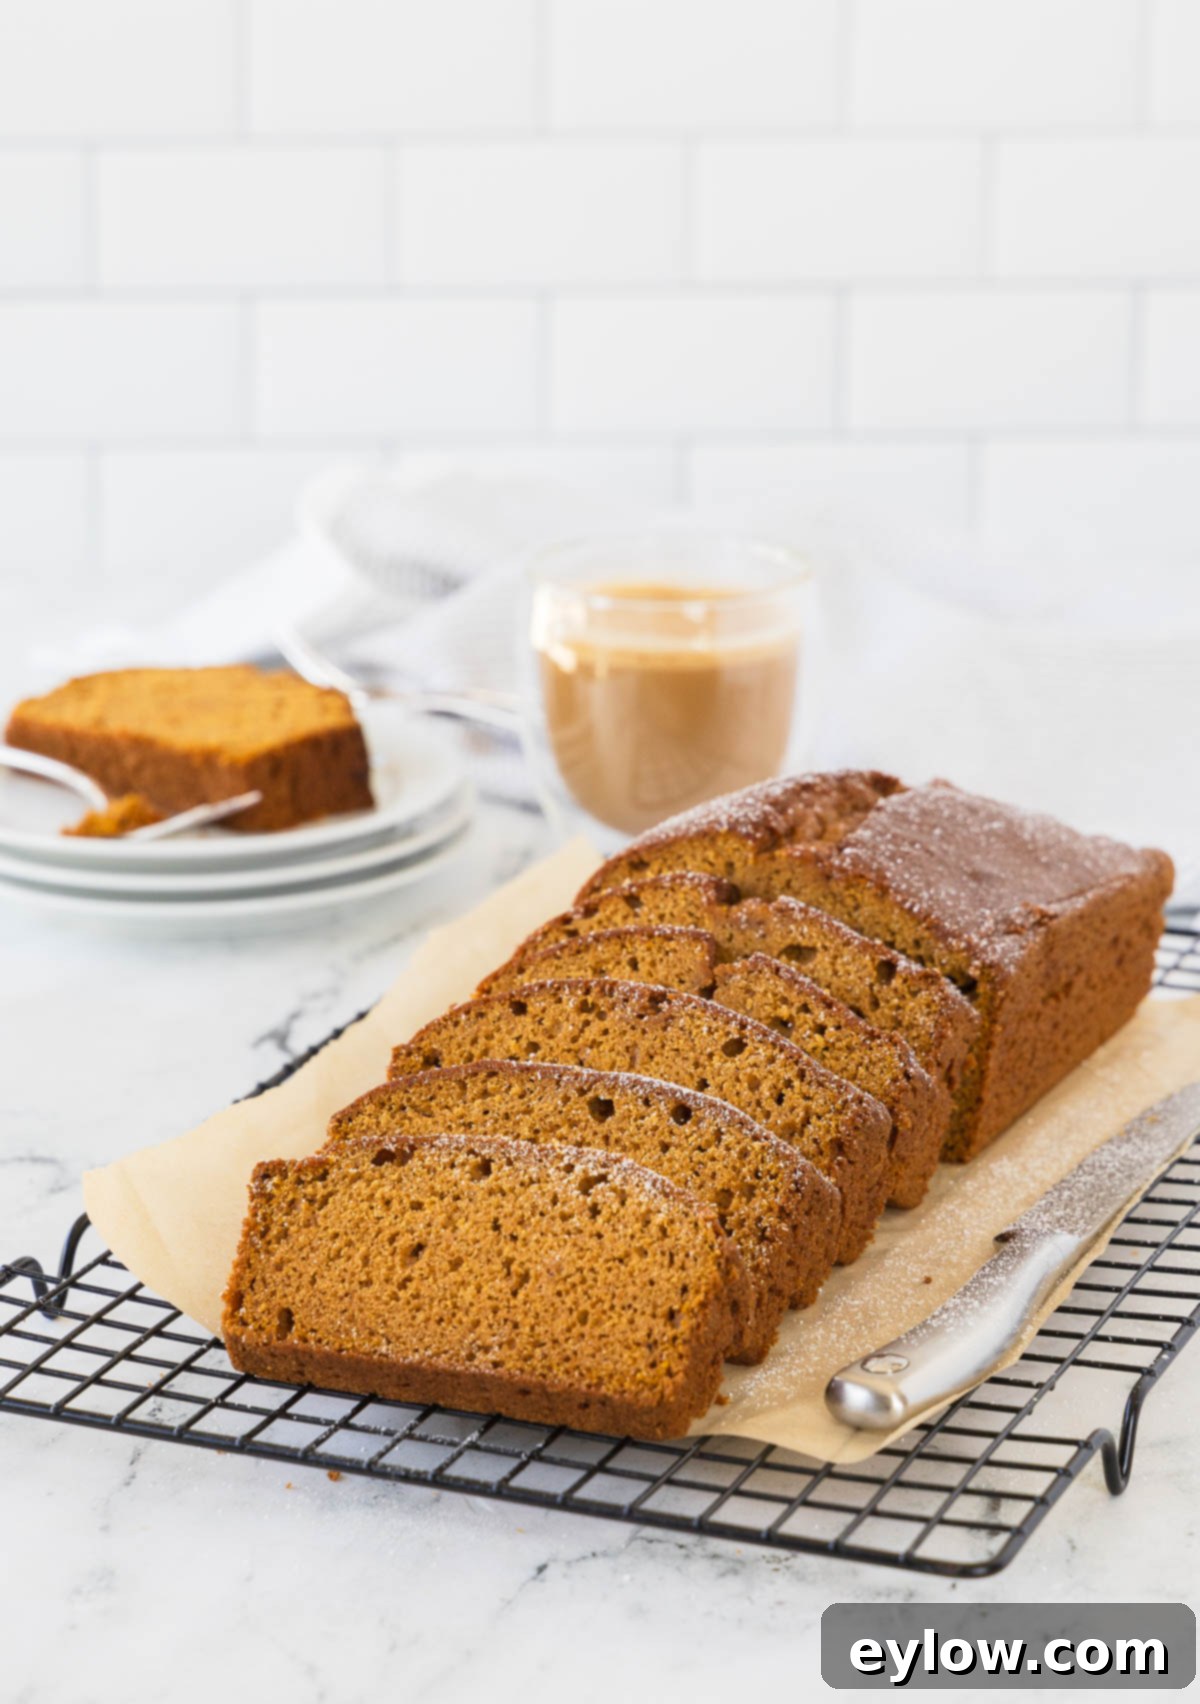
Autumn and baking are a match made in culinary heaven. The season naturally inspires us to create warm, spiced delights, and this recipe delivers exactly that. If you’re craving a treat that embodies the spirit of fall with its rich pumpkin flavor and aromatic spices, one that’s simple to prepare and bake, then our gluten-free pumpkin bread is the perfect answer. This recipe simplifies the baking process, ensuring delicious results every time, even for those new to gluten-free cooking. It’s a quick bread, meaning no yeast or lengthy proofing times are involved, making it ideal for when you want a homemade treat without the fuss. The ingredients are straightforward, and the outcome is a remarkably flavorful, tender, and incredibly moist pumpkin loaf that will become a cherished part of your fall traditions.
Why You’ll Adore This Easy Gluten-Free Pumpkin Bread Recipe
This gluten-free pumpkin bread isn’t just another recipe; it’s a celebration of autumn flavors and wholesome baking. Here are several compelling reasons why this will quickly become one of your favorite fall treats:
- Rich & Aromatic Fall Spices: Immerse yourself in the quintessential flavors of autumn with our perfectly balanced blend of warm spices. Cinnamon, nutmeg, allspice, ginger, and a hint of cloves come together to create an intoxicating aroma and flavor profile that truly captures the essence of the season. Each bite transports you to a cozy fall evening, making this bread an absolute delight for your senses.
- Effortless “Quick Bread” Preparation: This recipe falls into the “quick bread” category, which means no complicated yeast work or lengthy rising times are required. It’s incredibly easy to whip up with simple pantry staples and comes together quickly, making it perfect for busy weekdays or impromptu baking sessions. Even novice bakers will find success with this straightforward method.
- Versatile for Any Occasion: Whether you’re looking for a delightful way to start your day, a comforting afternoon pick-me-up with a cup of tea or coffee, or a wholesome snack for lunchboxes, this pumpkin bread fits the bill. Its wholesome ingredients make it a guilt-free indulgence that can be enjoyed at any time.
- Excellent for Freezing and Meal Prep: Planning ahead is easy with this recipe! This pumpkin bread freezes beautifully for up to 3 months. Bake a large batch, slice it, and freeze individual portions for convenient access to a delicious treat whenever a craving strikes. It’s perfect for holiday gifting or simply having on hand.
- Pairs Perfectly with Easy Maple Butter: Elevate your pumpkin bread experience by serving it with this easy maple butter. The rich, sweet notes of maple butter complement the warm spices of the pumpkin bread beautifully, adding an extra layer of indulgence that’s truly irresistible.
If you’re exploring other simple and wholesome gluten-free baking options, you might also enjoy my Gluten-Free Irish Soda Bread. It’s a fantastic recipe that proves gluten-free baking can be both traditional and delicious, not just for St. Patrick’s Day!
Essential Recipe Ingredients for Perfect Pumpkin Bread
Crafting the perfect gluten-free pumpkin bread starts with understanding each ingredient’s role. Here’s a detailed look at what you’ll need and why each component is crucial for achieving that wonderfully moist and flavorful loaf:
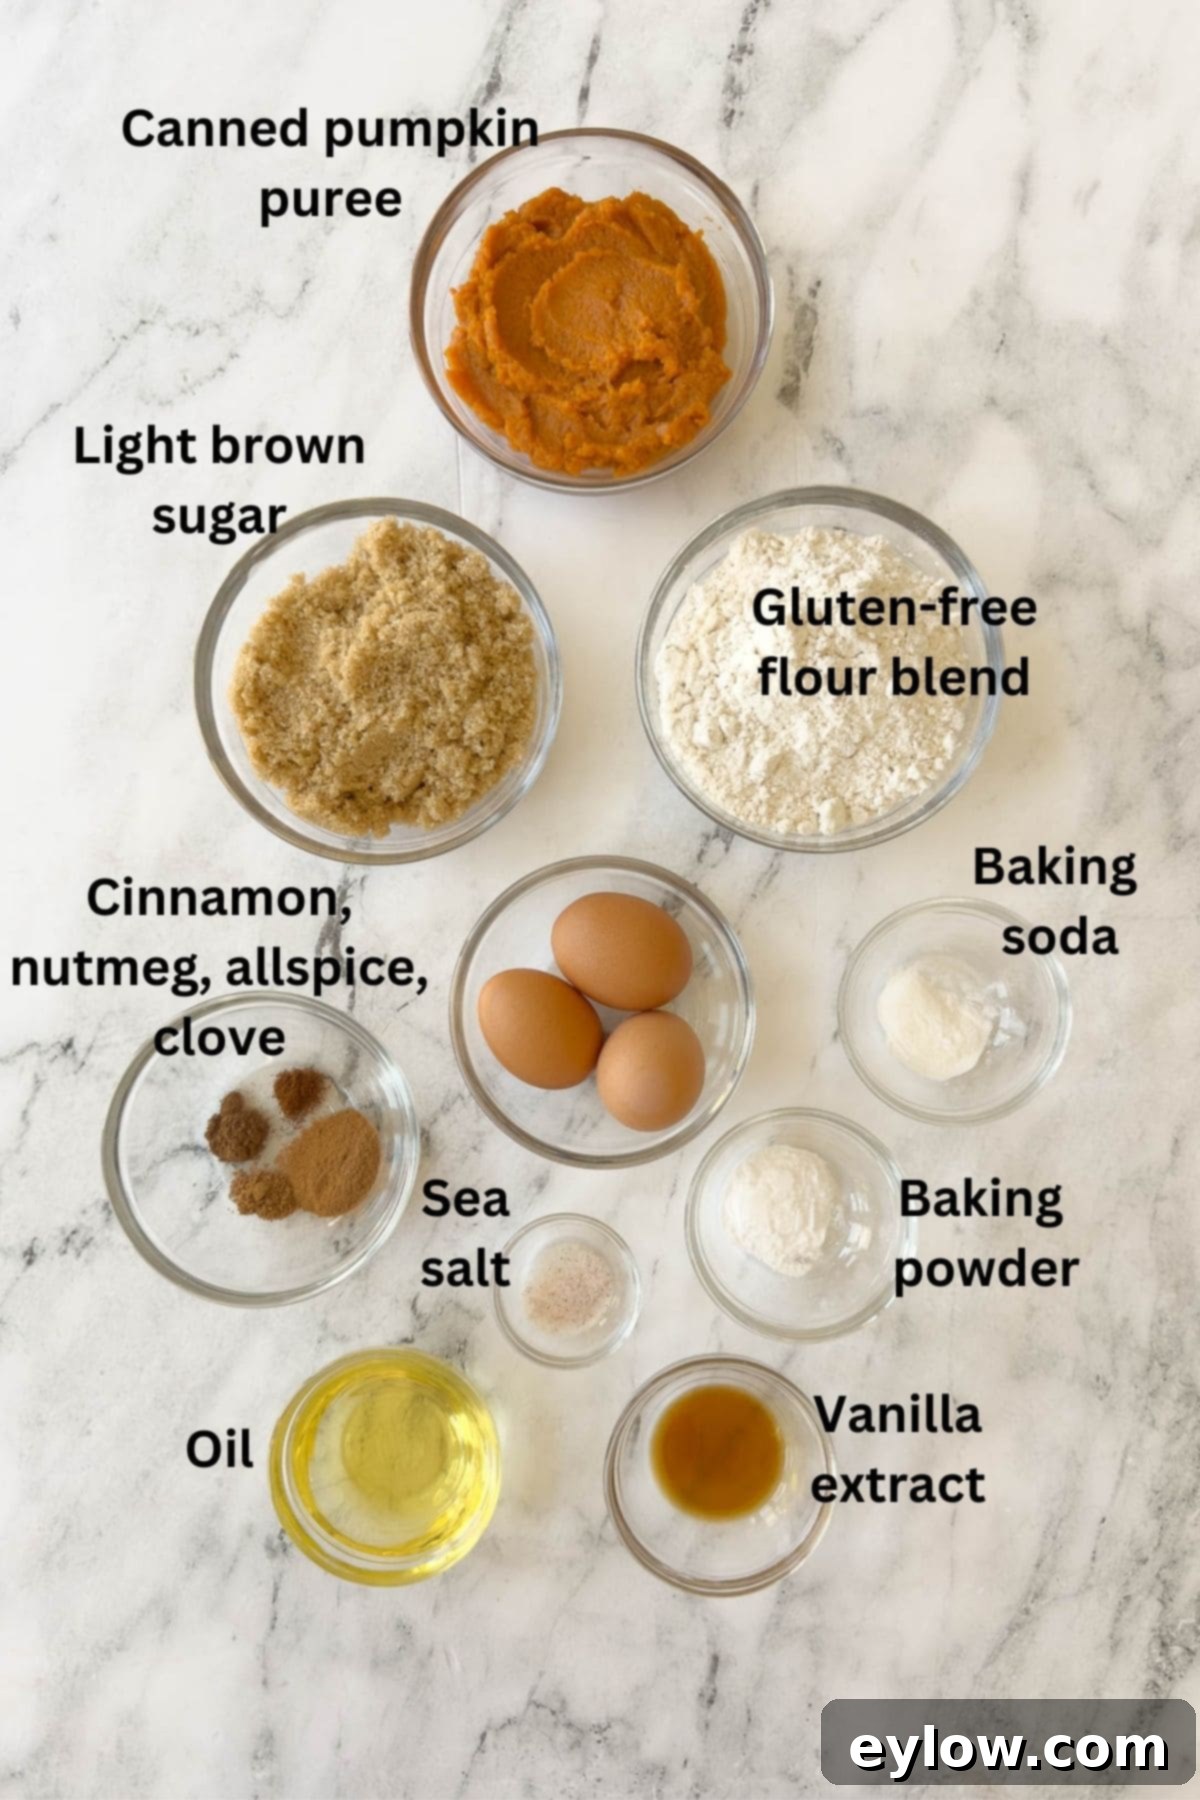
- Pumpkin Puree: This is the heart of our pumpkin bread. It provides not only the signature flavor but also incredible moisture and a tender texture. It’s absolutely crucial to use pure canned pumpkin puree, not pumpkin pie filling. Pumpkin pie filling contains added sugars and spices, which will drastically alter the flavor and sweetness balance of this recipe. Always check the label to ensure you’re getting 100% pure pumpkin.
- Gluten-Free Flour Blend: The choice of flour is paramount in gluten-free baking. I extensively tested this recipe with King Arthur Measure for Measure GF flour, which consistently yields excellent results due to its balanced blend of gluten-free flours and starches. This blend also conveniently includes xanthan gum, a vital ingredient for gluten-free baking. If your preferred gluten-free flour blend does not contain xanthan gum, you must add ½ a teaspoon to your dry ingredients. Xanthan gum acts as a binder, thickener, and emulsifier, mimicking the elasticity that gluten provides in traditional wheat flour, thus preventing a crumbly texture. While other flours may work, results can vary, so sticking to a tried-and-tested blend is recommended for consistency.
- Baking Soda and Baking Powder: Both are essential leavening agents in this recipe. Baking soda reacts with acidic ingredients (like pumpkin puree, which has a slightly acidic pH) to create carbon dioxide gas, aiding in rise. Baking powder, which contains its own acid, provides an additional lift, ensuring a light, fluffy, and tender crumb. Using both contributes to the bread’s airy structure and helps achieve a perfect rise without the need for gluten.
- Brown Sugar: We opted for all light brown sugar in this pumpkin bread for several reasons. Brown sugar, with its molasses content, contributes more complex flavor notes than white granulated sugar, adding a lovely depth to the spice blend. More importantly, it brings additional moisture to the bread, ensuring a delightfully soft and tender texture that stays moist for days.
- Eggs: Large eggs are used as binders and provide structure, richness, and additional moisture to the bread. They help emulsify the wet ingredients and contribute to a golden-brown crust. Please note, I have not tested this recipe with flax eggs or other vegan egg substitutes, so I cannot guarantee the same results for a vegan pumpkin bread.
- Neutral Oil: A healthy, neutral-flavored oil is key here. It provides moisture without imparting any strong flavors that might compete with the pumpkin and spices. Options like melted coconut oil, avocado oil, or MCT oil work wonderfully.
- Vanilla Extract: Use good quality vanilla extract – the real stuff makes a significant difference. A premium vanilla enhances all the other flavors, adding a subtle warmth and complexity. For an even more intense vanilla presence, consider using vanilla bean paste, which also adds beautiful specks of vanilla bean.
- Warm Spices: This is where the magic of fall truly comes alive! Our blend includes ground cinnamon, ground nutmeg, allspice, ground ginger, and a touch of ground cloves. These spices are carefully chosen to create a balanced, aromatic, and deeply comforting flavor profile that is synonymous with autumn. Using fresh, high-quality spices will yield the most vibrant results.
For precise measurements of all ingredients, please refer to the comprehensive recipe card below. You will also need a 9×5-inch light metal baking loaf pan for optimal baking and browning.
While you’re in a baking mood, consider trying another naturally gluten-free cornbread recipe for a different savory-sweet experience.
Chef’s Tip on Oil Selection: When it comes to neutral cooking oils, I highly recommend Zero Acre Farms oil. It’s a fantastic, healthy option fermented from sugarcane plants – how cool is that? It’s rich in monounsaturated fat, boasts a high smoke point, and has a wonderfully clean, neutral taste that won’t interfere with your recipe’s flavors. I strongly advise against using conventional vegetable oils, which are often industrially processed and can be detrimental to health. We now have far better and healthier alternatives available. This has quickly become my go-to neutral oil, right alongside high-quality olive oil.
Exciting Substitutions and Creative Variations
One of the joys of baking is the ability to customize recipes to suit your preferences or dietary needs. This gluten-free pumpkin bread is quite adaptable. Here are some ideas for substitutions and variations to make it uniquely yours:
- Exploring Other Oil Options: If Zero Acre Farms oil isn’t readily available, other excellent neutral oil choices include quality avocado oil, which is known for its mild flavor and high smoke point. Melted coconut oil is also a great option, adding a subtle hint of coconut flavor that complements pumpkin beautifully. Alternatively, expeller-pressed grapeseed oil is another neutral choice that works well. Ensure whatever oil you choose is liquid at room temperature or melted before incorporating.
- Adding a Nutty Crunch: If you’re a fan of nuts in your quick bread, finely chopped pecans or walnuts make a delightful addition. Incorporate ½ cup to ¾ cup of your chosen nuts into the batter. For best distribution, fold them in gently by hand at the very end of the mixing process, just before pouring the batter into the pan. This adds a lovely textural contrast and an extra layer of flavor.
- Simplifying Spices with a Pumpkin Pie Blend: Don’t have all the individual spices on hand, or prefer a quicker method? You can easily swap the individual cinnamon, nutmeg, allspice, ginger, and cloves for a pre-made pumpkin spice blend. A good rule of thumb is to use 2 to 2.5 teaspoons of pumpkin pie spice for this recipe, adjusting to your taste preferences.
- Substituting with Coconut Sugar: For those looking for an alternative sweetener, you can substitute coconut sugar for the brown sugar in a 1:1 ratio. Coconut sugar has a similar appearance and caramel-like flavor to brown sugar, making it a good fit. However, it tends to hold slightly less moisture than brown sugar. Given that this pumpkin bread recipe is inherently super moist, this substitution should work without resulting in a dry loaf. Always monitor your bake time, as different sugars can affect how the bread browns.
- Chocolate Chip Indulgence: For a touch of sweetness and indulgence, fold in ½ to ¾ cup of your favorite chocolate chips (dairy-free if needed) into the batter before baking. Dark chocolate chips pair particularly well with the rich pumpkin and warm spices.
- A Touch of Glaze: Once cooled, you can drizzle a simple glaze over the bread for extra sweetness and visual appeal. A basic powdered sugar glaze (powdered sugar mixed with a little dairy-free milk or water and a touch of vanilla) works beautifully.
For another wholesome homemade baked treat that’s naturally gluten-free, you must try this golden gluten-free cornbread with buttermilk and honey.
Mastering the Art of Gluten-Free Pumpkin Bread: Step-by-Step Guide
Creating this moist and flavorful gluten-free pumpkin bread is a straightforward process, broken down into simple, easy-to-follow steps. Precision in measuring and proper mixing are key to achieving the perfect texture and rise. Let’s walk through the baking journey together:
Key Gluten-Free Baking Tips for Success
Gluten-free baking can be a bit different from traditional baking, but with these essential tips, you’ll achieve perfect results every time with this pumpkin bread and many other recipes:
- Allow Gluten-Free Flours to Hydrate: This is a golden rule in gluten-free baking. Unlike wheat flour, gluten-free flours and starches absorb liquids differently. They require resting time to fully hydrate, which leads to a smoother batter, better texture, and prevents a gritty or dry finished product. Don’t skip the batter resting time mentioned in some GF recipes; it allows the starches to plump up and integrate properly, resulting in a moister and less crumbly bread.
- Beat Thoroughly to Build Structure: In traditional baking, over-mixing can develop gluten and lead to a tough product. However, in gluten-free baking, there’s no gluten to toughen. Therefore, beating the batter well (as indicated in this recipe for 4 minutes) is crucial. This vigorous mixing aerates the batter, incorporating air that helps to build structure, lighten the crumb, and activate binding agents like xanthan gum. This creates a tender yet sturdy loaf.
- Increased Leavening for a Lighter Result: Gluten naturally provides structure and elasticity, helping baked goods rise. Without it, gluten-free batters often need a little extra help to achieve a light and airy texture. This is why many gluten-free recipes, including this one, use a slightly higher proportion of both baking soda and baking powder. These leavening agents work harder to produce gas bubbles, creating a lift that compensates for the lack of gluten.
- Lower Oven Temperature and Potentially Longer Bake Time: A common adjustment in gluten-free baking is a slightly lower oven temperature (often around 25°F or 15°C lower than a conventional recipe) combined with a potentially longer bake time. This approach helps the bread bake more evenly all the way through without over-browning or burning the exterior before the interior is fully cooked and set. Always use a cake tester or skewer to check for doneness.
- The Power of Xanthan Gum: If your chosen gluten-free flour blend doesn’t already contain xanthan gum, it’s highly recommended to add it. Xanthan gum is the “secret weapon” in many gluten-free recipes. It’s a plant-derived hydrocolloid that acts as a binder, providing elasticity and viscosity to the dough or batter. In the absence of gluten, xanthan gum prevents your baked goods from becoming crumbly and helps them hold together, giving a texture much closer to their gluten-containing counterparts. For this recipe, if your blend is missing it, add ½ teaspoon to the dry ingredients.
Chef’s Pairing Tip: Pumpkin and chocolate chips are a truly divine combination! If you’re looking for another delightful pumpkin treat, try this incredible pumpkin cake with chocolate chips, naturally sweetened with rich maple syrup. It’s a perfect blend of flavors and textures!
Delightful Serving Suggestions for Your Pumpkin Bread
This gluten-free pumpkin bread is incredibly versatile and can be enjoyed in a multitude of ways. Its comforting flavors make it a welcome treat at any time, especially during the vibrant fall season. Here are some ideas to make the most of your freshly baked loaf:
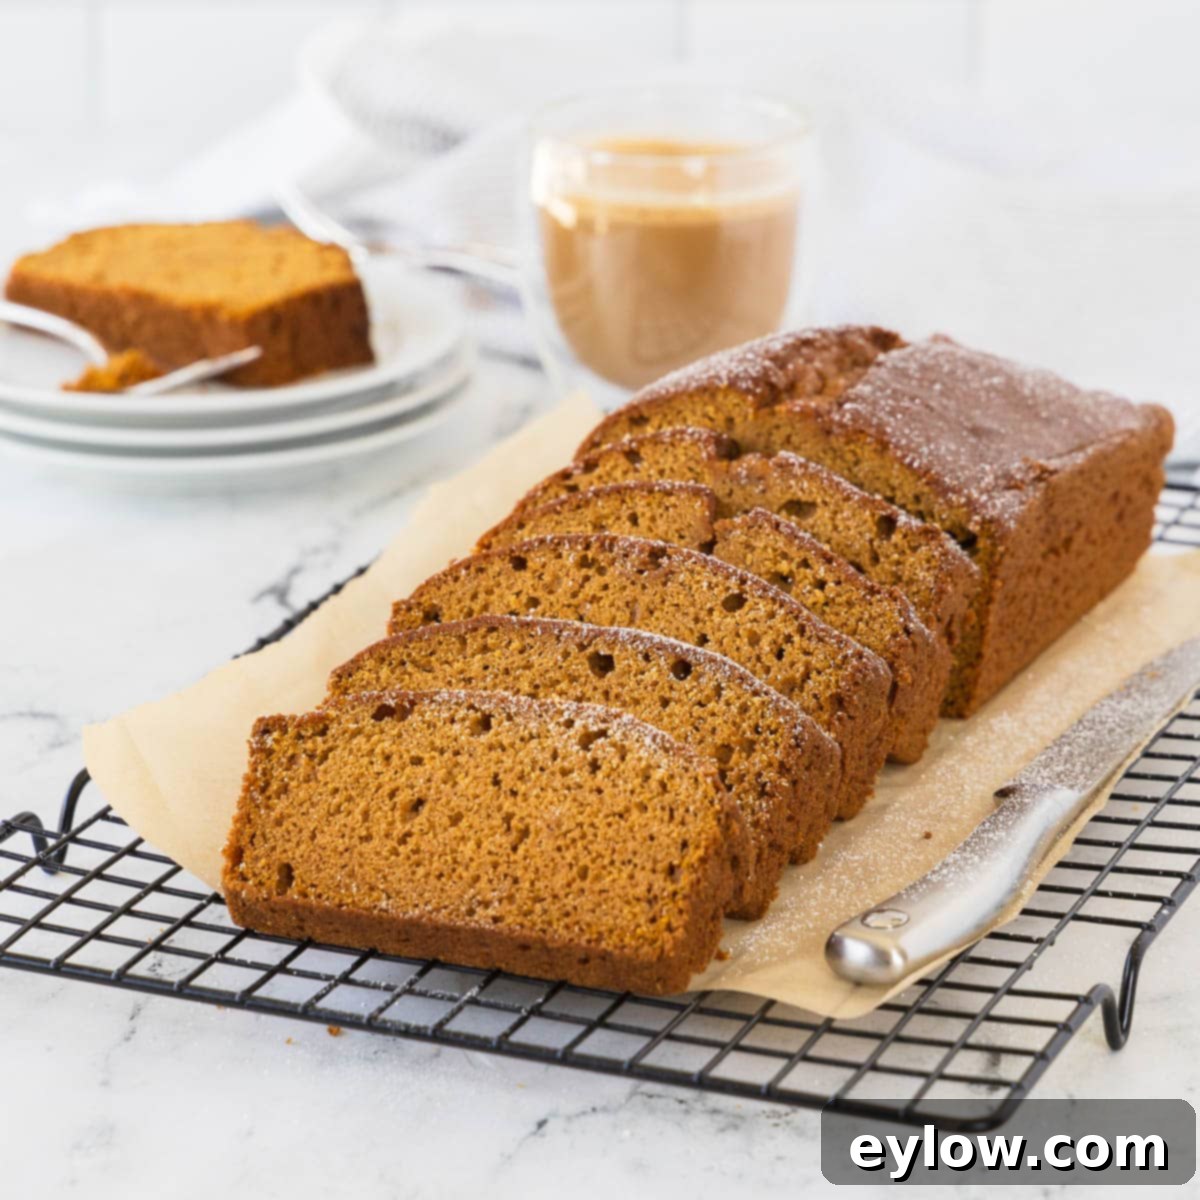
- Classic Breakfast or Snack: It’s simply wonderful served plain alongside a steaming cup of coffee to kickstart your morning or a soothing cup of herbal tea for an afternoon break. The warm spices and moist texture make it an instant comforting classic.
- On-the-Go Treat: Slice a piece, wrap it securely, and tuck it into a briefcase, lunch bag, or backpack for a wholesome and satisfying snack that you can enjoy anywhere. It’s an excellent way to bring a little homemade comfort to your busy day.
- Elevated Dessert Experience: While delicious on its own, you can easily dress up this pumpkin bread for a more elegant dessert. Serve it with a dollop of softly whipped cream, lightly sweetened with a touch of sugar and vanilla extract. The creamy, airy texture of the whipped cream beautifully contrasts with the dense, moist bread.
- Cream Cheese Frosting: For a truly decadent dessert, consider spreading a thin layer of cream cheese frosting over a cooled slice. For a dairy-free version, use a plant-based cream cheese and dairy-free butter for your frosting. The tangy sweetness of the frosting is a perfect complement to the spiced pumpkin.
- Warm or Room Temperature: This bread is delightful served at room temperature, allowing the flavors to fully meld. However, gently warming a slice in the microwave or a toaster oven for a few seconds can enhance its aroma and softness, making it even more inviting.
- Toasted with Butter: For a simple yet irresistible treat, lightly toast slices of pumpkin bread and spread with a generous amount of butter (dairy or dairy-free). The slight crispness from toasting and the richness of the butter create a heavenly combination.
Expert Tips: How to Properly Freeze Gluten-Free Pumpkin Bread
Freezing your gluten-free pumpkin bread is an excellent way to preserve its freshness and enjoy it at a later date. Proper wrapping is crucial to prevent freezer burn and maintain its delicious flavor and moist texture:
- Ensure Complete Cooling: Before even thinking about wrapping, ensure the pumpkin bread is completely cooled on a wire rack. Any residual warmth will create condensation inside the wrapping, leading to soggy spots or ice crystals. Patience here is key!
- Triple-Layer Wrapping for Protection:
- First Layer – Plastic Wrap: Tightly wrap the entire loaf (or individual slices, if you prefer) in plastic wrap. Make sure there are no air gaps, as exposure to air is the primary cause of freezer burn.
- Second Layer – Aluminum Foil: Once tightly sealed in plastic wrap, wrap the bread again in a layer of heavy-duty aluminum foil. This provides an additional barrier against air and helps protect the bread from absorbing freezer odors.
- Third Layer – Freezer Bag: For ultimate protection, place the double-wrapped bread into a large freezer-safe zip-top bag. Squeeze out as much air as possible before sealing the bag. This triple-layer method is your best defense against moisture loss and freezer burn.
- Label and Date: Always remember to label the package with the contents (e.g., “Gluten-Free Pumpkin Bread”) and the date it was frozen. This helps you keep track of its freshness.
- Freezing Duration: Properly wrapped, your gluten-free pumpkin bread will freeze beautifully for up to 3 months. Beyond this period, while still safe to eat, its quality and texture might start to decline slightly.
- Thawing Instructions: To thaw, simply remove the bread from the freezer and place it in the refrigerator overnight. For quicker thawing, you can leave it on the counter at room temperature for a few hours. Once thawed, enjoy it plain or gently rewarm a slice for that fresh-baked feel.
Frequently Asked Questions About Gluten-Free Pumpkin Bread
Here are some common questions about making delicious gluten-free pumpkin bread, with detailed answers to help you succeed:
The most reliable gluten-free flour blend for pumpkin bread is generally the specific one the recipe creator identifies and used for testing. This is because gluten-free flour blends can vary significantly in their composition (types of rice flour, starches, etc.), even if their ingredients appear similar, which can lead to different results in terms of texture and moisture. For this particular recipe, I achieved excellent results with King Arthur Measure for Measure GF flour blend. It’s a well-balanced blend that works consistently.
A crucial factor when choosing a gluten-free flour blend for baking (especially quick breads like pumpkin bread) is whether it contains xanthan gum. Xanthan gum is vital because it helps with structure, acts as a binder (mimicking the role of gluten), and improves the moisture retention of the batter, preventing your pumpkin bread from crumbling. If your chosen blend does not include xanthan gum, it is essential to add it. A good general rule is to add approximately ¼ teaspoon of xanthan gum per cup of gluten-free flour. It truly is the “secret weapon” of successful gluten-free baking!
Yes, you can experiment with substituting different sweeteners, but it’s important to understand that altering the sugar type can affect the final texture, moisture, and even baking time of your pumpkin bread. Each sweetener has unique properties.
Generally, you can swap coconut sugar, turbinado, demerara, or sucanat (which are all coarse, raw brown sugars) for brown sugar in a 1:1 ratio. Coconut sugar, for instance, offers a similar caramel-like flavor but tends to hold slightly less moisture than brown sugar. However, given how moist this pumpkin bread recipe is already, it should work without becoming dry.
If you want to use liquid sweeteners like maple syrup or agave syrup, you’ll need to reduce the amount. A good starting point is to use approximately ⅔ as much liquid sweetener as you would granulated sugar, and you may also need to slightly reduce other liquid ingredients in the recipe to maintain the right batter consistency.
For those looking to reduce sugar and carbohydrates, alternatives like a white granulated monk fruit/allulose blend or golden monk fruit can be used. I recommend starting by substituting half of the brown sugar with the monk fruit blend. If you’re happy with the taste and texture, you can then try substituting all of it. Keep in mind that artificial or alternative sweeteners can sometimes affect browning and overall moisture, so monitor your bread closely during baking.
Proper storage is key to maintaining the moistness and flavor of your gluten-free pumpkin bread:
Countertop Storage: For short-term storage (up to 3 days), once the bread has completely cooled, wrap it tightly in plastic film or place it in an airtight container. Store it at room temperature on your kitchen counter.
Refrigeration: If you prefer to extend its freshness slightly or live in a humid environment, you can refrigerate the pumpkin bread. Again, wrap it well in plastic film or an airtight container to prevent it from drying out or absorbing refrigerator odors. It will last up to a week in the fridge.
Freezing: For long-term storage, freezing is an excellent option. After the bread has completely cooled, wrap it meticulously first in plastic film, then seal it securely in aluminum foil, and finally place it into a freezer-safe zip-top bag. Press out any excess air from the bag before sealing. This triple-layer protection prevents freezer burn and keeps the bread fresh for up to 3 months. Remember to label and date the package for easy tracking. To thaw, simply transfer it to the refrigerator overnight or let it come to room temperature on the counter.
Discover More Delicious Pumpkin Recipes
Pumpkin is incredibly versatile and can be enjoyed in so much more than just desserts! If you’ve fallen in love with the flavor of pumpkin, explore these other fantastic recipes that celebrate this wonderful fall squash. From comforting soups to refreshing smoothies, there’s a pumpkin dish for every craving:
- Creamy Black Bean Pumpkin Soup
- Pumpkin Mousse (Easy No-Bake Dessert)
- Pumpkin Smoothie (Healthy & Easy)
- Pumpkin Tart (Gluten-Free Almond Flour Crust)
⭐️Loved This Recipe? Let Us Know!
Your feedback is incredibly valuable to us and helps other home bakers discover delicious recipes! If you had the pleasure of making this delightful gluten-free pumpkin bread, please take a moment to share your experience by leaving a comment below. We’d love to hear how it turned out for you! And if you truly loved it and found it to be a five-star favorite, please consider giving it a 5-star rating. Your ratings and reviews make a huge difference!
📖 Recipe
Gluten-free Pumpkin Bread
Sally Cameron
Pin Recipe
Equipment
-
Hand mixer
-
9″x5″ light metal baking loaf pan
-
Cooling rack
Ingredients
Dry Ingredients
- 1 ½ cups gluten-free flour blend I used KA Measure for Measure, see notes
- 2 teaspoons baking soda
- ¾ teaspoon baking powder aluminum free
- 1 teaspoon cinnamon
- ¼ teaspoon sea salt
- ¼ teaspoon allspice
- ¼ teaspoon ground ginger
- ¼ teaspoon ground nutmeg
- ⅛ teaspoon ground clove
Wet Ingredients
- 1 cup canned pumpkin pure (not pie mix) 8.4 ounces
- 3 large eggs
- 1 cup light brown sugar, lightly packed 6 ounces
- 1 ½ teaspoons real vanilla extract
- ⅓ cup neutral flavored oil melted coconut oil or MCT oil
Instructions
-
Pre-heat the oven to 325°F (160°C). Lightly spray a 9×5-inch light metal baking loaf pan with cooking spray, ensuring all inner surfaces are coated to prevent sticking.
-
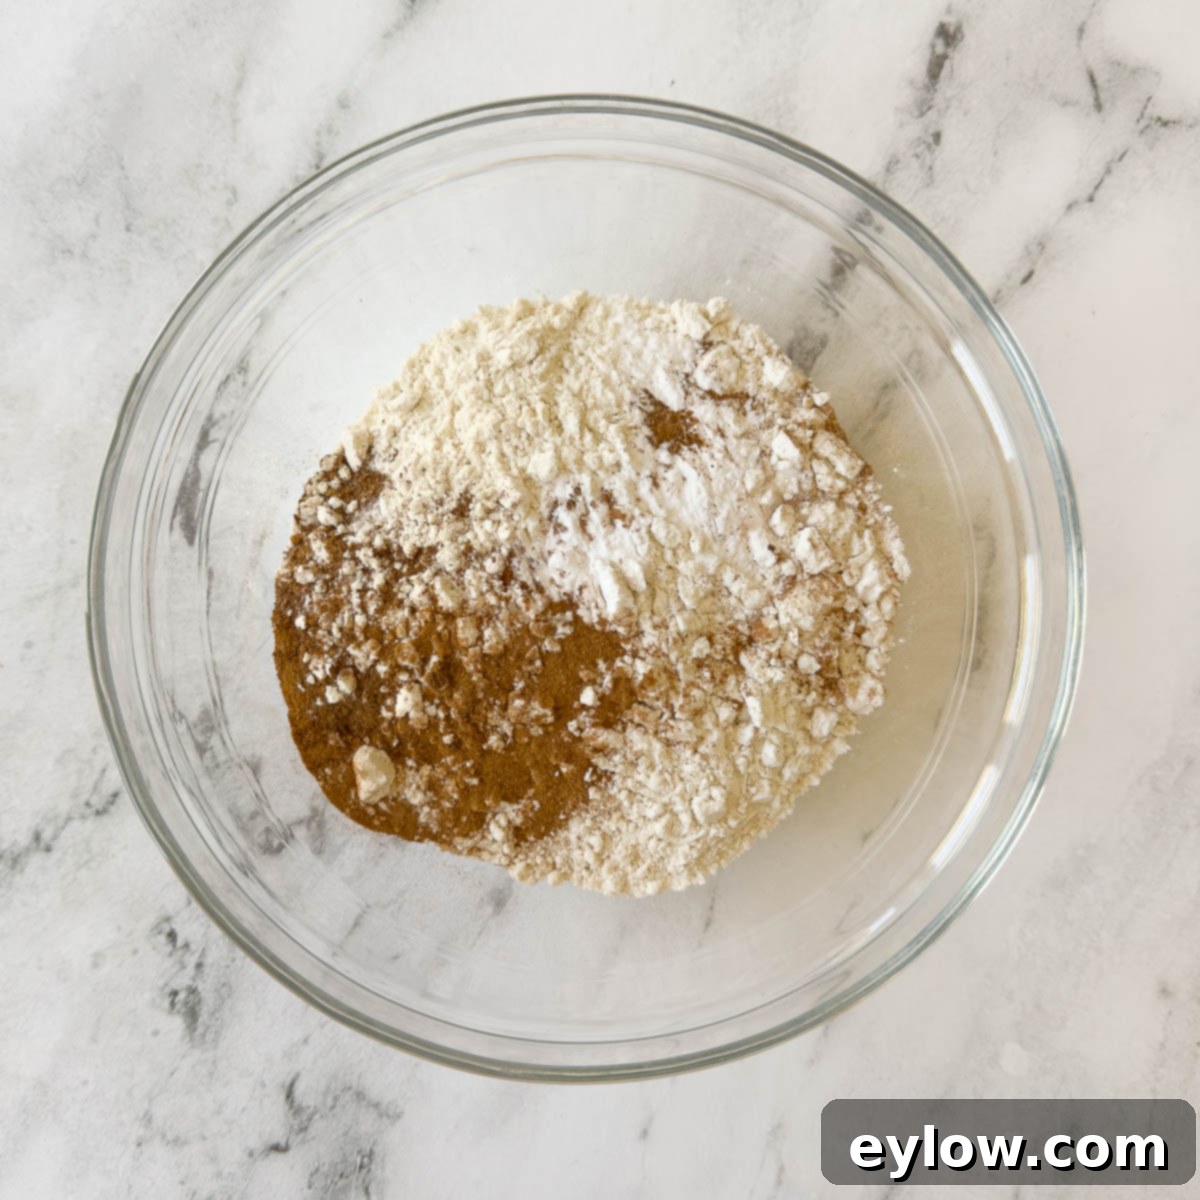
In a medium bowl, measure out all of the dry ingredients (gluten-free flour blend, baking soda, baking powder, sea salt, cinnamon, allspice, ground ginger, ground nutmeg, and ground clove). Sift them directly into the bowl or onto a piece of parchment or waxed paper. Whisk these dry ingredients together thoroughly until they are uniformly combined; this step is crucial for even distribution of leavening and spices throughout the bread.
-
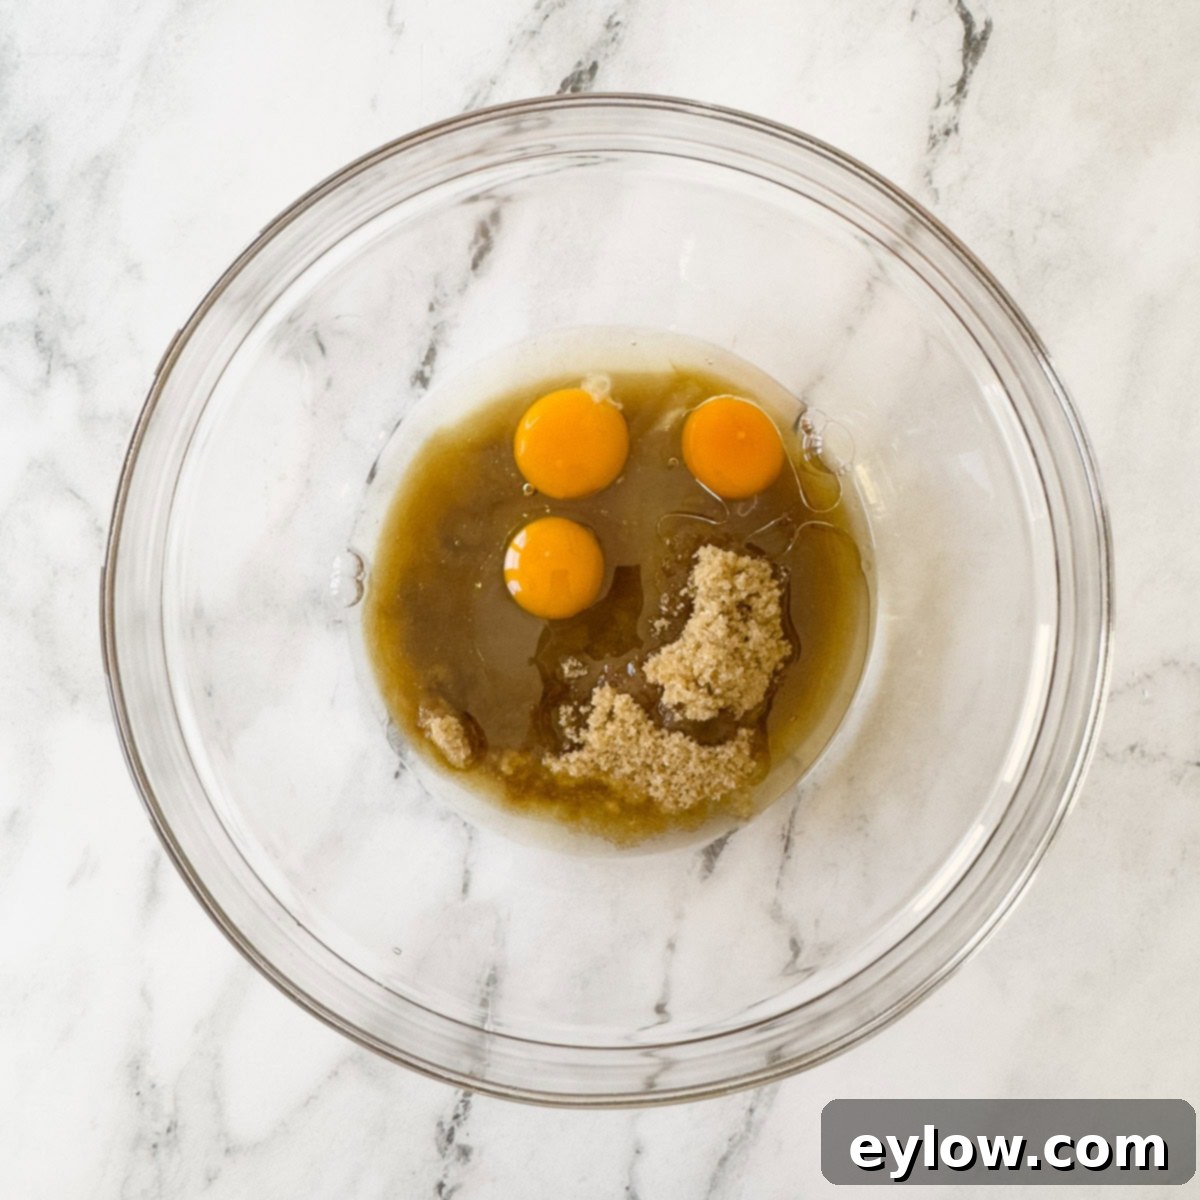
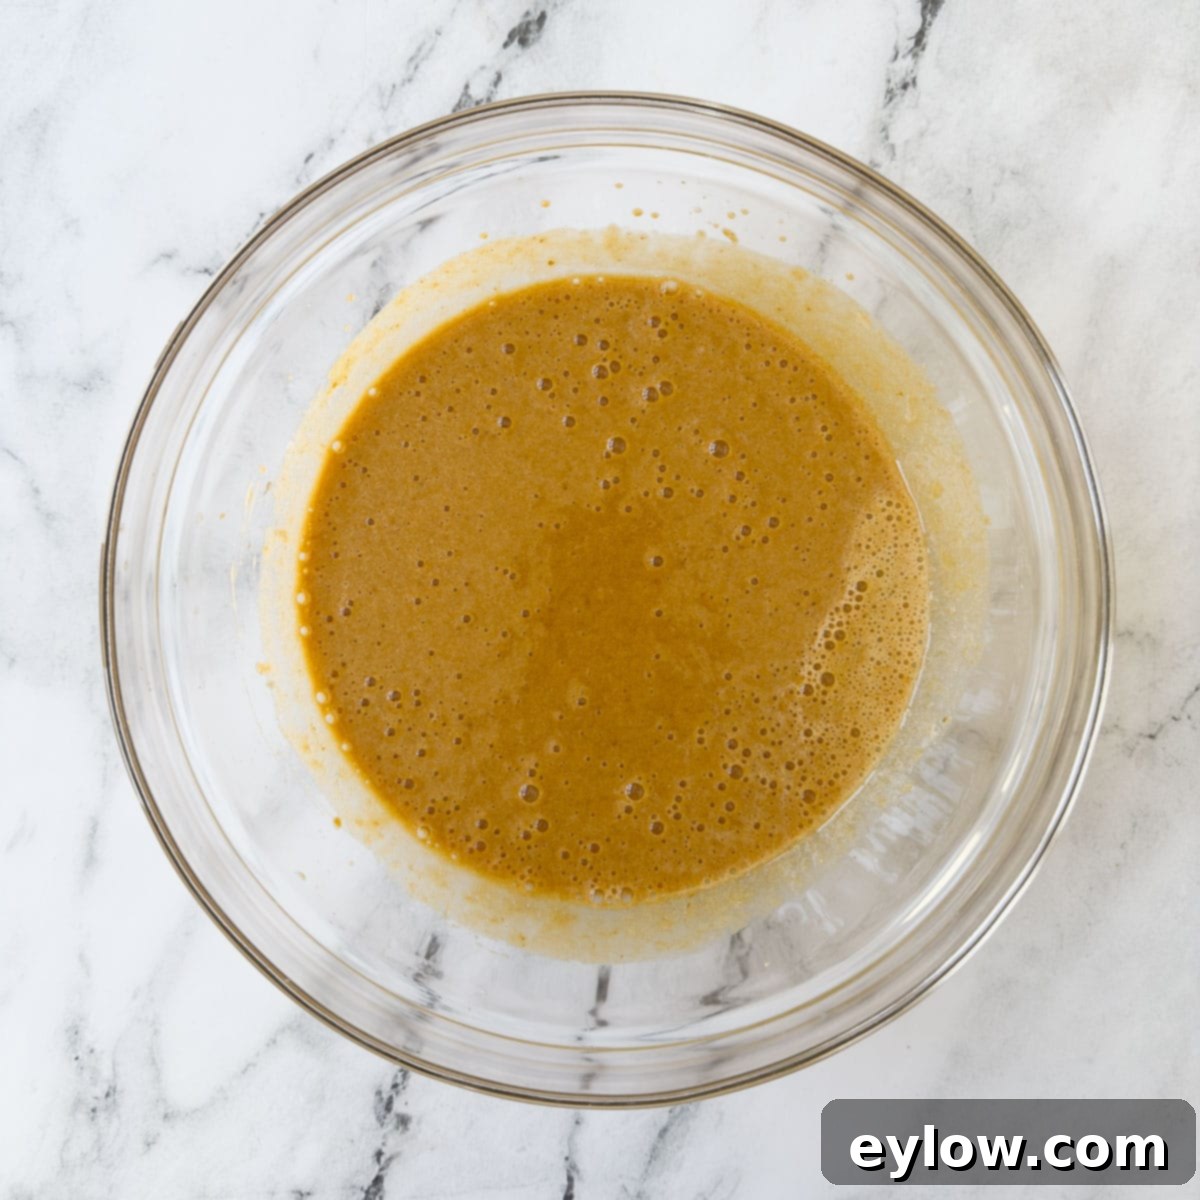
In a separate, larger medium bowl, add all of the wet ingredients: canned pumpkin puree, large eggs, lightly packed light brown sugar, real vanilla extract, and neutral-flavored oil. Using an electric hand mixer, whip these ingredients together until the mixture is perfectly smooth and well blended. This should take approximately 1 minute on medium speed, ensuring the sugar is dissolved and all components are fully emulsified.
-
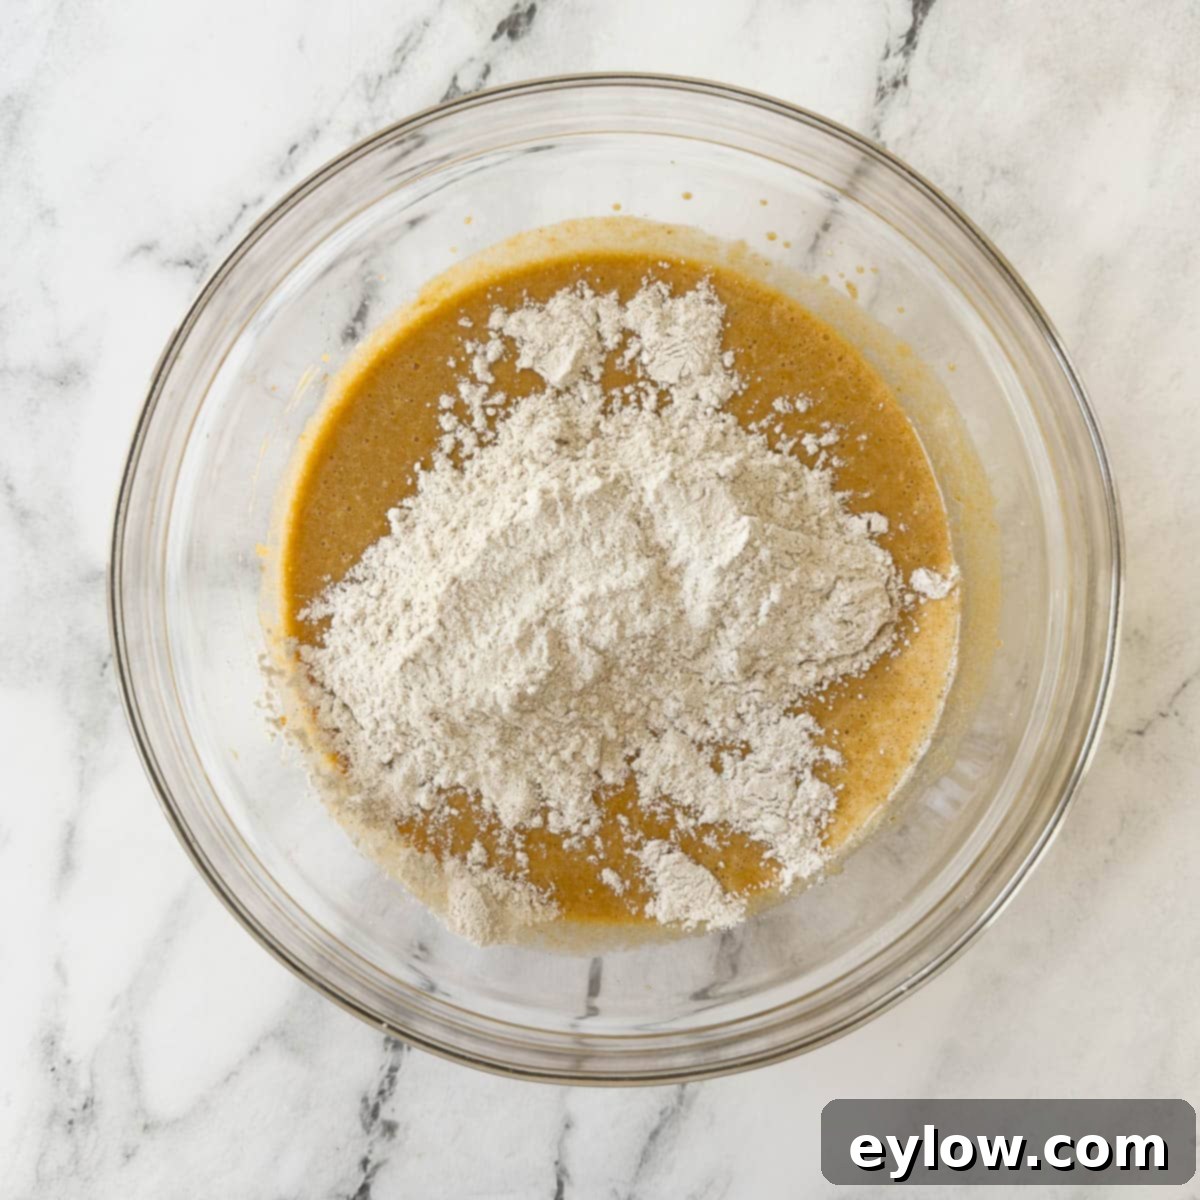
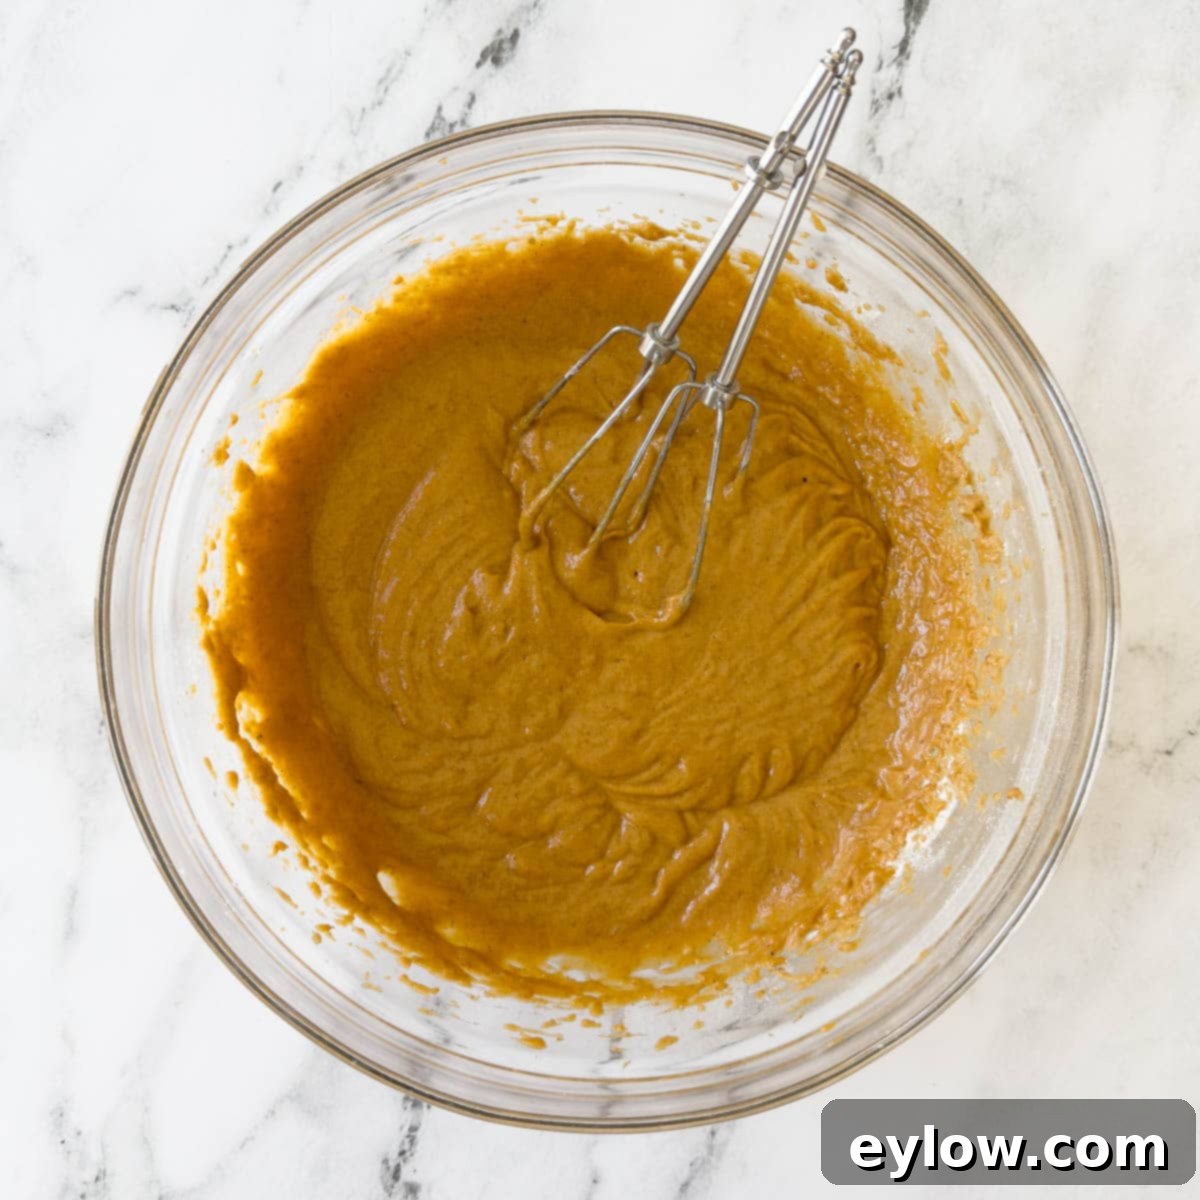
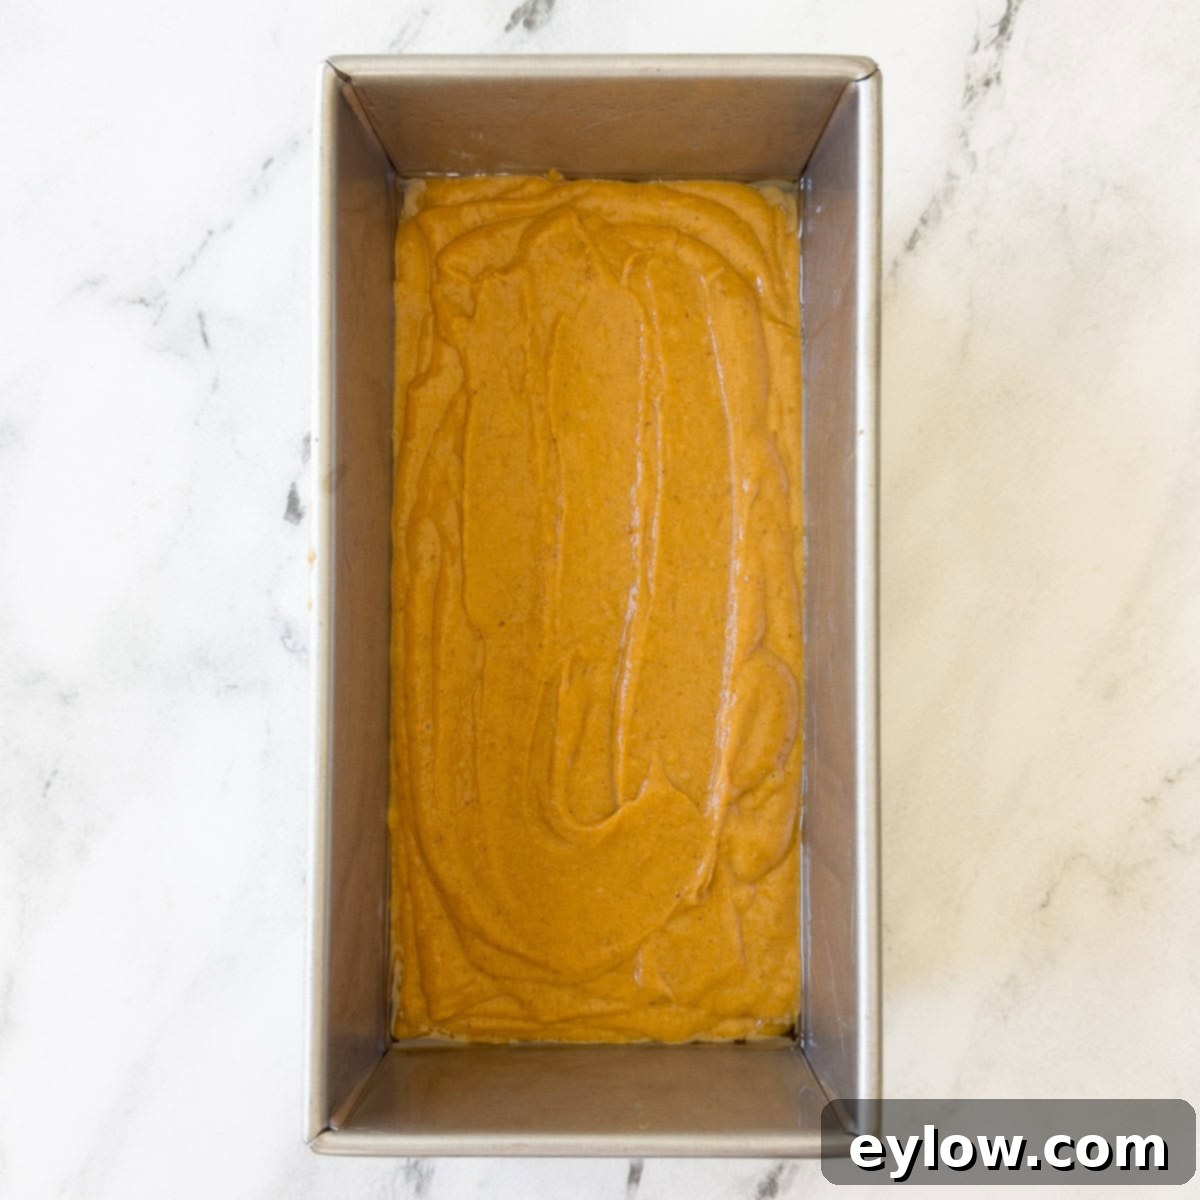
Gradually add the prepared dry ingredients into the bowl containing the smooth wet batter. Begin mixing on a low speed to incorporate the dry ingredients without creating a cloud of flour. Once combined, increase the speed to high and continue beating the batter for a full 4 minutes. This extended beating time is essential for developing structure in gluten-free quick breads. Pour the finished, creamy batter into your prepared loaf pan and use a spatula to smooth out the top evenly. Bake in the preheated oven for 1 hour. The pumpkin bread is done when a cake tester or a long, thin wooden skewer inserted into the center comes out clean, possibly with just a few moist crumbs attached.
-
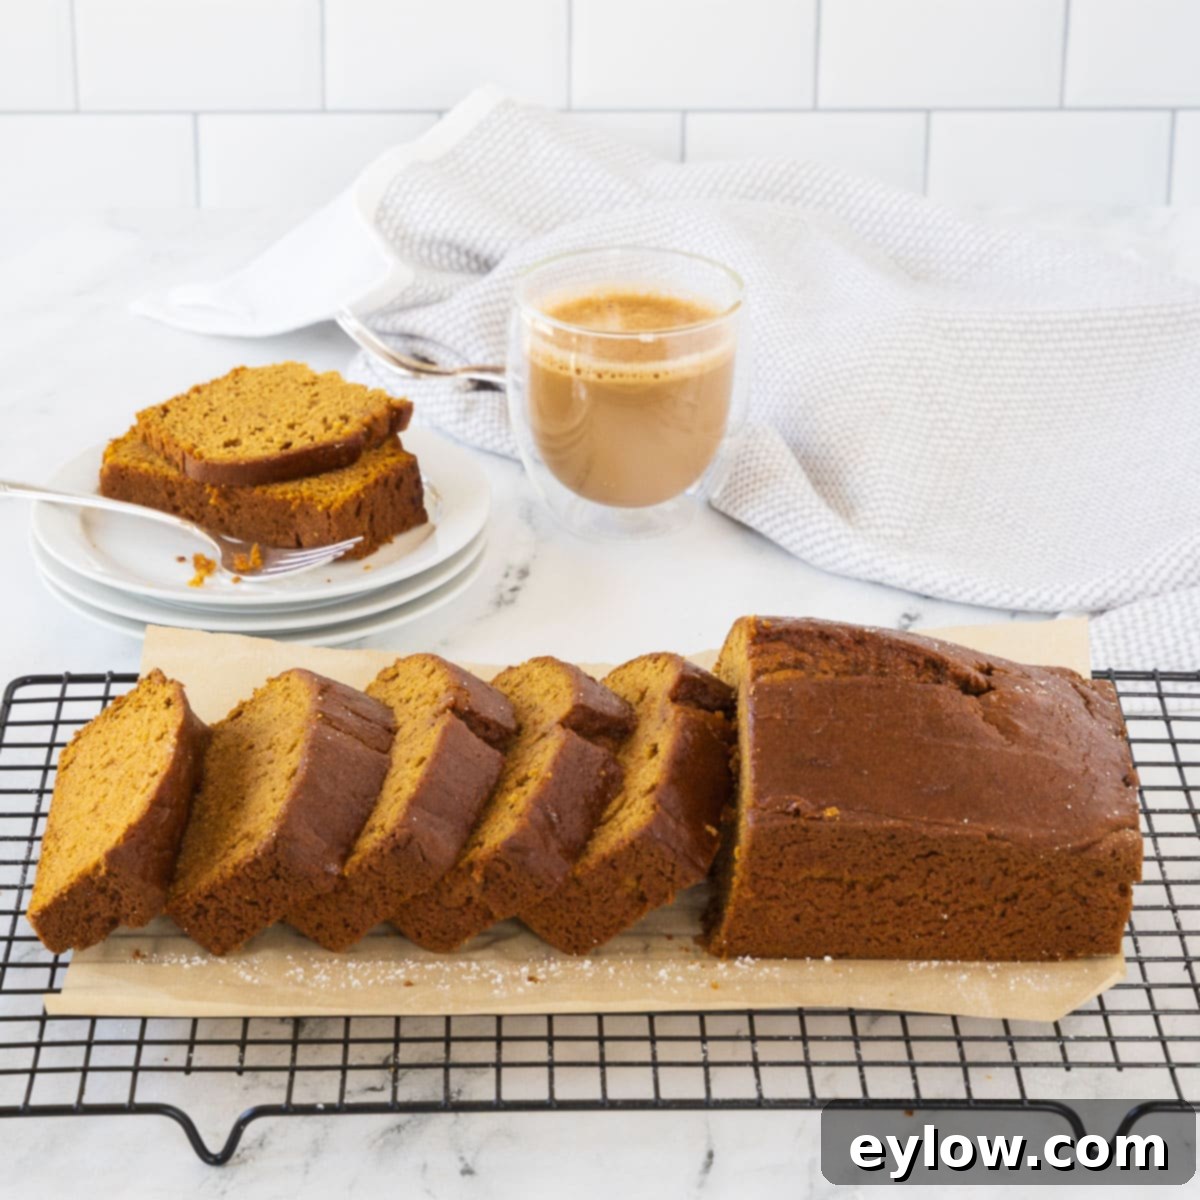
Once baked, remove the loaf pan from the oven. Immediately run a thin knife or a slender metal spatula around the inside edges of the pan to help loosen the bread. Gently invert the pan and turn the pumpkin bread out onto a wire cooling rack. Allow it to cool completely on the rack before attempting to slice it. Slicing warm gluten-free bread can cause it to crumble, as its internal structure needs time to set.
For storage, this pumpkin bread will remain fresh for 3-4 days when well wrapped and kept on the kitchen counter. Alternatively, it can be refrigerated for extended freshness. For freezing, after it has completely cooled, wrap the bread tightly in plastic wrap, then encase it in aluminum foil, and finally place it into a freezer-safe zip-top bag. Squeeze out as much air as possible. The bread can be frozen for up to 3 months. Always be sure to label and date the bag for easy reference.
Notes
This recipe was developed and tested using King Arthur Measure for Measure gluten-free flour, which conveniently includes xanthan gum in its blend. This particular flour blend consistently yields a fantastic texture and structure for this pumpkin bread. If you choose to use a different gluten-free flour blend, please be aware that results may vary due to differences in starch and flour composition. If your chosen blend does not contain xanthan gum, it is absolutely essential to add ½ a teaspoon to your dry ingredients to prevent a crumbly texture and ensure proper binding. Your experience with other blends is valuable – please feel free to drop a comment and let me know which blend you used and how it turned out! I’m always looking to test more options.
Spice Customization
The combination of cinnamon, nutmeg, allspice, ginger, and cloves creates a deeply aromatic and balanced flavor profile that truly embodies fall. However, if you don’t have all of these spices on hand, don’t worry! You can still make a delicious loaf. Ensure you at least include cinnamon, and then add any other warm spices you possess. While the full blend provides the best flavor, using fewer will still yield a wonderful result. Alternatively, a good quality pumpkin spice blend (about 2-2.5 teaspoons) can be substituted for the individual spices.
Healthy Oil Choice
My personal preference for a neutral-flavored oil in baking is Zero Acre Farms oil. It’s a clean, healthy, and sustainable option that has a high smoke point and a very mild taste, ensuring it doesn’t interfere with the delicious pumpkin and spice flavors of the bread. Other excellent neutral options include quality avocado oil or melted coconut oil. Always choose an oil that is healthy and has a neutral flavor profile for the best results in this recipe.
