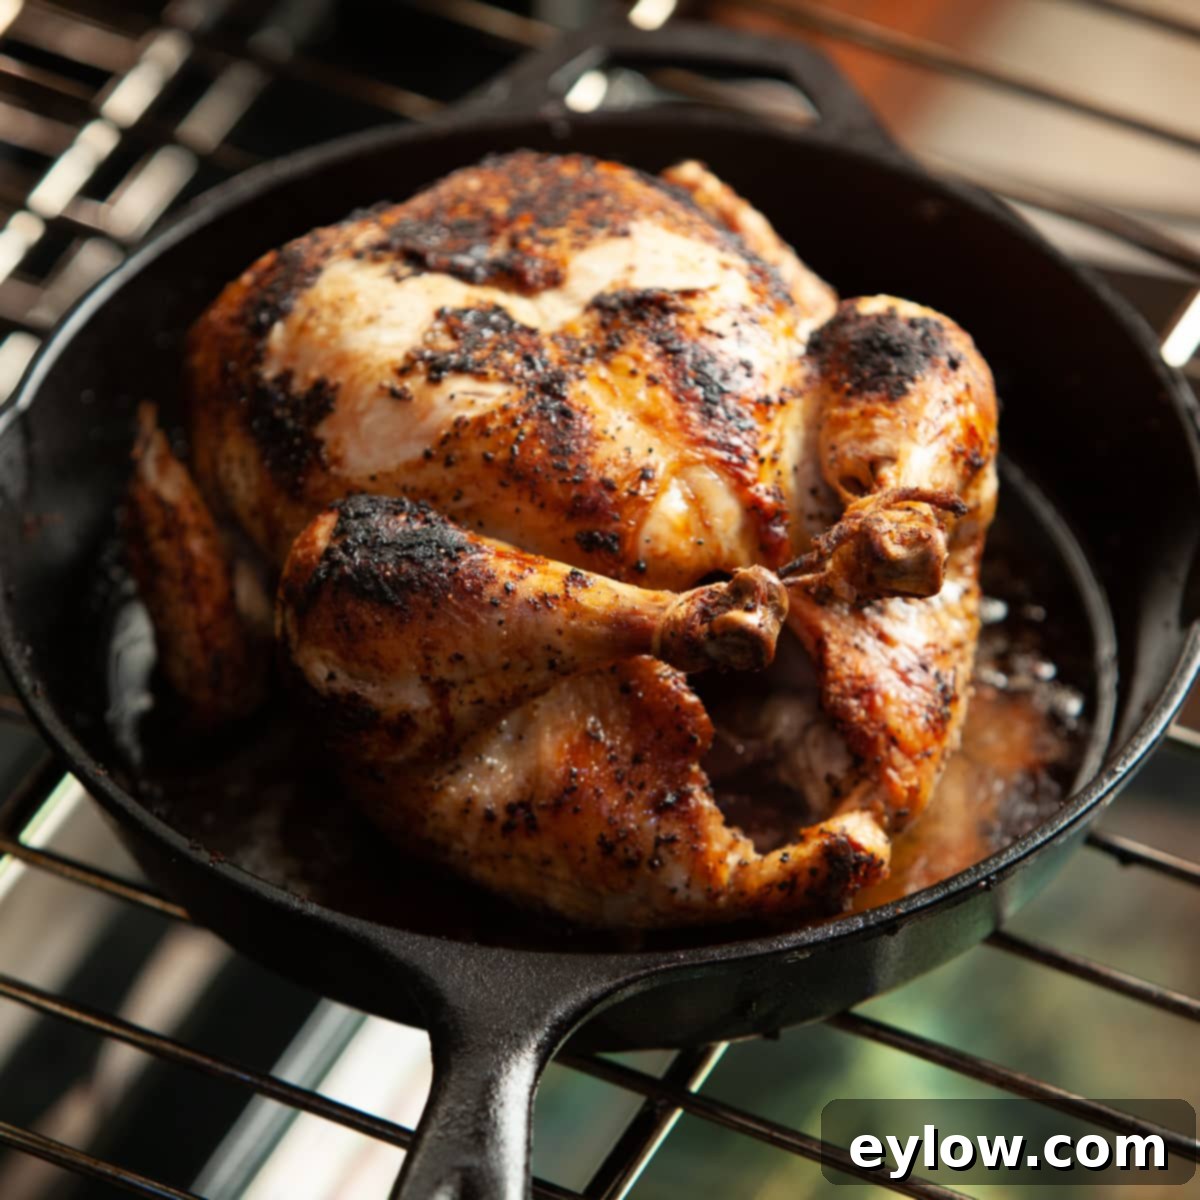
Mastering the Art of Whole Roast Chicken: Your Guide to Crispy Skin & Juicy Meat
There are few dishes as comforting and universally loved as a perfectly roasted whole chicken. It’s a culinary cornerstone, often serving as the star of a traditional Sunday dinner or a special family meal. Imagine: a golden-brown, irresistibly crisp skin encasing tender, succulent meat that practically falls off the bone. The classic simplicity of a whole roast chicken is not just a meal; it’s an experience, a tradition that brings warmth and flavor to any table.
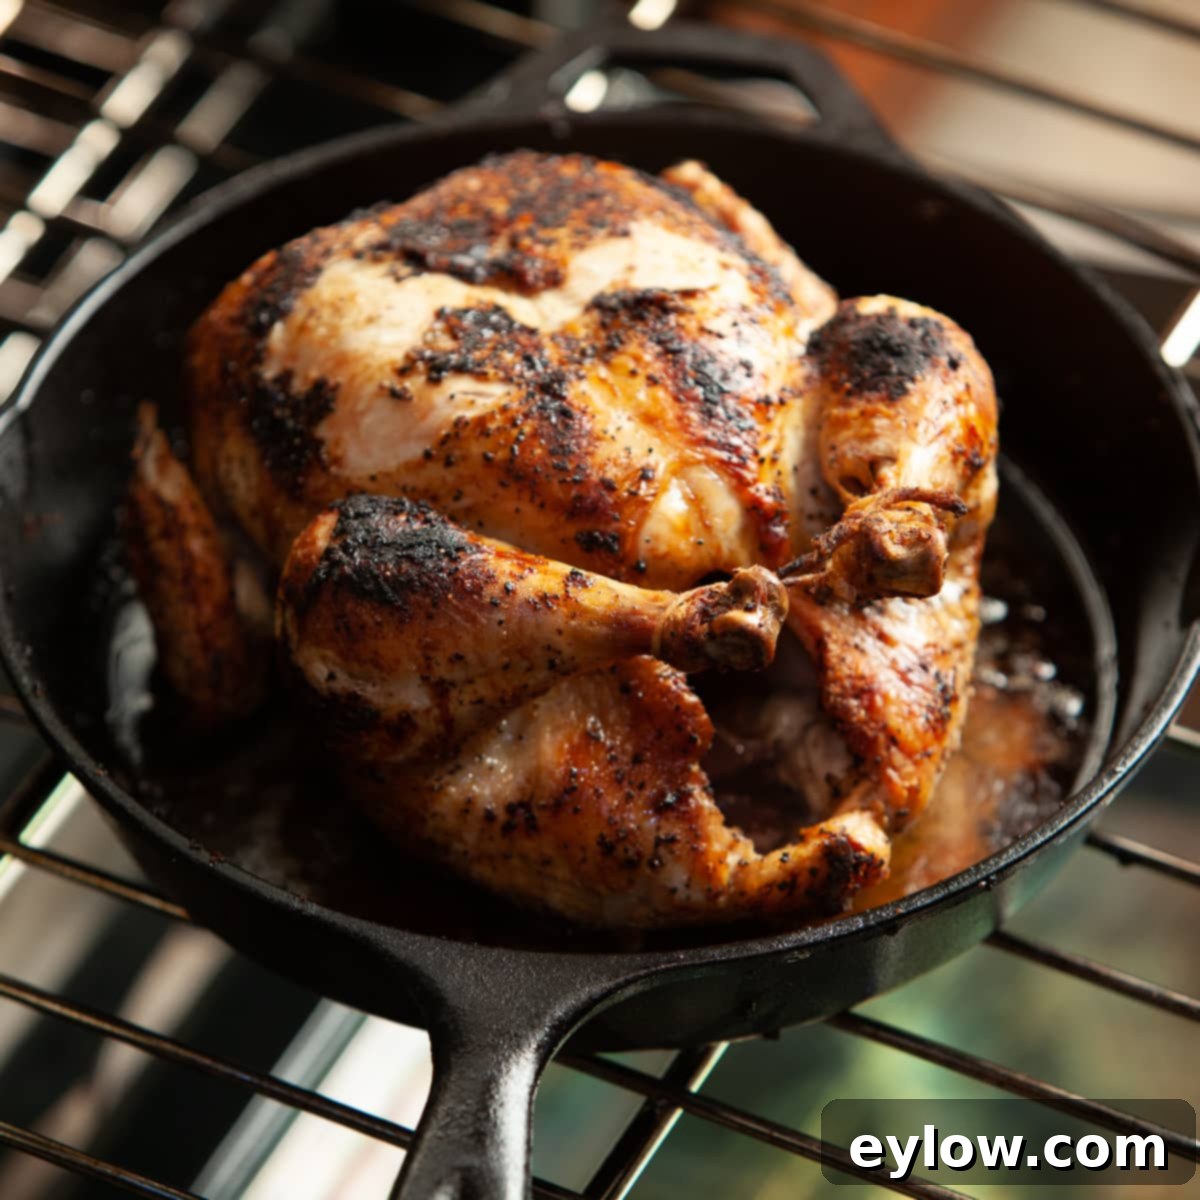
For many, roasting a whole chicken can seem daunting, a task reserved for experienced cooks. Perhaps you’ve tried various methods – using a V-rack, a vertical roaster, starting breast-side down, or experimenting with trussing. While many techniques yield a “good” roast chicken, achieving consistent, picture-perfect results with truly crispy skin and moist meat can be elusive. The key lies not just in the ingredients, but in the technique. I’ve explored countless approaches over the years, seeking that ideal balance of flavor, texture, and visual appeal. I’ve learned that consistency often comes from a less conventional, yet remarkably effective, method.
My preferred technique, which consistently delivers superior results, is inspired by top chefs and refined for the home kitchen: a two-stage process that begins with a stovetop sear before finishing in the oven. This method dramatically improves skin crispness and overall flavor, transforming your roast chicken from simply good to truly exceptional. It’s a game-changer that will elevate your cooking and impress your guests. Plus, any leftovers from this delicious bird can be repurposed into fantastic meals throughout the week, making it incredibly economical and versatile.
[feast_advanced_jump_to]
Why You’ll Love This Seared and Roasted Chicken Recipe
This method isn’t just another way to cook chicken; it’s a pathway to mastering a classic. Here’s why it stands out and why you’ll quickly make it your go-to:
- Unrivaled Crisp Skin: The stovetop searing step is the secret weapon for achieving that coveted, crackling, golden-brown skin. It renders the fat more effectively than oven-roasting alone, resulting in a texture that’s pure perfection. Say goodbye to flabby, pale skin and hello to a show-stopping crust.
- Consistently Juicy Meat: By starting with a high-heat sear and then finishing in a moderately hot oven, the chicken cooks more evenly. This technique helps to seal in the juices, preventing the breast meat from drying out while ensuring the dark meat is thoroughly cooked and tender.
- A Foundational Cooking Skill: Roasting a whole chicken is a fundamental culinary skill every home cook should master. Once you understand the principles behind this technique – the importance of preparation, proper searing, and temperature control – you won’t need to consult a recipe every time. It becomes intuitive, allowing you to adapt and innovate with different seasonings and flavors.
- Impressive Presentation: The deep golden crust achieved through searing makes for a stunning centerpiece. This chicken doesn’t just taste good; it looks spectacular, making it perfect for entertaining or simply elevating a weeknight meal.
- Versatile and Economical: A whole chicken is often more cost-effective than buying individual cuts. Plus, the possibilities for leftovers are endless, transforming into delicious sandwiches, salads, tacos, or soups, ensuring no part of this delicious bird goes to waste.
Essential Recipe Ingredients
Simplicity is key to great flavor. You don’t need a long list of exotic ingredients to achieve an outstanding roast chicken. Focus on quality and a few core components:
- Whole Chicken: The star of our dish. Opt for a fresh, good-quality whole chicken, ideally between 3.5 and 5 pounds (1.6 to 2.3 kg). Look for chickens that are plump and have a healthy skin color. While organic or free-range options can offer superior flavor, any fresh whole chicken will work wonderfully with this method. Consider the size relative to your skillet and oven capacity.
- Oil: A good quality oil with a high smoke point is crucial for searing. Extra virgin olive oil is my usual choice for its flavor, but you can also use a healthy neutral oil like avocado oil, grapeseed oil, or even a specialized cooking oil that boasts excellent heat stability. The goal is to facilitate browning without burning.
- Seasoning: While specific measurements are in the recipe card, a basic seasoning blend of coarse sea salt, freshly ground black pepper, and granulated garlic is highly recommended. You can also experiment with other spices like paprika, onion powder, dried herbs (thyme, rosemary), or even a pre-mixed poultry rub. The beauty of a classic roast chicken is its adaptability to various flavor profiles.
For measurements and detailed quantities, please refer to the comprehensive recipe card below. You will also need kitchen twine for trussing, which is a small but important step for even cooking and easier handling.
Step-by-Step Roasting Instructions
This technique, famously championed by chefs like Tom Colicchio, builds on the principle of searing meat before roasting – a method I consistently use for bone-in chicken breasts and various other meat dishes. It makes perfect sense for a whole bird, creating an incredibly flavorful and visually appealing crust.
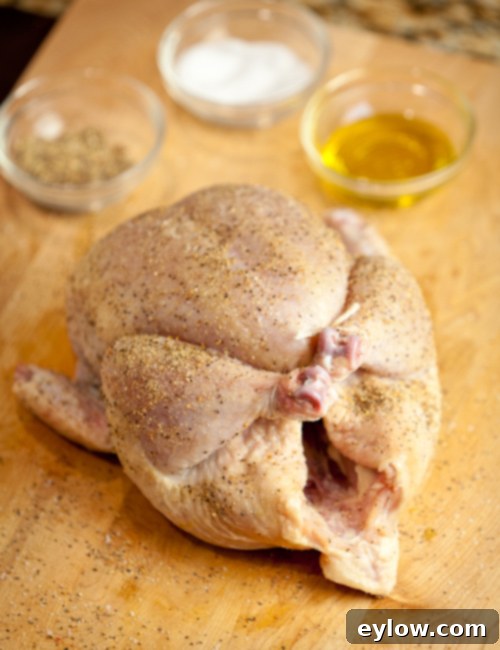
Step 1: Prep the Chicken for Roasting
Proper preparation is the foundation for a successful roast chicken. This isn’t just about cleanliness; it’s about achieving optimal texture and flavor:
- Bring to Room Temperature: Remove the whole chicken from the refrigerator at least one hour (and up to two hours) before you plan to cook it. Unwrap it and let it sit at room temperature. This isn’t just a food-safe practice; it’s crucial for even cooking. A cold bird will cook unevenly, potentially leaving some parts undercooked while others dry out.
- Clean and Trim: Inspect the chicken for any excess fat pockets, particularly around the cavity opening and the tail. These globs can be easily trimmed off and discarded. Locate and remove the bag of giblets and neck from inside the cavity; these can be saved for stock or gravy, or discarded.
- Pat Dry Thoroughly: This is a critical step for crispy skin. Use paper towels to pat the entire exterior of the chicken as dry as possible. Any moisture on the skin will steam rather than crisp, hindering that beautiful golden crust we’re aiming for. Don’t forget to wipe out the cavity with a paper towel as well.
- Season Liberally: Sprinkle a generous amount of salt inside the cavity. Then, drizzle your chosen oil over the entire exterior of the bird and rub it in evenly. Season generously with sea salt, freshly ground black pepper, and granulated garlic (or your preferred blend). Ensure all surfaces are coated for maximum flavor and browning.
- Truss the Chicken: Using kitchen twine, tie the legs together securely. Then, tuck the wing tips back under the body. Trussing helps the chicken maintain a compact shape, promoting more even cooking and making it easier to handle during the searing process. It also creates a more aesthetically pleasing final presentation.
Step 2: Sear the Chicken to Golden Perfection
This is where the magic begins – developing that incredible crispy skin and depth of flavor:
- Preheat Oven & Skillet: Preheat your oven to 375°F (190°C). Place a heavy-bottomed cast iron skillet (or an oven-safe, heavy-duty skillet) over medium-high heat on your stovetop. Allow the pan to heat sufficiently; a properly hot pan is essential for effective searing.
- Initial Sear (Bottom): Carefully place the seasoned chicken in the hot skillet, breast-side up (or bottom-side down, as mentioned in original text, though breast-side up is more common for initial placement in oven, so I’ll clarify for searing). Let’s go with breast-side down for the initial sear for a consistent gold on top later. Place the chicken breast-side down in the hot pan. Sear for several minutes, undisturbed, until a deep golden-brown crust forms. It’s crucial not to rush this step. Watch your heat carefully; if the chicken is browning too quickly or starting to burn, slightly reduce the heat.
- Sear the Breast: Once the breast side has a beautiful golden crust, carefully flip the chicken over so it’s now breast-side up. Sear this side for a few minutes until it also achieves a rich golden color. This ensures uniform browning across the most prominent part of the bird.
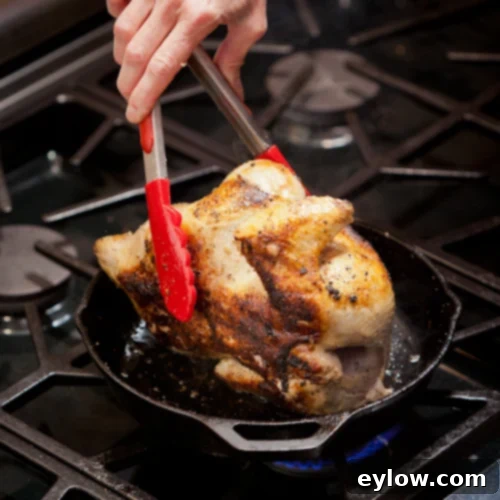
- Sear the Sides: Next, stand the chicken on its sides (resting on the wings or thighs) and sear each side until golden. This might feel a little awkward, but the trussing helps stabilize the bird. Using silicone-tipped tongs can make handling the hot chicken easier without tearing the delicate skin. This all-around sear builds maximum flavor and crispness.
Step 3: Roast the Chicken to Perfection
After the thorough searing, the chicken is ready to finish cooking in the oven, where the heat will circulate and gently bring it to the perfect internal temperature:
- Transfer to Oven: Once the chicken has a gorgeous, golden exterior from searing on all sides, ensure it is breast-side up in the cast iron pan. Carefully transfer the entire pan, with the chicken, into your preheated 375°F (190°C) oven. This seamless transition from stovetop to oven is part of what makes this method so effective.
- Monitor Internal Temperature: Roast the chicken until a reliable digital meat thermometer inserted into the deepest part of the thigh (without touching the bone) reads 165-175°F (74-79°C). For safety, 165°F is the minimum recommended temperature, but many chefs prefer to take chicken to 170-175°F for optimal texture, especially in the thigh, as it continues to cook during resting.
- Roasting Time: The exact roasting time will depend on the size of your chicken and your oven’s calibration. A 4 to 4 ½ pound (approximately 2 kg) chicken will typically take about 60 to 75 minutes in the oven after searing. For larger birds, adjust accordingly. Begin checking the temperature around the 45-minute mark.
Chef’s Tip for Searing: The trussing (tying the legs) is especially helpful during the searing process. It keeps the chicken’s shape compact and makes it more stable when you’re searing it on its sides. Don’t be afraid to manipulate the bird with confidence; you’ll quickly get the hang of it. I highly recommend using silicone-tipped tongs for this, as their soft edges won’t tear the beautifully crisping skin.
Step 4: Rest and Carve the Chicken
Resting is non-negotiable for juicy meat, and carving correctly ensures you get the most from your beautifully cooked bird:
- Rest the Chicken: Once the chicken reaches the desired internal temperature, remove it from the oven and transfer it to a clean cutting board or serving platter. Cover it loosely with foil and allow it to rest for at least 10-15 minutes (or even up to 20 minutes for a larger bird). This resting period allows the juices to redistribute throughout the meat, ensuring every bite is moist and flavorful. While the chicken rests, you can finalize your side dishes and salad.
- Carve with Confidence: To carve a whole chicken, begin by using a sturdy chef’s knife or French knife.
- Leg-Thigh Pieces: First, separate the leg-thigh pieces. Slice through the skin and meat between the breast and thigh joint. Pull the leg piece back until the joint is exposed and ‘pops’ slightly. This makes it easier to see where to cut directly above the joint to cleanly remove the entire leg-thigh section. You can then separate the drumstick from the thigh if desired.
- Wings: Next, remove the wings. Find the joint connecting the wing to the breast and cut through it.
- Breast Meat: To carve the breast, make a clean cut down the center of the breast bone. Then, run your knife along the rib cage, separating the breast meat from the bone in a single, clean piece. Repeat on the other side. You can then slice the breast meat against the grain for serving.
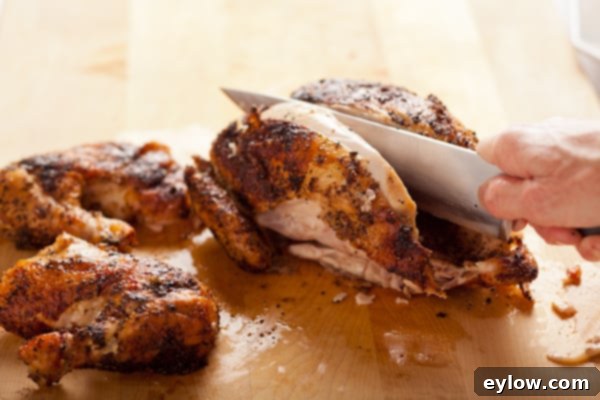
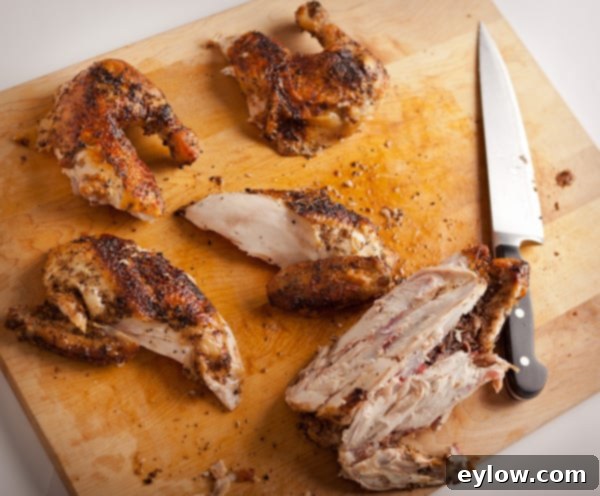
After the main meal, don’t let any of that delicious chicken go to waste! Pick off any remaining meat clinging to the carcass. This flavorful shredded chicken is perfect for an array of secondary meals: think quick chicken salads, savory tacos, cheesy quesadillas, or hearty soups. It’s an excellent way to extend the value and enjoyment of your roast chicken.
Thrifty Option: Save the Carcass for Broth
One of the greatest benefits of roasting a whole chicken is the flavorful carcass it leaves behind. This isn’t waste; it’s culinary gold!
After you’ve picked off all the usable meat, save the roast chicken carcass. You can freeze it in an airtight container or freezer bag. I typically collect 4-5 carcasses in my freezer before dedicating a day to making homemadechickenbroth. Homemade broth offers a depth of flavor far superior to store-bought varieties and is a fantastic base for soups, stews, risottos, and sauces. To save freezer space, use a heavy knife or poultry shears to break down the carcass into smaller, more manageable pieces before storing.
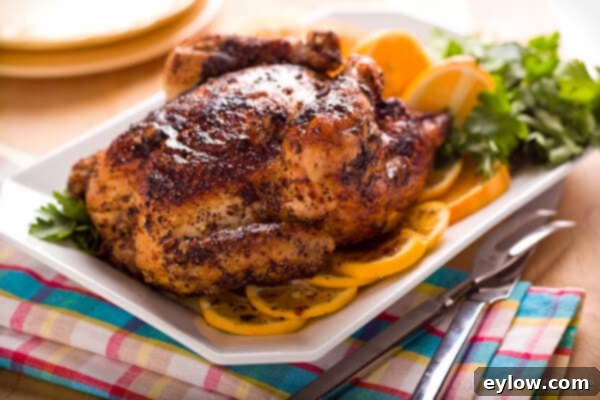
For those who enjoy outdoor cooking, this searing technique can also be adapted for a rotisserie chicken on the grill. If you have a grill with a rotisserie attachment, here is my detailed recipe for rotisserie chicken, which also benefits from an initial sear. And what better to serve alongside your perfectly roast chicken than a comforting side dish? I highly recommend creamy sour cream mashed potatoes – a classic pairing that complements the rich chicken beautifully.
📖 Recipe Card: How to Roast a Whole Chicken
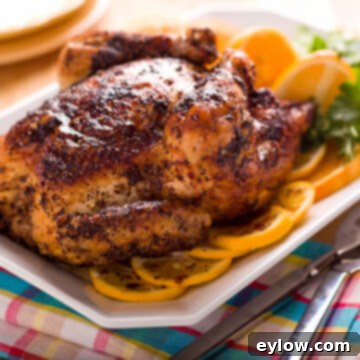
How to Roast a Whole Chicken
Authored by Sally Cameron
If you love chicken but have never mastered roasting a whole one, this easy stovetop-sear-then-oven-roast technique will give you a gloriously golden, crisp-skinned, and incredibly juicy bird every time. It’s a foundational recipe that’s perfect for Sunday dinner or any special occasion. Leftovers are fantastic for chicken salad, sandwiches, soup, tacos, or quesadillas. Don’t forget to save and freeze the carcass to make rich homemade chicken stock!
Equipment
- Cast iron pan
- Kitchen twine
Ingredients
- 4 ½ pound whole chicken
- 2 teaspoons extra virgin olive oil
- 1 ½ teaspoons sea salt
- 1 ½ teaspoons ground black pepper
- 1 teaspoon granulated garlic (optional)
Instructions
- Remove the chicken from the refrigerator, unwrap, and allow to stand for one hour at room temperature. Wash the chicken with cold water, discarding any packet of innards. Remove any extra fat globs around the cavity opening. Dry well with paper towels, inside and out, for crispier skin.
- Tie the chicken legs together with kitchen twine and tuck the wing tips under the body. Drizzle the chicken with olive oil and rub to coat. Season the chicken liberally with sea salt, ground black pepper, and granulated garlic (or your preferred seasoning blend).
- Pre-heat the oven to 375 degrees F (190 C). Heat a cast iron skillet over medium-high heat on the stovetop. Place the chicken breast-side down in the hot pan and sear for a few minutes until a golden crust forms. Watch the heat level and adjust down if needed to prevent burning. Flip the chicken breast-side up and sear until golden. Then, carefully stand the chicken on its sides and sear both sides until golden all around.
- Once the chicken has a beautiful golden exterior from searing, turn it breast-side up in the pan and place the pan directly into the preheated oven. Roast until a digital thermometer inserted into the deepest part of the thigh (without touching the bone) reads 165-175 degrees F (74-79 C). A 4 ½ pound (2 kilo) chicken will take approximately 60-75 minutes in a conventional oven, slightly less in a convection oven.
- Remove from oven and allow the chicken to rest for 10-15 minutes before carving. This allows juices to redistribute, ensuring moist meat. Carve and serve immediately.
Notes
- Refrigerate leftover chicken as soon as possible. Cooked chicken can be stored in an airtight container for 3-4 days.
- Freeze the chicken carcass to make homemade chicken stock later.
Nutrition
Carbohydrates: 1g
Protein: 46g
Fat: 39g
Saturated Fat: 11g
Polyunsaturated Fat: 8g
Monounsaturated Fat: 17g
Trans Fat: 0.2g
Cholesterol: 184mg
Sodium: 1044mg
Potassium: 482mg
Fiber: 0.3g
Sugar: 0.02g
Vitamin A: 347IU
Vitamin C: 4mg
Calcium: 31mg
Iron: 2mg
Let us know how it was with a comment and leave a star rating!
