Easy & Delicious Gluten-Free Crepes: A Classic French Recipe for Sweet & Savory Delights
Embark on a culinary journey to discover the exquisite taste of classic French crepes, now perfected for a gluten-free lifestyle! These incredibly thin, delightfully delicate pancakes are surprisingly simple to prepare, making them a fantastic addition to any home cook’s repertoire. Whether your palate craves a sweet indulgence or a savory sensation, these gluten-free crepes faithfully replicate the authentic deliciousness and tender texture of their traditional counterparts. They are not only a joy to make but also incredibly convenient, as they freeze beautifully, ready to be transformed into quick desserts, elegant breakfasts, or light, satisfying lunches at a moment’s notice. And for those who don’t follow a gluten-free diet, simply swap in regular all-purpose flour. Even a dairy-free option is readily available, ensuring everyone can enjoy this beloved treat.

My own love affair with crepes began amidst the charming street stands of Paris, where the aroma of freshly cooked crepes filled the air. Yet, an equally vivid memory is that of my first Crepe Suzette enjoyed at a quaint French restaurant in San Diego – a moment that solidified my affection for these versatile pancakes. Now, embracing a gluten-free diet, it was essential to adapt my cherished crepe recipe, and the result is truly spectacular. Making these gluten-free crepes is an enjoyable and effortless process, and I’m confident you’ll find yourself just as captivated as I am. With a few simple ingredients typically found in your pantry, you can create these delightful gluten-free French pancakes right in your own kitchen.
[feast_advanced_jump_to]
Why You’ll Love This Easy Gluten-Free Crepe Recipe
This gluten-free crepe recipe isn’t just a simple adaptation; it’s a culinary triumph that brings the joy of crepes to everyone. Here’s why this recipe will become a staple in your kitchen:
- Versatile for Any Meal: Whether you’re craving sweet crepes for a decadent dessert, a delightful breakfast, or a casual brunch, or prefer savory crepes for a satisfying lunch or dinner, this recipe delivers perfectly every time. The neutral base allows for endless filling possibilities.
- Excellent for Meal Prep: Save time and effort by preparing a batch of these gluten-free crepes in advance. They can be easily refrigerated for several days or frozen for up to four months, making them perfect for quick meals or unexpected guests. Just thaw and fill!
- Adaptable for All Diets: While specifically designed to be gluten-free, this recipe is incredibly forgiving. If gluten isn’t an issue for you, simply use regular all-purpose wheat flour, and the results will be just as fantastic. This makes it a go-to recipe for households with diverse dietary needs.
- Dairy-Free Friendly: Easily transform this recipe into a dairy-free delight. With simple substitutions like plant-based milk and butter, you can ensure everyone can indulge in these delicious crepes without compromising on taste or texture.
For another fantastic gluten-free breakfast or brunch option, be sure to try these golden crisp waffles.
Essential Ingredients for Perfect Gluten-Free Crepes
Crafting perfect gluten-free crepes requires just a handful of common ingredients. The beauty of this recipe lies in its simplicity and the ability to adapt it to various dietary needs without sacrificing flavor or texture. Here’s a closer look at what you’ll need:
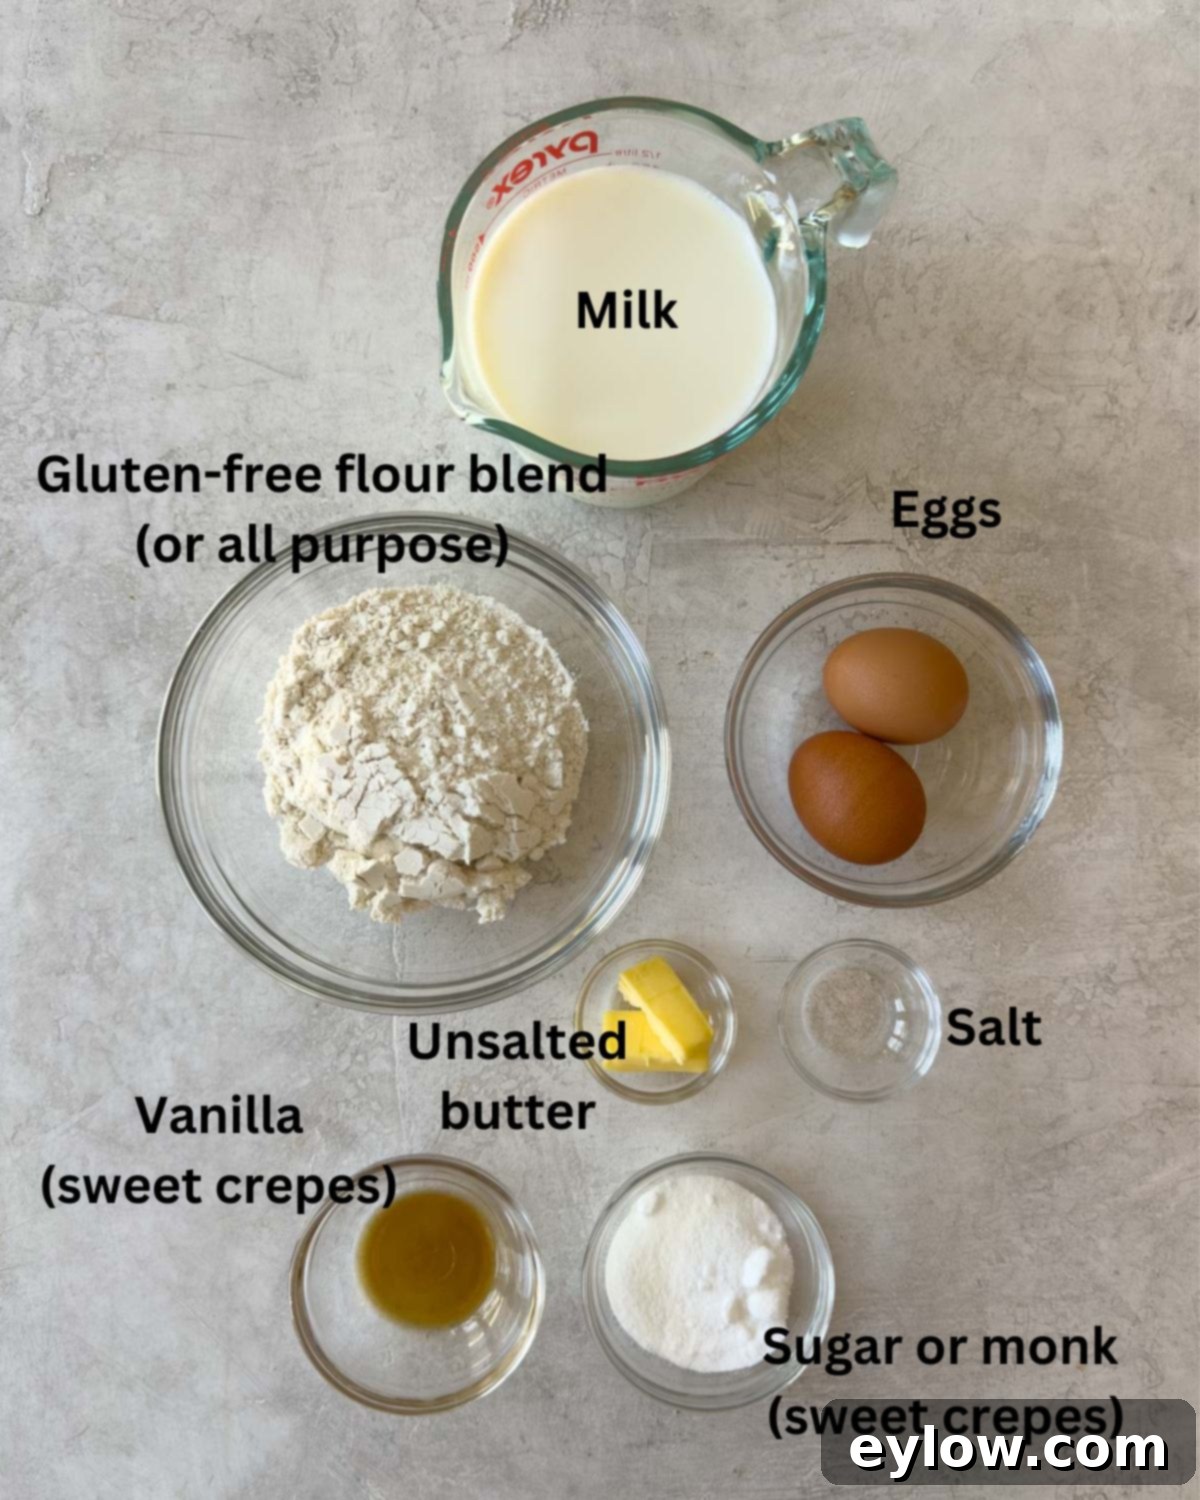
- Gluten-Free Flour Blend: This is the star ingredient for our gluten-free version. I highly recommend using a high-quality, all-purpose gluten-free flour blend. The right blend will ensure your crepes achieve that wonderfully delicate, thin texture. What’s truly remarkable about this recipe is how indistinguishable the gluten-free crepes are from traditional ones; many people won’t even realize they’re gluten-free! If gluten is not a concern, feel free to use standard all-purpose wheat flour for equally delicious results.
- Milk: The type of milk you use can influence the richness of your crepes. I typically use whatever I have on hand, which is usually low-fat milk, but whole milk will yield a slightly richer crepe. For a dairy-free option, plant-based milks like almond milk are excellent substitutes.
- Eggs: Large, fresh, un-cracked eggs are crucial for providing structure and richness to your crepe batter. They help bind the ingredients and contribute to the signature tender texture.
- Unsalted Butter: Butter adds a beautiful flavor and helps achieve a golden finish. I specifically recommend unsalted butter, especially for sweet crepes, as it gives you more control over the overall saltiness of the dish. For dairy-free crepes, plant-based butter alternatives work perfectly.
- Sugar: This ingredient is optional and primarily used for sweet, dessert-style crepes. To reduce the sugar content, I often opt for monk fruit sweetener, which provides sweetness without added calories. However, regular granulated sugar or superfine sugar can be used. Remember to omit sugar entirely when preparing savory crepes.
- Flavorings: For sweet crepes, a touch of vanilla extract adds a lovely aromatic depth, enhancing their dessert appeal. For savory crepes, vanilla should be omitted to maintain a neutral base for your fillings.
- Xanthan Gum (Optional): If your chosen gluten-free flour blend does not already contain xanthan gum, you might consider adding ½ teaspoon. Xanthan gum acts as a binder and thickener, mimicking the role of gluten in traditional flours, which is particularly beneficial for creating pliable and tear-resistant gluten-free crepes.
A small pinch of salt is also essential to balance the flavors; please refer to the complete recipe card below for precise measurements of all ingredients.
If you’re exploring other gluten-free pancake variations, give these hearty buckwheat pancakes a try – they are completely gluten-free and incredibly satisfying.
Chef’s notes on flours: For exceptional results, I often rely on King Arthur’s gluten-free flour blend, but other similar high-quality blends, such as Bob’s Red Mill, also perform wonderfully. As mentioned, if your chosen gluten-free blend does not list xanthan gum in its ingredients, adding about ½ a teaspoon can significantly improve the texture and elasticity of your crepes. It’s worth noting that I haven’t specifically tested this recipe with cornstarch-based gluten-free flours like Cup4Cup, so results may vary with those blends.
Creative Substitutions and Delicious Variations for Your Crepes
One of the many joys of making crepes is their incredible adaptability. This recipe serves as a perfect canvas for your culinary creativity, allowing you to tailor them to your taste preferences or dietary requirements. Here are some fantastic substitutions and variations to inspire you:
- Elevate Sweet Crepes with Extracts: Beyond classic vanilla, experiment with other flavor extracts. For a sophisticated twist, try substituting vanilla extract with almond extract in your dessert crepes, which pairs beautifully with berry or chocolate fillings.
- Zesty Lemon Crepes: Infuse your crepes with a bright, refreshing flavor by making lemon crepes. Simply add a tablespoon or two of fresh lemon zest and a squeeze of lemon juice to the batter. For a more floral note, a few drops of orange flower water can also be a delightful addition.
- Sugar-Free Options: For those monitoring their sugar intake, it’s easy to skip the added sugar in the recipe. Instead, you can use monk fruit or another preferred sugar substitute to achieve a sweet profile without the sugar.
- Perfect Dairy-Free Crepes: This recipe is easily converted to be entirely dairy-free. Replace dairy milk with your favorite dairy-free alternative, such as almond milk (which I’ve found works wonderfully). Additionally, use a high-quality plant-based butter instead of traditional butter. While I haven’t personally tested oat milk, it should also yield good results given its creamy texture.
- Savory Crepe Foundation: To create the ideal base for savory fillings, simply omit the vanilla extract and any added sugar from the batter. This results in a neutral-flavored crepe that perfectly complements a wide range of savory ingredients.
Essential Tools for Mastering Crepe Making
While making crepes might seem intimidating, it actually requires very few specialized tools. In fact, most of these items are versatile kitchen staples that you’ll use for many other culinary adventures. Investing in these inexpensive tools will make your crepe-making process smooth and enjoyable. Here’s a breakdown of what I use and recommend, along with practical alternatives:
- A Crepe Pan: The single most impactful tool for consistent crepes is a 10-inch non-stick crepe pan. These pans are typically very affordable (around $25) and are a worthwhile investment for crepe enthusiasts. What makes a true crepe pan ideal is its lightweight design and extremely low sides. This design allows for easy handling, enabling you to swiftly swirl the batter to achieve that perfectly thin, even coating across the pan’s bottom. The low sides also make flipping the delicate crepes much simpler. If you don’t have a dedicated crepe pan, a good quality 10-inch nonstick skillet can certainly work as an alternative; just be mindful that its higher sides might make flipping slightly trickier. Beyond crepes, these pans are excellent for cooking eggs, pancakes, and other flatbreads.
- A Mini Off-set Spatula: This small, inexpensive tool ($5) is a true kitchen workhorse. I find myself reaching for it constantly, not just for crepes, but for lifting cookies, spreading frosting, and more. For crepes, it’s invaluable for gently lifting the edges to check for doneness and loosening the crepe before flipping. If you don’t have one, a regular fork or a thin, flexible spatula can serve as an alternative, though the off-set design provides optimal leverage.
- Blender: Achieving a perfectly smooth, lump-free crepe batter is key to delicate crepes. While you can certainly mix the gluten-free crepe batter by hand in a medium bowl with a whisk, a quality blender makes the job significantly easier and more consistent. It quickly incorporates all ingredients, ensuring a silky batter with minimal effort. If mixing by hand, be sure to whisk very thoroughly until no lumps remain. As a safeguard, you can strain hand-whisked batter through a fine sieve to catch any stubborn lumps.
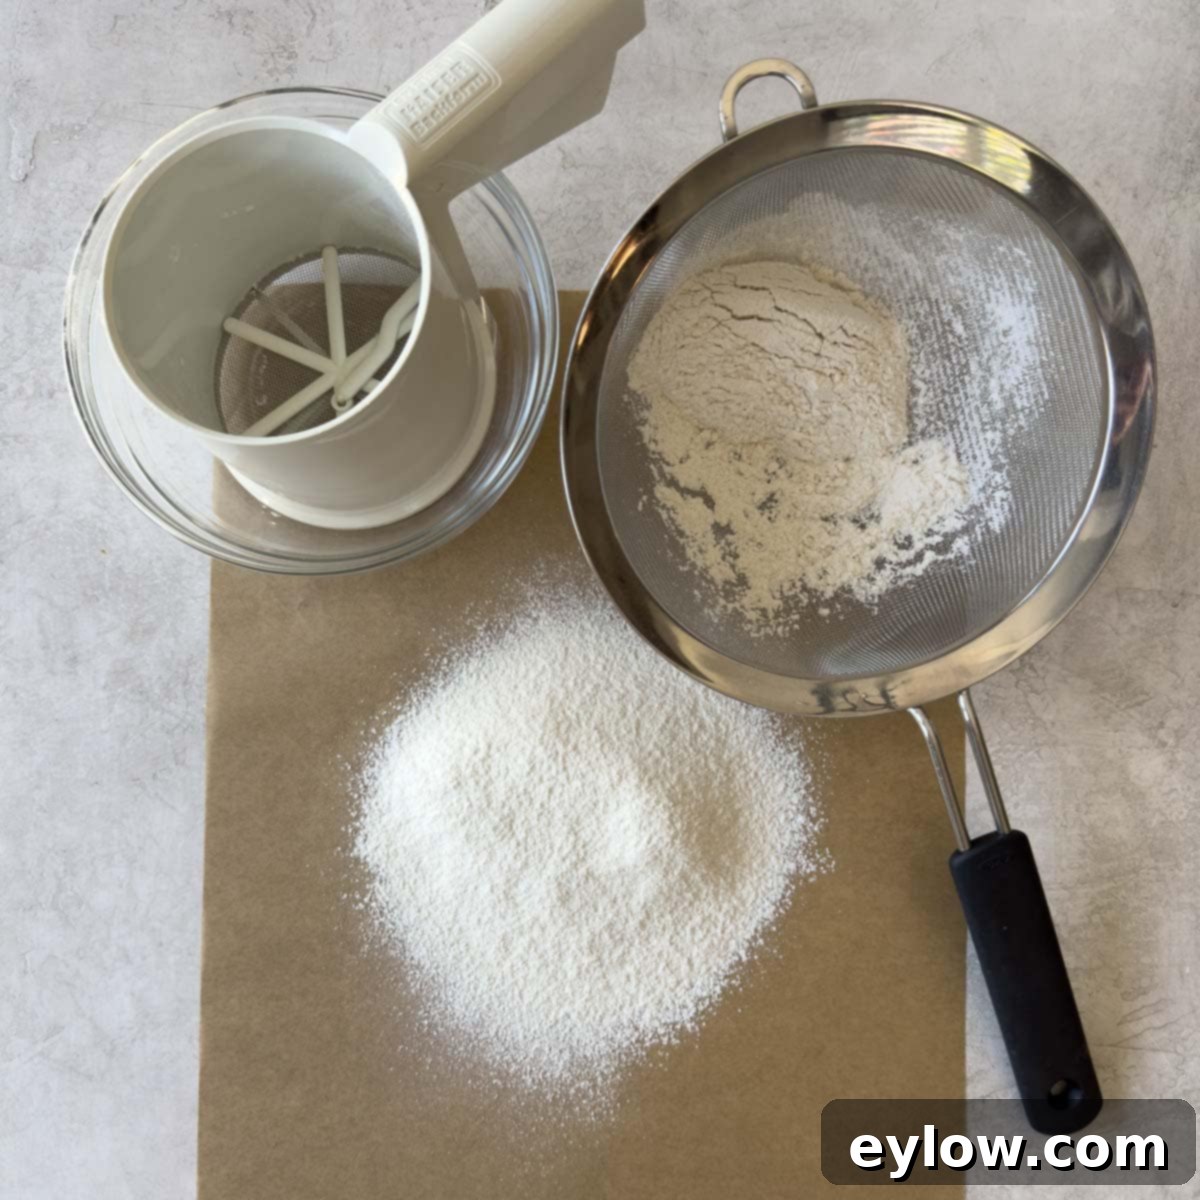
- Fine Sieve or Sifter: For the lightest, most uniform crepes, sifting your flour is a crucial step. A fine sieve ($15) is a fundamental kitchen tool every cook should possess, serving countless purposes from sifting dry ingredients to straining liquids. For flour, sifting helps to aerate it and remove any clumps, leading to a smoother batter and more delicate crepes. Alternatively, an old-fashioned flour sifter ($20) is also an excellent option, especially if you enjoy baking, as it can be faster for larger quantities of flour. Both tools are widely available at kitchen supply stores, department stores, and online retailers.
- Parchment Paper: When preparing crepes in advance, 9-inch parchment rounds ($11) are incredibly handy for layering between cooked and cooled crepes. This prevents them from sticking together and makes them much easier to separate later. You can also use parchment squares or wax paper, trimming them to fit your crepes. The pre-cut rounds are particularly convenient and can also be used to line cake pans or springform pans, making a single package last a long time.
Step-by-Step Guide: How to Make Perfect Gluten-Free Crepes
Making delicious gluten-free crepes is a straightforward process, and with a little practice, you’ll be swirling and flipping like a pro in no time! I’ve experimented with batter quantities and found that using ¼ cup of batter yields incredibly thin crepes, while ⅓ cup produces slightly sturdier, yet still wonderfully delicate, crepes. Both methods result in delicious crepes, so choose what suits your preference!
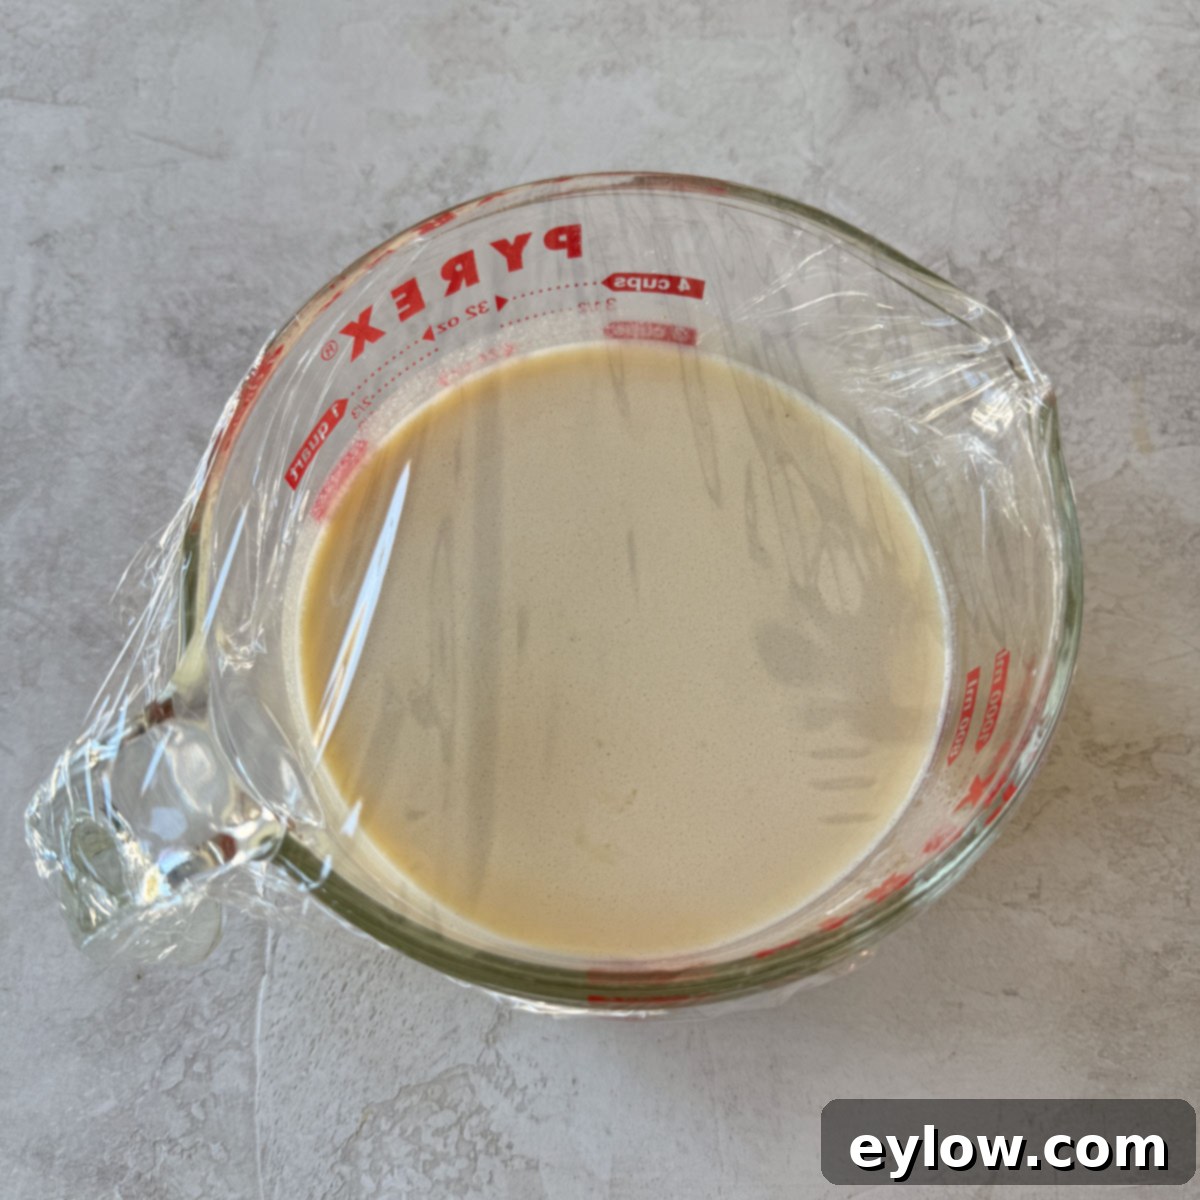
Chef’s tip: Why is resting the batter essential? Resting the crepe batter significantly improves the final texture and flavor of your crepes. This crucial step allows the gluten-free flour to fully hydrate, ensuring a more uniform and pliable batter. It also gives any air bubbles introduced during blending a chance to dissipate, resulting in smoother, more delicate crepes that are less prone to tearing. Furthermore, resting allows the flavors to meld beautifully. Aim for a minimum resting time of 1 hour. You can even prepare the batter up to 2 days in advance; just whisk it thoroughly to reincorporate ingredients before cooking. I also recommend taking the batter out of the refrigerator about 15-30 minutes before cooking to allow it to come closer to room temperature, which helps in spreading evenly.
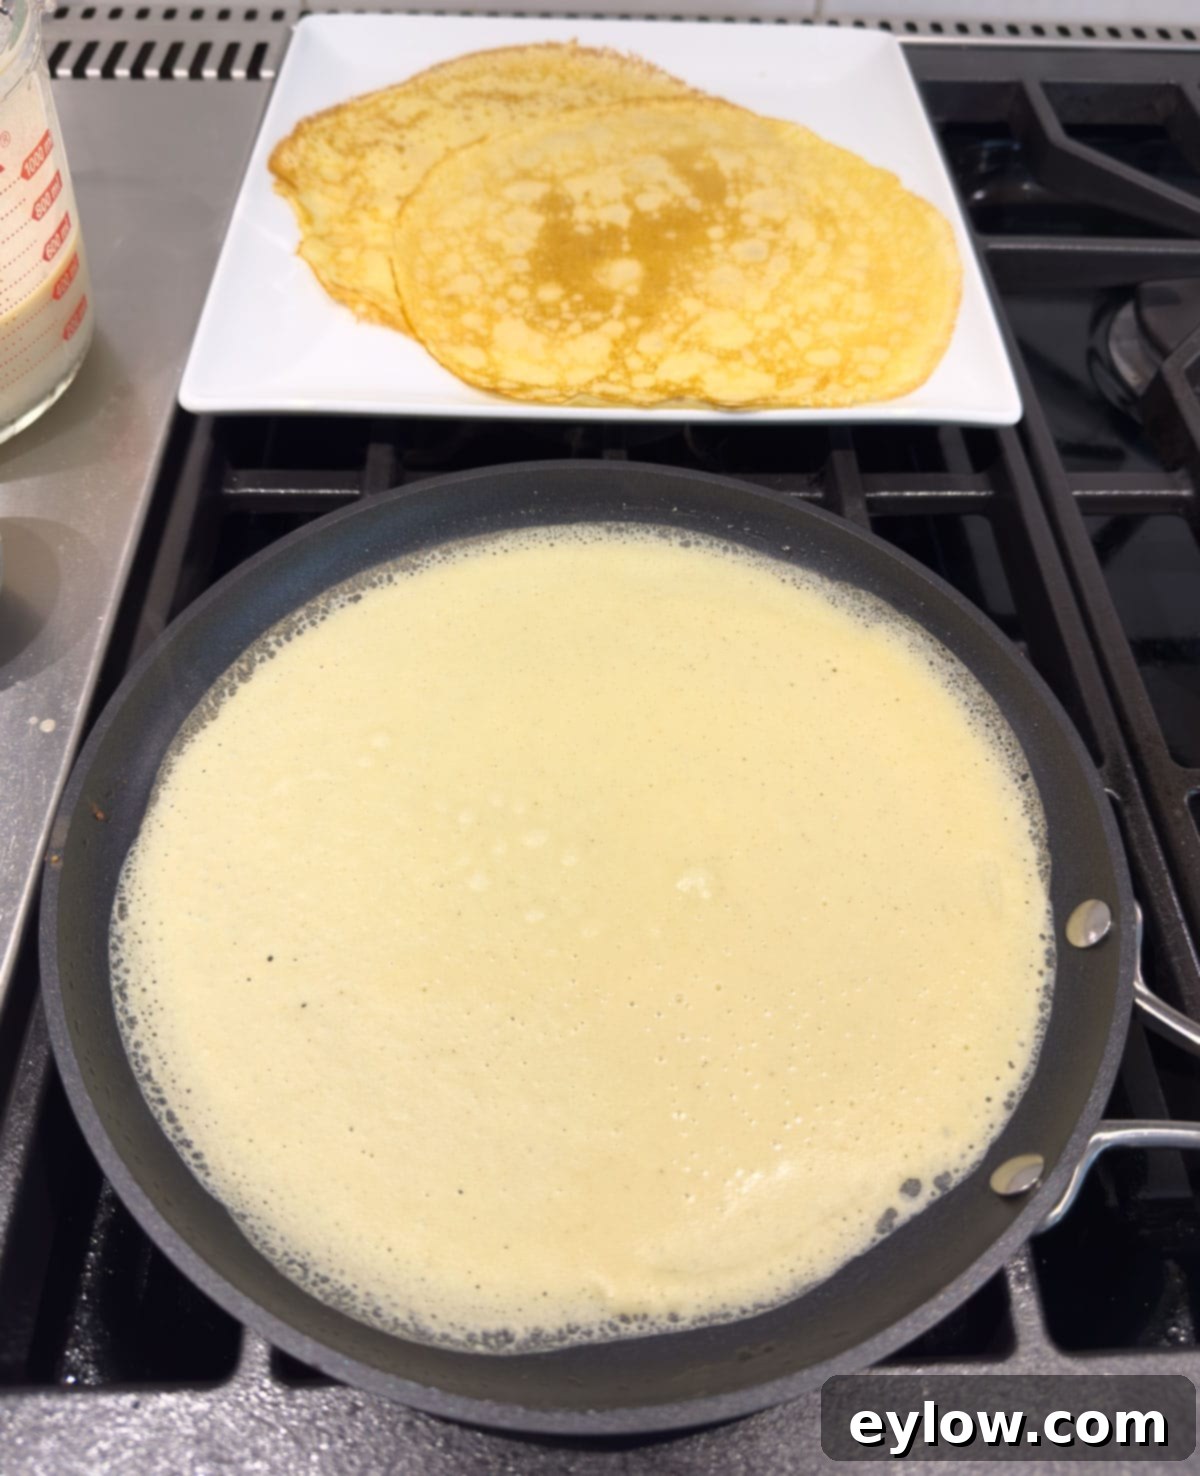
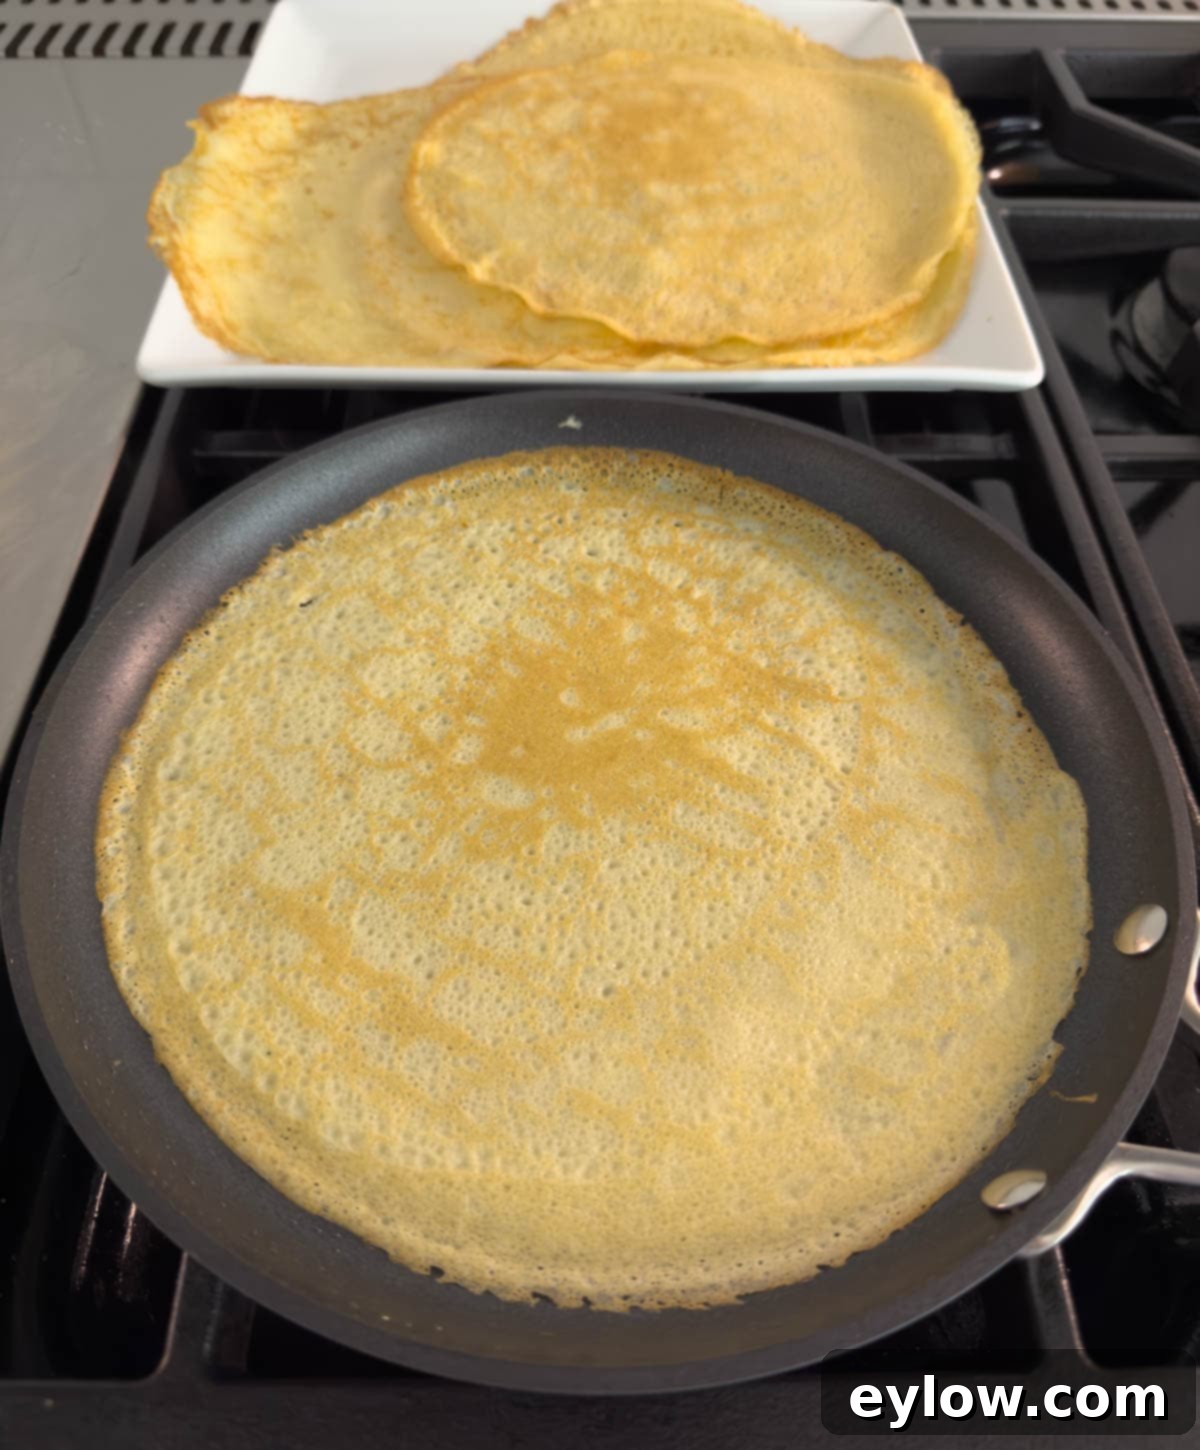
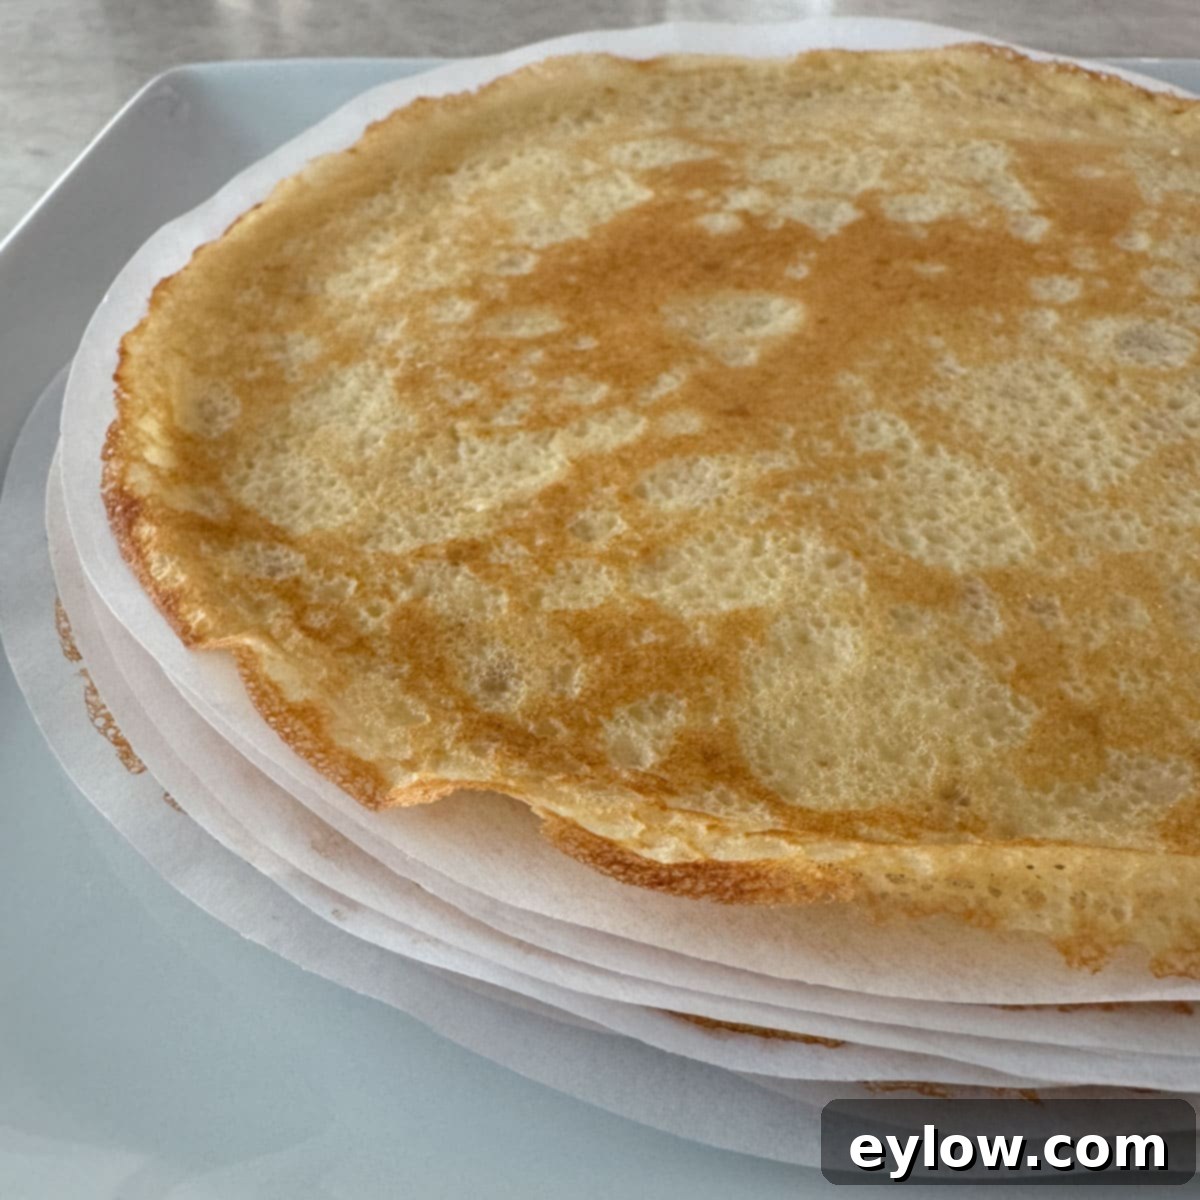
Once your gluten-free crepes have cooled completely, wrap the stack tightly in plastic film, then place them in a zip-style freezer bag. They can be refrigerated for 3-4 days or frozen for up to 4 months. Always remember to label and date your packages for easy tracking.
Chef’s tip: Handling frozen crepes with care. Frozen crepes can be quite delicate and prone to tearing until they are fully thawed. For best results, transfer the desired number of frozen gluten-free crepes to the refrigerator overnight to thaw slowly and completely. Once thawed, handle them very gently when unwrapping and separating the layers. The parchment or wax paper layers are truly invaluable here, providing crucial protection against tearing during the thawing and separation process.
Creative Serving Suggestions for Sweet & Savory Gluten-Free Crepes
Crepes are wonderfully versatile, offering a canvas for countless delicious fillings and toppings. While the simple “crêpe au sucre” (a crepe brushed with melted butter and sprinkled with granulated sugar) remains a timeless French favorite, closely followed by crepes filled with Nutella, the possibilities are truly endless. A basic yet delightful way to serve crepes is simply topped with your favorite fruit jam or fresh seasonal fruit, finished with a dusting of powdered sugar. For a zero-sugar option, try powdered monk fruit sweetener.
Irresistible Sweet Crepe Ideas
Unleash your imagination when it comes to sweet fillings for your gluten-free crepes. Here are some delectable ideas:
- Classic Whipped Cream: Fill your crepes with lightly sweetened whipped cream, perhaps infused with a hint of vanilla (known as chantilly cream).
- Ricotta Dream: Whip ricotta cheese with a touch of honey or maple syrup for a creamy, subtly sweet filling that pairs beautifully with fresh berries.
- Creamy Cottage Cheese: For a unique twist, blend cottage cheese in a food processor until smooth, then sweeten it to your liking. It offers a wonderful texture and protein boost.
- Fruit Sauces & Syrups: A generous drizzle of pure maple syrup is perfect for breakfast. For an elegant dessert, consider a vibrant strawberry coulis or a mixed berry sauce.
- Chocolate Indulgence: Spread a thin layer of Nutella, chocolate ganache, or a simple chocolate syrup. Add sliced bananas or strawberries for an extra treat.
- Nutty Flavors: Peanut butter or almond butter spreads, optionally with a sprinkle of chopped nuts, offer a hearty sweet option.
When entertaining, I often present a platter of crepes with an assortment of jams, fresh berries, and a bowl of whipped cream, allowing guests to customize their own. It’s a surefire way to end any meal on a high note!
For a warm and comforting topping that works equally well for breakfast or dessert, try this easy cinnamon apple compote.
Hearty Savory Crepe Ideas
Don’t limit crepes to just sweets! Savory crepes make for incredibly satisfying breakfasts, lunches, or dinners. Here are some savory filling ideas:
- Breakfast Staples: For a delightful breakfast, fill crepes with softly scrambled eggs and a sprinkle of your favorite cheese (cheddar, Gruyere, or Swiss work well). Add cooked ham or bacon for extra flavor.
- Creamy Chicken or Mushroom: Transform crepes into an elegant dinner by filling them with a rich, creamy chicken or mushroom ragout.
- Spinach & Cheese: Creamed spinach with a touch of Parmesan is another classic and delicious savory filling.
- French-Inspired Classics: A charming French restaurant near my home serves buckwheat crepes (this recipe can be adapted for buckwheat flour) filled with slices of savory ham, topped with a perfectly poached egg, and melted cheese – always a true treat.
- Roasted Vegetable Medley: For a lighter, vegetarian option, fill crepes with roasted seasonal vegetables. This roasted vegetable ratatouille, another wonderful French-inspired dish, makes an excellent and flavorful filling.
- Smoked Salmon & Cream Cheese: A luxurious option featuring smoked salmon, dill, and a thin layer of cream cheese.
Common Questions About Making Gluten-Free Crepes
Below are some frequently asked questions to help you perfect your gluten-free crepe making experience.
Achieving a perfectly smooth, lump-free crepe batter is crucial for delicate crepes. The most effective method is to use a blender on a low speed. A blender quickly emulsifies the ingredients, resulting in a silky consistency. If you’re mixing by hand, whisk the batter very vigorously until all lumps disappear. As an extra measure, especially with gluten-free flours that can be prone to clumping, consider sifting your flour before adding it to the wet ingredients. If you still notice any stubborn lumps after whisking, straining the batter through a fine sieve before resting can ensure a perfectly smooth finish.
Yes, allowing the crepe batter to rest is a highly recommended and crucial step for the best results, particularly with gluten-free crepes. After mixing, cover the batter and refrigerate it for at least 30-60 minutes (or even longer, up to 2 days). This resting period allows the flour to fully hydrate, which is essential for developing a more pliable and delicate crepe. It also gives any air bubbles created during blending time to dissipate, leading to smoother crepes that are less likely to tear during cooking and flipping. Hydration also improves the overall flavor and texture.
While it’s possible to make crepes in a good quality non-stick frying pan or even a well-seasoned carbon steel pan, a dedicated non-stick crepe pan is truly ideal. These pans are specifically designed with shallow, gently sloped sides, which makes it incredibly easy to lift, loosen, and flip the delicate crepes without tearing them. Furthermore, crepe pans are often lightweight, allowing you to comfortably swirl the batter to achieve a perfectly thin and even coating across the bottom. The great news is that good non-stick crepe pans are typically inexpensive, making them a worthwhile investment if you frequently enjoy crepes. They simplify the cooking process significantly, encouraging you to make and enjoy crepes more often!
Absolutely! Crepes are an excellent make-ahead dish, perfect for simplifying meal prep. Once cooked, allow the crepes to cool completely. Then, stack them with a piece of parchment paper or wax paper between each crepe to prevent sticking. Wrap the entire stack tightly in plastic film and refrigerate them for up to 3-4 days.
For longer storage, you can freeze crepes. After stacking them with parchment, wrap the stack thoroughly in several layers of plastic wrap, then place them in a freezer-safe zip-style bag. Label and date the package; frozen crepes will keep well for up to 2 months. To thaw, simply transfer the frozen stack to the refrigerator overnight. Once completely thawed, gently unwrap and separate the crepes, then fill them with your desired sweet or savory options.
Explore More Delicious Recipes
Enhance your gluten-free crepes with these fantastic recipes that work perfectly as toppings or delightful accompaniments. Whether you’re planning a fall brunch or a spring dessert, these additions are versatile for any occasion. For a savory breakfast, consider topping folded crepes with perfectly poached eggs and delicate slices of prosciutto.
Dive into our collection of other tempting breakfast recipes and dessert recipes to inspire your next culinary creation.
- Easy Cinnamon Apple Compote Recipe
- Fast and Fresh Strawberry Coulis
- Healthy Fruit Salad Recipe
⭐️ Did You Make This Recipe?
I’d love to hear about your experience making these delicious gluten-free crepes! Please share your thoughts by adding a comment below. Your feedback is greatly appreciated, and I always enjoy hearing from you. If you absolutely loved this recipe, please consider giving it a 5-star rating! Your ratings truly help other readers discover and enjoy this recipe too.
📖 Recipe

Gluten-Free Crepes
Sally Cameron
Pin Recipe
Equipment
-
10″ non-stick crepe pan or a non-stick fry pan
-
blender
-
Sifter or fine sieve
-
Mini off-set spatula or a fork
-
Small pastry brush optional, but it simplifies buttering the pan
Ingredients
- 1 cup gluten-free flour blend or regular all-purpose wheat flour
- 2 cups milk low-fat, whole milk, or a plant-based milk
- 2 large eggs
- 2 tablespoons granulated sugar or monk fruit sweetener, for sweet crepes only (omit for savory)
- ¾ teaspoon vanilla extract for sweet crepes only
- 1 pinch salt
- 1 tablespoon unsalted butter or plant butter, melted, for cooking
Instructions
Prepare the Crepe Batter
-
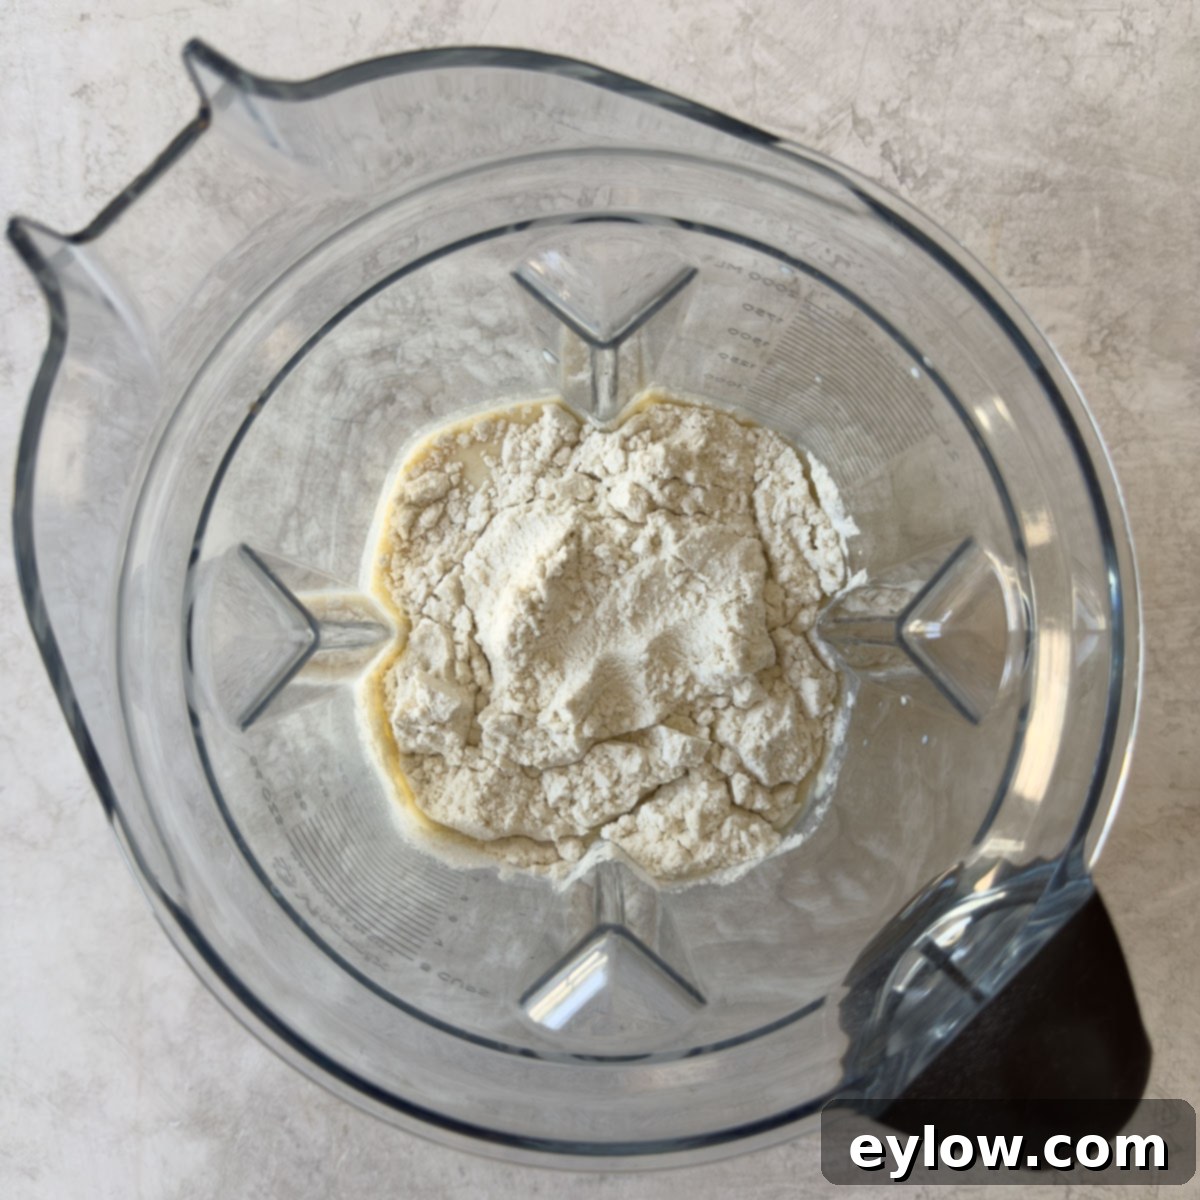
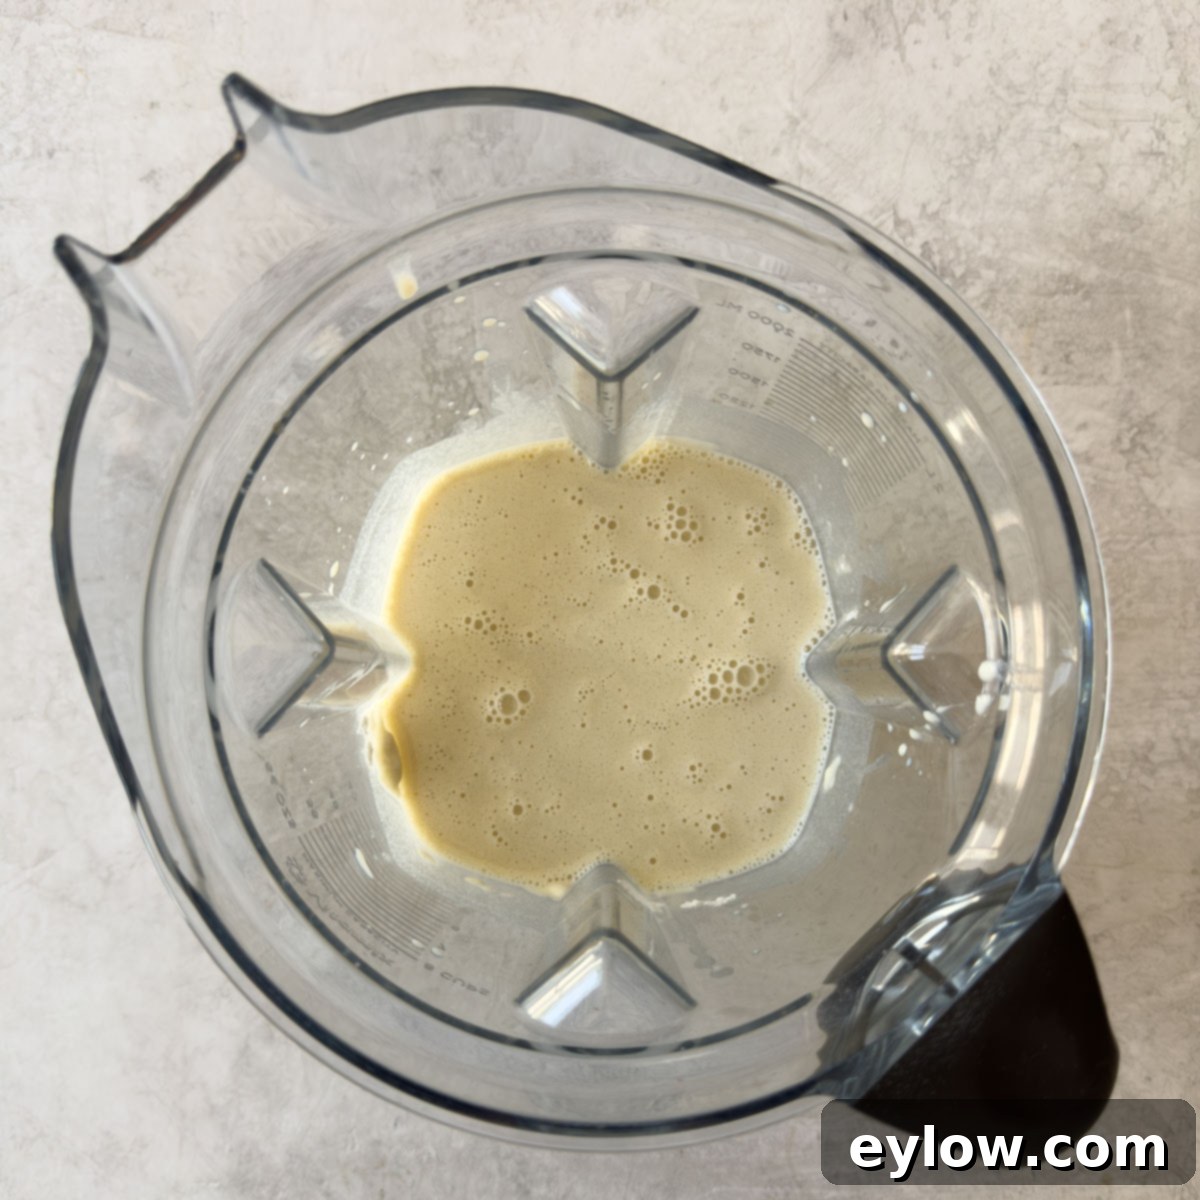
Begin by sifting your chosen flour onto a sheet of wax paper or parchment paper to ensure it’s light and free of clumps. Next, in your blender, combine the milk, the sifted flour, eggs, sugar (or monk fruit for sweet crepes), vanilla extract (for sweet crepes), and a pinch of salt. Blend these ingredients on low speed for approximately 45 seconds, just until the batter is thoroughly smooth. Avoid using high speed, which can incorporate too much air.
Once blended, pour the crepe batter into an airtight container, cover it, and refrigerate for a minimum of 1 hour, or up to 2 days. This resting period is essential for the flour to fully hydrate and for the batter to develop the ideal consistency.
Note: For savory crepes, remember to omit both the sugar and the vanilla extract from the batter.
Cook the Crepes
-
If your crepe batter has been resting in the refrigerator for several hours or up to two days, give it a good whisk to re-incorporate any settled ingredients, ensuring a smooth and consistent batter before cooking.
-
Melt the butter in a small microwave-safe bowl. Place your crepe pan over medium heat until it’s adequately hot, then reduce the heat slightly to medium-low. Using a pastry brush, lightly coat the pan surface with a small amount of melted butter; it should sizzle gently.
Pour in approximately ⅓ cup of batter (or ¼ cup for extra-thin crepes) and immediately lift the pan, gently swirling it in a circular motion to ensure the batter evenly coats the entire bottom surface. Don’t worry if your very first crepe isn’t perfectly round or beautiful – it will still taste delicious!
-
Cook the first side of the crepe for about 60 seconds. Carefully lift an edge to check if it has turned a light golden brown and appears set. Then, using your fingers (being mindful of the heat) or a mini off-set spatula, gently pick up the crepe and swiftly turn it over to cook the second side. Lightly shake the pan to re-center the crepe if needed. Continue cooking for approximately 30-45 seconds longer, until lightly golden. If the crepes are browning too quickly, slightly lower the heat. Once cooked, gently slide the finished crepe out of the pan onto a flat plate.
Repeat this process for the remaining batter, brushing the pan with a very small amount of melted butter between each crepe. Stack the cooked crepes as you go.
-
Once all crepes are made, you can fold them into quarters and serve immediately with your favorite toppings and fillings. Alternatively, prepare them for refrigeration or freezing.
To store, layer the cooled crepes between pieces of parchment or wax paper, then wrap the stack tightly in plastic film. They will keep fresh in the refrigerator for 3-4 days. For longer storage, freeze the wrapped stack for up to two months. Always remember to label and date the package clearly. To thaw, simply transfer the frozen crepes to the refrigerator overnight.
Notes
When handling frozen crepes, it’s important to remember that they are quite fragile until completely thawed. To prevent tearing, allow them to thaw thoroughly in the refrigerator overnight. Separating them will be much easier if they were layered with parchment paper before freezing.
