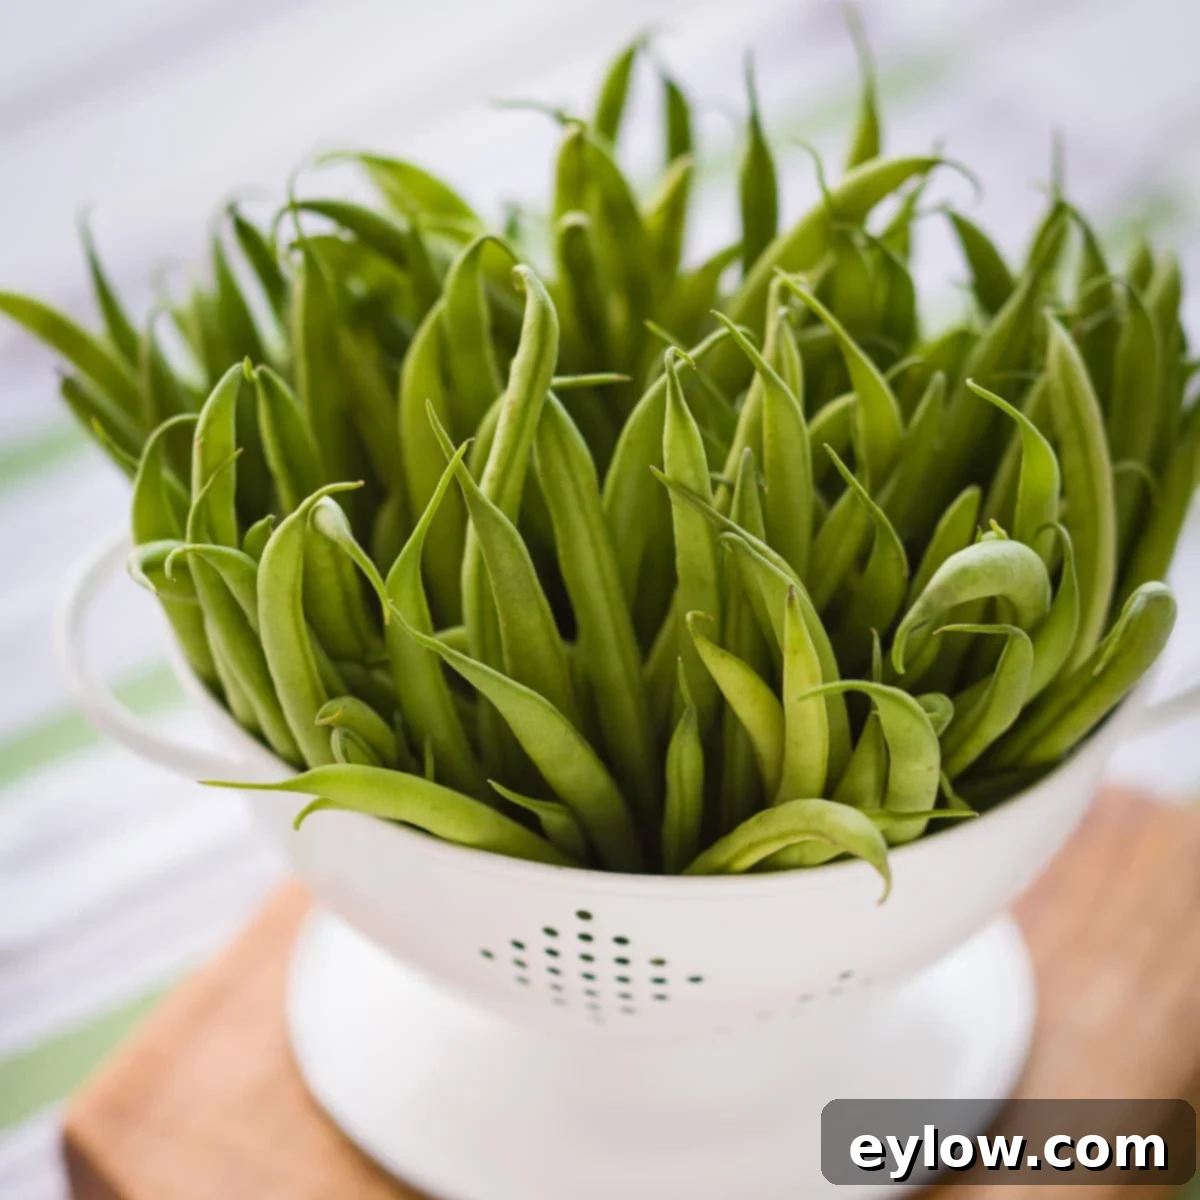
How to Blanch Green Beans: Achieve Perfect Crisp-Tender Texture and Vibrant Color Every Time
Blanching green beans is an indispensable cooking technique that every home cook should master. In just a few swift minutes, this simple method performs culinary magic, locking in their vibrant green color, ensuring a delightfully crisp-tender texture, and significantly enhancing their fresh, natural flavor. Whether you’re preparing them for a refreshing salad, a quick sauté, a simple yet elegant side dish, or planning to freeze them for future enjoyment, blanching guarantees perfectly cooked green beans with consistent results. Let’s delve into the art and science of blanching to elevate your green bean game.
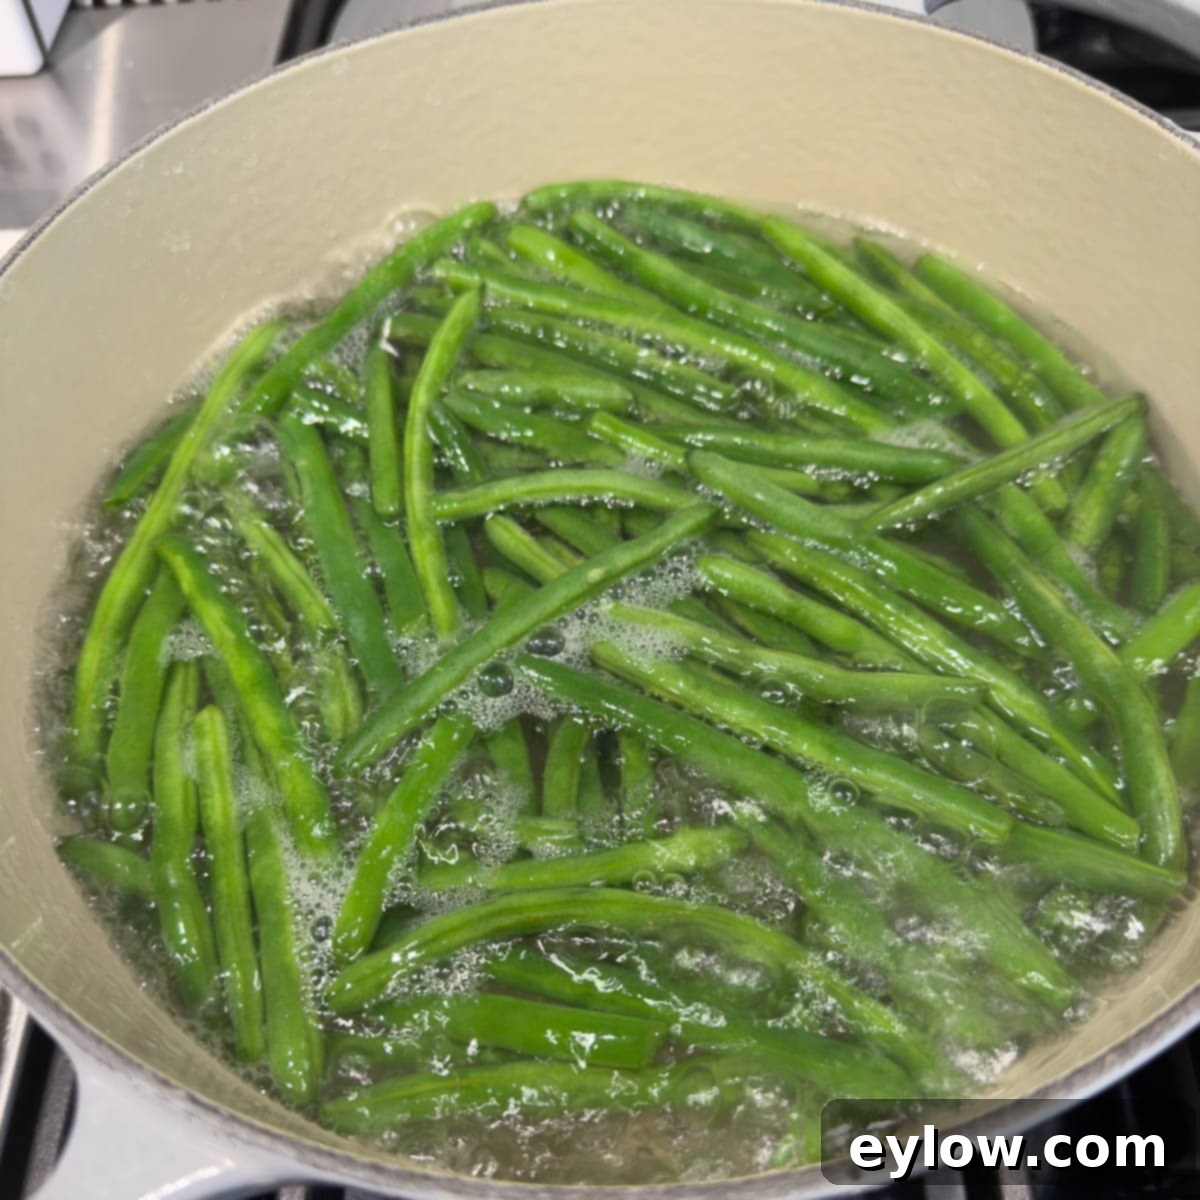
Blanching is fundamentally defined as briefly cooking a vegetable – typically for 1 to 2 minutes – in boiling water, immediately followed by “shocking” it in an ice bath. This crucial ice bath step rapidly halts the cooking process, preserving the vegetable’s desired attributes. The precise blanching time can vary based on your intended use for the green beans; for instance, if they will be frozen for long-term storage, refrigerated for a recipe later in the week, or served hot right away. For a softer, fully tender result, you can extend the blanching time up to 5 minutes, allowing them to be served immediately while hot, bypassing the ice bath if desired.
[feast_advanced_jump_to]
Why Mastering the Blanching Technique for Green Beans is a Game-Changer
Blanching green beans isn’t just another cooking step; it’s a technique that unlocks a world of benefits for fresh vegetables. Here’s why you’ll want to make it a regular part of your cooking repertoire:
- Vibrant Color Preservation: The most noticeable benefit is how blanching locks in that beautiful, bright green hue. It intensifies the chlorophyll in the beans, making them visually appealing in any dish.
- Perfect Crisp-Tender Texture: Say goodbye to soggy or overly crunchy green beans. Blanching achieves that ideal “al dente” texture – tender enough to eat comfortably, yet still offering a satisfying bite.
- Enhanced Fresh Flavor: This brief cooking process awakens and sweetens the natural flavor of the green beans, often reducing any raw, grassy notes. The seasoned blanching water subtly infuses them with taste.
- Versatility for Various Recipes: Blanched green beans are incredibly versatile. They are perfectly prepped for salads, stir-fries, sautés, casseroles, or simply as a standalone side dish.
- Essential for Freezing: If you love to preserve fresh produce, blanching is a non-negotiable step before freezing. It deactivates enzymes that cause spoilage, ensuring your frozen green beans retain their quality, color, and texture for months.
- Quick Weeknight Side Dishes: Having blanched green beans on hand (either fresh from the fridge or quickly thawed from the freezer) means you can whip up a healthy and delicious side dish in minutes.
- Nutrient Retention: While cooking can sometimes diminish nutrients, the quick nature of blanching minimizes vitamin and mineral loss compared to longer cooking methods.
For a classic green bean recipe that highlights their fresh taste, try green beans almondine, a delicious pairing with toasted almonds.
Essential Ingredients for Blanching Green Beans
Blanching is wonderfully minimalist, requiring just two key ingredients to transform your fresh produce:
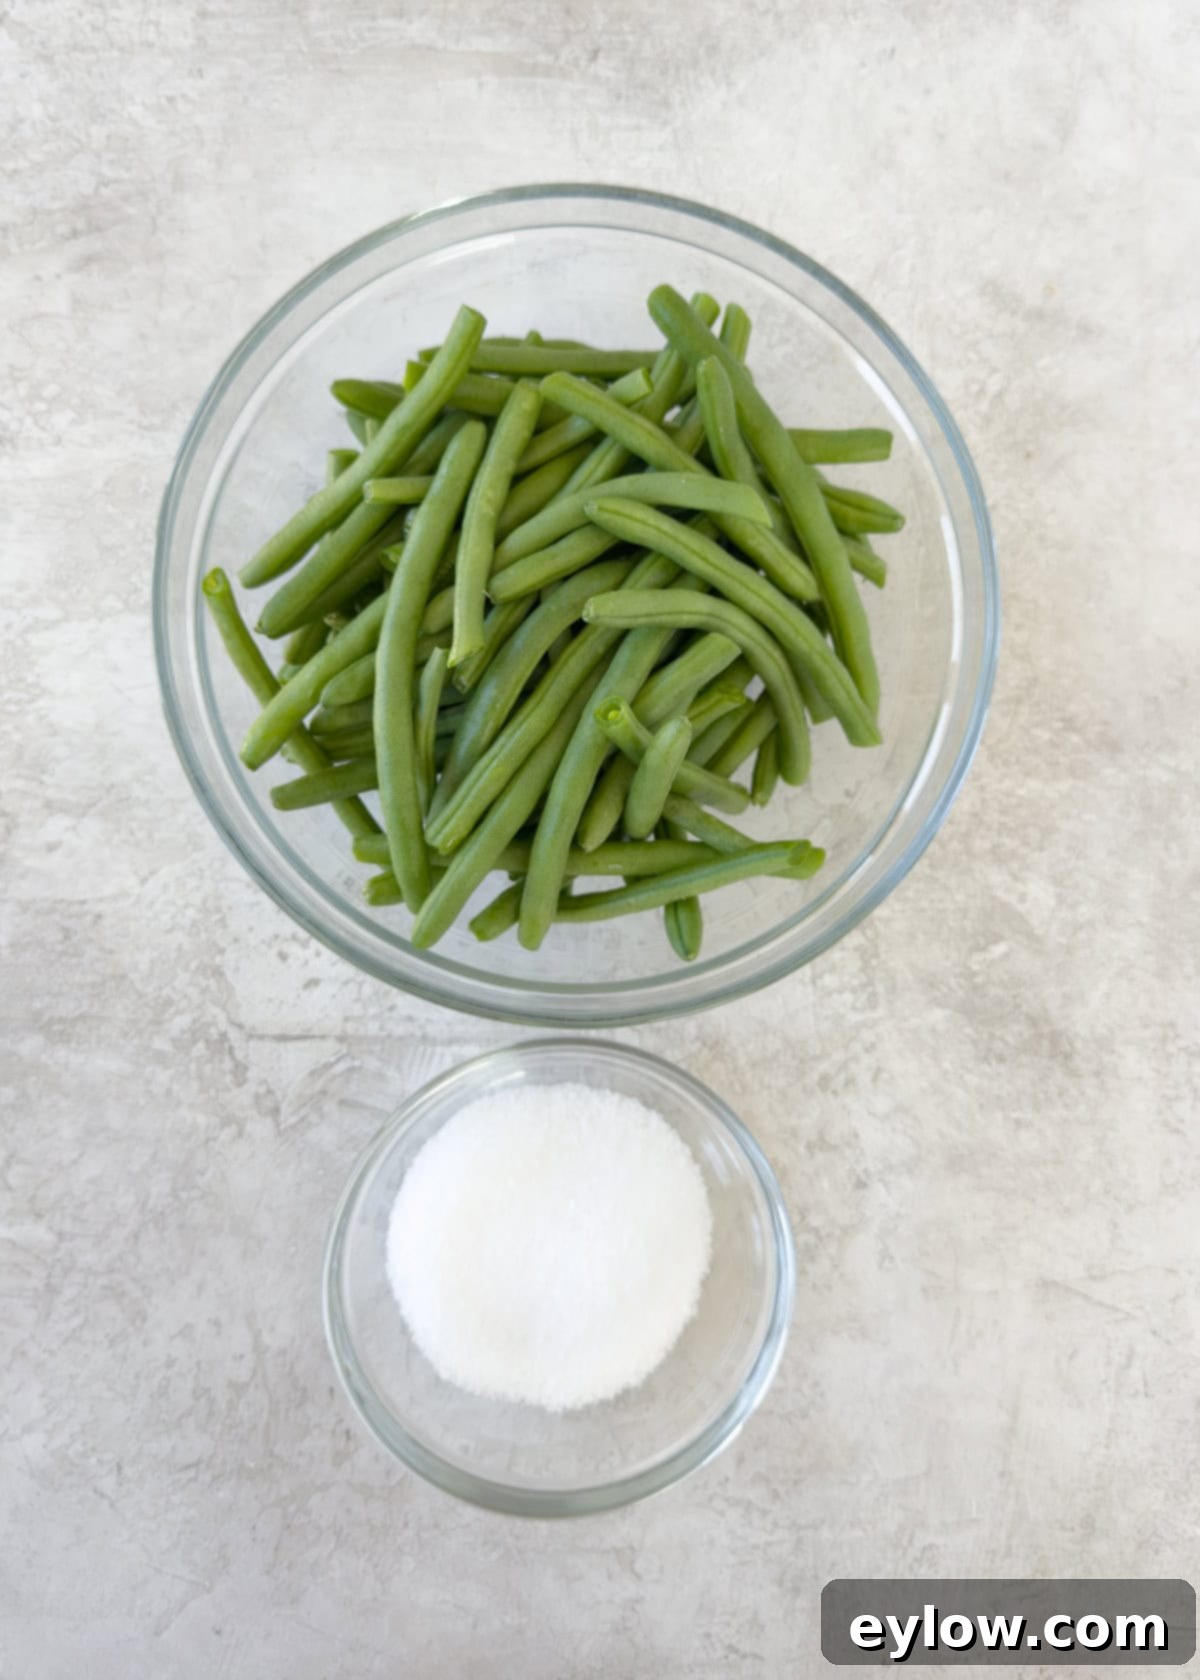
- Green beans: The star of our show! Always opt for fresh green beans, also commonly known as string beans or snap beans. Look for beans that are bright green, firm, and snap crisply when bent. Avoid any with soft spots, wrinkles, or discoloration. My personal favorites are the French variety, often labeled “haricot vert” or “baby green beans,” due to their consistently tender texture and delicate flavor. However, any fresh, high-quality green bean from your local market will work beautifully. Ensure they are washed thoroughly and trimmed of their stem ends before blanching.
- Salt: A crucial component for flavorful blanched green beans. Blanching in generously salted water helps to season the beans from the inside out and also aids in preserving their vibrant color. I highly recommend using kosher salt for its clean taste and easy measurement, but sea salt can also be used. Don’t worry about the beans becoming overly salty; much of the salt is discarded with the blanching water.
Here are my Thanksgiving green beans, a perfect example of blanched beans that can be chilled, refrigerated a day ahead, and then beautifully dressed just before serving, saving you precious time.
Chef’s Tip on Type of Beans: It’s useful to know that “green beans,” “string beans,” and “snap beans” are generally interchangeable terms for the same common vegetable, named for the satisfying “snap” when you break them. “Wax beans” are a close relative, distinguished by their yellow color. “Pole beans” grow on climbing vines and require support, typically offering a slightly deeper flavor and firmer texture, while “bush beans” grow on more compact, self-supporting plants. All varieties can be blanched using this method, though cooking times might vary by about 30 seconds for thicker varieties.
Understanding the Blanching Process: More Than Just Boiling
Blanching is a fundamental cooking process that involves briefly cooking green beans (and many other vegetables) in boiling water, then rapidly cooling them in an ice bath. This dual-action technique serves several vital purposes:
- Color Enhancement: The brief heat sets the vibrant green chlorophyll, making the beans appear brighter and more appealing.
- Texture Improvement: It tenderizes the outer skin and flesh just enough to remove raw harshness, while still maintaining a desirable crispness.
- Enzyme Deactivation: This is particularly important for vegetables intended for freezing. Enzymes naturally present in vegetables cause them to lose flavor, color, and nutrients over time. Blanching halts this enzymatic action, preserving the quality of the beans during storage.
- Flavor Retention: Blanching helps to “set” the natural sugars and flavors, preventing them from deteriorating. The generously seasoned blanching water also subtly seasons the beans.
The amount of salt in the blanching water is crucial; it acts similarly to salting pasta water, drawing out the beans’ natural flavors. While it may seem like a lot of salt, the beans only absorb a small fraction, and most of it is discarded with the water.
- Traditional Blanching (1-2 minutes): This duration results in crisp-tender beans, perfect if they will undergo further cooking in another recipe, such as sautéing, stir-frying, or baking into casseroles. It ensures they don’t become overcooked in the subsequent steps.
- Extended Blanching (3-5 minutes): For beans intended to be served immediately as a side dish, or in a cold salad, a longer blanching time softens them to a fully tender, yet still firm, consistency. At 5 minutes, you’re still technically blanching to doneness. Some culinary sources might refer to this longer duration as parboiling, as it softens the vegetables more significantly. However, as long as the beans are not boiled until mushy, it still falls under the broad definition of blanching.
Chef’s Tip: What else is blanching good for? Blanching is a secret weapon for many vegetables! Instead of serving plain raw carrots on your next vegetable party platter, blanch carrot sticks for 1-2 minutes. They become incredibly sweeter and more enjoyable. The same principle applies to broccoli florets and snap peas (1 minute blanch, then shock in ice water) – it makes them irresistibly delicious and vibrant.
Step-by-Step Guide: How to Perfectly Blanch Green Beans
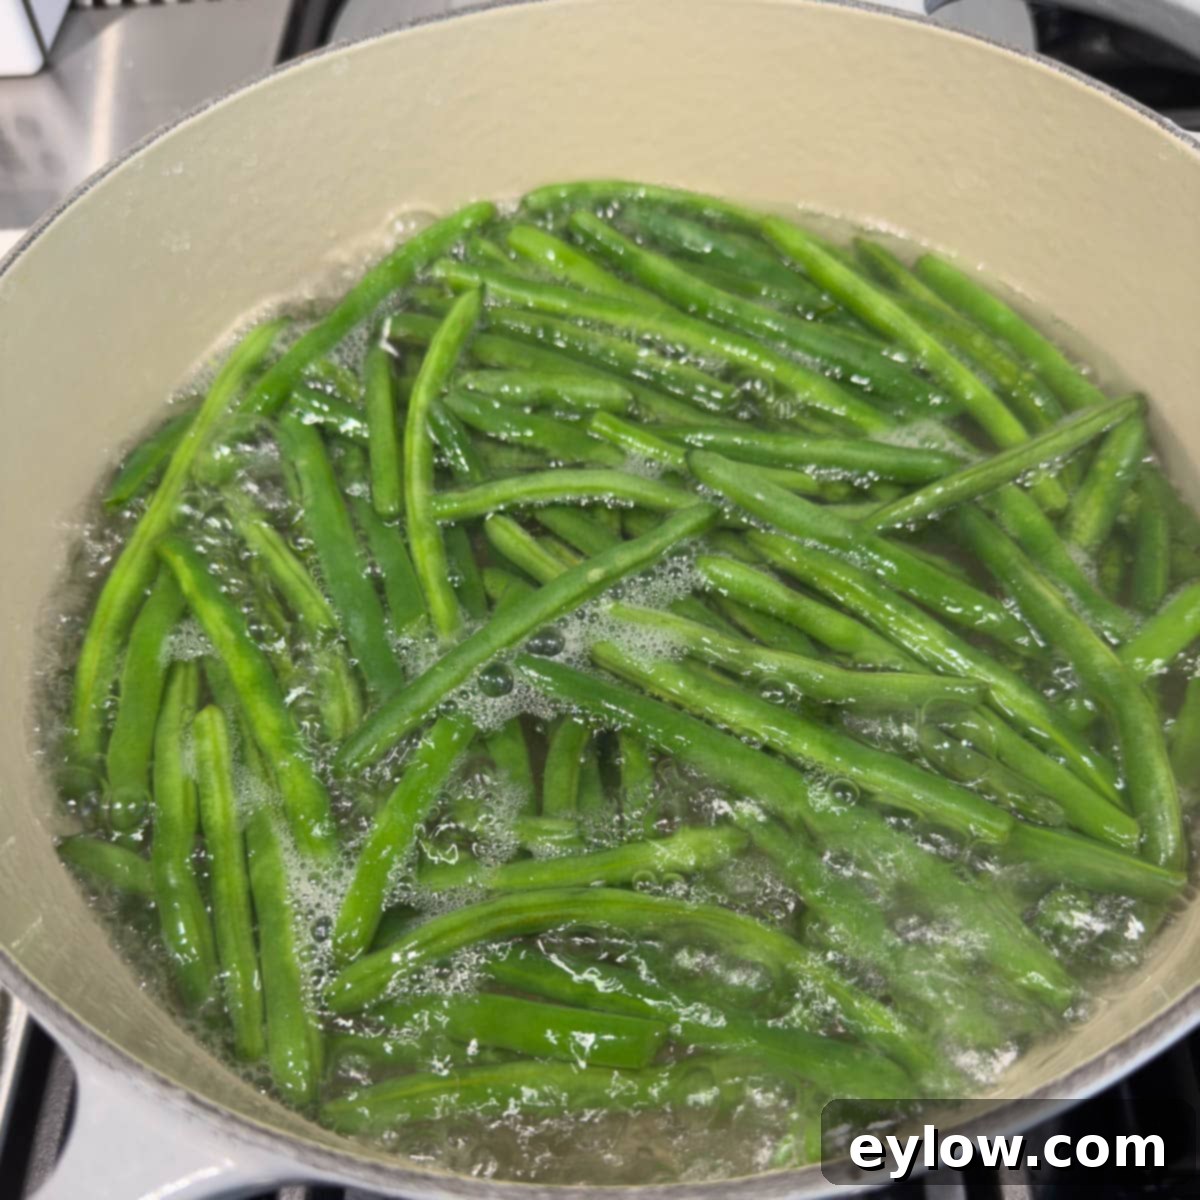
Follow these detailed steps to achieve perfectly blanched green beans every time:
- Prepare Your Green Beans: Start by thoroughly washing your fresh green beans under cold running water. Trim off the tough stem ends; the “tail” end is optional but often trimmed for aesthetic appeal. For consistency, try to keep the beans roughly the same size.
- Set Up the Boiling Pot: Fill a large pot (a 5-7 quart pan is ideal) about ¾ full with water. The key to successful blanching is using a generous amount of water to ensure the temperature doesn’t drop too drastically when you add the beans.
- Season the Water Generously: Add about 1 tablespoon of kosher salt per quart of water. This might seem like a lot, but it’s essential for seasoning the beans effectively. This salted water helps bring out their natural sweetness and vibrant color. Bring the water to a rolling boil.
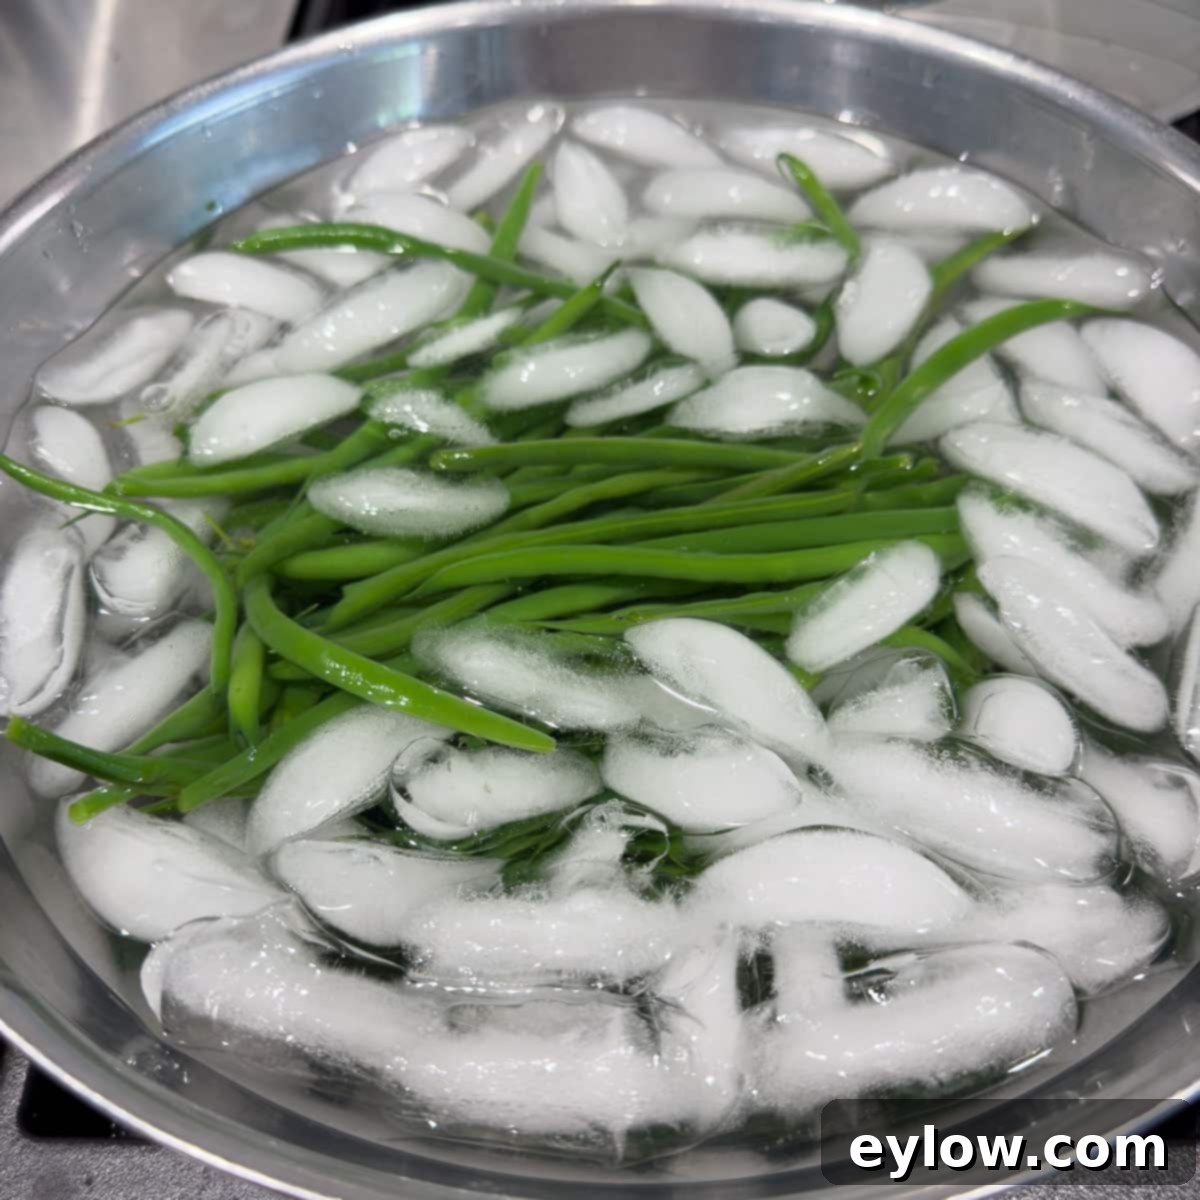
- Prepare the Ice Bath: While the water is heating, prepare your ice bath. Fill a large bowl (even larger than the pot you’re using for blanching) halfway with ice cubes, then fill it the rest of the way with cold tap water. This super-cold environment is critical for “shocking” the beans and immediately stopping the cooking process.
- Blanch the Green Beans: Once the water is at a vigorous rolling boil, carefully add the trimmed green beans. Work in batches if you have a large quantity to avoid overcrowding the pot, which can lower the water temperature too much. Blanch the beans for 1 to 5 minutes, depending on your desired tenderness and intended use:
- 1-2 minutes: For crisp-tender beans that will be cooked further (e.g., sautéed, stir-fried).
- 3-4 minutes: For tender-crisp beans, perfect for cold salads or quick finishing.
- 5 minutes: For fully tender beans that will be served hot immediately.
The beans will turn a noticeably brighter green.
- Shock in the Ice Bath: As soon as the green beans reach your desired tenderness, use a slotted spoon, spider, or strainer to quickly scoop them out of the boiling water and plunge them immediately into the prepared ice bath. Let them chill in the ice water for at least 1 minute, or until they are completely cool to the touch. This step is vital to prevent residual heat from overcooking them.
- Drain and Dry: Once thoroughly chilled, drain the green beans from the ice bath. For best results, especially if you plan to store or freeze them, spread them out on a clean kitchen towel or several layers of paper towels and pat them very dry. Excess moisture can lead to a watery texture or freezer burn.
Blanched beans can be served immediately while hot, bypassing the ice bath if you desire a softer texture for instant consumption. If blanching for a salad or another recipe where they will be used later, always chill them thoroughly in an ice bath, then drain and dry them. Store blanched green beans in an airtight container in the refrigerator and use them within 3-4 days for optimal texture and freshness.
Preserving Freshness: Freezing Blanched Green Beans
Blanching is a critical step for freezing green beans, as it stops the enzymatic action that causes spoilage, color loss, and flavor degradation. Freezing blanched green beans allows you to enjoy them year-round. Here’s how to do it properly:
- Thoroughly Pat Dry Before Freezing: This step cannot be stressed enough. Any excess moisture on the green beans will form ice crystals, which can lead to freezer burn and a degradation in texture and flavor. Lay them in a single layer on clean kitchen towels or paper towels and gently pat until completely dry.
- Flash Freeze in a Single Layer First: To prevent the blanched green beans from clumping together into one large block, spread them in a single layer on a baking sheet lined with parchment paper. Place the baking sheet in the freezer for 1-2 hours, or until the beans are firm. This “flash freezing” ensures each bean freezes individually.
- Use Airtight Storage: Once flash-frozen, transfer the individual green beans to freezer-safe bags or containers. For optimal preservation, use a vacuum sealer if you have one, or press out as much air as possible from freezer bags before sealing. This minimizes exposure to air, which can cause freezer burn. Label with the date.
For the best quality, aim to use your frozen blanched green beans within 3 months to retain their peak texture, vibrant color, and fresh flavor. While they are generally safe to eat for up to 6 months or even longer, their quality may gradually decline after 3 months. When ready to use, you can usually add them directly to your cooking from frozen, or thaw them quickly in a colander under cold running water.
Delicious Serving Suggestions for Blanched Green Beans
Once your green beans are perfectly blanched, they are a blank canvas for a myriad of delicious preparations. Whether you prefer them hot, at room temperature, or cold, here are some delightful ways to serve them:
- Simple Sauté: Sauté blanched green beans with a knob of butter or a drizzle of olive oil. Add minced garlic for quick and flavorful garlicky green beans.
- Classic Dressings: Simply dress them with a high-quality extra virgin olive oil, a sprinkle of flaky sea salt, freshly cracked black pepper, and a scattering of fresh chopped parsley or other herbs like dill or chives.
- Nutty Crunch: Add chopped toasted nuts such as walnuts, pecans, pistachios, slivered almonds, or pine nuts for a wonderful textural contrast and rich flavor.
- Citrus Zest Brightness: Finish with a light sprinkle of lemon or orange zest for a burst of fresh, aromatic flavor and a pop of color.
- Gourmet Finishing Oils: Elevate their flavor with a drizzle of a premium extra virgin finishing oil, such as walnut, hazelnut, white truffle, lemon-infused, rosemary-infused, or basil-infused olive oil.
- Sweet & Tangy Glaze: Drizzle with a store-bought or homemade Balsamic glaze or syrup for a delightful sweet and tangy note.
- Asian Inspired: Toss with sautéed mushrooms, a touch of toasted sesame oil, and freshly grated ginger for a quick and flavorful Asian-inspired side dish.
- Savory Additions: Combine with toasted pine nuts and dried cranberries for a sweet and savory holiday-worthy side.
- Buttery Breadcrumbs: Sprinkle with crispy, buttery homemade breadcrumbs infused with Parmesan cheese for an irresistible texture.
- Vinaigrette & Capers: Dress with a simple homemade vinaigrette (Dijon, lemon, olive oil), fresh herbs, and briny capers for a sophisticated salad component.
In this sweet corn succotash recipe, try swapping blanched, chopped green beans for the soybeans or lima beans for a truly terrific summer vegetable salad, offering a fresh twist on a classic.

Common Questions About Blanching Green Beans (Recipe FAQs)
The ideal blanching time for green beans typically ranges from 2 to 3 minutes, depending on their thickness and your desired tenderness. This duration ensures they become tender-crisp while retaining their vibrant green color. For serving immediately to eat as a hot side dish, blanch for up to 5 minutes for a softer texture.
Yes, it’s essential to trim the tough stem ends (the “snaps”) off the green beans before blanching. The tail end is optional but often trimmed for a more refined appearance.
To stop the cooking process immediately and preserve their bright color and crisp texture, transfer the blanched green beans into an ice bath (a large bowl filled with ice and cold water) for 30-60 seconds, or until completely chilled. Then, drain them thoroughly.
Absolutely! Blanching green beans in advance is an excellent meal prep strategy that saves time. After blanching and shocking them in an ice bath, drain the beans thoroughly and pat them dry. Store them in a covered, airtight container in the refrigerator. They will stay fresh and maintain their quality for 3-4 days before their texture and vibrancy begin to decline.
Yes, the blanching technique is versatile and can be used for many other vegetables like broccoli, asparagus, carrots, snap peas, and spinach. However, blanching times will vary depending on the specific vegetable, its size, and your desired outcome.
The most important step is to thoroughly drain and pat the green beans dry after their ice bath. Excess water can dilute flavors and make them soggy, especially if you’re adding them to a dish or storing them. Use clean kitchen towels or a salad spinner for best results.
Discover More Delicious Green Bean Recipes
Blanched green beans are incredibly versatile and form the perfect base for many delightful dishes. Here are a few more recipes where this essential technique truly shines, enhancing the flavor and texture of every bite:
- Fresh Green Beans Almondine Recipe
- Super Easy Thanksgiving Green Beans
- Cold Green Bean Salad With Tomatoes and Corn
- Easy Three Bean Salad Recipe
Did You Make This Recipe? We’d Love to Hear!
If you’ve enjoyed learning how to blanch green beans using this guide, please take a moment to add your comment below. We genuinely appreciate your feedback and love hearing about your cooking experiences. If you loved the results, please consider giving it a 5-star rating! Your ratings and comments truly help other readers discover and confidently try these helpful techniques.
📖 Recipe
Blanching Green Beans
Sally Cameron
Pin Recipe
Equipment
-
Large pot
Ingredients
- 1 pound fresh green beans regular or French haricot vert, ends trimmed
- kosher salt for blanching water (about 1 tablespoon per quart of water)
- Large bowl of ice water for the ice bath
Instructions
-
Bring a large pot (5-7 quart) of generously salted water to a rolling boil. Use about 1 tablespoon of kosher salt per quart of water. While the water is heating, set up your ice bath: fill a large bowl halfway with ice and then with cold water. Ensure green beans are washed and trimmed.
-
Once the water is boiling, carefully add the trimmed green beans. Blanch for 2-5 minutes, depending on their thickness and your intended use. For crisp-tender beans (e.g., for further cooking), start at 2 minutes. For fully tender beans (e.g., to eat immediately), blanch for 5 minutes.
-
When done, swiftly remove the green beans from the boiling water with a slotted spoon or spider and plunge them into the ice bath. Chill for about 1 minute until completely cool, then drain thoroughly. Pat dry with a clean kitchen towel. Serve immediately, or store in an airtight container in the refrigerator for up to 3-4 days.
