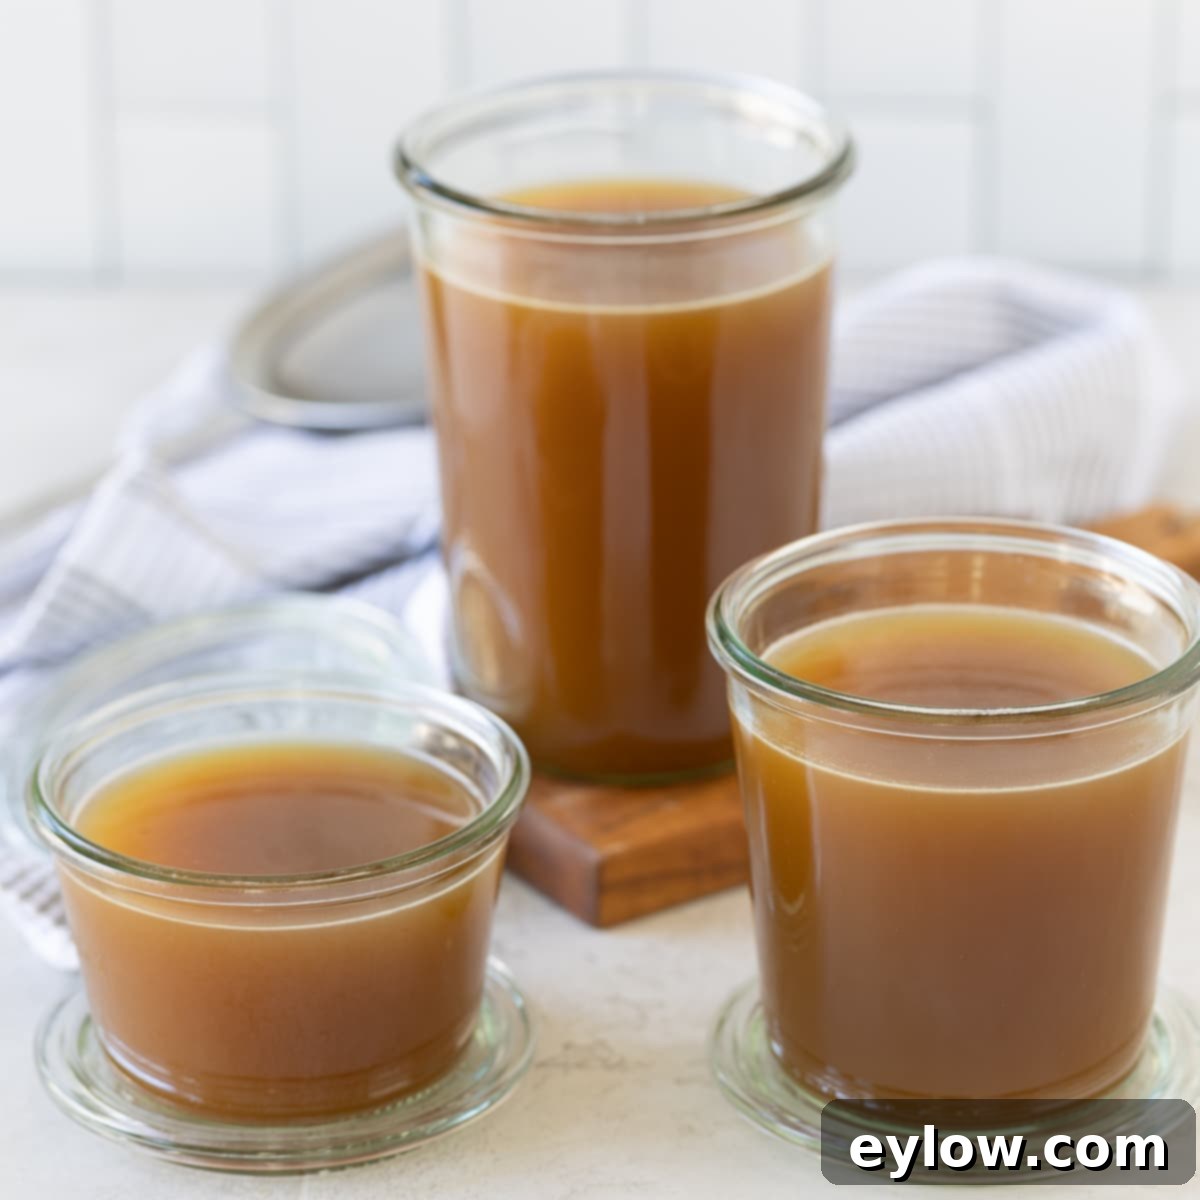
Homemade Roasted Turkey Broth: Your Ultimate Guide to Rich, Flavorful Stock
If you’ve never experienced the unparalleled richness of homemade turkey broth, now is the perfect time to embark on this culinary journey. After years of refining this recipe, I’ve perfected a method that yields the most flavorful, deeply savory turkey broth imaginable. Our secret begins with roasting turkey legs and thighs to a golden perfection, coupled with beautifully caramelized vegetables. This isn’t just any broth; it’s a true chef-style creation, slow-simmered for hours until it achieves a stunning golden hue and a profound depth of flavor. This exquisite broth is the secret ingredient behind truly incredible Thanksgiving gravy, hearty soups, and complex sauces, offering a taste profile that no store-bought alternative can possibly match.
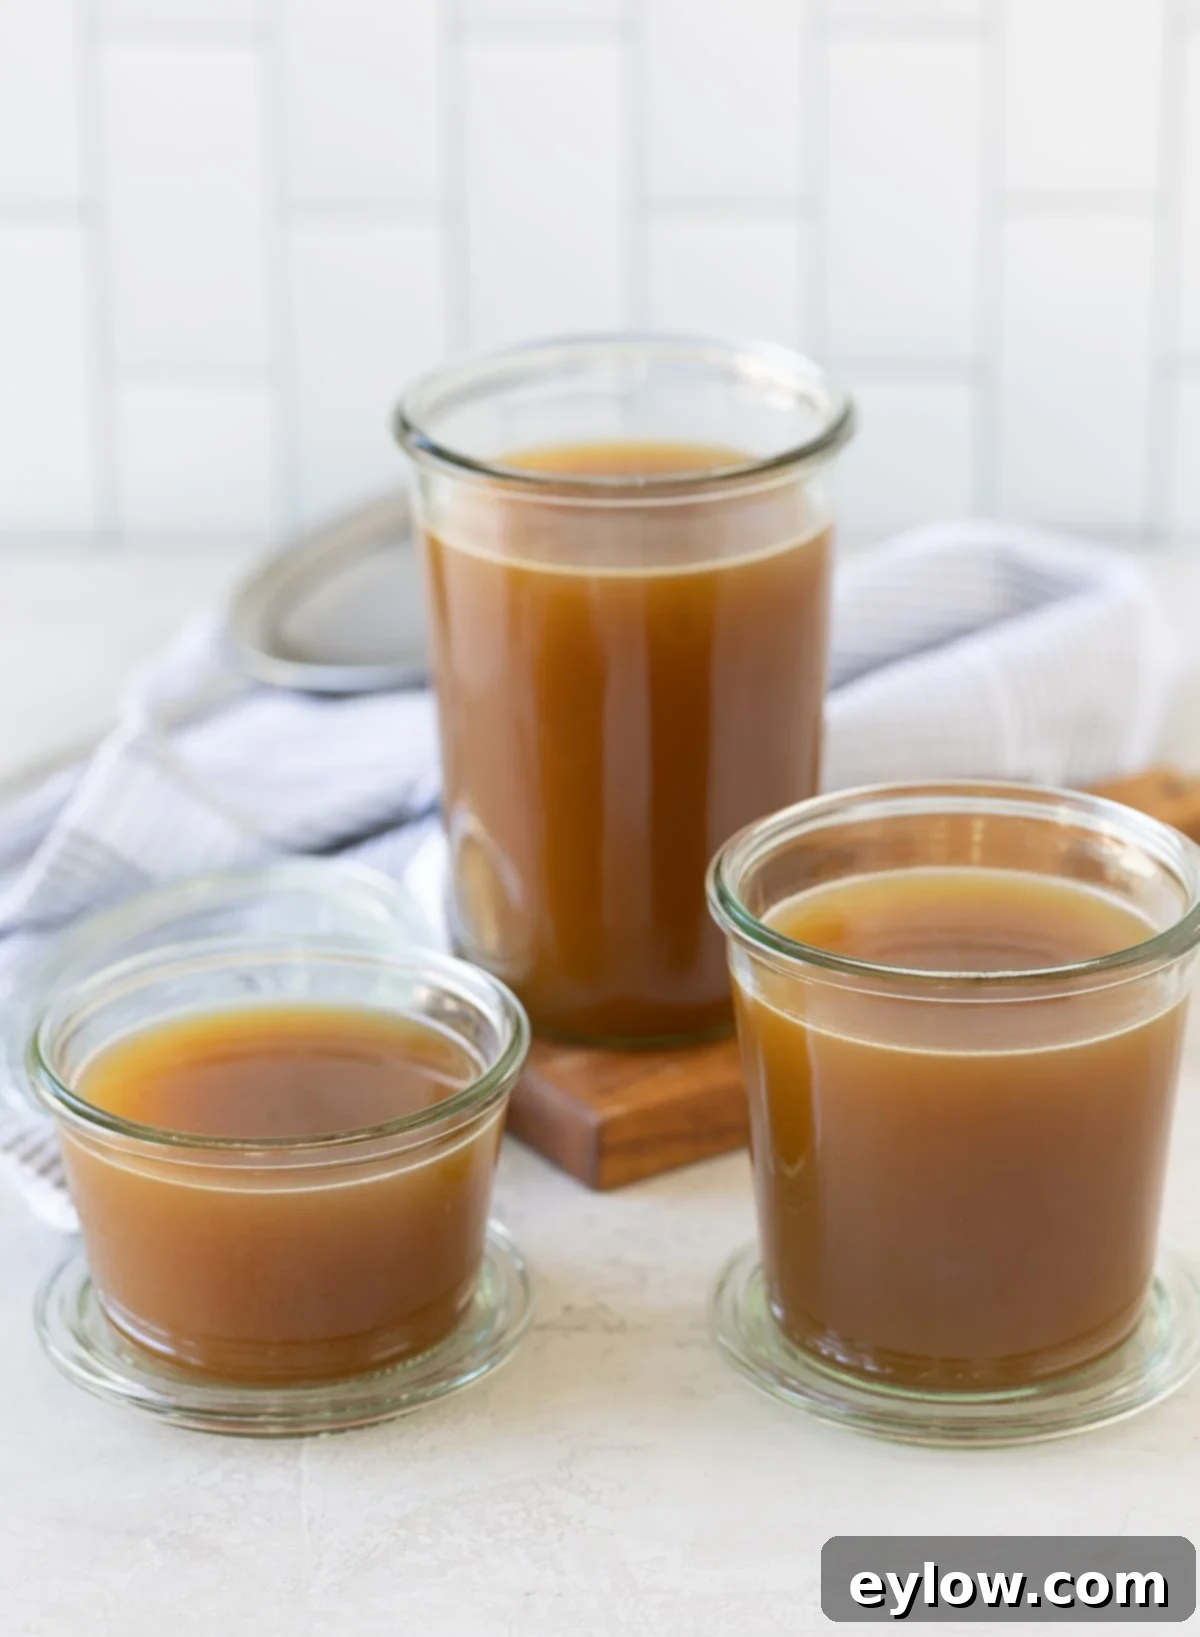
Often, people ask: “Is turkey stock the same as turkey broth?” While the terms are frequently used interchangeably in everyday cooking, there’s a technical distinction. Traditionally, broth is made with meaty pieces, providing a lighter body but rich flavor, whereas stock is primarily made from bones, yielding a gelatinous texture. These days, however, the descriptions often blend, with many referring to a rich, bone-infused liquid as “turkey bone broth” or simply “turkey stock.” Regardless of the name, one thing is certain: homemade turkey broth is incredibly good for you. Packed with nutrients and amino acids, it’s a wholesome addition to your diet, and its delicious taste is simply unparalleled.
Why Homemade Turkey Broth is a Must-Make Recipe
Once you try this homemade turkey broth, you’ll wonder how you ever lived without it. Here are several compelling reasons why this recipe will become a staple in your kitchen:
- Unmatched Flavor: This rich, homemade turkey broth offers a depth of flavor far superior to any store-bought variety. It’s perfect for sipping on its own or as a foundational ingredient for soups, stews, and gravies.
- Effortlessly Delicious: While it takes time to simmer, the actual hands-on work involved is minimal. It’s an easy, mostly hands-off process that yields incredible results.
- Superior Quality: By controlling the ingredients, you produce a healthier, purer broth free from artificial flavors, excessive sodium, or preservatives often found in commercial products.
- Flexible Preparation: The recipe can easily be broken down over two days, making it more manageable for busy schedules. Prepare the roasted components one day, and simmer the broth the next.
- Freezer-Friendly: Make a large batch and freeze it in convenient portions. This ensures you always have high-quality turkey broth on hand for future culinary endeavors, saving you time and money.
- Instant Pot Option Available: For those seeking a quicker simmering time, we also provide clear instructions for using an Instant Pot to achieve fantastic results.
Looking to create an amazing turkey soup? Simply use this versatile chicken vegetable soup recipe as a base, swapping out the chicken for your delicious leftover turkey and, of course, this homemade turkey broth.
Essential Ingredients for the Perfect Turkey Broth
Unlike recipes that rely on a leftover roasted whole turkey carcass, this recipe utilizes fresh turkey pieces, similar to how you would prepare homemade chicken stock. For a generous yield of 3-4 quarts of incredibly rich and flavorful broth, we recommend starting with approximately 7 pounds of turkey parts. You’ll find precise measurements in the comprehensive recipe card below.
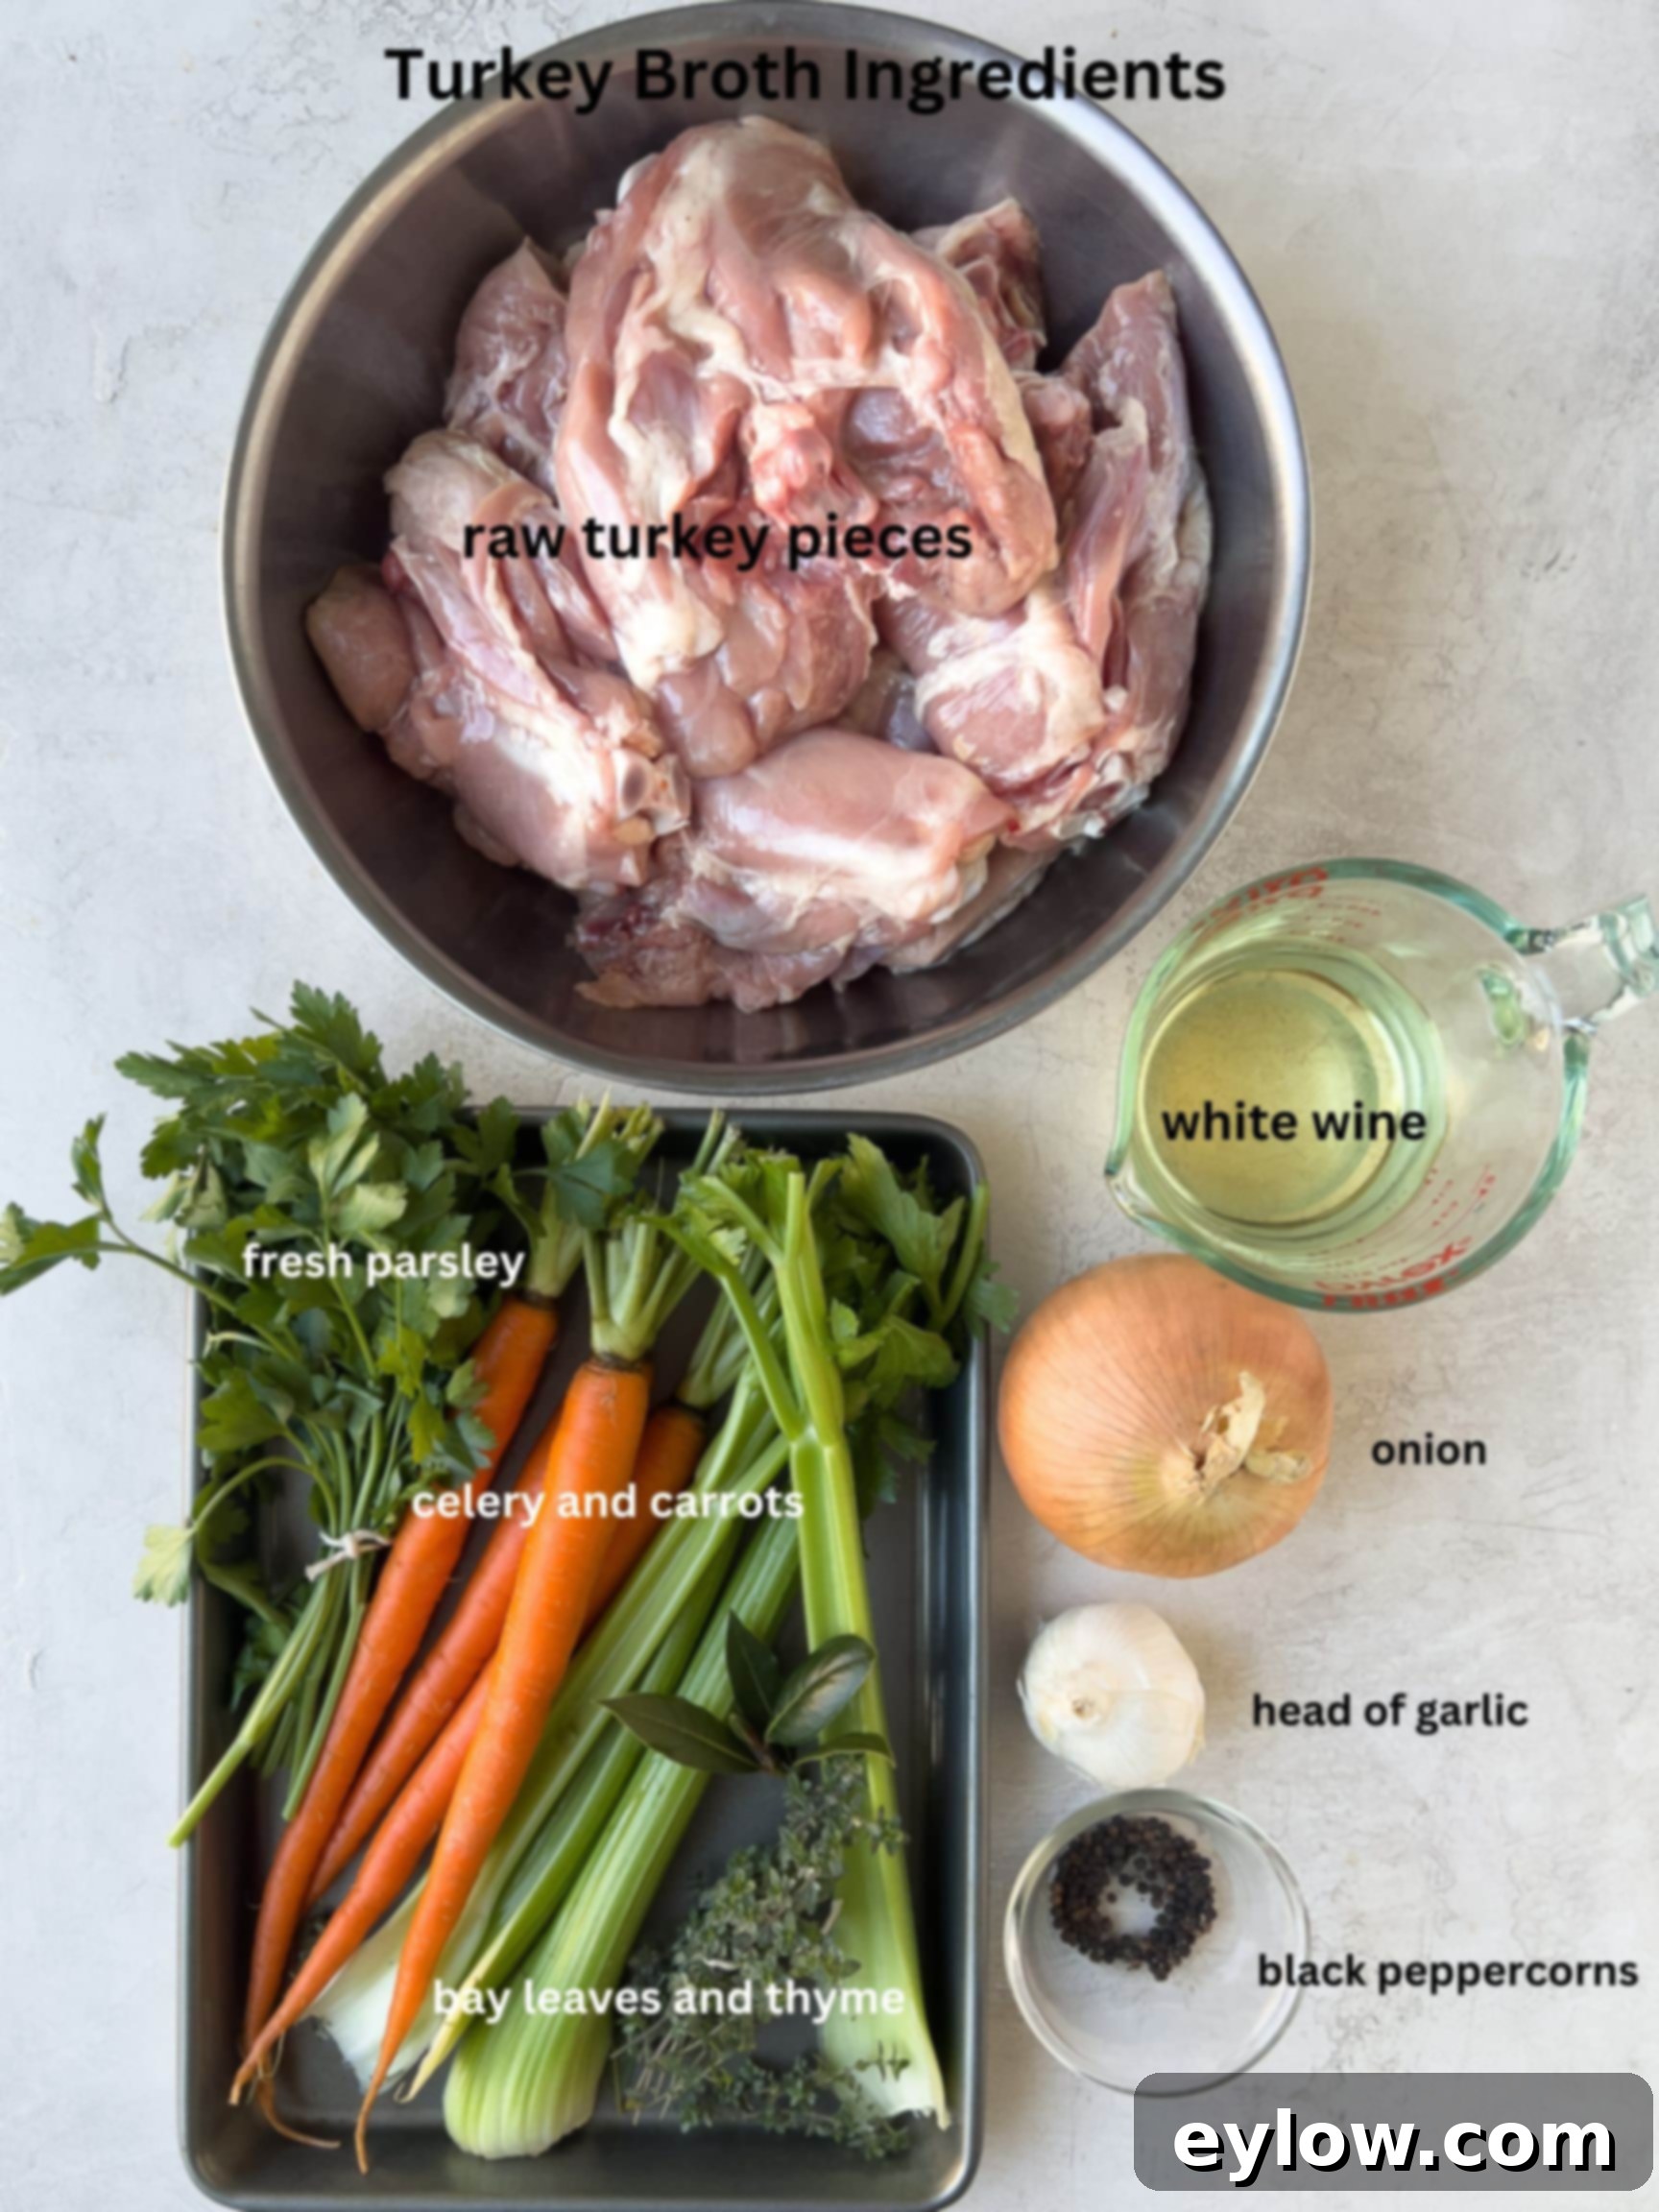
Here’s a closer look at the key components that build the incredible flavor profile of our turkey broth:
- Turkey Pieces: The foundation of our rich broth. Opt for what’s readily available at your butcher or grocery store, such as legs, thighs, or backs. I often use a combination for a balanced flavor. It’s crucial to remove as much skin as possible from the turkey pieces before roasting. This simple step significantly helps to degrease the broth right from the start, ensuring a cleaner, richer flavor.
- Onions: Brown, yellow, or sweet onions are all excellent choices, providing a fundamental savory depth. Avoid red onions, as they can impart an undesirable color to the finished broth. Onions are an indispensable aromatic vegetable in nearly all broths, soups, stews, and countless other recipes, building a robust flavor base.
- Carrots: These add a natural sweetness and a beautiful golden hue to the broth. Carrots, along with onions and celery, form the classic “mirepoix” (French) or “soffritto” (Italian) – the aromatic trinity essential for building deep, nuanced flavors in countless cuisines.
- Celery Ribs: An integral part of the essential three vegetable components, celery contributes a wonderful base vegetable flavor that complements the turkey and other aromatics perfectly.
- Garlic: A whole head of fresh garlic, simply split horizontally (no need to peel or separate cloves), adds a fantastic aromatic pungency that deepens the overall flavor profile without being overpowering.
- White Wine: A cup of dry white wine or dry vermouth introduces a layer of complexity and helps deglaze the roasting pan, capturing all those flavorful browned bits. You don’t need an expensive bottle; mini airline-sized bottles are perfect for cooking and easy to store in the pantry. If you prefer not to cook with wine, water or chicken broth can be substituted.
- Bay Leaves: These unassuming leaves impart a subtle, yet complex, herbaceous note that rounds out the broth’s flavor profile. Use dried bay leaves, or for a fun garden project, grow your own bay shrub for fresh leaves – their aroma is truly wonderful.
- Parsley: Fresh Italian (flat-leaf) parsley is preferred over dried, as it offers a brighter, cleaner flavor. Curly parsley tends to be slightly more bitter. Toss in a generous handful for freshness.
- Thyme: Fresh sprigs of thyme are another essential herb for broth. Thyme is incredibly easy to grow and is one of the most versatile fresh herbs in my kitchen. Simply toss in whole sprigs; there’s no need to strip the tiny leaves.
- Whole Black Peppercorns: Using whole black peppercorns is key for a full-bodied, aromatic warmth. Cracked or ground pepper can become spicy and overpower the delicate flavors of the broth. As one of the world’s most traded spices, peppercorns are a non-negotiable addition to any great broth.
This roasted turkey broth is also an exceptional alternative to beef broth in many recipes, such as this incredible French Onion Soup, adding a unique, savory twist.
Chef’s Tip: How much salt? An important rule for making broth: never add salt to the broth itself. You should always add salt later, to the dish you’re cooking with the broth. This method gives you complete control over the final salt levels in your recipes, preventing an overly salty result.
Mastering the Method: Step-by-Step Turkey Broth Instructions
The true secret to achieving a rich, deeply flavorful turkey broth lies in the initial roasting step. Roasting the turkey meat, bones, and fresh vegetables before simmering is what unlocks those amazing caramelized flavors and imparts a beautiful golden color to your finished broth. This foundational step is what elevates this recipe beyond a simple simmer.
Because I prefer to make a substantial batch for various culinary uses throughout the year, my preferred method involves a large stockpot. This yields a larger quantity compared to a pressure cooker, slow cooker, or crock pot, which are better suited for smaller amounts. If you opt to use an Instant Pot, you’ll still follow the crucial roasting step, then divide the roasted ingredients into two batches for the pressure cooking process.
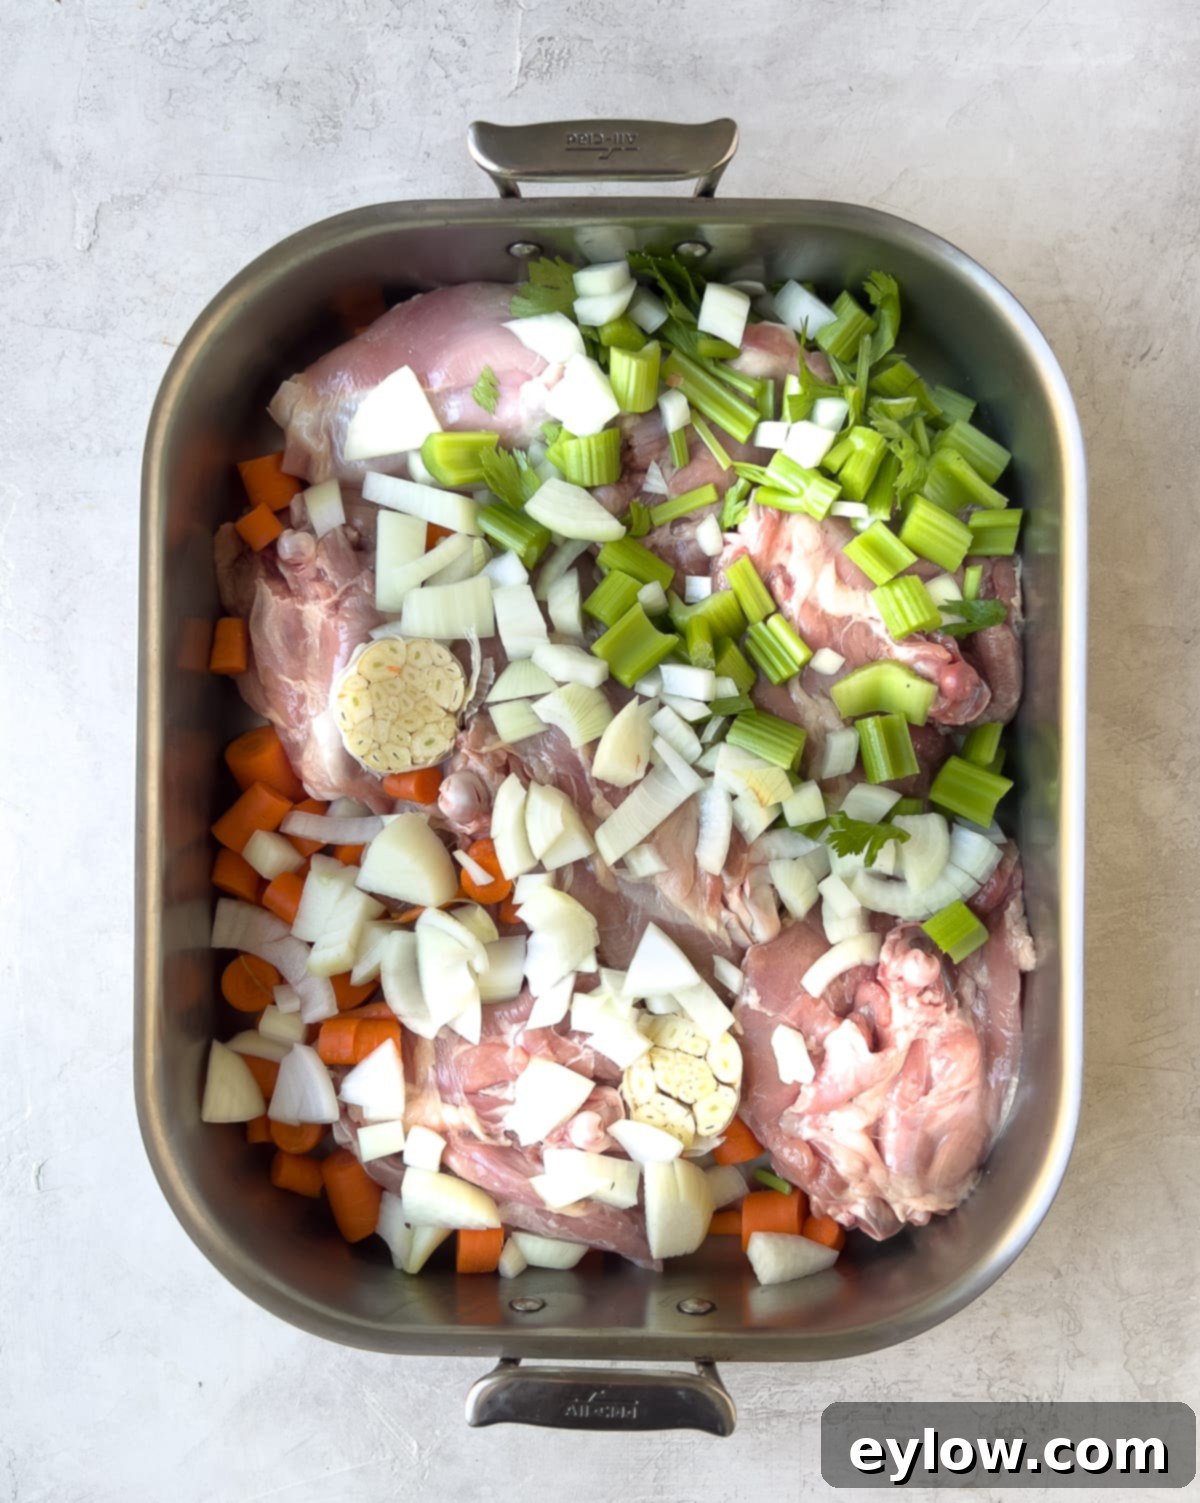
Step 1: Roast the Turkey and Vegetables for Deep Flavor
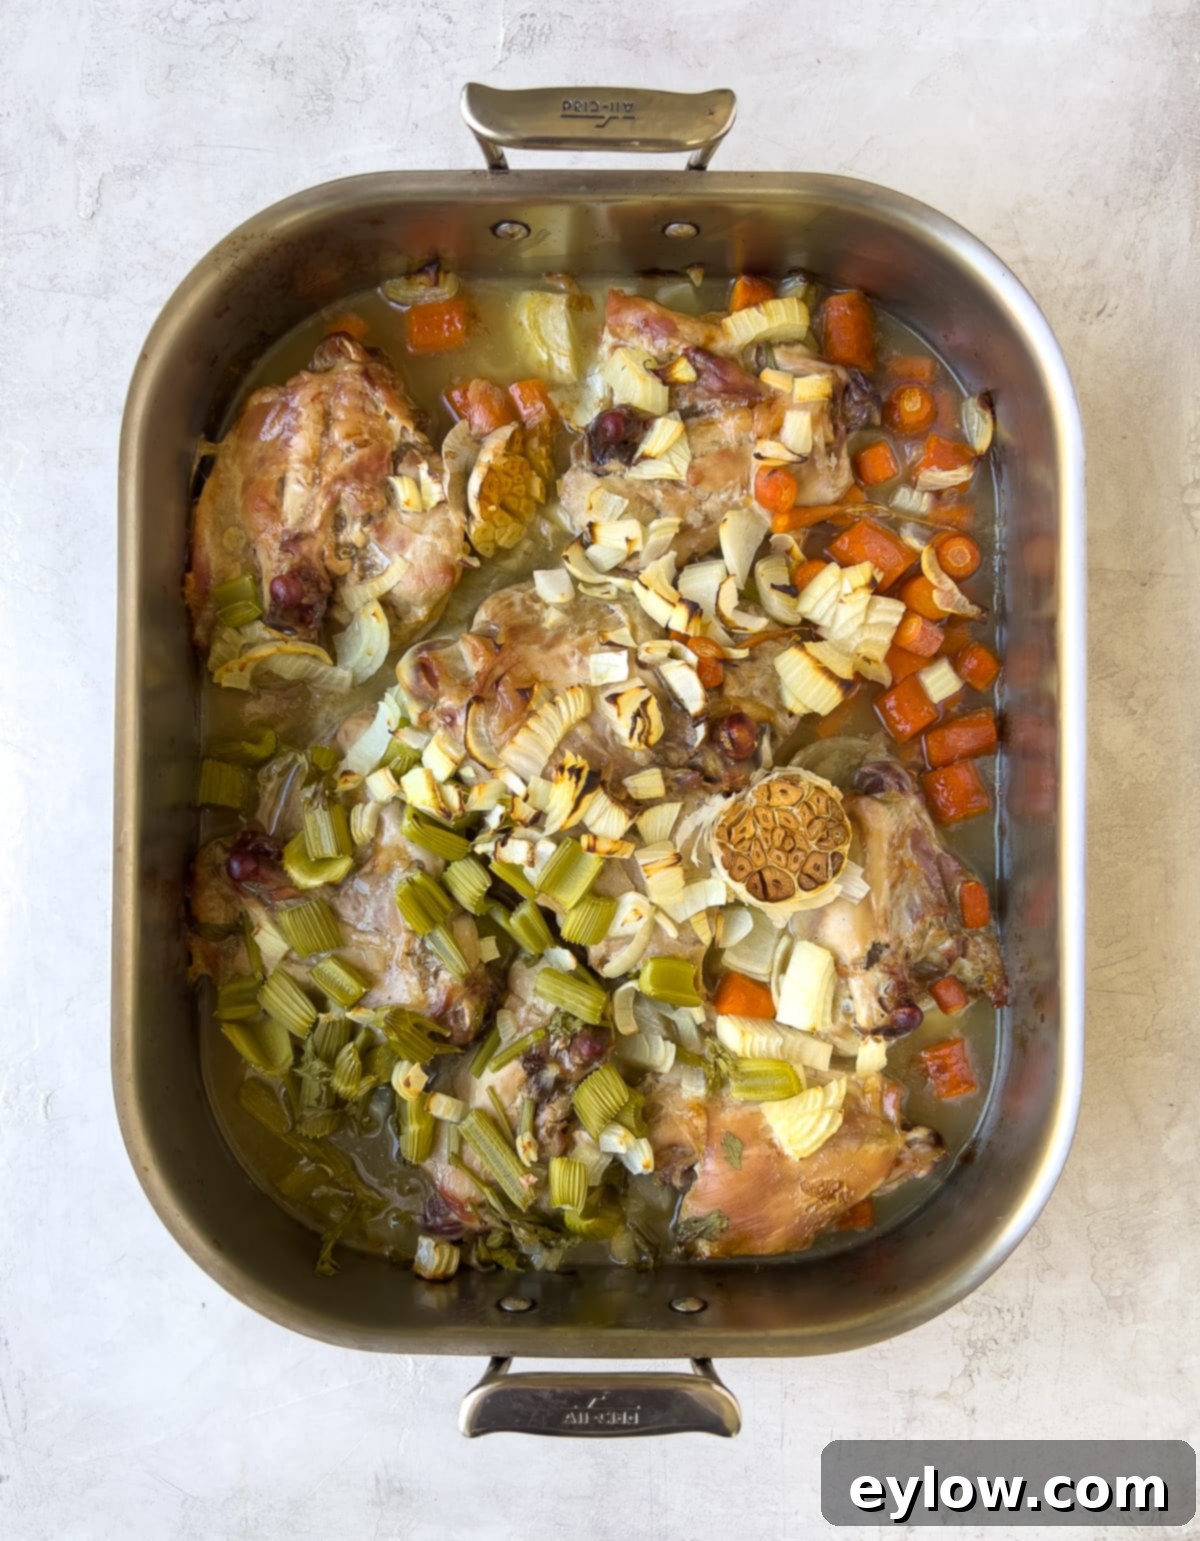
Begin by preheating your oven to 375°F (190°C). Arrange the prepared turkey parts (with as much skin removed as possible) in a large roasting pan, ensuring they are in a single layer for even browning. Roughly chop your carrots, celery, and onion, and place them over and around the turkey. Take a whole head of garlic, split it horizontally (leaving the skin on), and add it to the pan. Roast the turkey and vegetables for an initial 1 hour. After this time, carefully pour in 1 cup of white wine or dry white vermouth, which will help deglaze the pan and add another layer of flavor. Continue roasting for an additional 30 minutes, allowing the wine to reduce and the flavors to meld beautifully. These roasted components are the heart of your rich broth.
Once roasted, allow the turkey and vegetables to cool completely. For maximum convenience and to break down the process, I highly recommend refrigerating them overnight. This makes the broth-making process much more manageable and less daunting.
Chef’s Note: The addition of wine is fantastic for enhancing flavor and deglazing the pan, capturing all the delicious browned bits. If you prefer not to use alcohol in your cooking, simply substitute the wine with an equal amount of water or chicken broth. The broth will still be delicious!
Step 2: Slow Simmer for Maximum Flavor Extraction
The following morning, transfer all the roasted turkey and vegetables into a large 10-12 quart stockpot. Cover these ingredients with 5 quarts of cold water to start. Add the bay leaves, fresh thyme sprigs, Italian parsley, and whole black peppercorns to the pot. Increase the heat to bring the mixture just to a simmer; it should never reach a rolling boil. Once simmering gently, reduce the heat to its lowest setting to maintain a very gentle bubble. Allow the broth to slow-simmer for an extended period of 10-12 hours. As the broth cooks down and the water level naturally drops due to evaporation, replenish it by adding boiling water from a tea kettle. Over the 12-hour simmering period, I typically add between 1 to 3 quarts of boiling water to keep the ingredients just submerged.
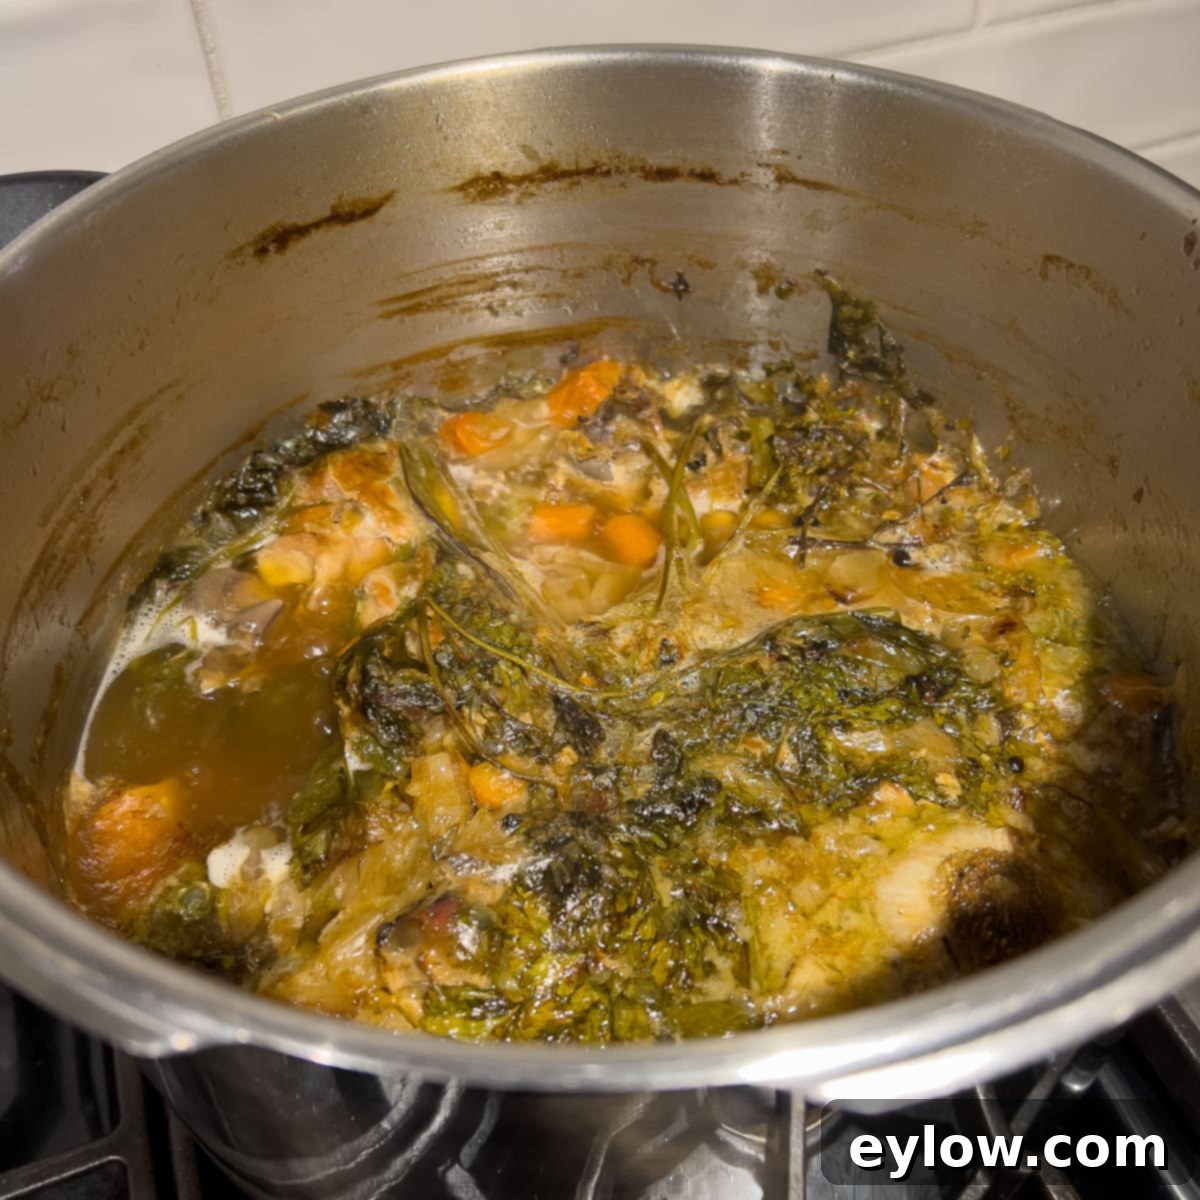
This long and slow simmering process is absolutely crucial. It ensures the maximum extraction of flavor and beneficial nutrients from the turkey and vegetables, resulting in a truly fantastic turkey broth. Your home will be filled with the comforting aroma of roasting turkey, and you’ll be rewarded with a rich, golden-brown broth bursting with unparalleled savory goodness.
Chef’s Tip: Always simmer broth slowly; avoid bringing it to a rapid boil. Boiling vigorously will emulsify fats and proteins, resulting in a cloudy broth. A gentle simmer ensures clarity and a cleaner flavor.
Step 3: Strain and Rapidly Chill for Food Safety
Once the long simmer is complete, carefully strain the broth through a fine-mesh sieve into a large, clean heat-proof pot. It’s best to use a metal pot for this step, as plastic containers can slow down the crucial rapid cooling process. Discard all the spent bones, meat, and vegetables – their flavor and nutrients have now been transferred to your liquid gold.
To ensure food safety and maintain the broth’s quality, it’s vital to chill the strained broth as quickly as possible. The most effective way to do this is by placing the pot in an ice water bath. Fill your kitchen sink halfway with cold water and a generous amount of ice. To further speed up the cooling and allow cold water to circulate underneath the pot, place a trivet or small rack beneath the pot. Stir the broth occasionally to help it cool faster. The goal is to cool the broth to 70°F (21°C) or below within two hours before transferring it to the refrigerator. This minimizes the time it spends in the “danger zone” where bacteria can multiply.
Chef’s Tip: While roasting is highly recommended for the richest flavor, you can still make a delicious turkey broth by skipping the roasting process. The flavors won’t be as intensely deep and caramelized, but it will still be a wonderfully savory broth, similar to a classic chicken broth, and perfect for many applications.
Step 4: Refrigerate, De-Fat, and Freeze for Future Use
Once your broth has cooled sufficiently (below 70°F), transfer the cold broth into a large, airtight storage container. I find commercial kitchen-style Cambro containers to be excellent for this purpose. Cover the container and refrigerate it overnight. As the broth chills, any remaining fat will solidify on the surface, making it easy to remove.
The following morning, use a spoon or spatula to carefully remove and discard the solid layer of fat from the top of the chilled broth. This de-fatting step results in a cleaner, less greasy broth. Now, divide your perfectly de-fatted broth into smaller, freezer-safe containers, such as convenient Souper Cubes. Be sure to label each container with the date. Freeze the broth, especially if preparing for Thanksgiving or for long-term use. This homemade turkey broth will infuse your holiday recipes with incredible, authentic flavors.
Chef’s Tip: For Thanksgiving preparations, you can make the broth on the Monday of Thanksgiving week, and it will remain fresh in the refrigerator until Thursday. For extended storage, freezing is your best option. You can confidently make and freeze this broth a week or even months ahead of time.
Instant Pot: A Quicker Approach to Flavorful Turkey Broth
For those times when you need delicious turkey broth but have less time for simmering, your Instant Pot can be a fantastic tool. Begin by following the initial roasting directions precisely for the turkey parts and vegetables. This crucial step is what provides the deep, caramelized flavor that sets this broth apart.
Once roasted, you will need to split the batch of roasted ingredients in half, as a typical 6-quart Instant Pot will comfortably hold about 3 ½ – 4 pounds of the meat and veggies. Place one half into your Instant Pot, fill with cold water up to the maximum fill line, then secure the lid. Select the “broth” setting or set to high pressure for 2 hours. After the cooking cycle, allow for a natural pressure release. Once the pressure has fully released, carefully strain the broth and chill it rapidly, following the instructions in Step 3. Repeat this process for the second batch of roasted ingredients. This method effectively adapts my popular Instant Pot chicken broth recipe to create a wonderful turkey broth.
Delicious Ways to Use Your Homemade Turkey Broth
Your rich, roasted turkey broth is incredibly versatile and will elevate countless dishes. It’s my absolute go-to for making the most flavorful turkey gravy on Thanksgiving Day, adding an unmatched depth that transforms a simple sauce into something extraordinary. Beyond the holidays, it’s also truly terrific in a variety of other culinary applications:
- Soups: Use it as the base for any hearty soup. From classic chicken noodle (with turkey!), to vegetable soups, or even creamy pureed options, the broth will add a robust flavor.
- Risotto: Swap chicken or vegetable broth for turkey broth in your favorite risotto recipe for a rich, savory twist.
- Sauces: Deglaze pans, create pan sauces, or add depth to gravies. Its concentrated flavor is perfect for building complex sauces.
- Grains: Cook rice, quinoa, or other grains in turkey broth instead of water for an added layer of flavor.
- Sipping: On a chilly day, a warm mug of turkey broth is wonderfully comforting. Just remember to add a little salt to taste before sipping, as the broth itself is unsalted.

I frequently use this magnificent broth to make my easy French onion soup. Just look at the photo above and notice how wonderfully dark and rich the soup appears; that’s not beef broth, but the magic of homemade turkey broth! It’s also absolutely terrific in my creamy black bean and pumpkin soup, which is surprisingly simple to prepare and packed with flavor.

Frequently Asked Questions About Homemade Turkey Broth
Absolutely, homemade turkey broth freezes perfectly! If you anticipate not using all of your delicious broth within 3-4 days of making it, simply portion it into freezer-safe containers, label clearly with the date, and freeze. For optimal quality, use the frozen broth within 3 months.
There are several safe and effective ways to thaw frozen broth.
1) The safest method is to transfer the frozen containers from your freezer to the refrigerator and allow them to thaw slowly for about 24 hours.
2) For a quicker thaw, place the frozen containers in a sink filled with cold water to initiate the thawing process. Once the broth is semi-frozen, you can transfer it to a pot and heat it over low heat until it becomes fully liquid.
3) Your microwave can also be used on a low setting, such as manual defrost at around 40% power. Once it’s mostly thawed, transfer it to a pot on the stovetop and finish thawing over low heat.
It is critically important for food safety never to leave broth out on the counter to thaw at room temperature. This allows the broth to enter the “food temperature danger zone” (between 40°F and 140°F / 5°C and 60°C), where harmful bacteria can multiply rapidly.
You have several excellent options for freezing your homemade broth. Traditional glass mason jars are a great choice (just be sure to leave headspace for expansion). Square glass containers, like these, also work wonderfully. A relatively new and highly convenient option are Souper Cubes, which allow you to freeze broth into perfect ½ cup, 1 cup, or 2 cup portions, making them incredibly easy to use directly from the freezer.
Homemade turkey broth is exceptionally versatile. You can confidently use it in place of chicken broth in virtually any recipe. It’s fantastic for enhancing the flavor of soups, adding richness to stews, elevating the taste of risotto, and in countless other dishes where a good quality broth is needed. Just ensure the rich flavor profile of turkey broth complements the overall flavors of your dish. It’s particularly good in recipes calling for a deeper, more savory base.
Explore More Delicious Broth and Soup Recipes
If you’ve enjoyed making this homemade turkey broth, be sure to explore my other fantastic broth recipes. Try my long-simmered chicken bone broth for a truly nourishing stock, or opt for the quicker Instant Pot chicken broth for convenience. For a vibrant vegetarian option, my vegetable broth is a must-try. And don’t forget, this superb turkey broth is the perfect liquid to use in my terrific Thanksgiving stuffing recipe, ensuring an unforgettable holiday meal!
- Easy Instant Pot Chicken Broth
- Low Sodium Vegetable Broth
- Homemade Chicken Bone Broth (step by step)
- Hearty Tuscan White Bean Soup
⭐️ Did You Make This Homemade Turkey Broth?
If you take the plunge and make this incredible homemade turkey broth, I would absolutely love to hear about your experience! Please take a moment to comment below and let me know how it turned out. Your feedback is truly valuable. If you loved it and found this recipe helpful, please consider giving it a 5-star rating! Your ratings genuinely assist other readers in discovering and trusting this recipe. And, as always, if you have any questions at all, feel free to comment or email me directly. Happy cooking!
📖 Recipe

Homemade Turkey Broth
Sally CameronEquipment
- Large stainless steel roasting pan 14″x16″
- OR a large heavy duty disposable aluminum pan works You may need to double them up for strength or place the pan on a rimmed baking sheet pan for support. Dispose of after use.
- large stock pot (10-12 quart)
Ingredients
For the oven
- 7 pounds turkey pieces thighs, necks, legs
- 1 large onion brown, yellow, sweet, white
- 3-4 large carrots
- 3-4 celery ribs
- 1 whole head garlic
- 1 cup white wine or dry white vermouth or water
For the stockpot
- 3 bay leaves fresh or dry
- ½ bunch Italian parsley
- ½ bunch fresh thyme
- 2 teaspoons whole black peppercorns
- 5 quarts cold water
- Boiling hot water to fill pot as needed
Instructions
Heat oven, prep turkey
- Pre-heat oven to 375° (190 c) and get out a large roasting pan. Remove as much skin and any extra fat that you can from turkey pieces. Place pieces into the roasting pan in a single layer.
Prep veggies and roast
- Roughly chop onions, carrots and celery. Split garlic head horizontally through the center (no need to peel). Add vegetables and garlic to the roasting pan with the turkey. Place pan in the oven and roast for 1 hour. At the end of the hour, add the wine and roast another 30 minutes.
Make the broth
- Place roasted turkey and vegetables into a large stock pot (10-12 quarts). Add bay leaves, parsley, thyme, peppercorns and cold water. Bring the pot to just under a boil, turn down to low and barely simmer for 10-12 hours. You want the pot to be at a slow, gentle bubble to extract as much flavor as possible. When the water level drops about 2″, add a little boiling water from a tea kettle, keeping the ingredients just under water.
- At the end of 10-12 hours, remove all meat, vegetables, herbs and discard, as they will be spent. Drain broth through a fine sieve into a clean large pot or bowl. Place in a sink filled with ice and cold water to cool quickly. Place pot on a trivet or small rack to help water circulation under the pot for faster cooling. Stir occasionally. You want the broth to cool as quickly as possible for food safety.
- When stock is cool, below 70°, cover and place in the refrigerator. The next morning, remove any fat solidified on top, place into containers, label and freeze.
