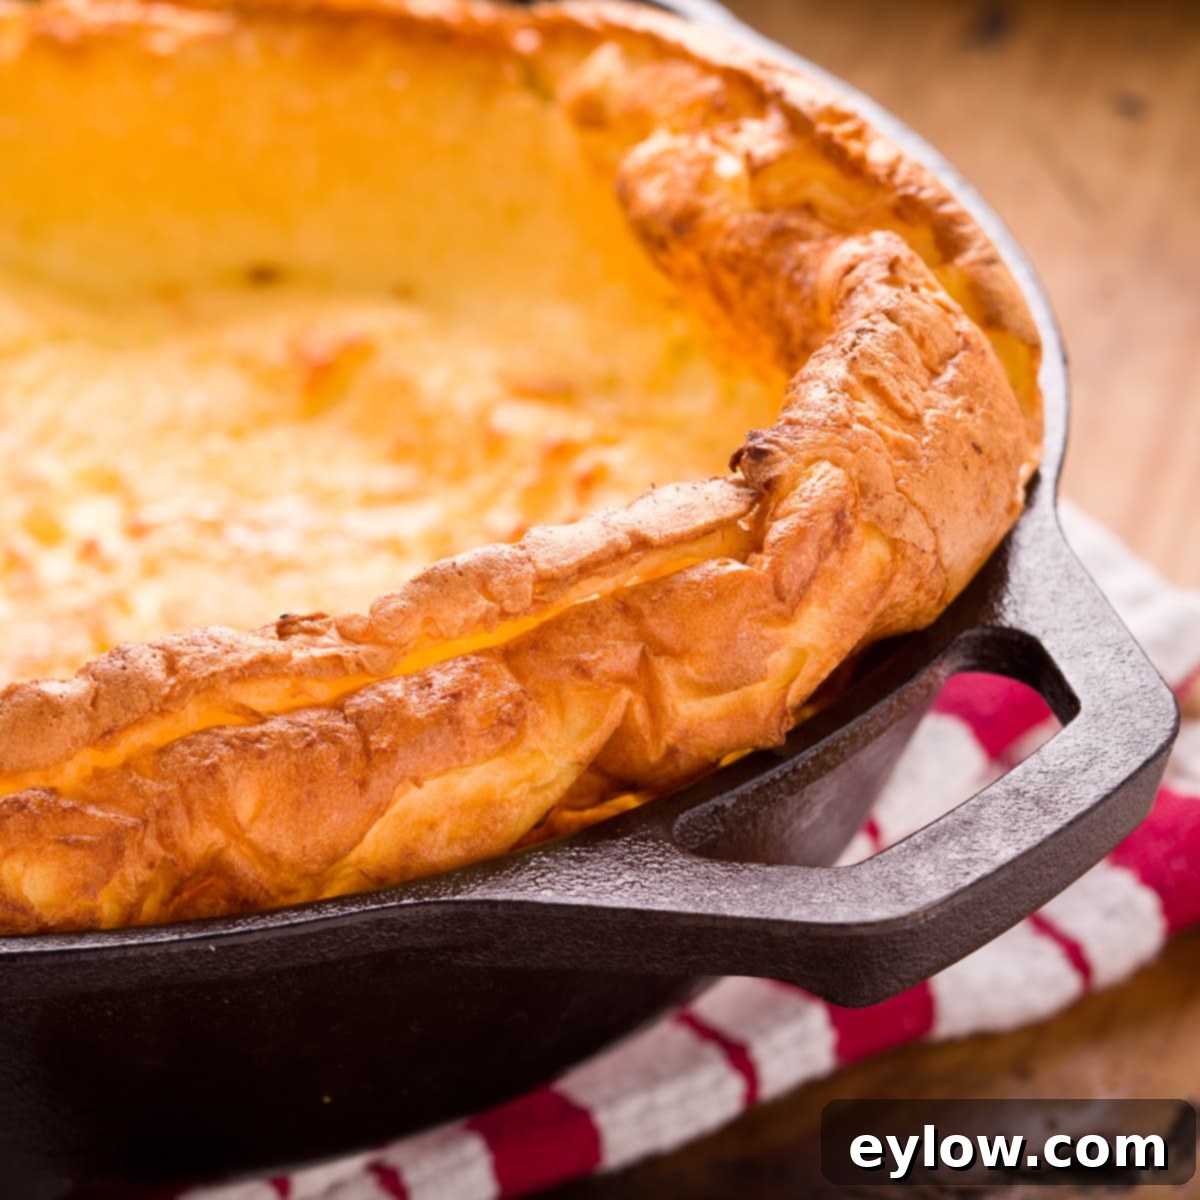
The Ultimate Gluten-Free Dutch Baby Pancake Recipe: Easy Oven Pancake Perfection
Prepare to be amazed by this effortlessly delicious gluten-free Dutch baby pancake, also affectionately known as a German pancake or oven pancake. This culinary marvel puffs dramatically in the oven, creating a spectacular display before settling into a beautifully tender, open center that’s just begging to be filled. Whether you choose fresh berries and a drizzle of maple syrup, a dusting of powdered sugar, or a more adventurous savory topping, this one-pan showpiece is ready in about 30 minutes. It’s simple enough for a relaxed weekend breakfast but impressive enough to wow any guest. And don’t worry if you’re not gluten-free; this recipe works perfectly with regular wheat flour too – I’ve personally made it both ways with fantastic results. No special tools or exotic ingredients are required, just a few pantry staples and a hot oven to create breakfast magic!
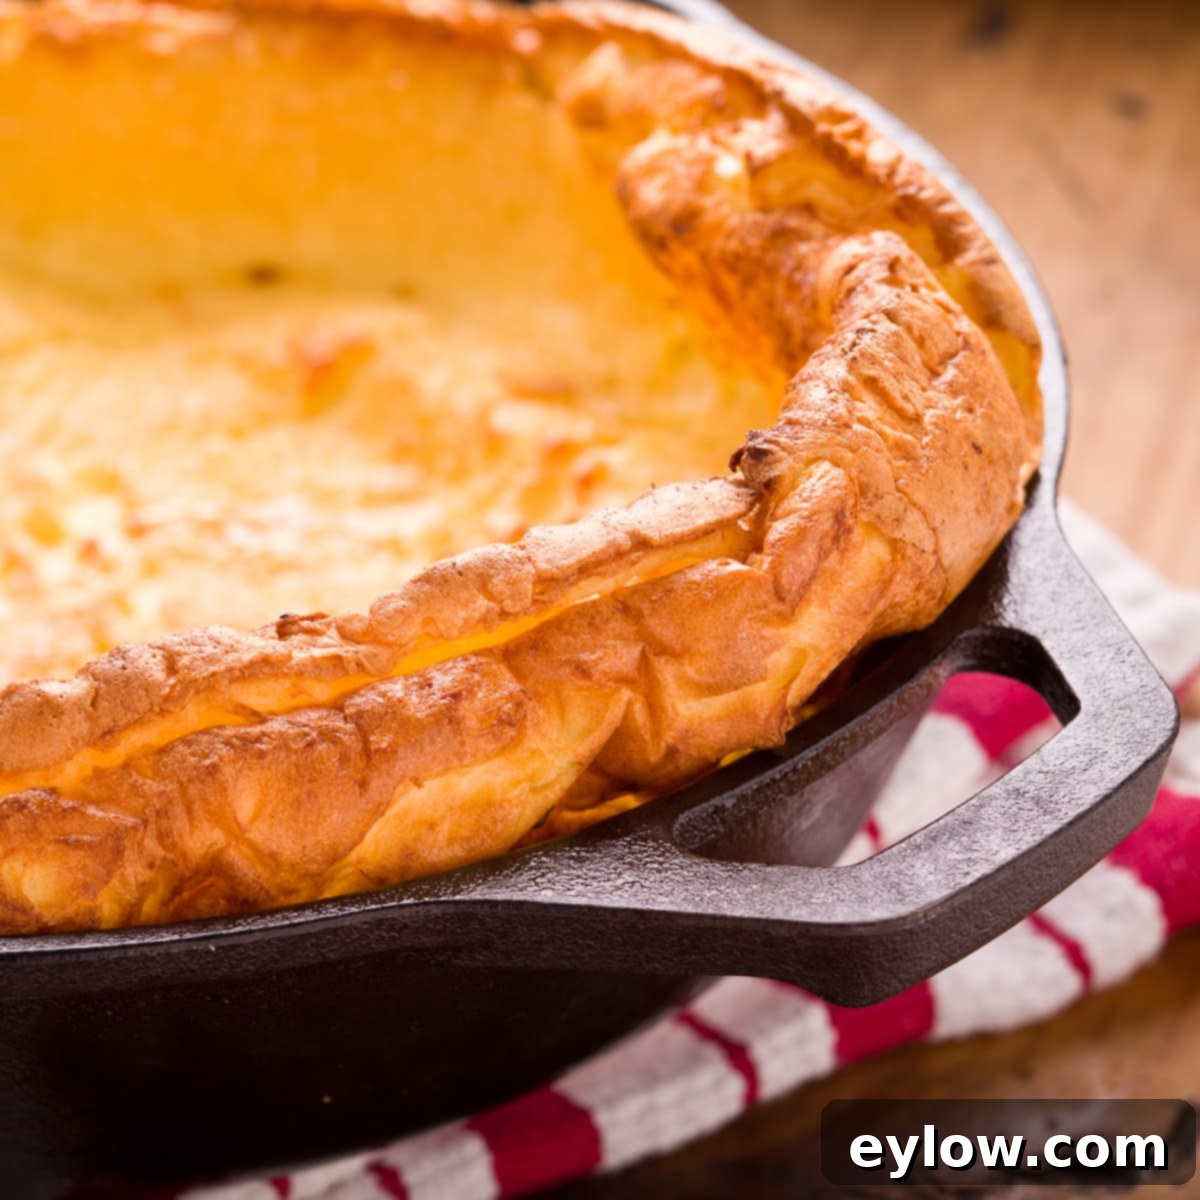
This cherished Dutch baby pancake recipe comes from my husband’s grandmother, Della, who famously ran a diner. She simply called them “oven pancakes,” a fitting name for these puffy, golden delights baked directly in a skillet. You might also recognize them by other charming names like Dutch puff, Hootenanny, Bismarck, or German pancakes – but whatever you call it, the experience is uniquely delightful. The batter is incredibly straightforward: just whisk a few ingredients together, pour it into a blazing hot skillet preheated in the oven, and bake for roughly 20 minutes. The transformation is truly something to behold. Once baked to golden perfection, it emerges with towering edges, ready to be crowned with your favorite toppings. Imagine a cascade of juicy fresh berries and a generous pour of maple syrup for a sweet treat, or get creative with a savory twist like melted cheese and fresh herbs for a more robust meal.
The beauty of a Dutch baby lies in its simplicity and versatility. It’s less labor-intensive than traditional pancakes or waffles, as there’s no standing over a griddle flipping individual portions. Instead, the oven does all the work, leaving you free to prepare toppings or enjoy your morning coffee. The dramatic puff isn’t just for show; it creates a shallow, tender “bowl” perfect for holding all your delicious additions. This recipe is a testament to timeless comfort food, offering a wholesome and impressive breakfast or brunch option that’s easy to achieve for anyone, regardless of their baking experience. With its minimal ingredient list and quick bake time, it’s destined to become a staple in your home, providing a spectacular start to any day.
[feast_advanced_jump_to]
Why You’ll Adore This Gluten-Free Dutch Baby Pancake
There are countless reasons why this gluten-free Dutch baby recipe will quickly become a cherished favorite in your kitchen. Beyond its eye-catching presentation, it offers convenience, customization, and a delightful culinary experience that appeals to everyone:
- Fun and Easy to Make: Forget complicated techniques! This recipe truly embodies simplicity. Just a few quick whisks to combine the ingredients, a pour into a hot pan, and the oven handles the rest. Watching it dramatically puff up through the oven door is half the fun, making it an engaging recipe for cooks of all ages, including families with children. It feels like a special occasion dish without any of the fuss, bringing a touch of magic to your morning routine.
- Made with Simple Ingredients: You likely already have everything you need in your pantry. The core ingredients are humble: fresh eggs, your preferred flour, milk, and butter. This accessibility means you can whip up a Dutch baby whenever the craving strikes, without needing a special trip to the grocery store. It’s a testament to how fantastic simple, high-quality ingredients can taste when combined correctly, proving that gourmet flavors don’t require complex lists.
- Customizable with Your Favorite Toppings: This is where the real creativity comes in! The deep, tender center of the Dutch baby is a blank canvas for an endless array of toppings. Whether you lean towards sweet indulgences like fresh fruit, powdered sugar, and maple syrup, or prefer a savory adventure with cheese, herbs, or even smoked salmon, there’s a topping combination for every palate and every mood. This versatility makes it perfect for serving a diverse crowd, where everyone can personalize their own piece.
- Easy to Make Dairy-Free: Adapting this recipe for dietary needs is incredibly simple. By opting for your favorite non-dairy milk (such as almond, oat, or coconut milk) and a good-quality plant-based butter, you can easily create a delicious dairy-free Dutch baby that sacrifices none of its signature flavor or dramatic puff. This inclusivity means everyone at your table can enjoy this delightful breakfast treat, regardless of their dietary restrictions.
- Flour Options for Everyone: This recipe is designed to be flexible and inclusive. While it’s specifically crafted to deliver an outstanding gluten-free Dutch baby using a reliable gluten-free flour blend, it performs equally well with regular all-purpose wheat flour. This means you can effortlessly accommodate different dietary preferences in one household, or simply choose the flour you have on hand, ensuring consistent, delicious results every single time.
For another special breakfast treat that’s equally satisfying and easy to make gluten-free, why not try these golden gluten-free waffles? They offer a different texture but the same commitment to delicious, accessible baking.
Essential Ingredients for Your Gluten-Free Dutch Baby
Creating a magnificent Dutch baby pancake doesn’t require a long list of obscure ingredients. In fact, its charm lies in how a few basic components come together to create something truly spectacular. Here’s a closer look at what you’ll need and why each element is important:
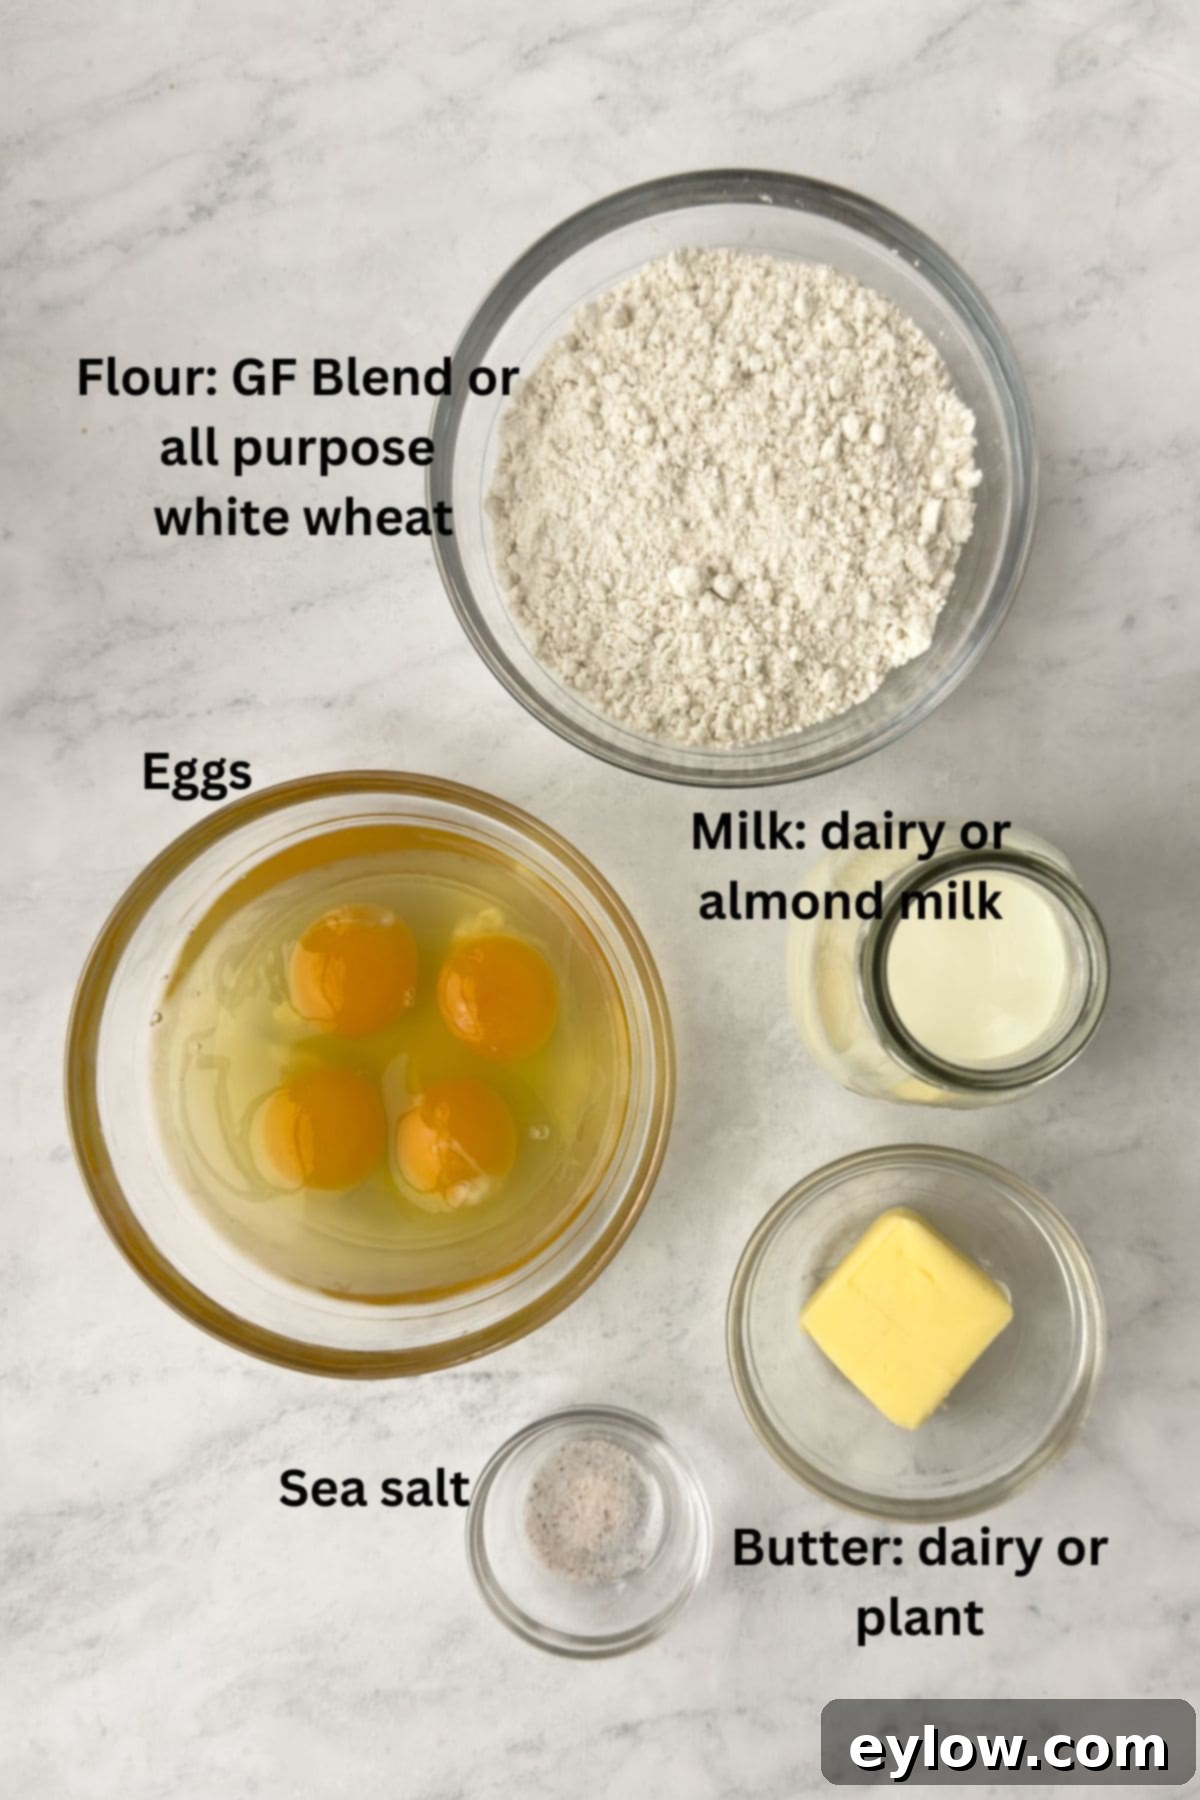
- Flour: This is the backbone of your pancake. For a truly excellent gluten-free Dutch baby, use a high-quality gluten-free all-purpose flour blend. I’ve had great success with blends like King Arthur Measure for Measure GF blend and Fioreglut GF flour, both known for their reliable performance in baked goods. These blends typically contain a mix of different flours and starches, providing the necessary structure and texture. If gluten isn’t a concern, regular all-purpose wheat flour works beautifully and yields a similarly impressive puff, making it adaptable for all.
- Eggs: Large eggs are absolutely crucial for this recipe. They provide the primary structure and the “lift” that gives the Dutch baby its signature dramatic puff. The protein in the eggs, when heated rapidly, creates steam that inflates the pancake, resulting in that wonderful, airy texture. Ensure your eggs are fresh for the best results, as their quality directly impacts the final rise.
- Milk: The liquid component that brings the batter together. Full-fat dairy milk will contribute to a richer flavor and a slightly more tender interior, but the beauty of this recipe is its adaptability. Feel free to use any dairy-free milk alternative, such as unsweetened almond milk, oat milk, or even a light coconut milk. The key is to use a liquid that you enjoy the taste of, as it will subtly influence the final flavor profile of your pancake.
- Butter: Unsalted butter is preferred as it gives you control over the saltiness of the dish. It contributes to the rich flavor of the Dutch baby and, more importantly, facilitates the crisping of the edges in the hot skillet. If you’re going dairy-free, a good-quality plant-based butter substitute works perfectly. Make sure it melts and browns nicely in the hot pan to add a delicious, nutty depth of flavor that enhances the overall experience.
- Heavy Whipping Cream (for topping): While optional, a dollop of softly whipped cream is a classic and delightful topping for a sweet Dutch baby. It adds a luxurious richness and balances the textures with its airy consistency. For a dairy-free option, whipped coconut cream (made from a can of full-fat coconut milk, chilled) can be a fantastic alternative, offering a similar indulgence.
- Salt: Just a pinch of sea salt is essential to balance the flavors of the other ingredients and enhance the overall taste. It brings out the subtle sweetness in the pancake itself, ensuring every bite is perfectly seasoned.
Please refer to the detailed recipe card below for exact measurements of all ingredients, including salt. It’s designed to guide you through each step precisely and ensure perfect results every time.
Chef’s tip: Scaling the Dutch Baby. This Dutch Baby recipe is remarkably scalable, making it easy to adjust for more servings or larger appetites. For instance, I’ve successfully prepared a 1 ½x recipe in a 2 ¼ quart braiser, which is ideal for serving 4 hungry individuals. Remarkably, even with the increased volume, it still bakes beautifully in approximately 20 minutes, demonstrating its forgiving nature and making it perfect for feeding a crowd without extending your cooking time significantly.
Irresistible Dutch Baby Pancake Toppings: Sweet & Savory
One of the most exciting aspects of a Dutch baby pancake is the endless possibilities for customization through toppings. Whether you crave something sweet and indulgent or a hearty and savory treat, this versatile oven pancake provides the perfect base. Our family favorite, without a doubt, is a generous piling of fresh berries accompanied by softly whipped cream. For a truly sweet version, you’ll want to whip heavy whipping cream with a touch of vanilla extract and a sweetener of your choice to create a cloud-like topping. But don’t stop there – explore these delicious ideas that will transform your Dutch baby into a culinary masterpiece:
- Fresh Fruit: A vibrant array of fresh fruit is always a winner. Think plump raspberries, juicy blueberries, sweet blackberries, sliced strawberries, or even seasonal delights like peaches, nectarines, or sliced bananas. The natural sweetness and slight tartness complement the pancake beautifully, adding freshness to every bite.
- Jams & Spreads: Elevate your Dutch baby with your favorite jams, preserves, or fruit curds. A dollop of store-bought raspberry jam, apricot preserves, or a zesty homemade lemon curd adds a burst of intense flavor and a smooth, appealing texture.
- Syrup: A classic drizzle of pure maple syrup is always a good choice, offering rich, earthy sweetness. For those watching their sugar intake, a zero-sugar maple syrup or a unique coconut syrup can offer a similar sweetness. Honey or agave nectar are also excellent alternatives, each providing its own distinct flavor.
- Powdered Sugar: A simple dusting of powdered sugar (confectioners’ sugar) adds an elegant touch and a subtle sweetness that melts delightfully on the warm pancake. For a sugar-free alternative, consider powdered monk fruit or allulose, achieving a similar delicate finish.
- Crisp Bacon: For a delightful sweet-and-savory contrast, sprinkle crisp bacon crumbles over your Dutch baby. The salty crunch pairs surprisingly well with sweet toppings and makes for a more substantial breakfast, satisfying all taste buds.
- Chocolate: Indulge your sweet tooth with chocolate chips (regular or mini size), delicate chocolate shavings, or a warm chocolate sauce. This is especially decadent with whipped cream and fruit, creating a dessert-like experience.
- Sautéed Mushrooms: Transitioning to savory, flavorful sautéed mushrooms offer an earthy, umami-rich topping. They are fantastic with a sprinkle of fresh herbs like thyme or parsley, turning your Dutch baby into a hearty meal.
- Smoked Salmon: For a sophisticated brunch option, top your Dutch baby with thin slices of smoked salmon. Pair it with a horseradish whipped cream (mix a little prepared horseradish into whipped cream cheese or plain whipped cream) and a sprinkle of fresh dill or chives for an unforgettable savory experience.
- Other Savory Additions: Consider crumbled goat cheese, feta, sun-dried tomatoes, caramelized onions, or even a perfectly fried or poached egg for a complete, satisfying meal. Freshly chopped chives or other herbs can also add a burst of garden-fresh flavor.
For another delectable sauce option that’s both vibrant and easy, try this easy homemade strawberry couli. It’s wonderfully fresh, can be made ahead of time, and freezes beautifully, ready to elevate any breakfast dish with its bright, fruity notes.
Chef’s tip on cassava flour: While cassava flour has gained popularity as a gluten-free alternative, it’s important to be aware of recent findings. Disappointing testing results by reputable organizations like Consumer Reports and Lead Safe Mama have raised serious concerns regarding elevated levels of lead and other contaminants in various cassava flour products, even from well-known brands. In light of these potential safety issues, I currently do not recommend using cassava flour in this recipe or other preparations until further clarity and improvements in sourcing and processing are established. Always prioritize your health and opt for tested, reliable gluten-free flour blends for peace of mind.
Customizing Your Gluten-Free Dutch Baby
This recipe is a wonderful starting point, but don’t hesitate to make it your own! Here are some simple substitutions and variations to experiment with, allowing you to tailor your Dutch baby to your exact preferences and explore new flavor profiles:
- Vanilla Extract: For a decidedly sweet-style Dutch baby, add a teaspoon of good quality vanilla extract to the batter along with the milk. This simple addition infuses the pancake with a warm, comforting aroma and flavor that perfectly complements fruit and sweet toppings, creating a richer, more complex taste. You can also experiment with almond extract for a different nutty note.
- Citrus Zest: For a bright and zesty flavor, finely grate the zest of half a lemon or orange directly into the batter. This adds a subtle tang and fragrant aroma that works beautifully with sweet toppings, especially fresh berries or a homemade lemon curd, providing a delightful contrast.
- Warm Spices: Elevate your sweet Dutch baby with warm spices. A pinch of ground cinnamon, nutmeg, or even a touch of cardamom can add depth and comforting notes. Incorporate them directly into the dry flour mixture before whisking with the wet ingredients for even distribution.
- Dairy-Free Options: As mentioned in the ingredients section, this recipe is incredibly adaptable. Easily swap dairy milk for your favorite non-dairy alternatives like almond, oat, or coconut milk, and substitute traditional butter with a good quality plant-based butter. These substitutions ensure your Dutch baby is completely dairy-free without compromising on its signature taste or dramatic texture.
- Flour Choice: The beauty of this recipe is its flexibility regarding flour. It is meticulously designed to work with both gluten-free all-purpose flour blends (like King Arthur Measure for Measure) and regular all-purpose wheat flour. Choose the option that best suits your dietary needs or preferences, confident that both will yield equally excellent and delicious results.
- Mini Dutch Babies: For individual servings, a charming presentation, or to cater to smaller appetites, consider dividing the batter among smaller cast iron skillets (such as 6-inch pans) or even oven-safe ramekins. Remember to adjust the baking time slightly for these smaller portions, typically reducing it by a few minutes, until they are beautifully puffed and golden.
- Savory Enhancements to Batter: If you’re leaning towards a savory Dutch baby, you can infuse the batter itself with additional flavors. Try whisking in a small amount of finely grated Parmesan or Gruyère cheese, a pinch of garlic powder, onion powder, or freshly ground black pepper. This can provide a subtle yet flavorful base that complements savory toppings beautifully.
Chef’s tip: Rest the batter for a better rise. This step is particularly beneficial when using gluten-free flour, though it also improves results with wheat flour. If time permits, let your Dutch baby batter rest for at least 15 minutes (or even up to 30 minutes) before baking. This resting period allows the flour to fully hydrate, absorbing the liquid and developing a smoother, more cohesive consistency. For gluten-free flours, this hydration is crucial for preventing a gritty texture and ensuring the Dutch baby puffs properly and maintains its structure, leading to a more tender and appealing final product. It’s a small, easy step that makes a big difference in the final texture and dramatic rise of your oven pancake.
Step-by-Step: Crafting Your Gluten-Free Dutch Baby
Creating this impressive oven pancake is surprisingly simple, especially when you follow these clear steps. The key to that signature dramatic puff and crispy edges lies in a few crucial techniques, primarily involving the temperature of your pan and oven. I highly recommend using a 10-inch cast-iron skillet or an enameled cast iron pan, as their heavy construction ensures they hold and distribute heat exceptionally well, which is vital for perfect results. Let’s walk through the process:
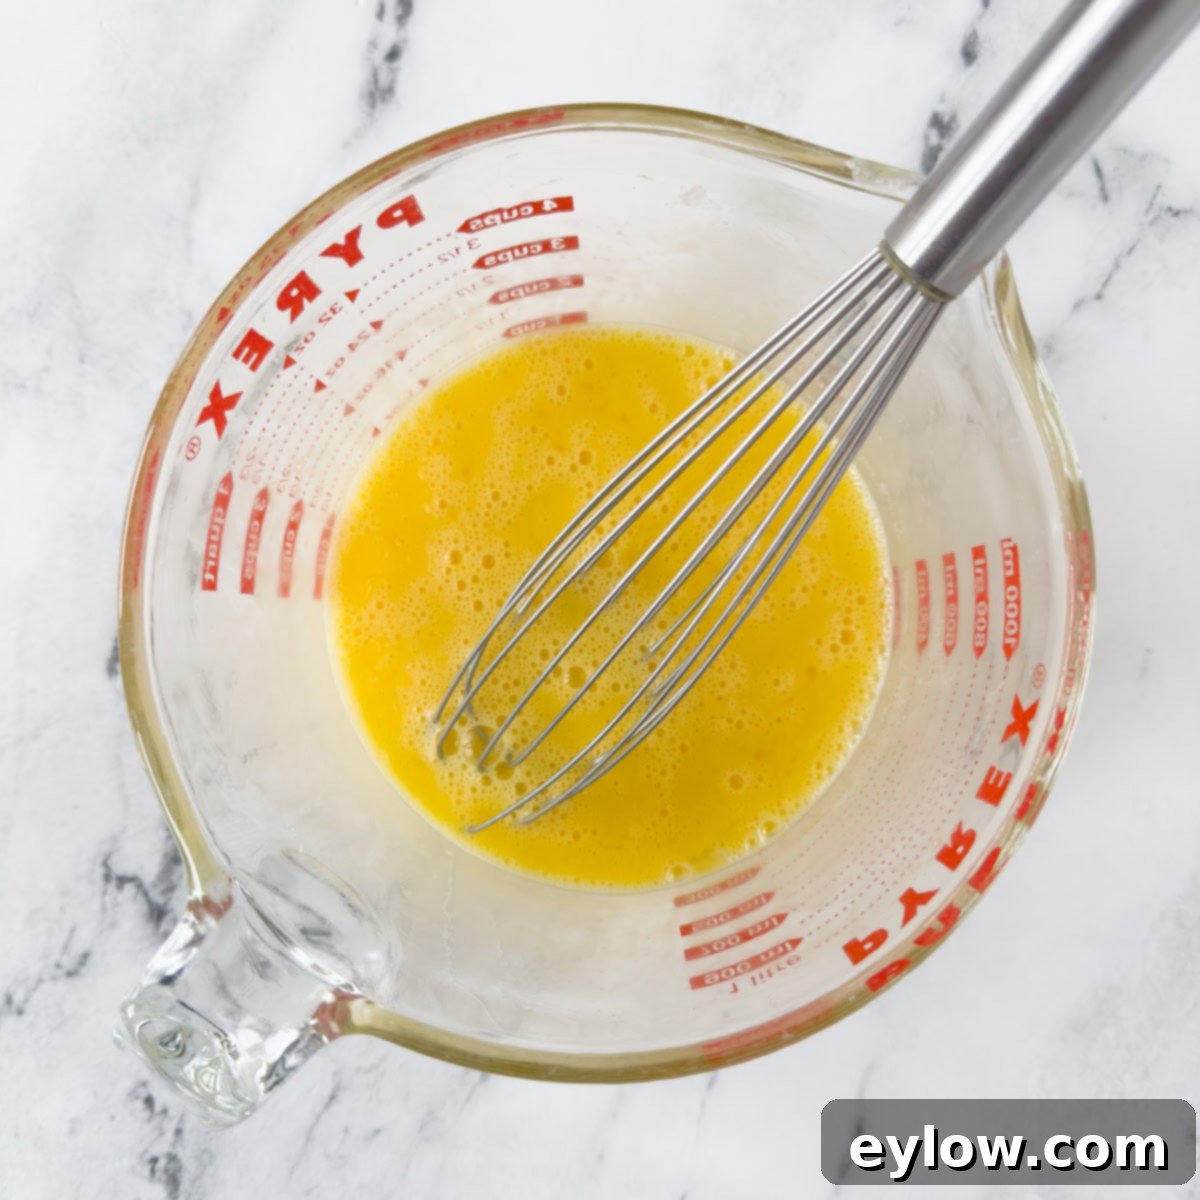
- Whisk Eggs Until Smooth: Begin by cracking your large eggs into a medium mixing bowl or a large measuring cup. Using a whisk, beat the eggs vigorously until they are completely smooth, uniform in color, and slightly frothy. This aeration is important for incorporating air into the batter, which contributes to the pancake’s impressive rise in the oven.
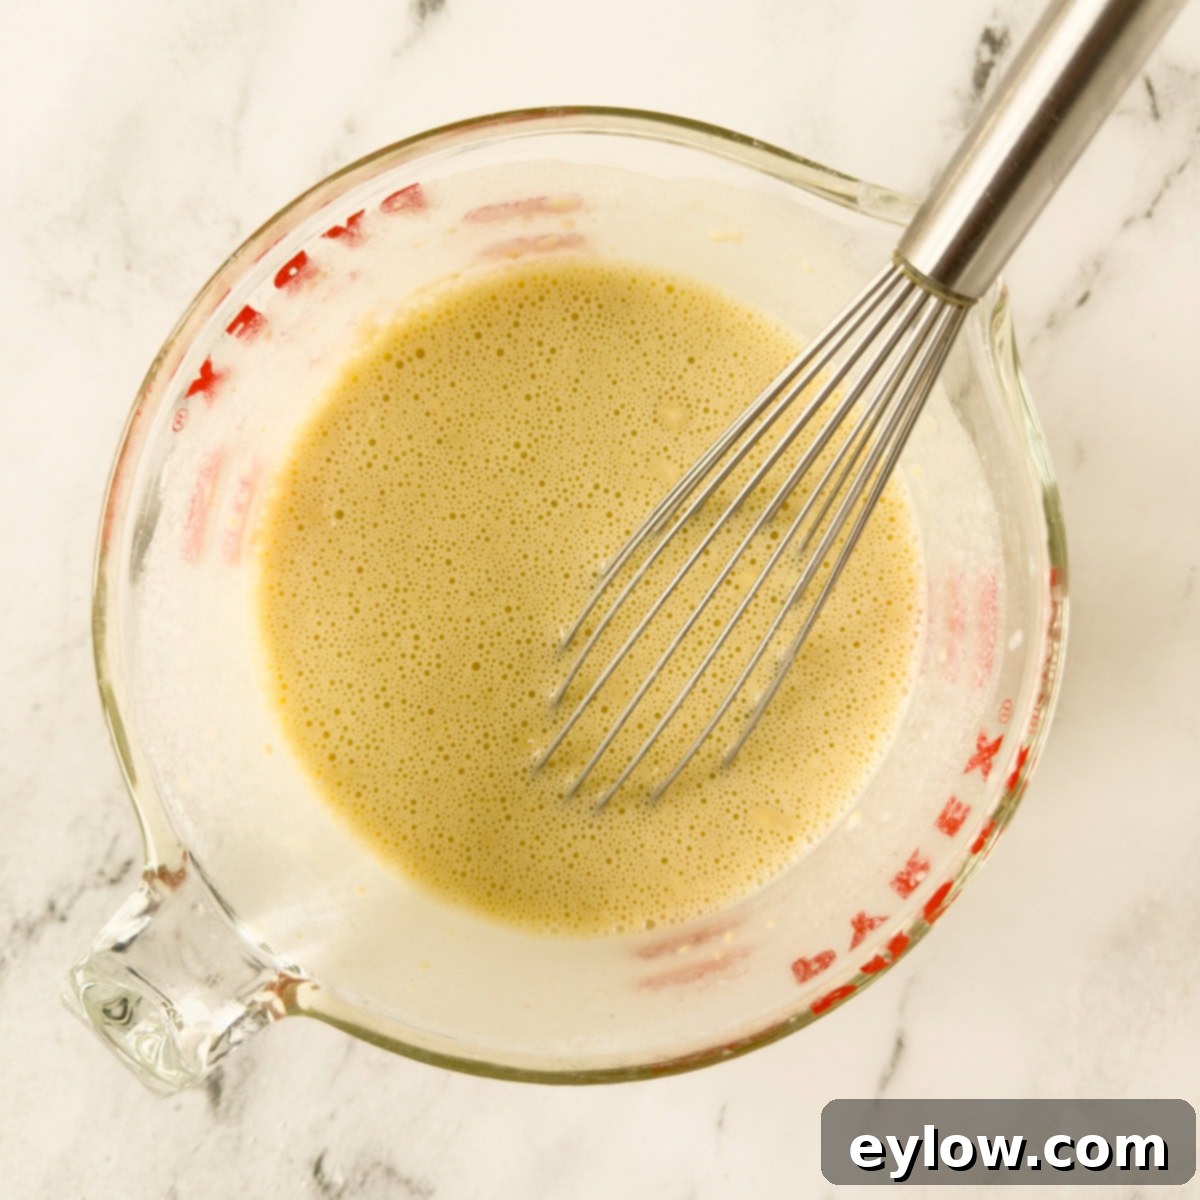
- Combine Dry and Wet Ingredients: To the whisked eggs, add the milk, gluten-free flour blend (or all-purpose flour if preferred), and a pinch of sea salt. Continue whisking until the batter is completely smooth and all lumps have disappeared. Ensure no pockets of dry flour remain. For gluten-free flours, now is the ideal time to let the batter rest for 15-20 minutes at room temperature. This crucial resting period allows the starches in the flour to fully hydrate, which is key for optimal texture, preventing grittiness, and ensuring a better, more stable rise.
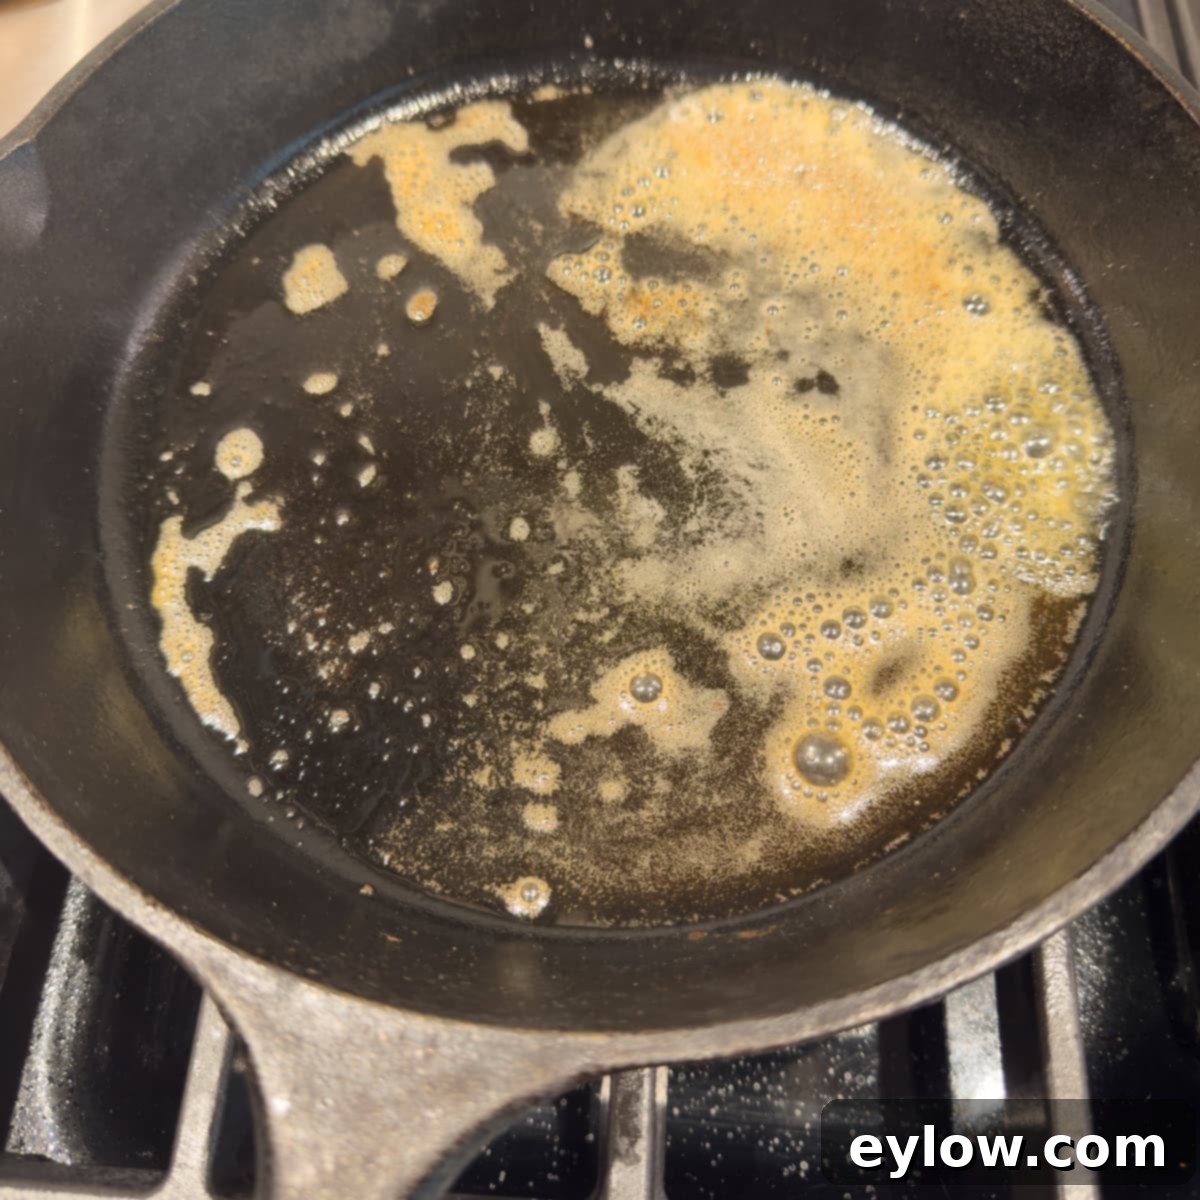
- Prepare the Hot Skillet: While your oven is preheating to 425°F (a critical step for the dramatic puff), place your empty 10-inch cast iron skillet directly on the center rack and let it heat up for at least 10-15 minutes, or until it’s sizzling hot. Carefully remove the very hot pan from the oven using sturdy oven mitts, then add the tablespoon of unsalted butter. Swirl the butter around the pan to coat the bottom and lower sides, allowing it to melt and lightly brown for a few seconds. This browning adds a delicious, nutty depth of flavor to the crust.
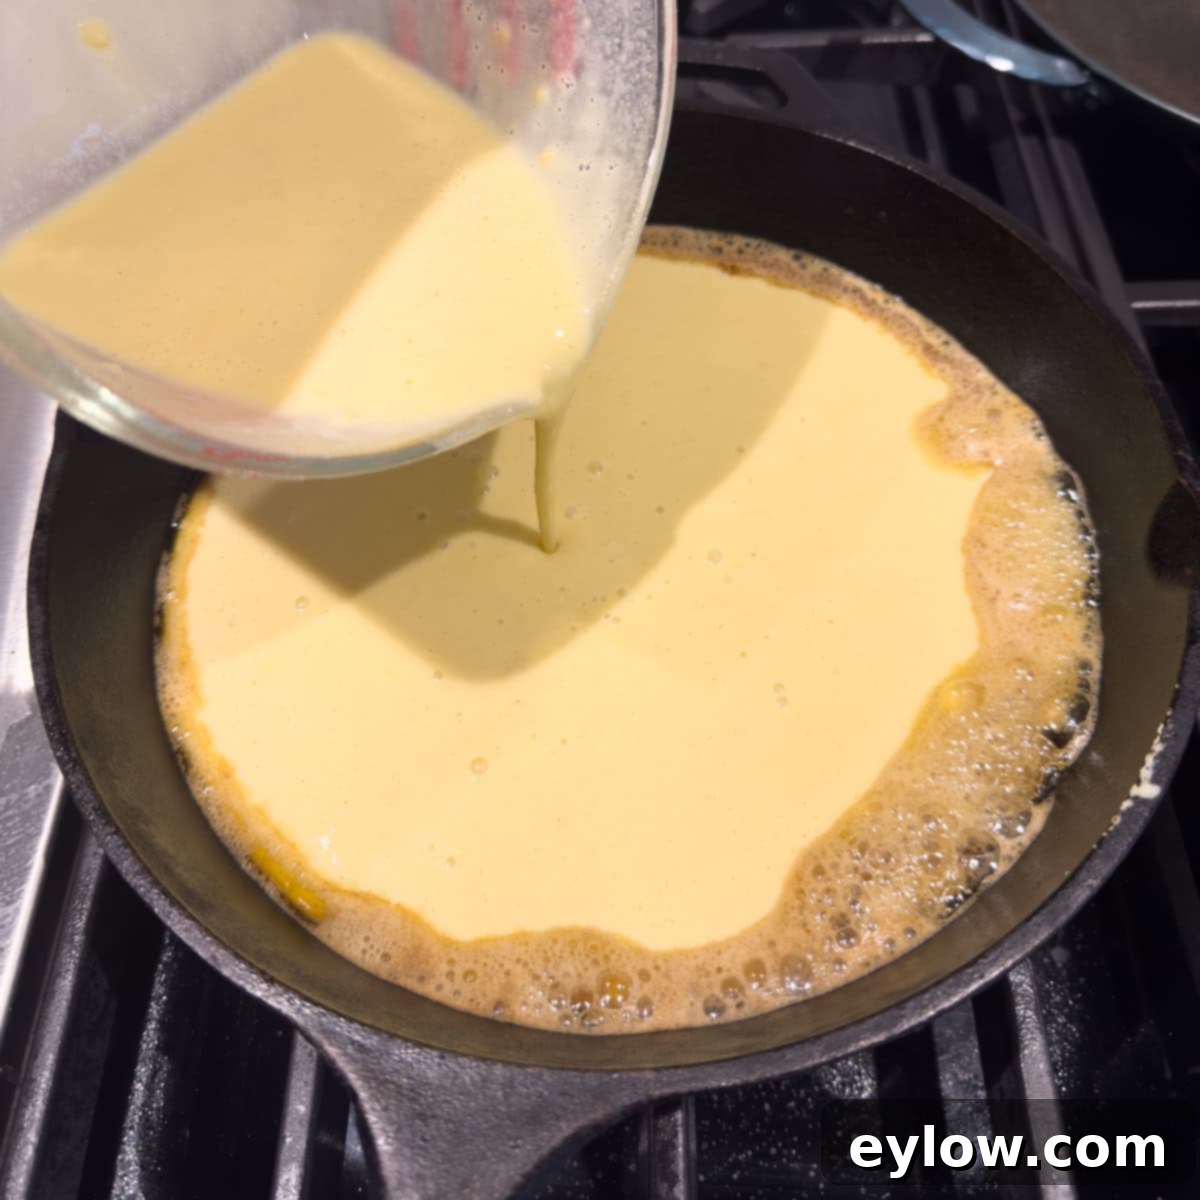
- Pour Batter into Hot Pan: Working quickly and carefully (the pan will be extremely hot), pour the prepared Dutch baby batter directly into the center of the sizzling, buttered cast iron pan. The batter should immediately begin to sizzle vigorously around the edges – this is an excellent sign that your pan is hot enough and ready to create that dramatic, impressive puff! Speed is important here to maintain pan temperature.
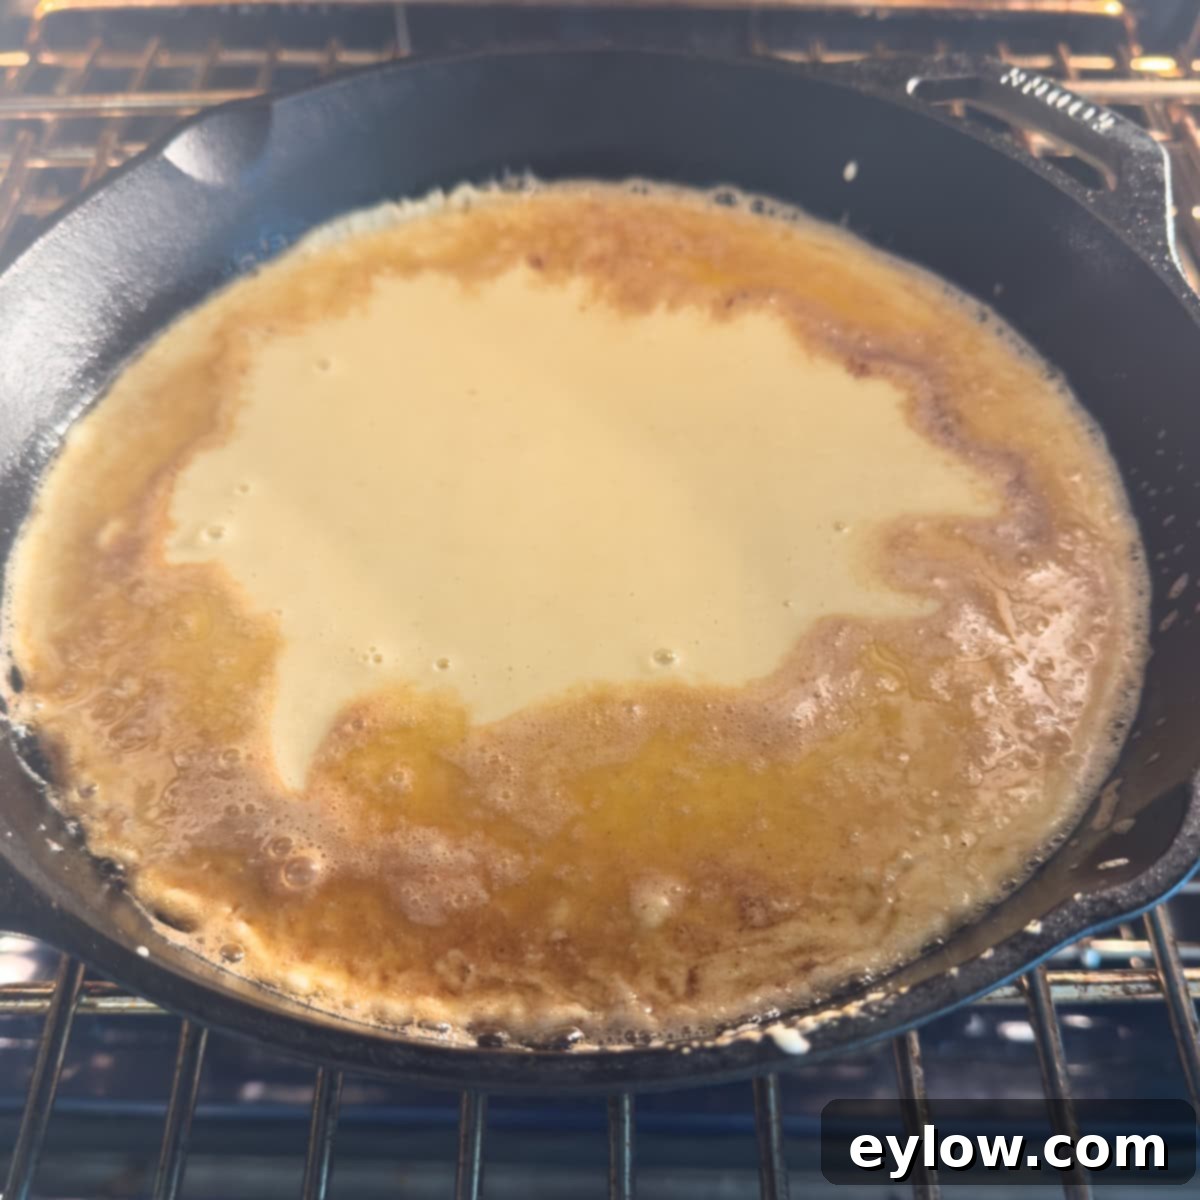
- Bake Until Puffed and Golden: Immediately return the skillet with the batter to the preheated oven. Bake for approximately 18-20 minutes. It’s absolutely crucial not to open the oven door during baking, as any sudden drop in temperature can cause the pancake to deflate prematurely. Resist the urge to peek! You’ll witness the edges dramatically rise and puff up, forming beautiful golden-brown peaks around a softer, slightly sunken center. Baking time may vary slightly depending on your oven, so judge by its appearance rather than strictly by the clock.
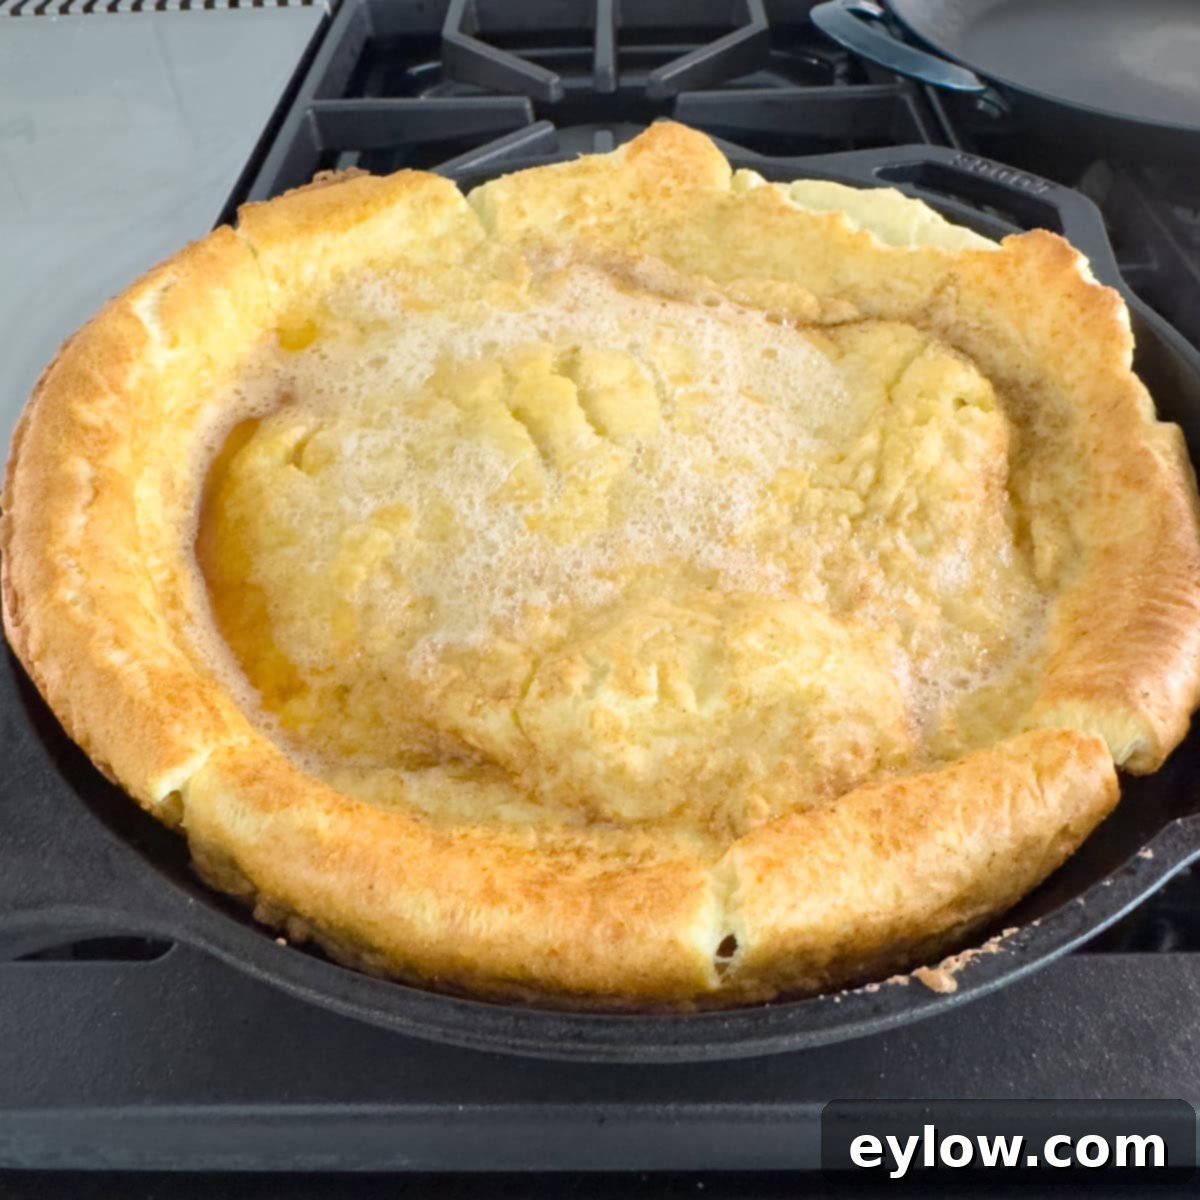
- Serve Immediately: Once your Dutch baby is beautifully puffed and golden brown with crispy edges, it’s ready! Carefully remove the hot skillet from the oven using oven mitts. While it will naturally deflate slightly as it cools, this creates the perfect “bowl” for your toppings. Slice it into quarters or wedges and serve warm, allowing everyone to customize their piece with their favorite sweet or savory additions. The tender, custardy center is best enjoyed fresh.
Chef’s tip: Embrace the sizzle with a super hot skillet. For the most impressive rise, deliciously crisp edges, and that satisfying tender center on your Dutch baby, preheating your cast iron skillet in the oven until it’s absolutely blazing hot (at least 425°F) is non-negotiable. Once hot, quickly swirl in your melted butter – it should sizzle immediately upon contact and brown slightly for extra flavor – then pour in the batter with speed. The intense, radiant heat of the pan, combined with the hot oven environment, creates a powerful burst of steam from the liquid in the batter, which is entirely responsible for the dramatic, towering puff. And remember, the golden rule of Dutch baby baking: do not open the oven door to peek! Every time you open the door, precious heat escapes, causing a rapid temperature drop and a high risk of your pancake deflating prematurely. Trust the process and enjoy the anticipation! Pre-heating the pan in the oven is truly a must for consistent, spectacular success.
Creative Ways to Serve Your Gluten-Free Dutch Baby
Once your magnificent gluten-free Dutch baby emerges from the oven, beautifully puffed and golden, the fun truly begins with serving! The slightly sunken center of the pancake creates a natural “bowl” perfect for cradling an array of delicious toppings. Cut your Dutch baby into 4 generous pieces, or more if serving smaller appetites, and let everyone customize to their heart’s content. Our absolute favorite way to enjoy them is topped high with a medley of fresh, seasonal berries and a dollop of lightly sweetened whipped cream, creating a perfect balance of textures and flavors. But the versatility of this oven pancake means there are countless other ways to serve it, whether you prefer a sweet breakfast or a savory brunch.
Serve it warm, straight out of the oven, while it’s still boasting its impressive puff and golden hue. While it will settle as it cools, the flavor remains superb. A single recipe is typically designed to serve 4 people, making it an ideal family breakfast. However, appetites vary wildly – my husband, for example, will happily devour two pieces himself! So, adjust your expectations based on what you’re serving alongside it and how hungry your crowd is. If you’re hosting a larger gathering or have particularly enthusiastic eaters, a smart strategy is to utilize a second cast iron skillet if you have one. Place both in the oven to preheat, and have a second batch of batter ready to go. As soon as one Dutch baby is served, pop the next one into the oven to ensure a continuous supply of warm, fresh pancakes for all your guests.
Consider serving your Dutch baby alongside classic breakfast fare like crispy bacon or savory sausage for a complete breakfast spread, or pair it with a vibrant fresh fruit salad and a strong cup of coffee or freshly squeezed juice for an elegant brunch. For a truly decadent, dessert-like experience, serve it warm with a scoop of vanilla ice cream or a warm fruit compote. The possibilities are truly endless, making the Dutch baby a flexible and festive addition to any meal, from a quick weekday treat to a celebratory holiday gathering.
Your Top Questions About Gluten-Free Dutch Baby Pancakes Answered
Whether you’re new to Dutch babies or a seasoned fan looking to perfect your technique, here are some of the most frequently asked questions to guide you through making this spectacular oven pancake:
Dutch baby pancakes are wonderfully versatile and go by many names! You might hear them called German pancakes (which speaks to their true origin, despite the “Dutch” moniker), oven pancakes, puffed pancakes, a hootenanny, a Dutch puff, puff pancake, a Bismarck, or simply baked pancake. While they share similarities with Yorkshire pudding – both are egg-based batters that puff dramatically in a hot oven – they are not quite the same. Yorkshire puddings are typically made with beef drippings and served as a savory side dish alongside roasts, whereas Dutch babies are generally sweeter and served for breakfast or brunch. Whatever you call them, they are undeniably fun, easy to make, incredibly delicious, and fully customizable. They make a fantastic choice for weekend breakfasts, holiday brunches, or any time you want a special, impressive treat.
The dramatic puff is the hallmark of a successful Dutch baby, and if yours isn’t rising, it’s usually due to temperature issues. The most common reasons are that your oven isn’t hot enough, or crucially, you didn’t adequately preheat both the oven *and* the pan. For that signature puff, the batter needs to hit a sizzling hot surface in a very hot oven (425°F is ideal), creating a rapid burst of steam that rapidly expands the egg-based mixture. A heavy pan like a cast iron skillet is ideal because it retains heat exceptionally well, providing that initial burst of intense heat that creates the steam. Also, avoid opening the oven door during baking, as a sudden drop in temperature can cause premature deflation and inhibit the rise.
Despite the name, the Dutch baby pancake is actually of German origin, not Dutch! The name “Dutch baby” is thought to be an American corruption of “Deutsch,” meaning German. These delightful oven pancakes were first popularized in the United States at a now-closed Seattle diner called Manca’s Cafe in the early 20th century. While their culinary roots are firmly German, their widespread popularity as a sweet or savory breakfast and brunch item is distinctly American, making them a beloved fusion dish.
Absolutely, you bet! Making a gluten-free Dutch baby pancake is incredibly simple and yields fantastic results that are virtually indistinguishable from their gluten-containing counterparts. You just need to substitute traditional all-purpose white wheat flour with a good quality gluten-free all-purpose flour blend. Both types of flour work wonderfully in this recipe, and I’ve personally made them both ways countless times with consistent success. The truth is, when prepared correctly, no one would ever suspect they are gluten-free – they taste exactly the same: incredibly delicious, beautifully puffed, and wonderfully tender!
While Dutch baby pancakes are truly at their best when made with fresh batter for the most dramatic and airy puff, you can prepare the batter a few hours ahead of time. Simply store it covered in the refrigerator. Just be sure to give it a good, vigorous whisk before pouring it into the hot skillet, as some settling may occur. If you’re using gluten-free flour, the resting time recommended (15-20 minutes at room temperature) can actually be quite beneficial, allowing the flour to fully hydrate and leading to a more tender pancake and a potentially better rise. However, for maximum volume and crispiness, fresh batter poured directly into a super-hot pan is always ideal.
Dutch babies are truly at their best when served immediately, fresh out of the oven, while they are still warm, impressively puffed, and slightly crisp. The dramatic puff will naturally deflate as it cools, but the flavor remains superb. While you can store leftovers in an airtight container in the refrigerator for a day or two, they won’t retain their original airy texture or dramatic puff when reheated. To reheat, you can warm slices gently in a toaster oven or a regular oven preheated to about 300°F (150°C) until just warm through. While it won’t puff again, it will still be a delicious, albeit more dense and pancake-like, treat.
The absolute best pan for making a Dutch baby pancake is a heavy 10-inch cast iron skillet. Cast iron excels at retaining and distributing heat evenly and consistently, which is essential for achieving that characteristic dramatic puff and deliciously crisp edges. An enameled cast iron pan also works wonderfully, offering similar heat retention properties. If you don’t have cast iron, a very heavy-bottomed, oven-safe stainless steel skillet or even a sturdy ceramic pie plate can work, but results may vary, and the puff might not be as pronounced or the edges as crisp. The key is to use a pan that can get very hot and stay hot throughout the baking process.
More Delicious Breakfast Recipe Inspiration
If you’ve enjoyed the ease and versatility of this gluten-free Dutch baby, you’re likely always on the lookout for more delightful ways to start your day. Beyond baked pancakes, smoothies offer a healthy, quick, and easy breakfast solution packed with nutrients and vibrant flavors. Why not try a refreshing tropical green smoothie with mango for a burst of invigorating taste, or indulge in a decadent yet nourishing chocolate blueberry smoothie, known for its brain-boosting benefits and rich flavor? And as the seasons change, don’t miss out on this terrific pumpkin pie smoothie, which captures all the cozy, warm flavors of autumn in a convenient glass. These recipes, like the Dutch baby, demonstrate that delicious and wholesome breakfasts can be both simple to prepare and incredibly satisfying, catering to diverse tastes and dietary needs while keeping your mornings exciting.
- Gluten Free Waffles
- How to Make Greek Yogurt Parfaits
- Greek Yogurt Bowl (high protein)
- Gluten Free Breakfast Casserole Recipe
Did You Make This Gluten-Free Dutch Baby?
If you’ve whipped up this delightful gluten-free Dutch baby pancake, I would absolutely love to hear about your experience! Your feedback is incredibly valuable, and I truly enjoy hearing from fellow home cooks about their culinary successes. Please take a moment to add your comment below and share any thoughts or delicious topping combinations you discovered. If you loved this recipe as much as we do, please consider giving it a 5-star rating! Your ratings and reviews are a tremendous help to other readers looking for delicious and reliable gluten-free recipes, helping them discover their next favorite breakfast treat.
📖 Recipe
Gluten-Free Dutch Baby (German Pancake)
Sally Cameron
Pin Recipe
Equipment
-
10″ cast iron skillet
-
blender optional
-
Medium bowl For making by hand
-
Whisk For making by hand
Ingredients
Dutch baby pancake
- 4 large eggs
- 1 cup milk dairy or almond milk
- 1 cup gluten-free flour blend or all purpose flour (wheat, not GF)
- 1 pinch sea salt
- 1 tablespoon unsalted butter or plant butter
Optional Toppings (see list in notes)
- ¾ cup heavy whipping cream
- ¾ teaspoon vanilla extract
- 1 ½ tablespoons powdered sugar or 2 T powdered allulose for sugar free
- 1-2 pints fresh berries
Instructions
Pre-heat the oven
-
Place a rack in the center of the oven. If there is a rack directly above, move it lower or higher but out of the way. Pre-heat the oven to 425°F degrees.
Make batter
-
In a medium bowl, whisk eggs together until smooth. Whisk in milk until smooth. Whisk in flour and salt until smooth. Set batter aside near oven, and let it rest for 15 minutes to hydrate.
Bake the dutch baby
-
When the oven is at temperature, place a 10″ cast iron skillet on the center rack in the oven and allow it to heat up. Add butter and wait 30 seconds until melted and browned. Pour in the batter. It should sizzle.
Pour in the batter and carefully slide the rack back into the oven. Bake until pancake is risen, puffed and has golden edges. Timing will depend upon your oven, about 18-20 minutes. Judge by the look and not just by timing.
Serving
-
When done, remove from the oven. Slice into quarters and serve with either sweet or savory toppings of your choice.
Notes
Optional toppings, sweet or savory:
- Fresh berries.
- Frozen berries, thawed and warmed or pureed into a sauce.
- Whipped cream sweetened with a little sugar or monk fruit.
- Honey sweetened creme fraiche.
- Crumbled cheddar cheese or crumbled goat cheese.
- Sautéed mushrooms.
- Your favorite jam,
- Crisp bacon crumbles.
- Finely chopped chives.
- Nut butters.
- Nutella.
- Chocolate sauce.
- Chocolate chips.
- Horseradish cream for a savory option (and try some smoked salmon).
- Lemon curd (is delicious!).
Nutrition note – Calculations do not include the whipped cream, berries, or other toppings.
