Golden & Crispy Gluten-Free Waffles: Your Easy Guide to Fluffy Perfection
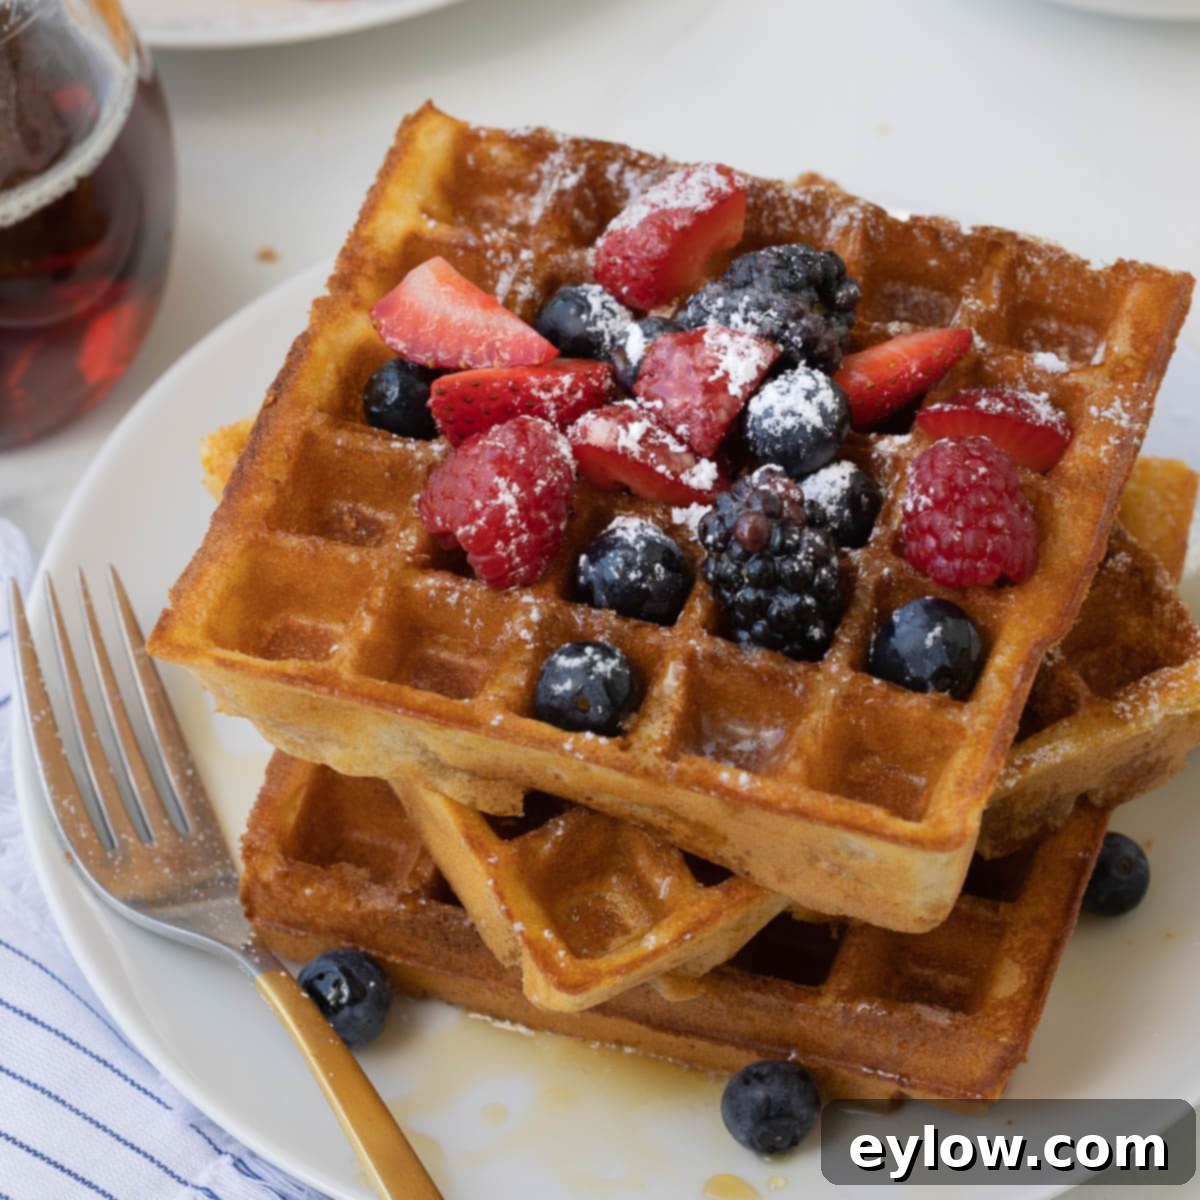
Imagine waking up to the irresistible aroma of freshly made waffles, golden brown and perfectly crisp, with a light and fluffy interior that simply melts in your mouth. These spectacular gluten-free waffles are precisely that – a morning delight so good, they’re worth setting an early alarm for. Forget about bland, store-bought frozen options; this easy homemade recipe transforms your breakfast routine into a truly special occasion. Whether you’re navigating a gluten-free diet or simply seeking an exceptionally delicious waffle, these are guaranteed to be a hit with everyone at the table. Plus, they come with convenient dairy-free and sugar-free options, and any leftovers can be easily frozen and reheated for quick, busy mornings, ensuring a delightful breakfast is always just minutes away. You can have these golden beauties on your table in under 30 minutes, making gourmet breakfast accessible any day of the week.
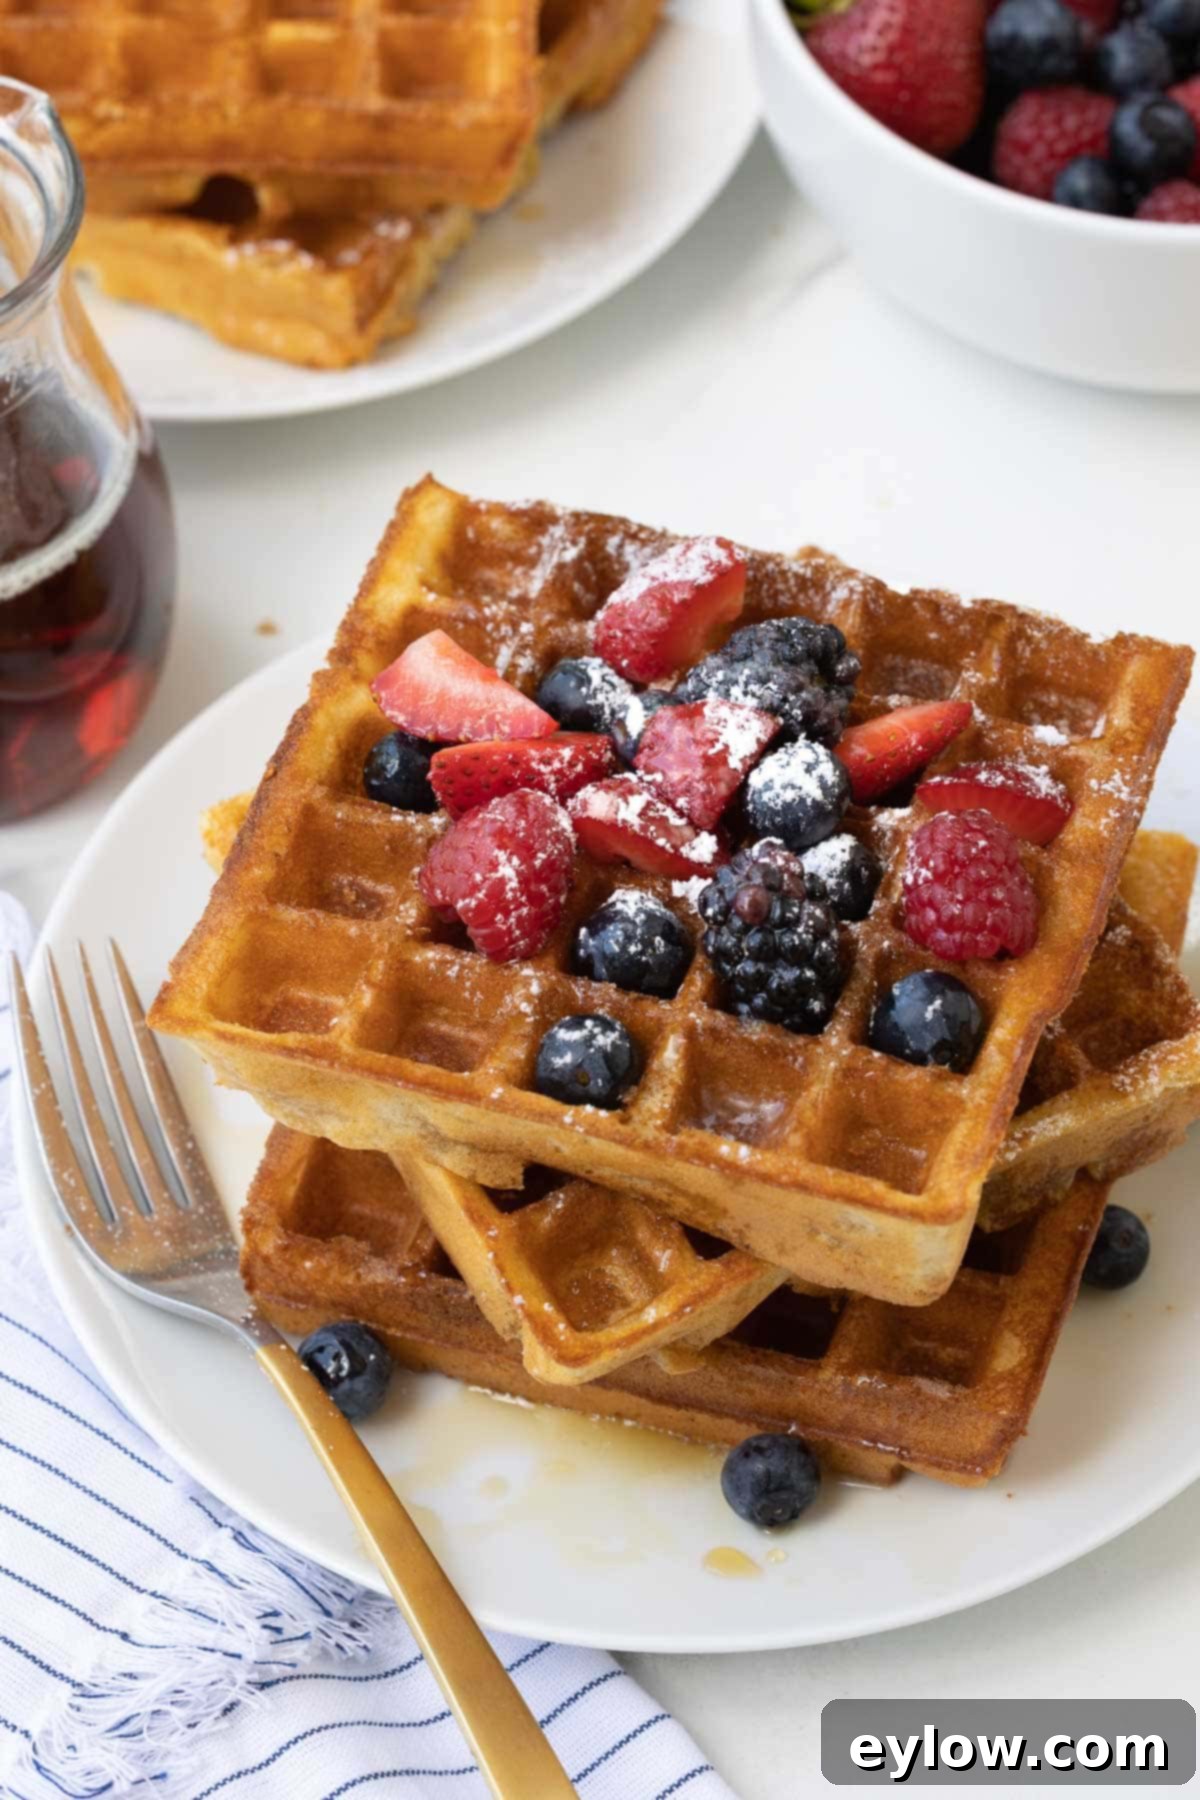
During the development of this gluten-free waffle recipe, I extensively tested various batches and generously shared them with neighbors and friends. The feedback was consistently enthusiastic: everyone raved about the perfectly crisp exterior and the wonderfully light, airy center. Many expressed genuine surprise upon learning that these delectable waffles were, in fact, gluten-free. This recipe truly transcends dietary restrictions; you don’t need to be following a gluten-free diet to appreciate their exceptional quality. They are, quite simply, superb waffles that stand on their own merits, delivering a classic waffle experience without the gluten.
Why You’ll Adore These Gluten-Free Waffles
- Unbeatable Texture: Crispy & Fluffy – Experience the best of both worlds with these waffles. They boast wonderfully golden, crunchy edges that give way to a tender, unbelievably fluffy interior. It’s a texture sensation that will make you forget they’re gluten-free.
- Effortless Preparation: Weekday-Easy – This recipe is designed for maximum convenience. Everything comes together in just one bowl, eliminating unnecessary clean-up. There’s no need for the extra step of whipping egg whites separately, nor do you have to wait for the batter to rest. Simply mix and cook!
- Meal Prep Dream: Freezer-Friendly – Planning ahead for quick breakfasts has never been easier. Once cooled, these waffles can be frozen flat and stored for later. A quick reheat in a toaster or oven brings back their original crispness and delicious flavor, making them perfect for busy mornings when time is of the essence.
- Dietary Adaptability: Flexible Options – Tailor this recipe to suit various dietary needs without compromising on taste or texture. We provide easy options for making these waffles dairy-free or sugar-free, ensuring they still achieve that desirable golden brown color and crispy finish.
- Endless Creativity: Top-It-Your-Way – The versatility of these waffles is unmatched. While they are delightful on their own, they serve as the perfect canvas for a wide array of toppings. From classic berries and syrup to savory brunch creations, we offer plenty of ideas below to inspire your culinary imagination.
For another wholesome and naturally gluten-free breakfast, be sure to try our beloved buckwheat pancakes recipe, a hearty and satisfying alternative.
Essential Ingredients for Perfect Gluten-Free Waffles
Crafting exceptional gluten-free waffles begins with selecting the right ingredients. Each component plays a vital role in achieving that sought-after crispy exterior and fluffy interior. Here’s a closer look at what you’ll need:
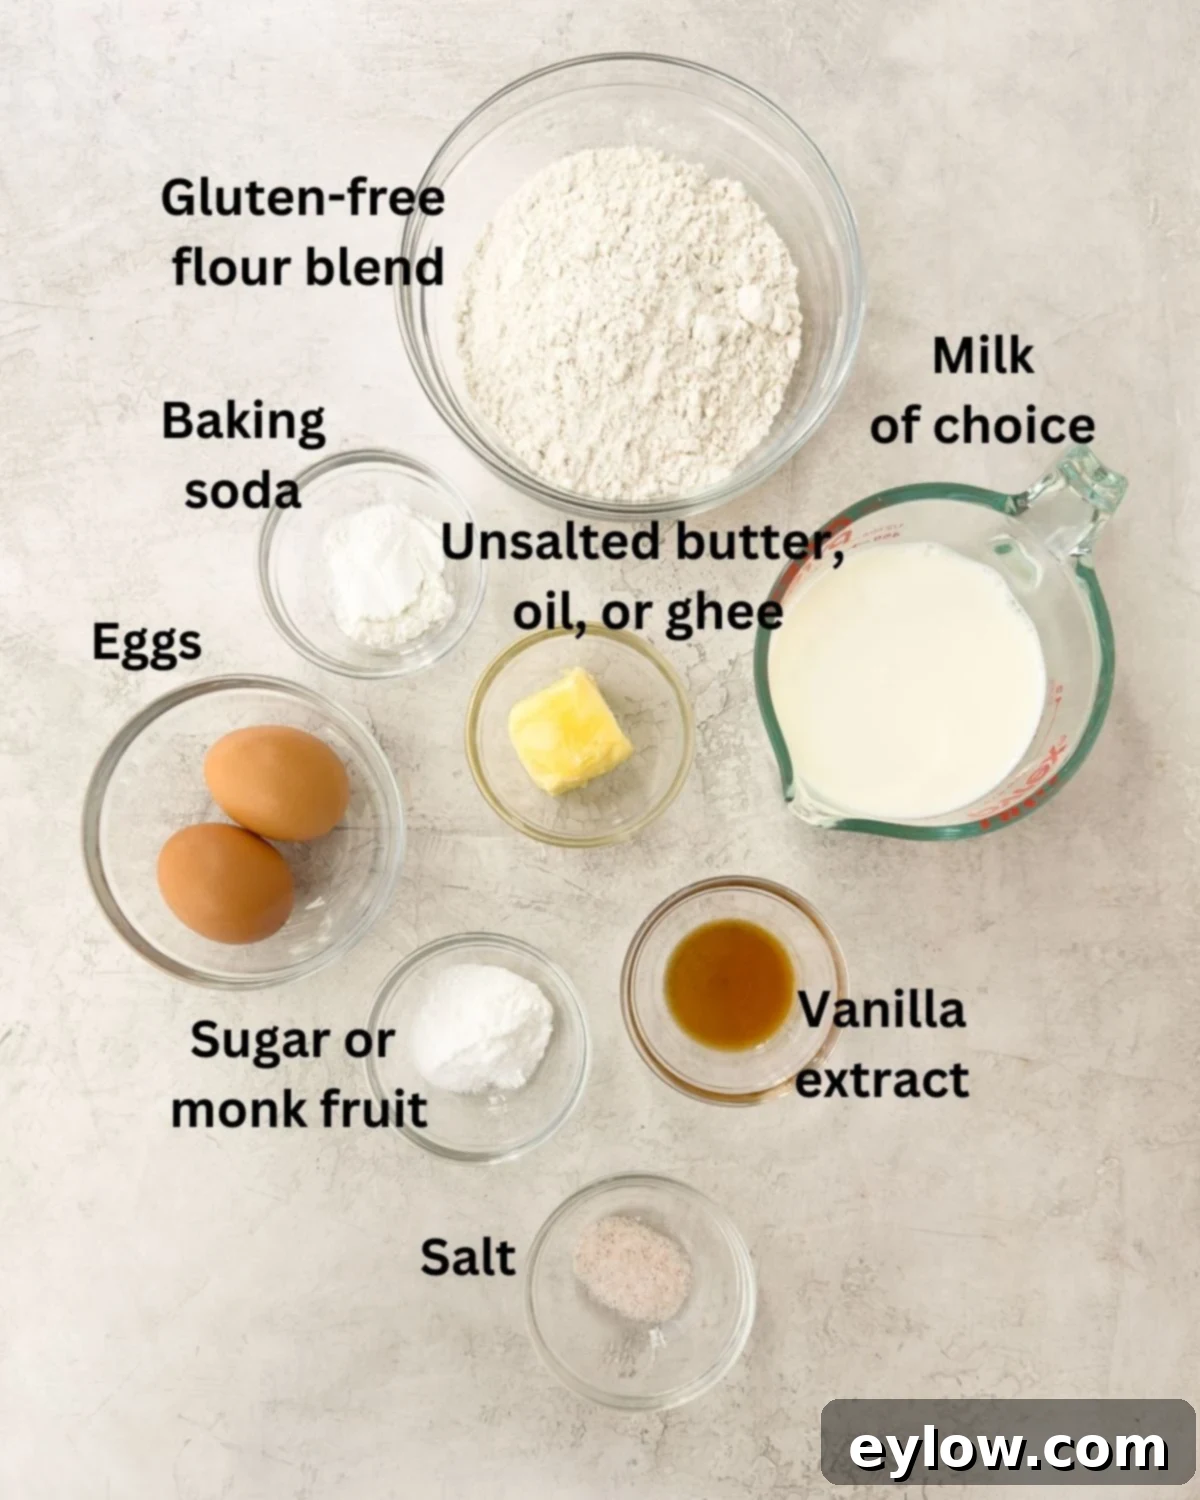
- Gluten-Free Flour Blend: The foundation of our waffles. I highly recommend using King Arthur Measure for Measure gluten-free flour, which already includes xanthan gum. This blend consistently delivers excellent results, mimicking the texture and structure of traditional wheat flour. If your chosen GF flour blend does not contain xanthan gum, you’ll need to add approximately ¼ teaspoon per cup of flour to ensure proper binding and elasticity, which is crucial for gluten-free baking. While other GF flours may work, they have not been thoroughly tested with this specific recipe.
- Milk: For a rich flavor and tender crumb, this recipe works beautifully with both dairy milk (whether low-fat or whole milk). For those seeking a dairy-free alternative, unsweetened almond milk is an excellent choice, yielding equally delicious results. If using coconut milk, opt for a diluted version rather than straight from a can for the best consistency.
- Vanilla Extract: A touch of pure vanilla extract is indispensable. It enhances the overall flavor profile, adding a subtle sweetness and aromatic depth that elevates the waffles from good to truly outstanding.
- Eggs: Large eggs are essential for structure, richness, and binding the ingredients together. Ensure they are fresh, unbroken, and clean before incorporating them into the batter.
- Baking Powder: This is our primary leavening agent, responsible for the waffles’ light and airy texture. Always check the expiration date to ensure freshness, as old baking powder can lead to flat, dense waffles. Aluminum-free varieties, such as Rumford or Clabber Girl, are preferred for a clean taste.
- Fat (Butter or Oil): For classic flavor and superior browning, unsalted butter or ghee are ideal. Ghee, being pure butterfat, is often tolerated by those with dairy sensitivities and contributes to an incredibly crisp texture. For a completely dairy-free option, a neutral-flavored oil like melted coconut oil or avocado oil works wonderfully. Plant-based butter alternatives are also a great choice.
- Sweetener: Granulated sugar provides the traditional sweetness and aids in browning. Alternatively, a monk fruit-allulose blend can be used for a sugar-free version, allowing you to enjoy these waffles without added sugars. Note that sugar-free batters may brown slightly lighter, so adjust cooking time accordingly.
- Salt: A small amount of sea salt is crucial for balancing the sweetness and enhancing all the other flavors in the batter. (Specific measurements are detailed in the recipe card below.)
Chef’s Tip – Achieving Peak Crispness & Fluffiness: The secret to waffles with a wonderfully crisp exterior and a tender, fluffy interior lies in a few key steps. First, ensure your waffle iron is fully preheated before adding any batter. Second, use a neutral oil or melted ghee in your batter, as both promote better browning and crispness compared to butter, which contains water. Cook your waffles until they reach a deep golden color and the steam largely subsides. Finally, transfer finished waffles immediately to a wire rack (never stack them!) to cool if serving later or to keep them crisp before serving. Sugar-free batters tend to brown lighter, so you may need to add an extra minute or incorporate 1-2 teaspoons of additional oil to achieve that golden hue.
Versatile Substitutions and Creative Variations
This gluten-free waffle recipe is incredibly adaptable, allowing you to tailor it to various dietary preferences or to simply add your own creative twist. Experiment with these options to make it truly your own:
- For Dairy-Free Fat: Achieving a rich, dairy-free waffle is simple. Substitute unsalted butter or ghee with an equal amount of melted coconut oil, avocado oil, or another neutral-flavored plant-based oil. Many individuals with dairy sensitivities find that they can comfortably consume ghee or clarified butter, as it is pure butterfat with most milk solids removed. High-quality plant-based butter alternatives are also an excellent option for both flavor and texture.
- For Dairy-Free Milk: This gluten-free waffle recipe has been successfully tested with unsweetened almond milk, which works beautifully to create light and flavorful waffles. If you prefer to use homemade almond milk, it’s advisable to strain it well before use to ensure a smooth, fluid consistency that blends perfectly into the batter, preventing any creaminess from affecting the final texture. Diluted canned coconut milk (not full-fat) can also be used.
- For Gluten-Free Vegan Waffles: While this specific recipe hasn’t been rigorously tested for a fully vegan adaptation, the principles suggest it’s certainly achievable. To replace the eggs, you could try using flax eggs (1 tablespoon ground flaxseed meal mixed with 3 tablespoons water per egg, let sit for 5 minutes to thicken) or a commercial egg replacer according to package directions. Combine this with unsweetened almond milk (or another plant-based milk) and either melted coconut oil or a melted unsalted plant-based butter for a delicious vegan option.
- Flavor Enhancements: Feel free to customize your waffles with additional flavors. A pinch of cinnamon, nutmeg, or cardamom can add a warm, inviting spice. For a citrusy zing, incorporate some lemon or orange zest into the batter. Chocolate lovers can stir in a handful of mini chocolate chips before cooking for a delightful surprise.
If you’re looking for another delightful breakfast indulgence, don’t miss these easy-to-make Dutch baby oven pancakes, a puffy, impressive treat that’s surprisingly simple.
Mastering the Art of Gluten-Free Waffles
Making these golden, crispy waffles is a straightforward process, even for beginner cooks. Follow these step-by-step instructions to achieve perfect results every time:
Step 0: Initial Setup for Success
Before you begin mixing, ensure everything is ready. Preheat your oven to a low 200°F (95°C) and place a rimmed baking sheet topped with a wire rack inside. This will serve as a warming station for your finished waffles, keeping them crisp and warm as you cook the entire batch. Next, pre-heat your waffle maker or waffle iron to a medium-high setting. Keep a non-stick cooking spray (like avocado oil spray) or a small pastry brush and oil close by for greasing the iron plates.
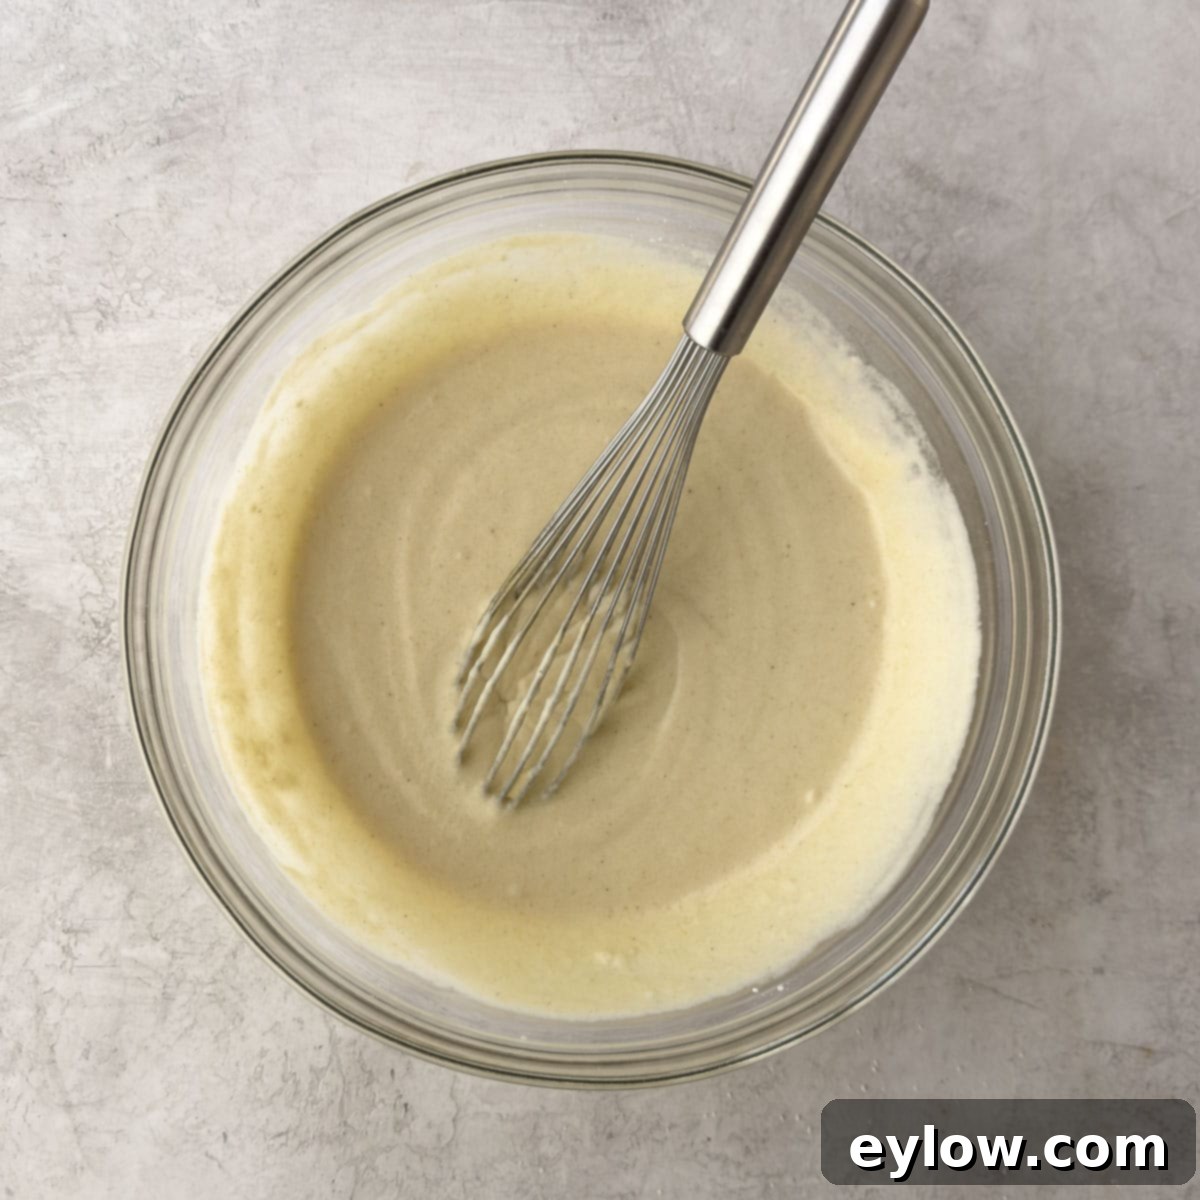
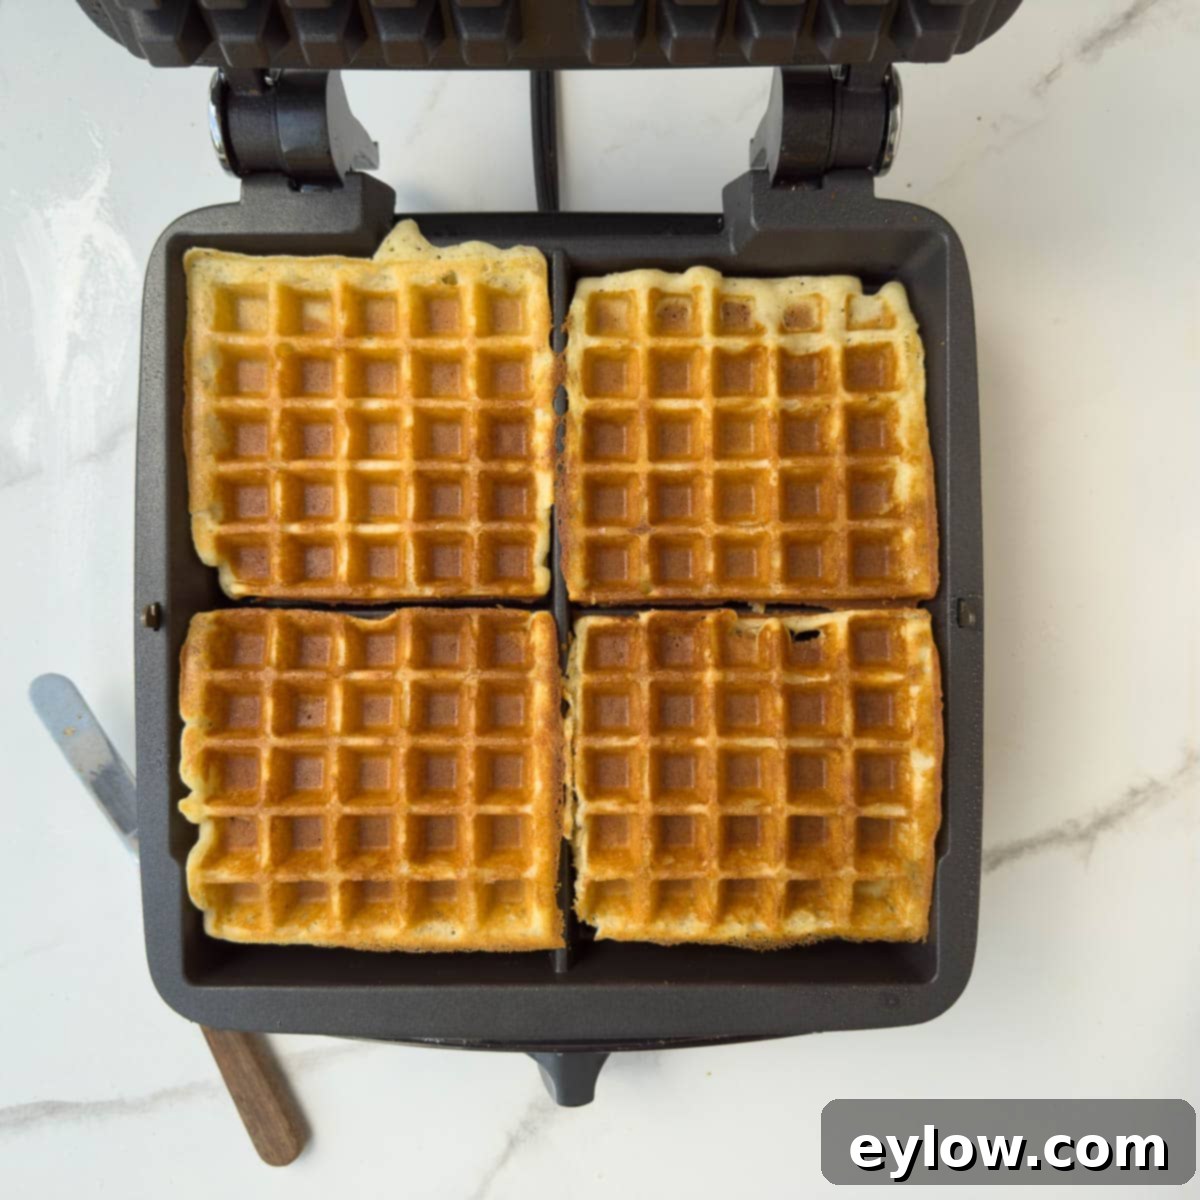
Chef’s Tip – Batter Consistency is Key: The ideal waffle batter should have a smooth, pourable consistency, akin to heavy cream. A few small lumps are perfectly normal and won’t affect the final product. However, if your batter appears too thick to pour easily, gradually add 1-2 tablespoons of milk (dairy or dairy-free) until it reaches the desired fluidity. Conversely, if the batter seems too thin or watery, sprinkle in a little more gluten-free flour, a tablespoon at a time, and whisk until it thickens to the correct consistency. This balance is crucial for achieving both crispness and fluffiness.
Essential Tips for Waffle Perfection
Achieving consistently perfect gluten-free waffles is easy when you follow these expert tips:
- Thoroughly Preheat Your Waffle Maker: Patience is a virtue here. Ensure your waffle iron is fully heated to its optimal temperature before adding any batter. The first waffle often acts as a “tester,” helping you gauge the perfect cooking time and temperature for subsequent batches.
- Avoid Overfilling: Be mindful of the amount of batter you add. The batter will expand significantly as it cooks, so overfilling can lead to spillage and irregularly shaped waffles. Start with the recommended amount (typically ⅓ to ½ cup, depending on your iron) and adjust as needed.
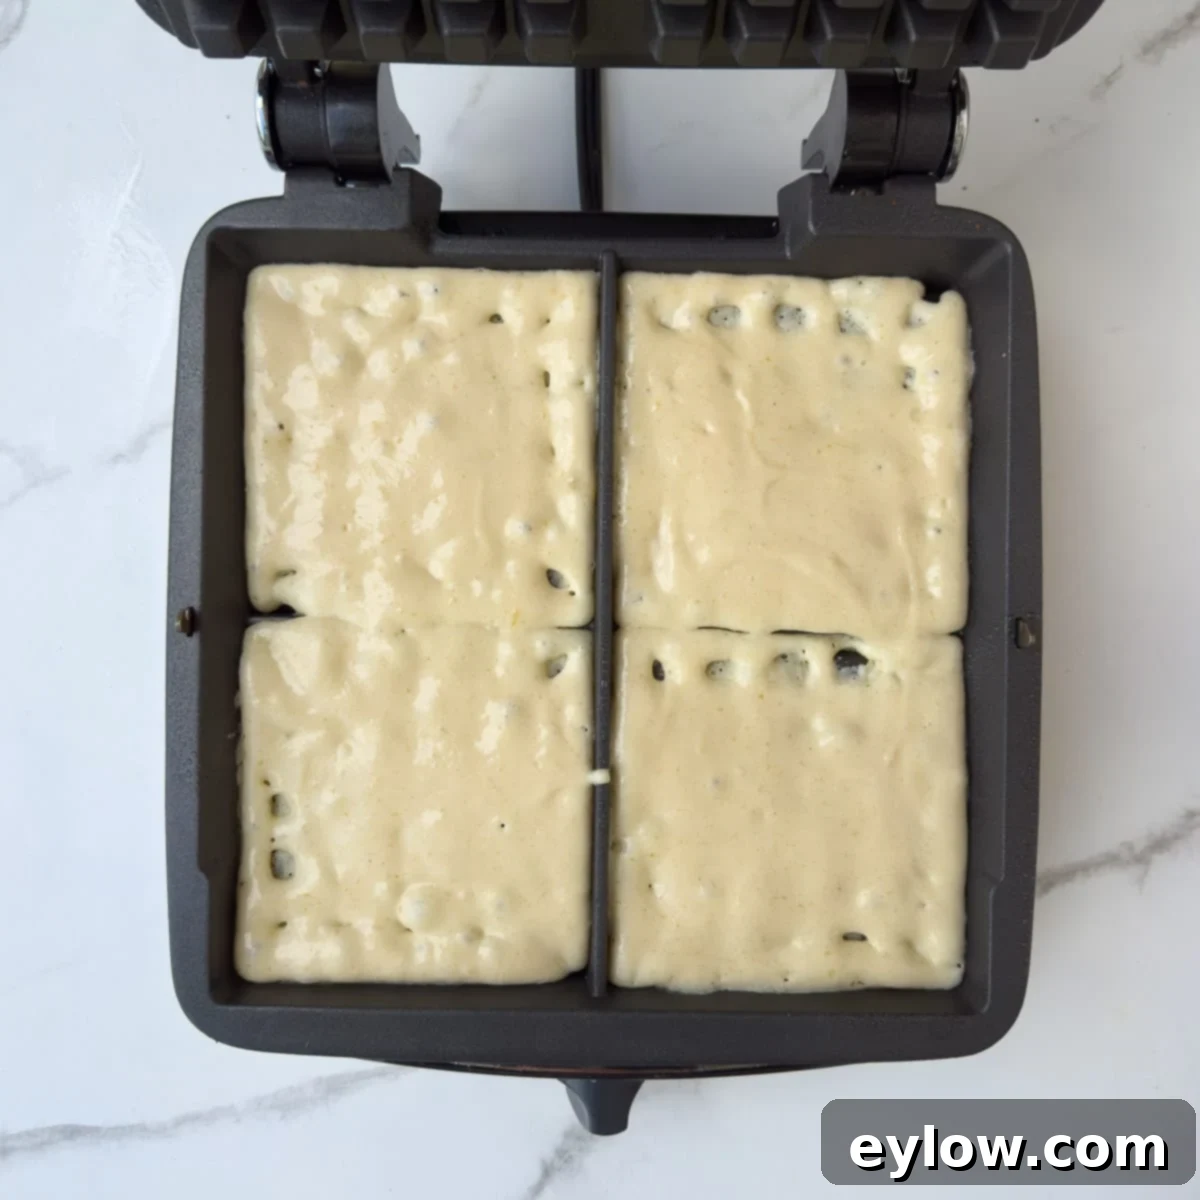
- Achieve Clean Edges: For a beautifully uniform waffle, use a small offset spatula or a silicone spatula to quickly nudge the batter into all corners of the waffle plate immediately after pouring it. Work swiftly and keep the lid open for the briefest moment possible to prevent heat loss.
- Grease Judiciously: Only lightly grease your waffle iron plates if necessary. A thin film of oil applied with a pastry brush or a quick spray of non-stick oil is usually sufficient. Too much oil can result in greasy waffles and uneven browning.
- Understand Your Iron: Every waffle maker is unique. On my particular model, a medium-high setting (around 5-6) yields the best results. You may need to adjust the heat setting and cooking time for your specific appliance to find its “sweet spot” for perfect golden-brown crispness.
- Limit Lid Peeking: While it’s tempting to check on your waffles frequently, resist the urge to peek too often. Each time you lift the lid, valuable heat escapes, prolonging the cooking time and potentially affecting the crispness. Check only once, close to the expected doneness.
- Cook by Visual Cues: Trust your senses! Your waffles are done when the stream of steam largely subsides, and they have developed a rich, deep golden color. For extra crispy gluten-free waffles, aim for a slightly deeper golden hue and transfer them directly to a wire rack to cool (do not stack them!) instead of a plate.
- Keep Batches Warm and Crisp: If you’re cooking for a crowd or making a large batch, place finished waffles on a wire rack set over a rimmed baking sheet in a low 175-200°F (80-95°C) oven. This keeps them warm without steaming, preserving their desirable crispness. Again, avoid stacking them.
- Effortless Cleanup: Once you’re done cooking, unplug your waffle maker and allow it to cool slightly while still warm. Use a soft pastry brush to gently brush out any crumbs from the grids. For any remaining residue, wait until the iron is completely cool, then wipe down the plates with a damp cloth.
Creative Ways to Enjoy Your Gluten-Free Waffles
These versatile gluten-free waffles are the perfect canvas for both sweet and savory cravings. Get inspired with these topping ideas!
Indulgent Sweet Toppers
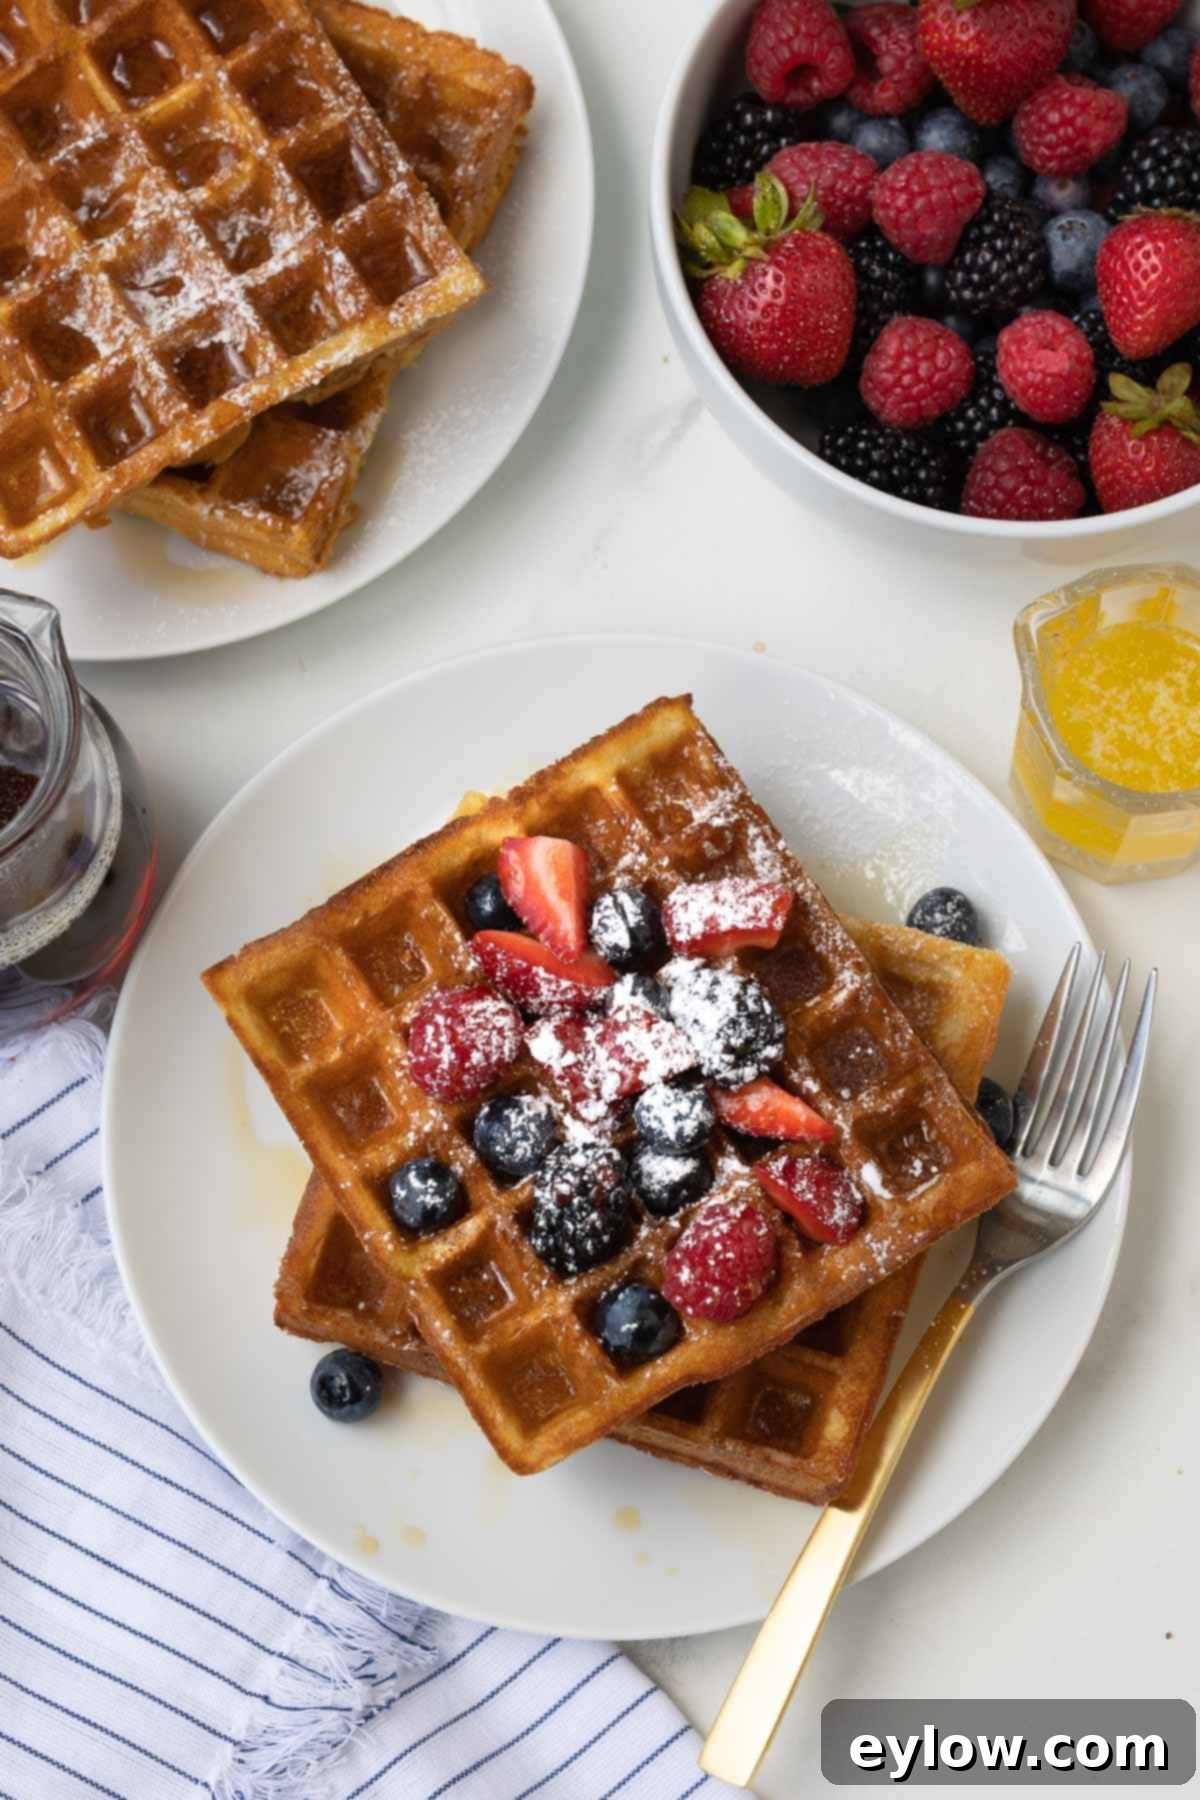
- Classic Berries & Maple: A timeless favorite! Top with a generous drizzle of pure maple syrup (regular or sugar-free) and a vibrant mix of fresh berries, or thawed frozen berries for an anytime treat.
- Strawberry Coulis or Quick Fruit Compote: Elevate your waffles with a homemade strawberry coulis or a warm, quick fruit compote made with your favorite seasonal fruits. The sweet, tangy burst of fruit is simply divine.
- Yogurt & Honey: A healthier indulgence. Dollop with creamy Greek yogurt and drizzle with honey or maple syrup for a delightful balance of protein and sweetness.
- Nut Butter & Banana: For a more substantial and energy-boosting breakfast, spread your favorite nut butter (almond, peanut, or cashew) generously and top with fresh banana slices.
- Maple Butter or Cinnamon Sugar Dusting: Enhance the maple flavor with a dollop of homemade maple butter, or simply dust with a light cinnamon “sugar” blend (or powdered monk fruit blend for sugar-free).
- Chocolate Bliss: For a decadent touch, sprinkle a few chocolate chips or shaved dark chocolate over your warm waffles. The melting chocolate is heavenly.
- Frozen Yogurt Fun: Feeling adventurous? A scoop of frozen yogurt might just be the unexpected, cool topping you never knew you needed. We promise not to tell!
Savory Spins (Perfect for Brunch!)
- Avocado Waffle Toast: Move over, toast! Top your crispy waffle with creamy mashed avocado, a sprinkle of everything bagel seasoning, and a dash of red pepper flakes for a satisfying twist.
- Benedict-Style Waffles: Create an elegant brunch with thin slices of ham or prosciutto, perfectly poached eggs, and a velvety hollandaise sauce atop your waffles.
- Waffles Rancheros: Give your waffles a Mexican-inspired makeover! Layer with warm black beans, a vibrant salsa, a fried egg, and fresh cilantro for a hearty and flavorful meal.
- Classic Scramble & Sides: Keep it simple yet satisfying. Serve softly scrambled eggs alongside your waffles, with a generous helping of seasonal fruit, and perhaps a side of crispy bacon or savory sausage – because who doesn’t love breakfast meats?
- Smoked Salmon & Crème Fraîche: For a touch of sophistication, top your waffles with delicate slices of smoked salmon, a dollop of tangy crème fraîche (or a dairy-free yogurt alternative), fresh dill, and a squeeze of lemon.
Important Serving Notes
- Adjust Sweetener for Savory: If you’re planning on using predominantly savory toppings, consider reducing the amount of sweetener in the waffle batter slightly to better complement the savory flavors.
- Maintain Crispness: To ensure all your waffles remain delightfully crisp while you prepare your chosen toppings, always keep them on a wire rack in a warm oven (175-200°F / 80-95°C). Avoid stacking them, as this can trap steam and make them soggy.
Leftovers & Storage Solutions
One of the best features of these gluten-free waffles is how beautifully they store and reheat, making them an excellent candidate for meal prepping and enjoying delicious breakfasts throughout the week.
Overnight Storage: If you have leftover waffles and plan to enjoy them the next day, simply wrap them well in plastic wrap or aluminum foil and store them in the refrigerator overnight. While they might lose a little crispness, a quick reheat will bring it back.
Freezing for Longer Storage: For longer-term storage, freezing is your best friend. To freeze waffles effectively and prevent them from sticking together, first place the cooled waffles in a single layer on a sheet pan. Freeze them for about 15-20 minutes, or until they are solid. This “flash freezing” step ensures they won’t clump together in the freezer bag. Once flash-frozen, transfer the waffles to a freezer-safe ziplock bag or airtight container, removing as much air as possible. They can be stored in the freezer for up to 1-2 months.
Reheating Frozen Gluten-Free Waffles: Reheating is simple and designed to restore their crisp texture. You have several convenient options:
- Toaster Oven or Toaster: This is arguably the best method for bringing back ultimate crispness. Simply pop a frozen waffle directly into your toaster or toaster oven and toast on a medium setting until heated through and crisp to your liking.
- Conventional Oven: For reheating multiple waffles at once, preheat your regular oven to 350°F (175°C). Place the frozen waffles directly on a baking sheet or oven rack (no need to thaw) and bake for 8-10 minutes, or until they are hot and the edges are crisp again.
- Microwave Oven: While the microwave is the quickest option, it will yield softer waffles rather than crispy ones. If time is critical, microwave a single waffle for 30-60 seconds, or until heated through. For best results, avoid this method if crispness is your priority.
Enjoying homemade gluten-free waffles has never been easier, even on your busiest days!

Common Questions About This Gluten-Free Waffle Recipe
Unlike traditional waffle batters made with wheat flour, which often benefit from resting to allow the gluten to relax and absorb liquids, gluten-free batters do not contain gluten. Therefore, there’s absolutely no need to let this gluten-free waffle batter rest. This means you can mix it up and start cooking almost immediately, making it a faster and more convenient option. Even if you don’t typically eat gluten-free, you’ll be amazed by the deliciousness and speed of this recipe. Give it a try – you’ll never guess they’re gluten-free!
Achieving crispy gluten-free waffles is all about technique. Firstly, make sure your waffle iron is fully preheated to its optimal temperature before pouring any batter. Secondly, use a neutral oil or melted ghee in your batter, as these fats promote superior browning and crispness compared to butter, which has a higher water content. Maintain a smooth, pourable batter consistency – too thick can result in dense waffles. Cook the waffles until they are a deep golden brown and the steam largely subsides. Immediately transfer the finished waffle to a wire rack; stacking them will trap steam and make them soggy. If you’re using a sugar-free batter, note that it may brown lighter, so add 1-2 teaspoons of extra oil or extend the cooking time by an additional minute. If any edges soften after cooking, a quick pop in the toaster can restore their crispness.
No, you absolutely do not need to separate and whip egg whites for this recipe! This gluten-free waffle recipe is specifically designed to deliver a wonderfully crisp exterior and a fluffy interior without that extra step, making it much easier and quicker to prepare. However, if you desire an even lighter, more airy lift, you can certainly experiment: separate the eggs, whisk the yolks into the batter as directed, and then beat the whites to soft peaks before gently folding them into the finished batter at the very end. Be aware that this might result in a slightly lighter interior and a marginally less crisp surface. Some cooks might even add an extra egg white for more lift, but this hasn’t been tested with this specific recipe. If you try it, remember to keep the batter pourable, not overly thin.
Yes, absolutely! These gluten-free waffles are excellent for freezing and reheating, making them perfect for meal prep. To ensure the best quality, allow the waffles to cool completely on a wire rack first. Then, flash-freeze them in a single layer on a sheet pan for about 15-20 minutes until solid. Once firm, transfer them to a freezer-safe bag or airtight container. To reheat from frozen, the best methods for crispness are using a toaster or a toaster oven. Alternatively, you can place them on an oven rack in a preheated 350°F (175°C) oven until they are hot throughout and the edges are wonderfully crisp.
Explore More Delicious Breakfast Recipes
For those interested in making your own plant-based milks, check out our comprehensive guide on how to make homemade almond milk. And if you’re looking for another indulgent breakfast treat that feels like a splurge, be sure to try these delightful lemon ricotta pancakes. To discover a wider variety of gluten-free culinary delights, explore our dedicated gluten-free recipe category page for more inspiration.
- How to Make Greek Yogurt Parfaits
- Crunchy Homemade Granola Recipe (gluten free)
- Greek Yogurt Bowl (high protein)
- Chocolate Blueberry Smoothie (high protein)
⭐️Did You Make This Recipe?
If you’ve had the pleasure of making these incredible gluten-free waffles, we’d absolutely love to hear from you! Please take a moment to add your comments and share your feedback below. Your insights are invaluable and truly help our community of readers. If you loved them as much as we do, please consider giving the recipe a 5-star rating! Your ratings make a huge difference and help others discover this fantastic recipe.
📖 Recipe

Gluten-free Waffles
Sally Cameron
Pin Recipe
Equipment
-
waffle maker
-
small offset spatula
-
soft pastry brush
Ingredients
- 1 ¾ cups gluten-free flour (King Arthur M4M GF) 8 ounces
- 2 teaspoons baking powder aluminum-free
- 1 ¾ cups dairy milk, low-fat or whole or almond milk
- 2 large eggs
- 1 tablespoon monk fruit blend or sugar
- 1 teaspoon vanilla extract
- ½ teaspoon sea salt
- ¼ cup melted unsalted butter or ghee or melted coconut oil
- non-stick avocado spray oil or other spray
Optional toppings (see post for more serving ideas)
- maple syrup regular or sugar-free
- fresh berries
- powdered monk fruit or powdered sugar
- chocolate chips
Instructions
Set-up
-
Pre-heat your oven to 200°F (95°C). Place a rimmed baking sheet with a wire rack on top into the oven to keep finished waffles warm and crisp. Set up your waffle maker and begin heating it on a medium-high setting, allowing it to fully preheat according to manufacturer instructions.
Make waffle batter
-
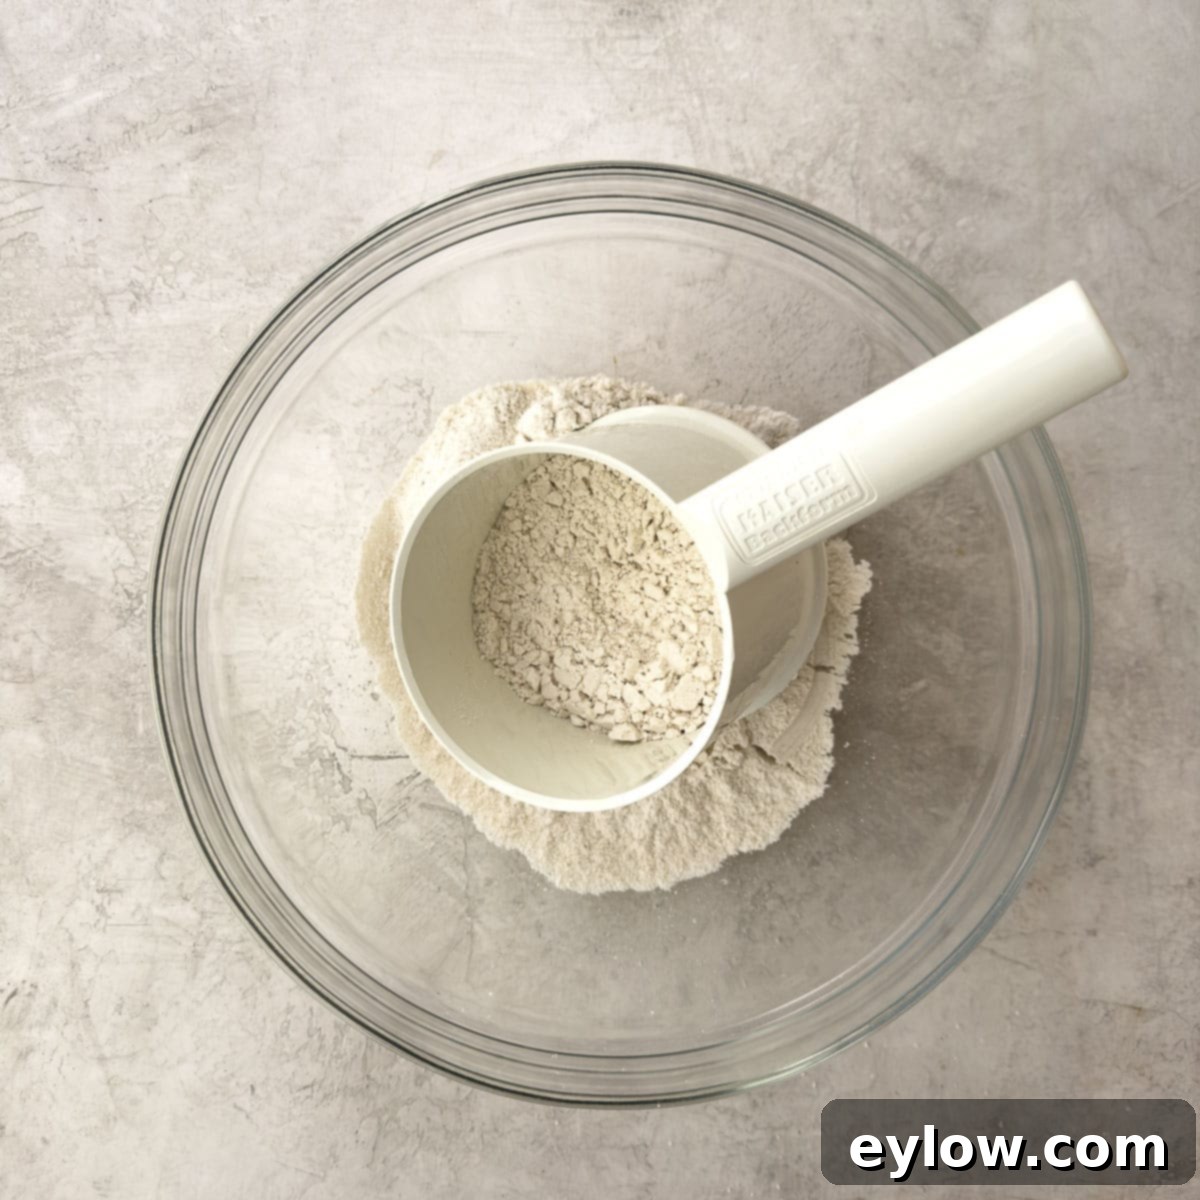
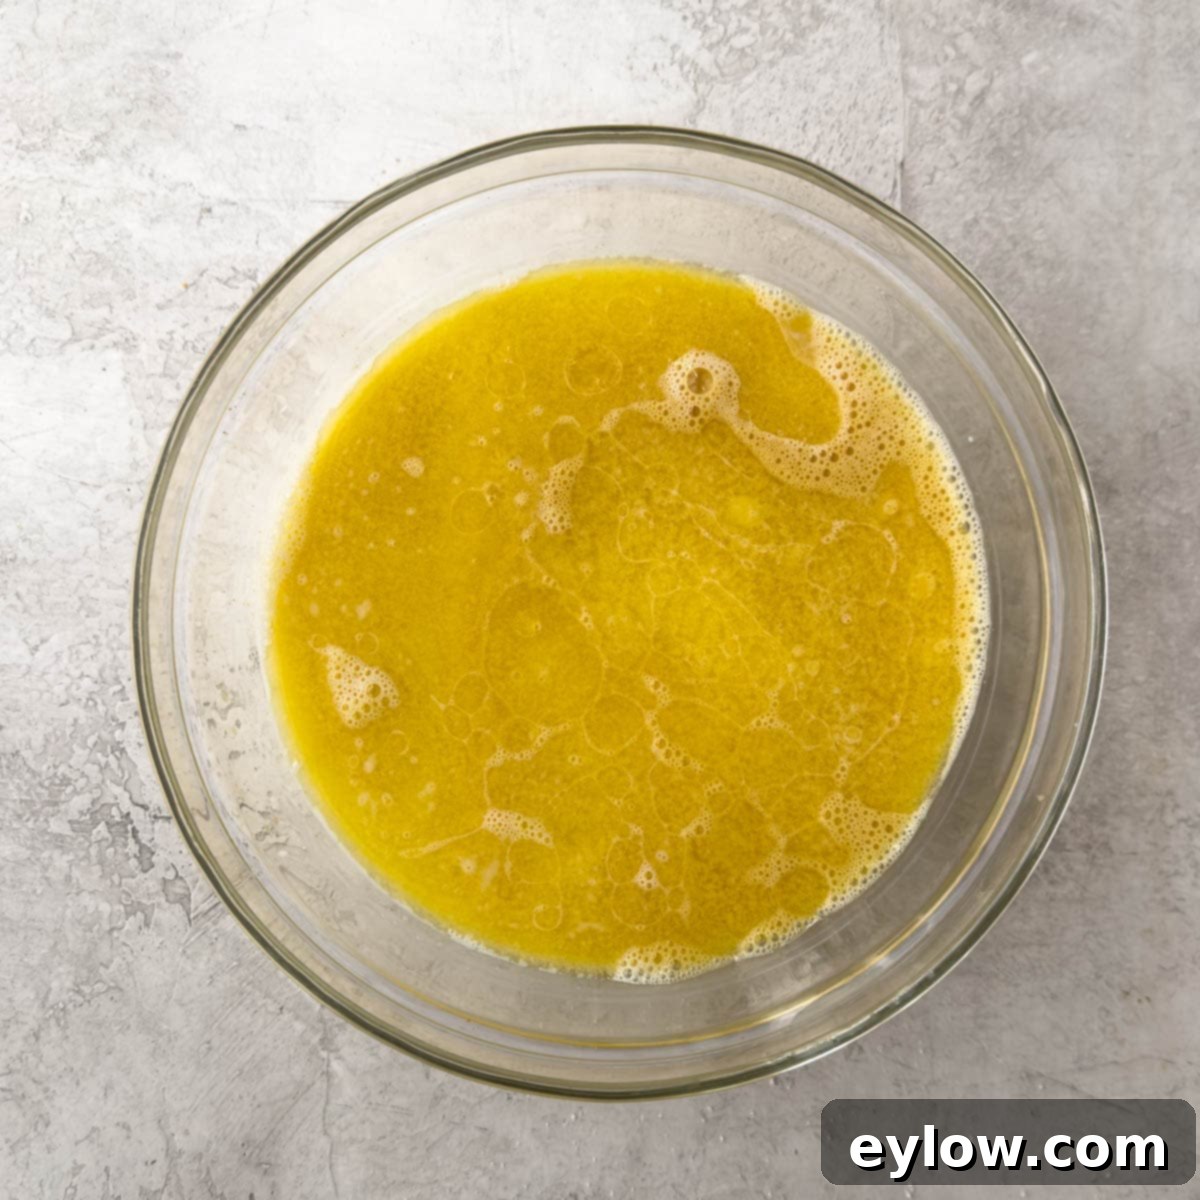
In a large mixing bowl, sift together the dry ingredients: gluten-free flour blend, baking powder, your chosen sweetener (if dry), and sea salt. In a separate bowl or large liquid measuring cup, whisk the eggs until well blended. Then, add the milk, vanilla extract, and melted butter or oil. Whisk these wet ingredients until they are thoroughly combined.
-
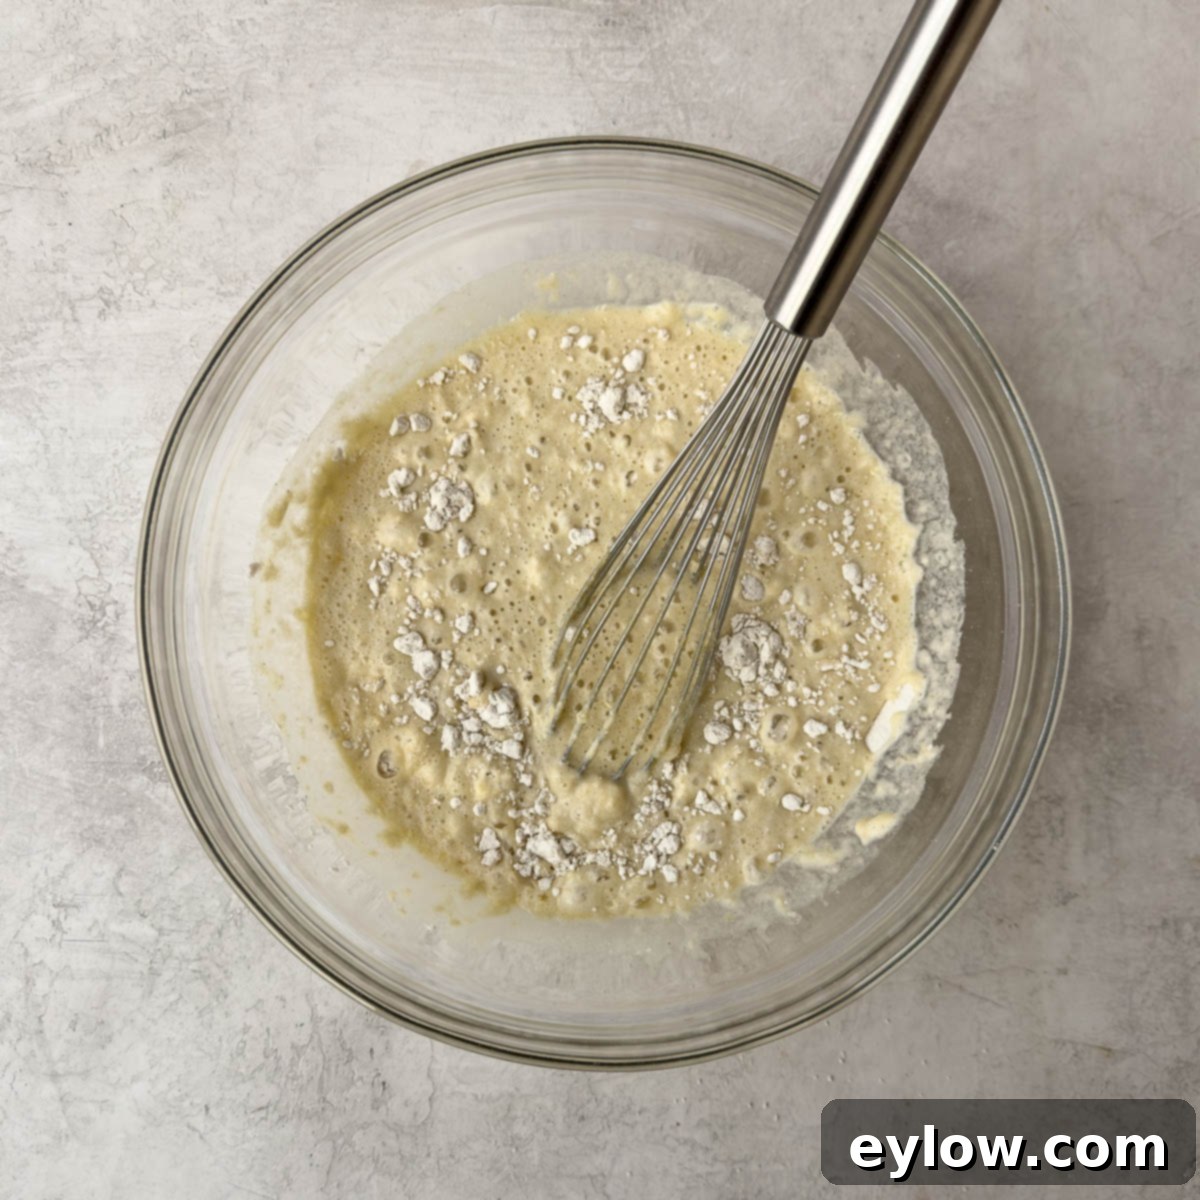
Pour approximately half of the wet ingredients into the dry ingredients bowl. Stir or whisk gently until mostly smooth. Then, add the remaining wet ingredients and continue whisking until the batter is completely smooth and free of lumps. This two-stage method helps ensure a perfectly uniform batter consistency.
Cook waffles
-
Lightly spray both the top and bottom plates of your preheated waffle maker with non-stick spray (avocado oil is excellent) or brush with a thin layer of oil using a soft pastry brush. Once the iron is hot and ready, pour ⅓ to ½ cup of batter into each waffle section (adjusting for your specific waffle maker). For neatly formed square corners, quickly use a small offset spatula to spread the batter into the corners. Close the lid without overfilling, as the waffles will expand.
Cook until the waffles are a beautiful golden brown and the steam coming from the iron has largely stopped, typically around 5 minutes, but this can vary based on your appliance.
-
Once a waffle is done, carefully remove it and immediately transfer it to the wire rack in the warm oven to maintain its crispness. Continue cooking the remaining batter, re-greasing the waffle iron plates as needed between batches. Serve your hot, crispy gluten-free waffles with your desired toppings and enjoy!
Notes
For Dairy-Free Waffles: To adapt this recipe for dairy-free needs, simply substitute the dairy milk with unsweetened almond milk (or diluted canned coconut milk) and replace the melted unsalted butter or ghee with an equal amount of melted coconut oil, avocado oil, or another neutral plant-based oil. High-quality plant-based butter alternatives also work beautifully.
For Vegan Waffles (Untested Variation): While this specific recipe hasn’t undergone rigorous testing for a fully vegan version, you can explore making it vegan by substituting the eggs with flax eggs (1 tablespoon ground flaxseed meal mixed with 3 tablespoons water per egg, allowed to thicken for 5 minutes) or a commercial egg replacer, in addition to using almond milk and either melted coconut oil or melted unsalted plant-based butter. Please note that results may vary.
