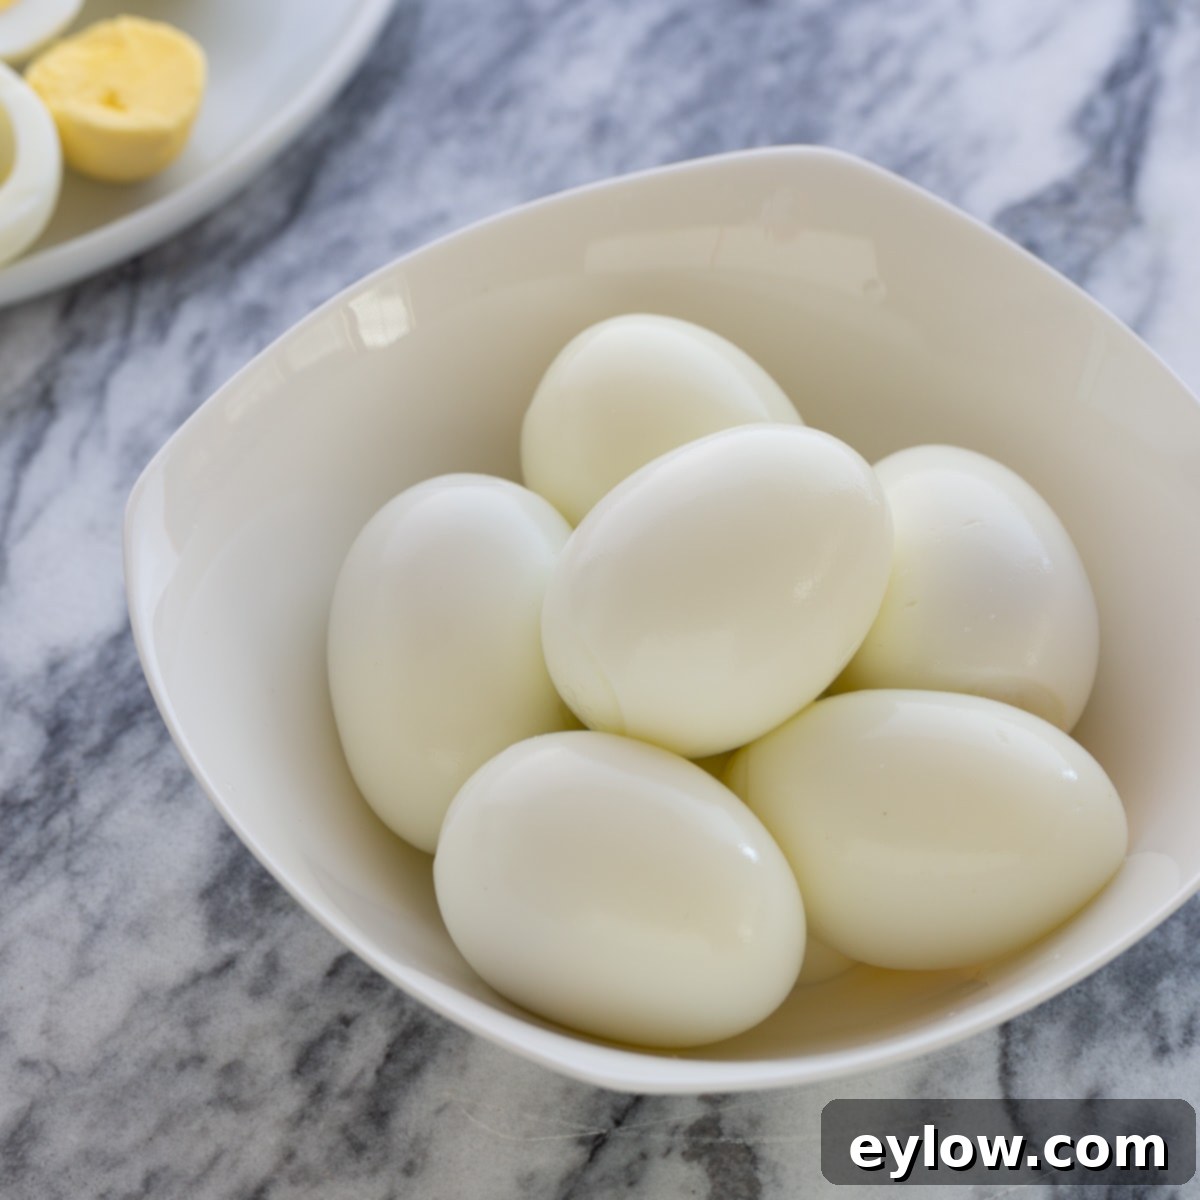
Perfect Hard-Boiled Eggs: Effortless Peeling, No Green Ring – The Ultimate Guide
Are you tired of the frustrating ritual of peeling hard-boiled eggs, only to end up with ragged whites and yolks marred by an unsightly green ring? Many home cooks struggle with sticky shells and overcooked interiors, turning a simple, nutritious snack into a kitchen headache. But what if there was a foolproof method to achieve perfectly cooked, consistently easy-to-peel hard-boiled eggs every single time? As a professional chef and caterer, I’ve perfected a technique that guarantees smooth, unblemished eggs with creamy, vibrant yellow yolks. Trust me, this method works wonders, transforming your hard-boiled egg experience from a chore to a delight.
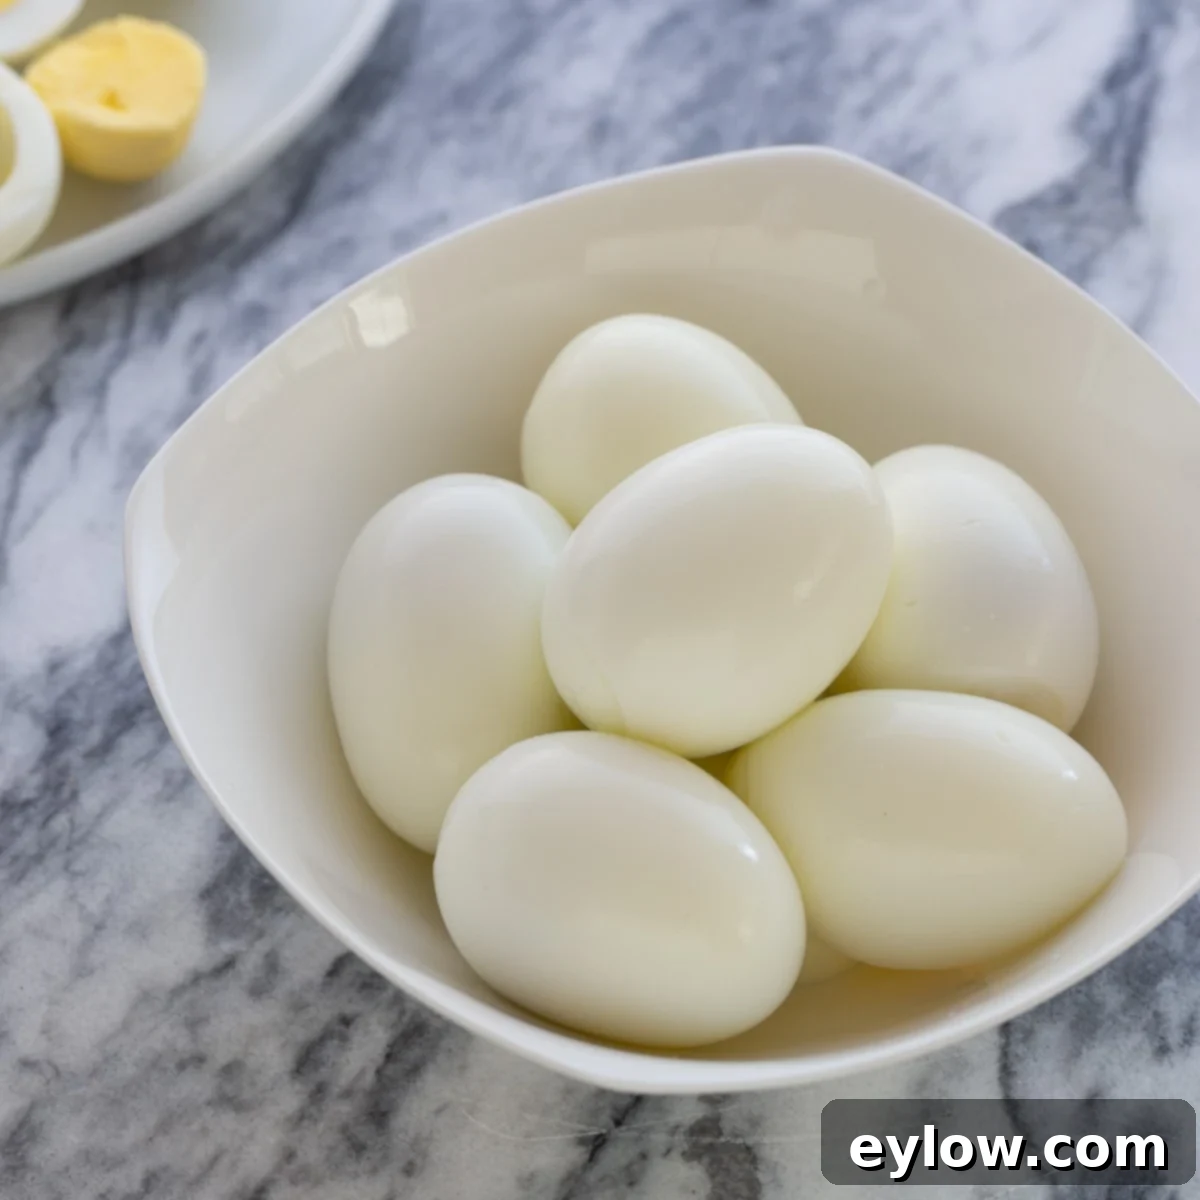
The true test of any cooking method lies in its scalability and reliability under pressure. My personal “aha!” moment came during an unexpected catering emergency. I received a late-night call requiring six dozen perfect hard-boiled eggs for an event the next morning. With limited time and resources, starting to cook at 11:00 PM felt daunting. Yet, relying on this exact method, within an hour, I had six dozen flawless hard-boiled eggs chilling in the refrigerator, ready for the event. This technique didn’t just save the day; it proved its worth for large batches and everyday cooking alike. Even now, I prepare my eggs this way every few days, confident in the consistent, perfect results.
[feast_advanced_jump_to]
Why You’ll Love This Foolproof Hard-Boiled Egg Recipe
This method isn’t just about cooking eggs; it’s about elevating your entire experience. Here’s why this recipe will become your go-to:
- Consistently Perfect Results: Say goodbye to guesswork. This foolproof method guarantees eggs that are perfectly cooked through, with firm whites and creamy, non-chalky yolks, without the dreaded green ring.
- Effortless Peeling: The days of struggling with stubborn shells that take half the egg white with them are over. This technique makes peeling incredibly easy, often allowing shells to slide right off in large pieces.
- Simple & Quick: You don’t need fancy equipment or advanced culinary skills. With just a few common kitchen ingredients and a straightforward process, you’ll achieve professional-grade results.
- Versatile Use: Perfect hard-boiled eggs are a culinary chameleon. Enjoy them as a standalone snack, incorporate them into salads, sandwiches, deviled eggs, or as a protein boost for any meal.
- No Need for Old Eggs: Contrary to popular belief, you don’t need to plan ahead and buy eggs days or weeks in advance. Fresh eggs work beautifully with this method, giving you flexibility.
- Economical & Healthy: Eggs are an incredibly affordable source of high-quality protein and essential nutrients. This method helps you make the most of this superfood, contributing to a healthy lifestyle.
These perfectly cooked eggs are fantastic in a multitude of dishes, like a vibrant green spinach salad with a zesty homemade vinaigrette.
Essential Ingredients for Perfect Hard-Boiled Eggs
You’ll be surprised at how few ingredients are needed for such impressive results. Each plays a crucial role in achieving that easy-to-peel perfection:
- Eggs: The star of the show! Use fresh, large, clean, and un-cracked eggs. The color of the shell (white, brown, or any other) doesn’t matter; they all cook the same. And forget the old wives’ tale – fresh eggs work wonderfully with this method, no need to wait a week.
- Vinegar (White or Apple Cider): A key player in the “kitchen chemistry.” I typically use white vinegar, but apple cider vinegar works just as well. The acidity helps to gently denature the proteins in the egg white just inside the shell, preventing them from bonding too strongly to the membrane. This subtle change makes the shell significantly easier to remove later.
- Salt: Another essential component for easy peeling. Any type of salt you normally use will do – table salt, sea salt, or kosher salt. Like vinegar, salt contributes to altering the chemical structure of the egg white, aiding in the separation of the cooked egg from its shell. It also slightly raises the boiling point of the water, ensuring even cooking.
For precise measurements, please refer to the recipe card below.
Looking for more easy and healthy snack ideas? Try this creamy roasted red pepper hummus, perfect for dipping vegetables or spreading on toast.
Chef’s Tip: The Science Behind Easy Peeling
Ever wondered why salt and vinegar, followed by an ice bath, are so effective? It’s all about kitchen chemistry! The salt and vinegar added to the cooking water perform a subtle but powerful chemical reaction with the eggshell and the thin membrane directly beneath it. This reaction slightly weakens the bond between the egg white and the shell, making it less likely to stick. But the real magic happens in the ice bath. Rapidly chilling the eggs immediately after cooking causes the egg white to contract quickly and significantly, pulling away from the shell. This thermal shock creates a tiny air pocket between the egg and its shell, allowing for a remarkably smooth and effortless peel. It’s crucial to get the hard-boiled eggs very cold; let them sit in the ice bath for at least 30 minutes for the best peeling results.
The Pitfalls of Traditional Hard-Boiled Egg Methods
For years, like many others, I adhered to the conventional wisdom for hard-boiling eggs. This involved placing raw eggs in a single layer at the bottom of a pot, covering them with cold water, bringing the water just to a boil, then turning off the heat, covering the pan, and letting them stand for 12-13 minutes. After draining, they would be chilled and eventually peeled. The results were, to put it mildly, inconsistent – a constant game of hit-or-miss.
The inherent challenge with this traditional “cold water start” method is its unpredictability. You never truly know if the eggs will peel easily or if you’ll be left with cratered, unsightly whites. More often than not, especially when a smooth, pristine egg was desired for a recipe or presentation, the shells clung stubbornly, tearing away chunks of the precious egg white. Even following the age-old advice of using “week-old eggs” rarely delivered the consistent, easy-peel results promised. This inconsistency led to wasted eggs, frustration, and a less-than-perfect culinary experience.
While some modern recipes advocate for cooking hard-boiled eggs in a pressure cooker, a device I genuinely love for many other dishes (hello, Instant Pot!), I find this stovetop method to be superior for eggs. It’s incredibly simple, remarkably fast, and completely eliminates the waiting time associated with a pressure cooker building and releasing pressure. For me, when it comes to hard-boiled eggs, the simplicity and consistent perfection of this stovetop technique trump any other method.
Step-by-Step Guide: How to Make Perfect Hard-Boiled Eggs
Achieving hard-boiled egg perfection is simpler than you think. Follow these steps for consistently delightful results:
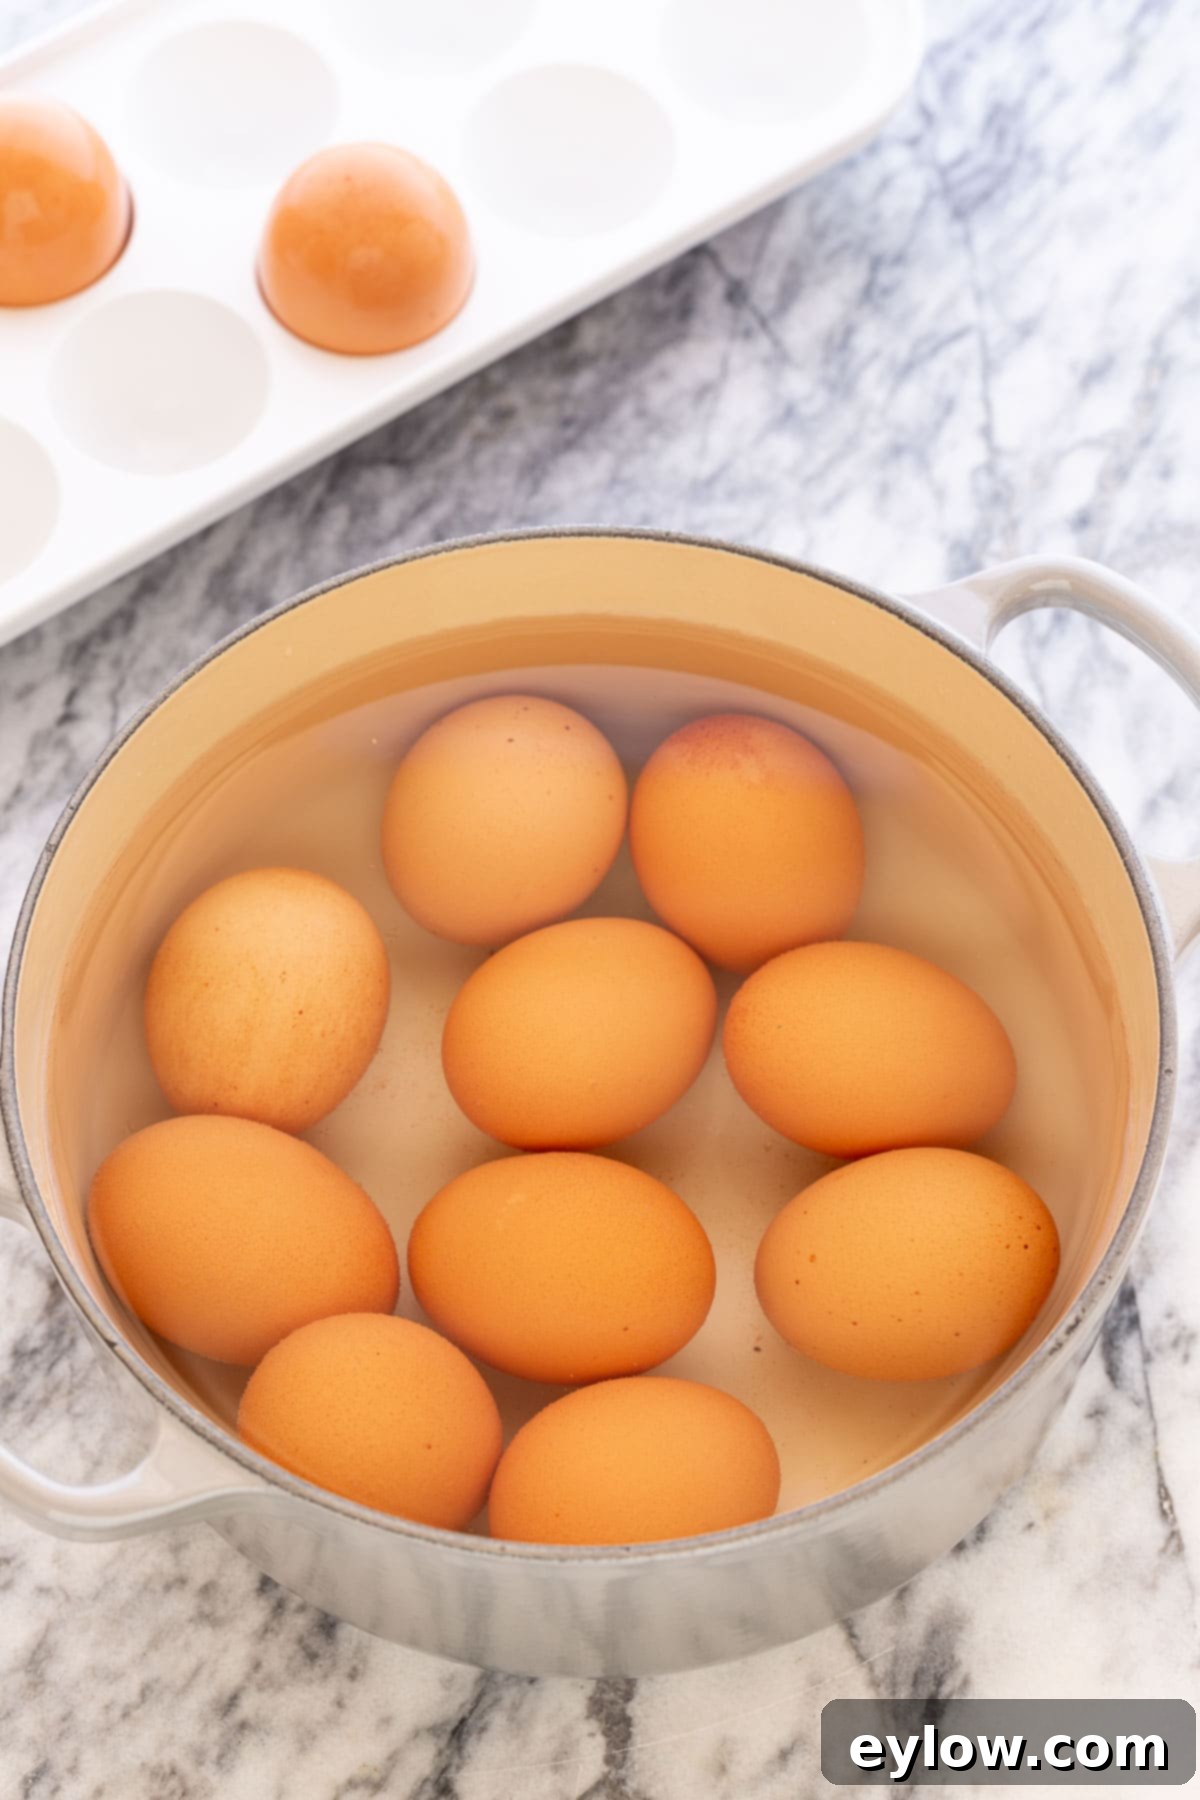
- Prepare Your Pot: Select a pot that allows your eggs to fit comfortably in a single layer at the bottom. This is crucial for even cooking. Fill the pot about halfway with cold tap water. The goal is to have enough water to cover the raw eggs by a few inches once they are added. Add the recommended amount of vinegar and salt to the water now.
- Pan Size Guide:
- For 3-4 eggs, a 2-quart pan is ideal.
- For 6-8 eggs, opt for a 4-5 quart pan.
- If you’re cooking a full dozen, a wide 6-quart pot works best.
- Heat the Water: Place the pot over medium-high heat. Bring the water just to a boil, looking for small, consistent bubbles rather than a vigorous, rolling boil. A gentle simmer is what you’re aiming for. This prevents the eggs from rattling around and potentially cracking.
- Carefully Add Eggs: Once the water is at a gentle simmer, carefully lower the raw eggs into the hot water using a kitchen skimmer or a slotted spoon. This gentle placement prevents cracks. You may need to adjust the heat slightly depending on your stove to maintain that gentle simmer.
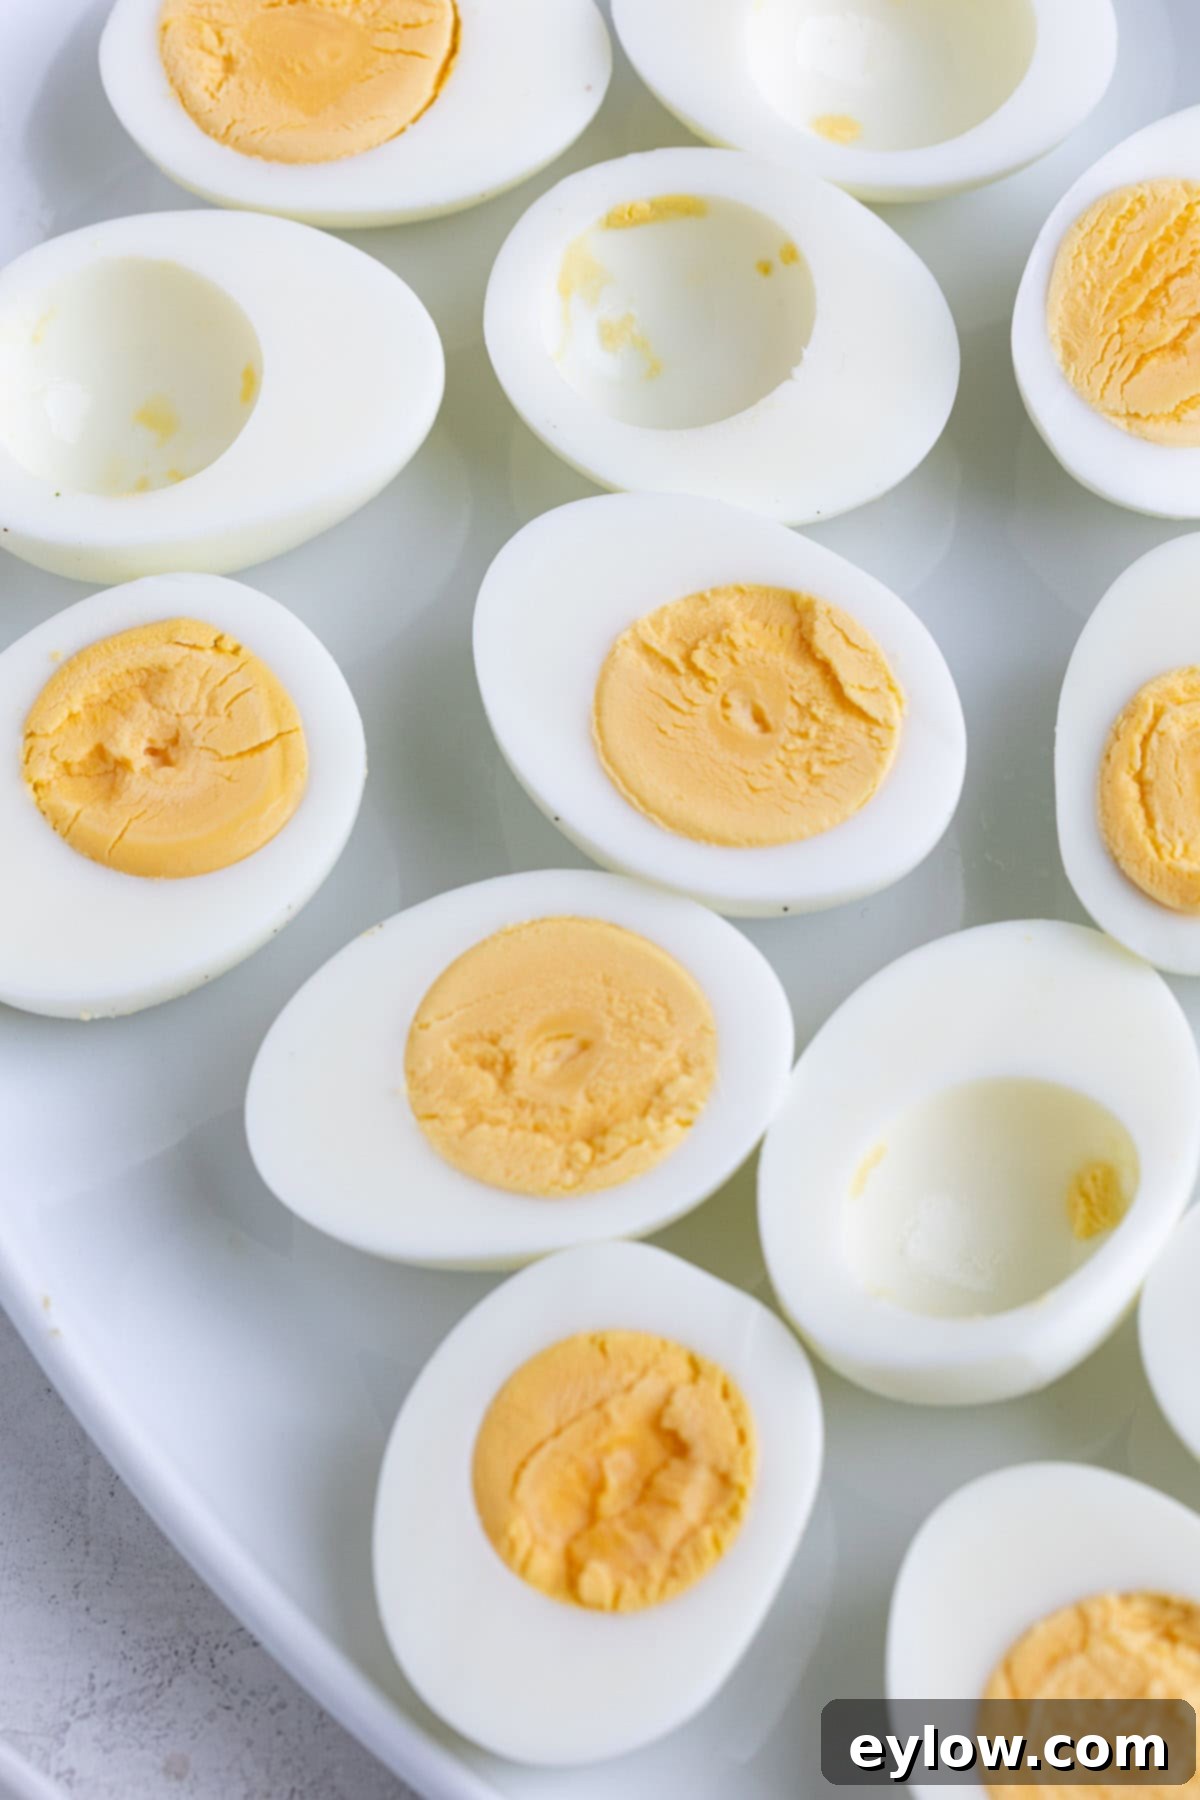
- Cooking Time: Once all eggs are in the water and the gentle simmer is re-established, set a timer for precisely 15 minutes. This cooking time yields a firm white and a perfectly set, creamy yellow yolk with no green ring.
The Critical Ice Bath: Stop Cooking & Start Peeling Easily
The ice bath is a non-negotiable step for easy-to-peel eggs. Prepare it while your eggs are cooking:
- Prepare the Ice Bath: Fill a large bowl generously with ice and cold water. This creates an immediate thermal shock environment for the cooked eggs.
- Transfer & Chill: As soon as the 15-minute cooking timer goes off, use your skimmer or slotted spoon to swiftly transfer the cooked eggs from the hot water directly into the prepared ice bath.
- Thorough Chilling: Allow the eggs to chill in the ice bath until they are very cold to the touch, which typically takes about 30 minutes. This extended chilling time is vital for the egg whites to contract and pull away from the shell, creating that crucial air pocket for easy peeling.
- Dry & Store: Once thoroughly chilled, remove the eggs from the ice bath and dry them gently on a clean kitchen towel. From this point, you have two options: peel them immediately or refrigerate them unpeeled until needed. I often peel mine right away and store them in an airtight container in the refrigerator for quick snacks or recipe prep.
Mastering the Art of Peeling Hard-Boiled Eggs
With this method, peeling becomes a breeze. Here’s how to achieve the smoothest results:
- Tap and Roll: Gently tap the hard-boiled egg against your kitchen counter or any hard surface around its center. You want to create small cracks all over the shell, not smash it. Then, with gentle pressure, place the egg on a folded kitchen towel and roll it away from you. The towel provides a bit of friction and cushioning, helping to loosen the shell further.
- Effortless Removal: Start peeling from the wider end of the egg, where the air pocket usually forms. Most of the time, the peels will come off remarkably easily, often in just one or two large pieces. Sometimes, you might encounter a more stubborn egg, but overall, this method consistently yields the best, most frustration-free peeling experience. If you find a particularly sticky spot, peeling under a gentle stream of cold running water can often help dislodge the shell.
Properly stored, hard-cooked eggs will last for up to 7 days in an airtight container in the refrigerator. Always remember to label and date them to keep track of freshness.
Creative Ways to Enjoy Your Perfect Hard-Boiled Eggs
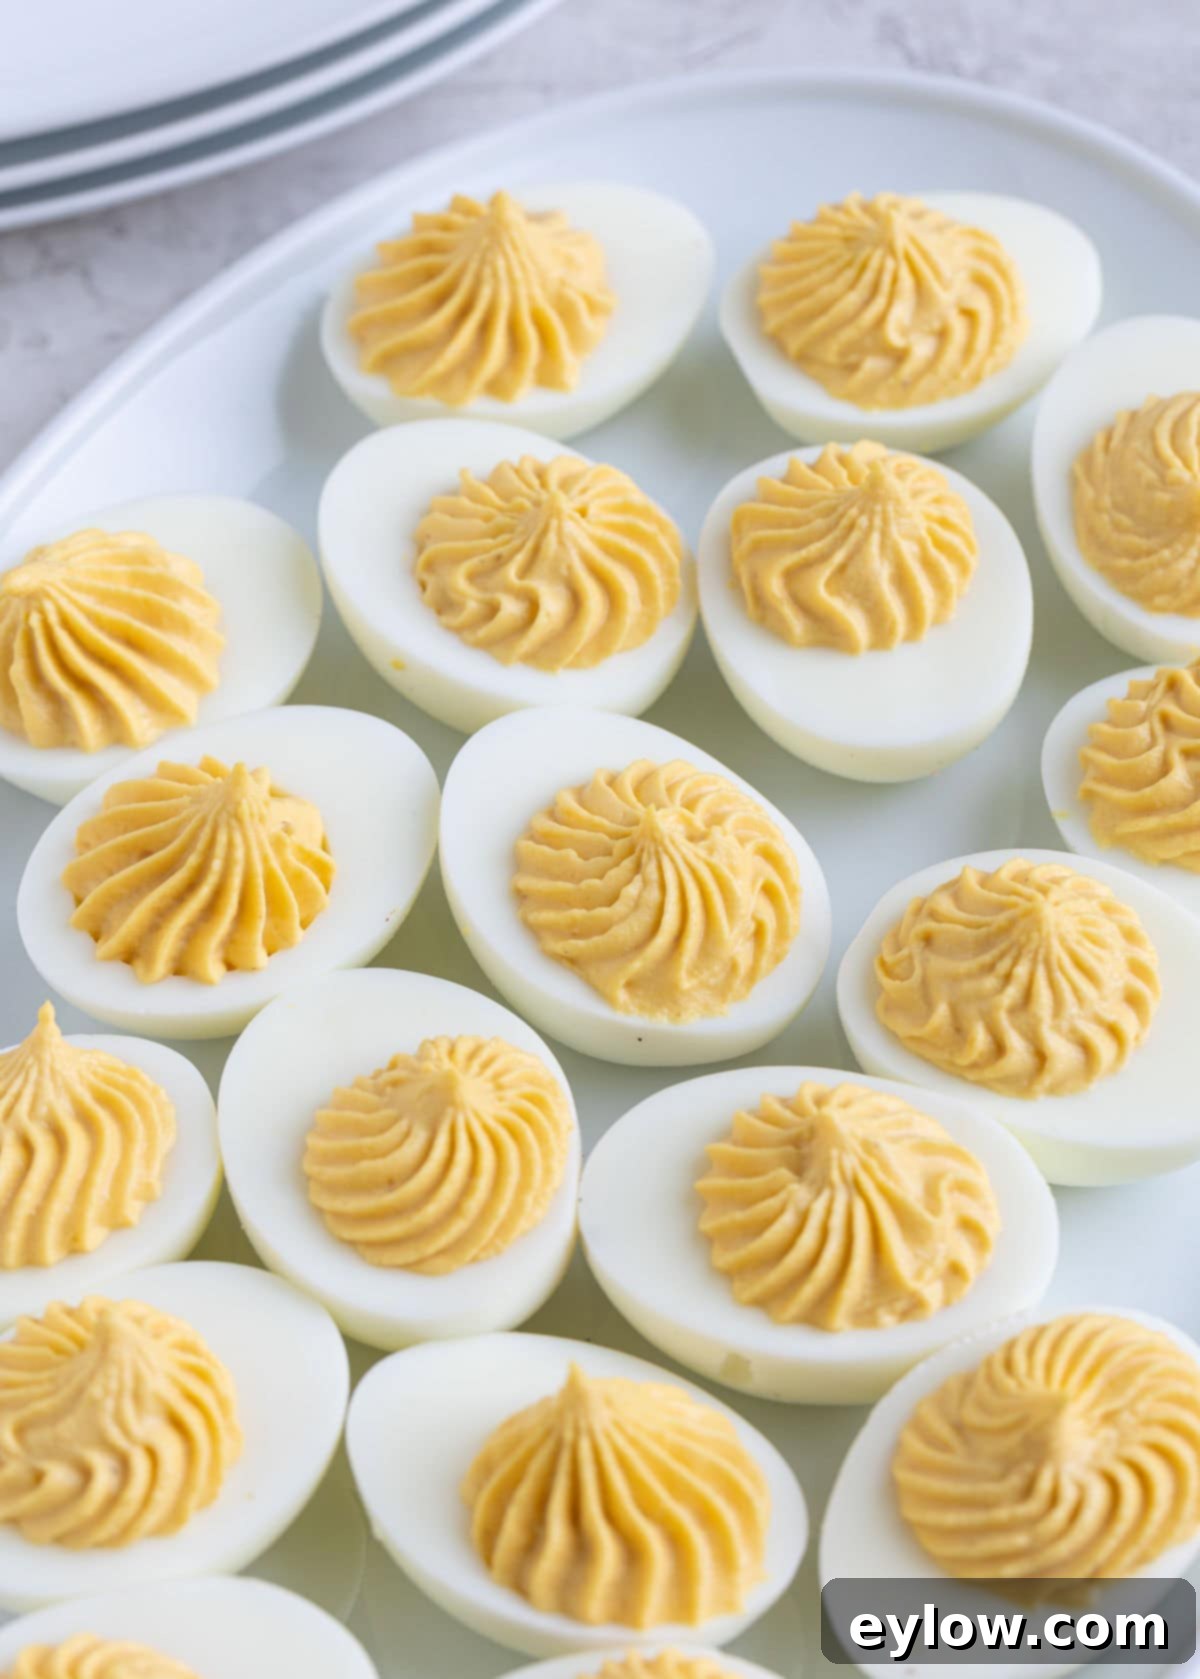
Now that you’ve mastered the art of making perfect hard-boiled eggs, the culinary possibilities are endless! These versatile protein powerhouses can be transformed into countless delicious dishes or simply enjoyed on their own. Here are some fantastic serving suggestions:
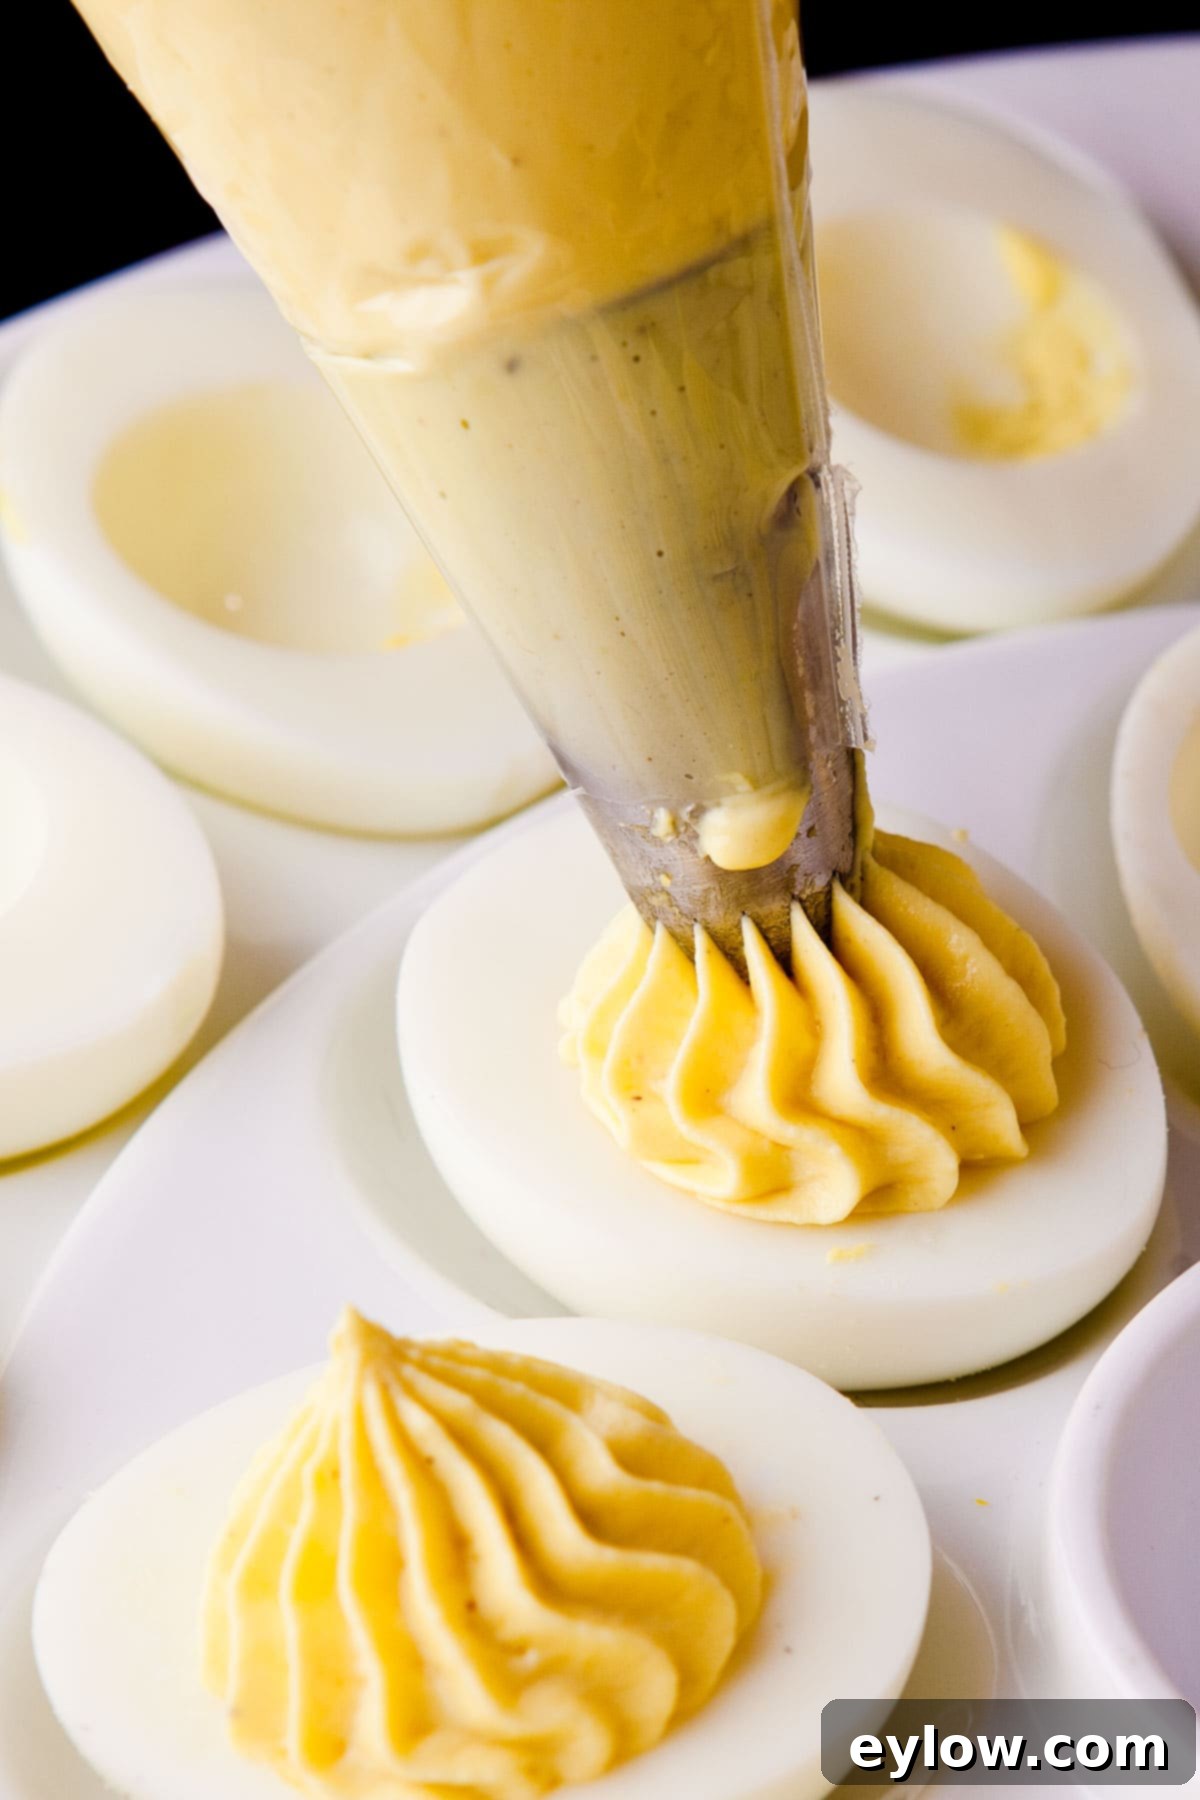
- Classic, Creamy Deviled Eggs: The ultimate party appetizer! Pop out the yolks, mix with mayonnaise, mustard, and seasonings, then pipe the creamy filling back into the whites. Perfect for family gatherings, potlucks, and holidays.
- Salad Nicoise: A French culinary masterpiece. Add wedges of hard-boiled eggs to a vibrant salad featuring tuna, green beans, potatoes, tomatoes, and olives for a complete and satisfying meal.
- High-Protein Snack: Simply peel and eat! Hard-boiled eggs are a fantastic grab-and-go snack, providing sustained energy and satiety. They are easily transportable – just keep them chilled in your lunch bag.
- Elevate Green Salads: Slice or quarter hard-boiled eggs and add them to any green salad for an instant boost of protein, texture, and visual appeal. They pair wonderfully with a variety of dressings.
- California Shrimp Louie Salad: Create a restaurant-quality meal with shrimp, avocado, tomatoes, and crisp lettuce, all topped with perfectly sliced hard-boiled eggs and a creamy Louie dressing.
- Avocado Stuffed Eggs: For a unique twist, remove the yolks and fill the centers with a savory Creamy Avocado Dip. This creates a fresh, vibrant, and healthy appetizer.
- Hearty Potato Salad: Chop your hard-boiled eggs and mix them into a classic homemade potato salad. They add richness and a lovely creamy texture.
- Egg Salad Sandwiches: The quintessential comfort food! Chop the eggs, mix with mayonnaise, celery, and your favorite seasonings for a delicious sandwich filling or spread.
- Ramen Topping: Halved hard-boiled eggs are a popular and delicious topping for bowls of ramen, adding protein and a visually appealing touch.
- Breakfast Power Bowl: Combine sliced hard-boiled eggs with roasted vegetables, quinoa, and a light dressing for a healthy and satisfying breakfast or brunch bowl.
Frequently Asked Questions About Hard-Boiled Eggs
Based on extensive experience, the most reliable method for perfectly cooked, easy-to-peel hard-boiled eggs involves a hot start and an immediate ice bath. Begin by filling a pot with enough cold water to cover your eggs by a few inches, adding white or apple cider vinegar and salt. Bring this water to a gentle simmer (not a rolling boil), then carefully lower the raw eggs into the simmering water. Cook for exactly 15 minutes. Immediately after cooking, transfer the eggs to a large bowl filled with ice water and chill until very cold, ideally for 30 minutes. This two-part process ensures tender whites, creamy yolks without a green ring, and shells that practically slide off.
The secret to easy peeling lies in the preparation and chilling process. If you’ve cooked your eggs using the method described above and chilled them thoroughly in an ice bath until very cold, peeling becomes much simpler. To peel, gently tap the hard-boiled egg on your kitchen counter or a hard surface, rotating it to crack the shell all around. Next, place it on a folded kitchen towel and gently roll it away from you with light pressure; this helps loosen the shell from the membrane. Begin peeling from the wider end where an air pocket usually forms. The shell should come off easily, often in large pieces. For any stubborn spots, peeling under a stream of cold running water can further assist.
Absolutely! Hard-boiled eggs are excellent for meal prep. They can be made several days in advance for quick snacks, lunch additions, or for recipes such as deviled eggs and egg salad. After hard boiling and thoroughly chilling them, store the unpeeled eggs in their shells in an airtight container in the refrigerator. They will last perfectly for up to 7 days. If you peel them ahead of time, store the peeled eggs in a bowl of cold water (changing the water daily) or in a sealed container, also for up to 7 days.
Hard-boiled eggs are incredibly healthy and a fantastic addition to most diets, unless you have a specific egg allergy or sensitivity. They are a superb source of complete protein, meaning they contain all nine essential amino acids necessary for human health. They are also rich in vitamins A, D, E, K, and B vitamins, as well as minerals like iron, zinc, and selenium. Eggs provide choline, which is vital for brain health. Being inexpensive and versatile, they make an excellent choice for a nutritious snack, a protein boost in salads, or as the base for a simple egg salad with a little mayonnaise, mustard, salt, and pepper.
The dreaded green or grayish-green ring around the yolk is a clear sign of an overcooked hard-boiled egg. It occurs when sulfur in the egg white reacts with iron in the yolk, forming ferrous sulfide, which has a distinct greenish color. This reaction is intensified by prolonged cooking times or very high heat. While harmless to eat, it can affect the egg’s appearance and sometimes its texture, making the yolk chalkier. This method avoids the green ring by using precise cooking times and an immediate ice bath to stop the cooking process effectively.
Yes, absolutely! Unlike some traditional methods that suggest bringing eggs to room temperature first, this “hot water start” method with salt and vinegar works perfectly with cold eggs straight from the refrigerator. The gentle simmer and gradual heat transfer minimize the risk of cracking that might occur if extremely cold eggs were plunged into a vigorous boil. This convenience means less waiting time and simpler preparation for you.
Explore More Delicious Egg Recipes
Hard-boiled eggs are just the beginning! Unleash the full potential of eggs in your kitchen. Beyond being delicious on their own, they transform into classic deviled eggs, provide a protein punch to any salad, and form the base for countless other delightful dishes. Expand your culinary repertoire with these related recipes:
- Best Deviled Eggs Recipe (Step by Step)
- Pomegranate and Spinach Salad
⭐️ Did You Make This Recipe? We’d Love to Hear From You!
If you’ve tried this foolproof method for making perfect hard-boiled eggs, we would be thrilled to hear about your experience! Your feedback and comments are invaluable. If you loved the results, please consider leaving a 5-star rating; it truly helps other readers discover and trust this recipe. Have any questions or need further assistance? Don’t hesitate to ask. I’m always here to help you achieve culinary success!
📖 Recipe: Perfect Hard-Boiled Eggs (Easy Peel)
Perfect Hard-Boiled Eggs Easy to Peel
Sally Cameron
Pin Recipe
Ingredients
- 12 L or XL raw eggs
- ¼ cup white vinegar
- 2 teaspoons salt
Instructions
-
Choose a pot large enough for your eggs to sit flat in a single layer. Fill the pot with enough cold tap water to cover the eggs by a few inches once added. Add the ¼ cup white vinegar and 2 teaspoons of salt to the cold water. Place the pot over medium-high heat and bring the water to a gentle simmer (small, consistent bubbles, not a vigorous boil). Carefully lower the raw eggs into the simmering water using a kitchen skimmer or slotted spoon to prevent cracking. Adjust the heat to maintain a gentle simmer.
-
Set a timer for exactly 15 minutes. While the eggs are cooking, prepare an ice bath: fill a large bowl generously with ice and cold water. Once the 15-minute cooking time is up, immediately transfer the cooked eggs from the hot water into the ice bath. Allow them to chill in the ice bath until they are very cold, about 30 minutes, to ensure easy peeling.
-
To peel, gently tap the egg around its center on your kitchen counter or a hard surface to create small cracks. Then, roll the egg with gentle pressure on a folded kitchen towel to further loosen the shell. Start peeling from the wider end; the shell should come off easily in large pieces. For stubborn shells, peeling under a gentle stream of cold running water can help.
