Homemade Almond Milk: Your Ultimate Guide to Fresh, Wholesome, & Delicious Plant-Based Milk
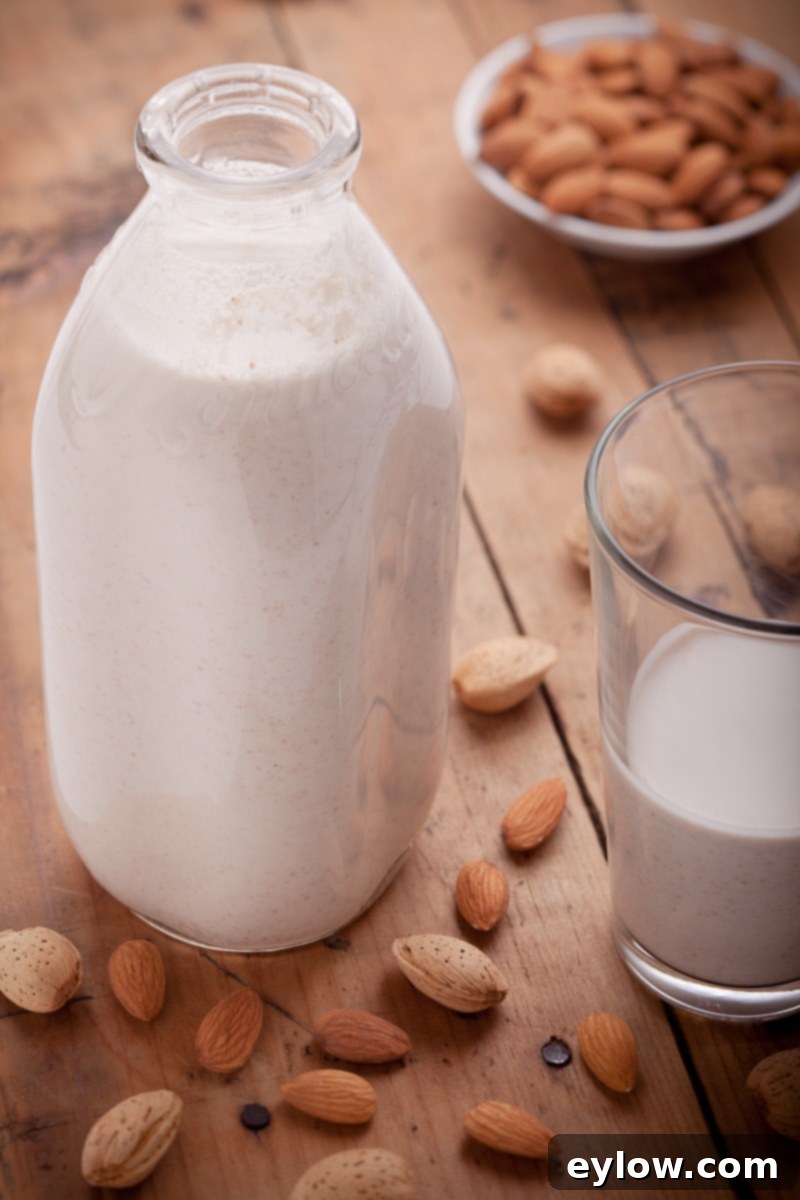
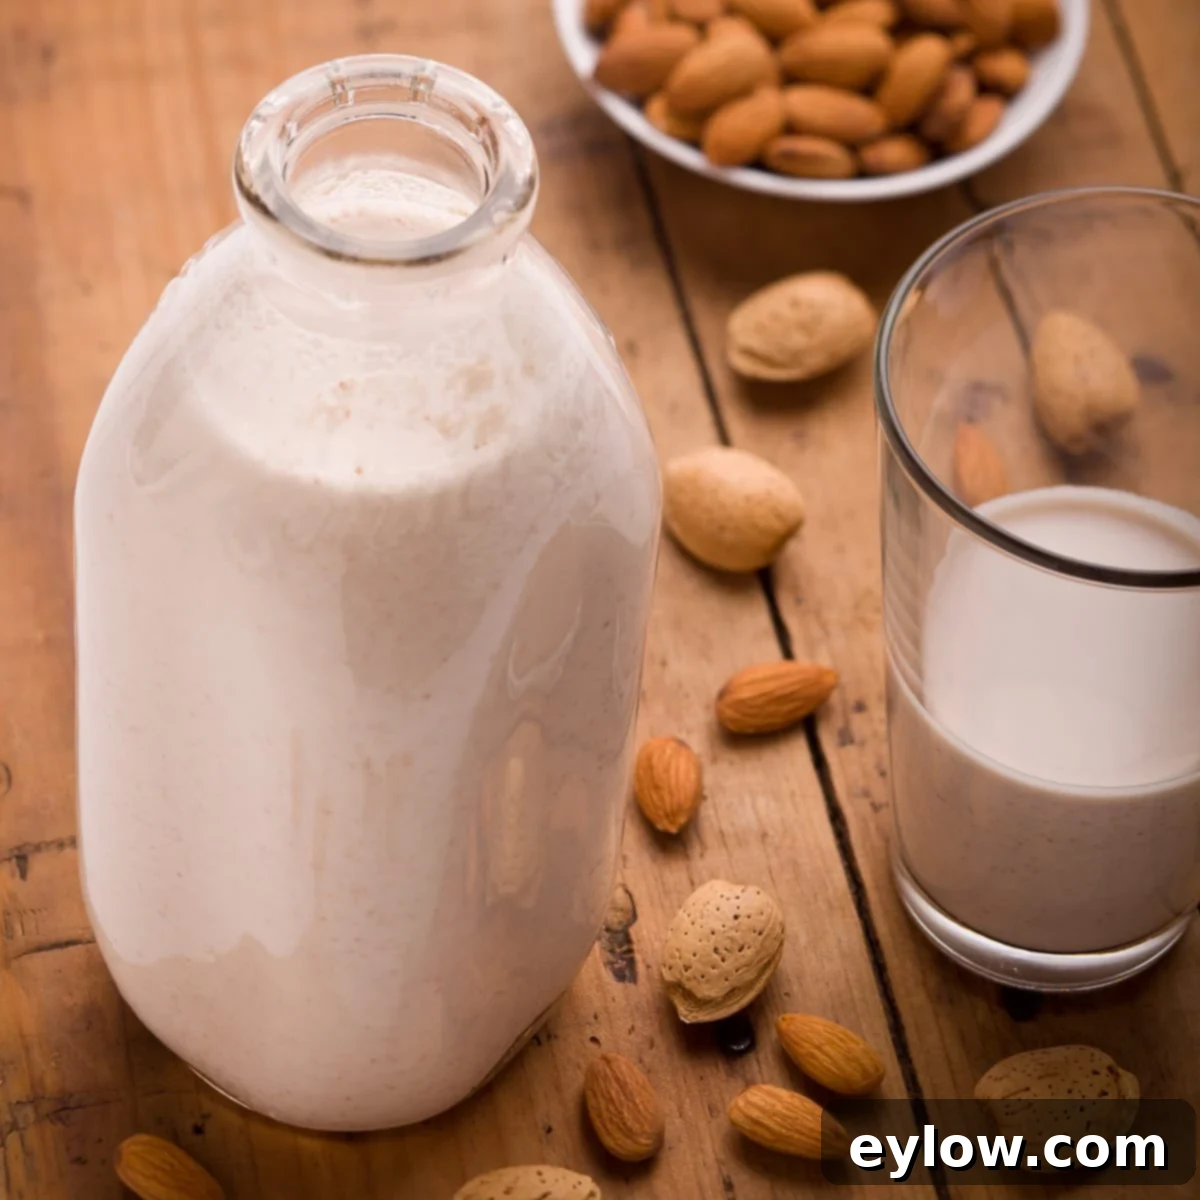
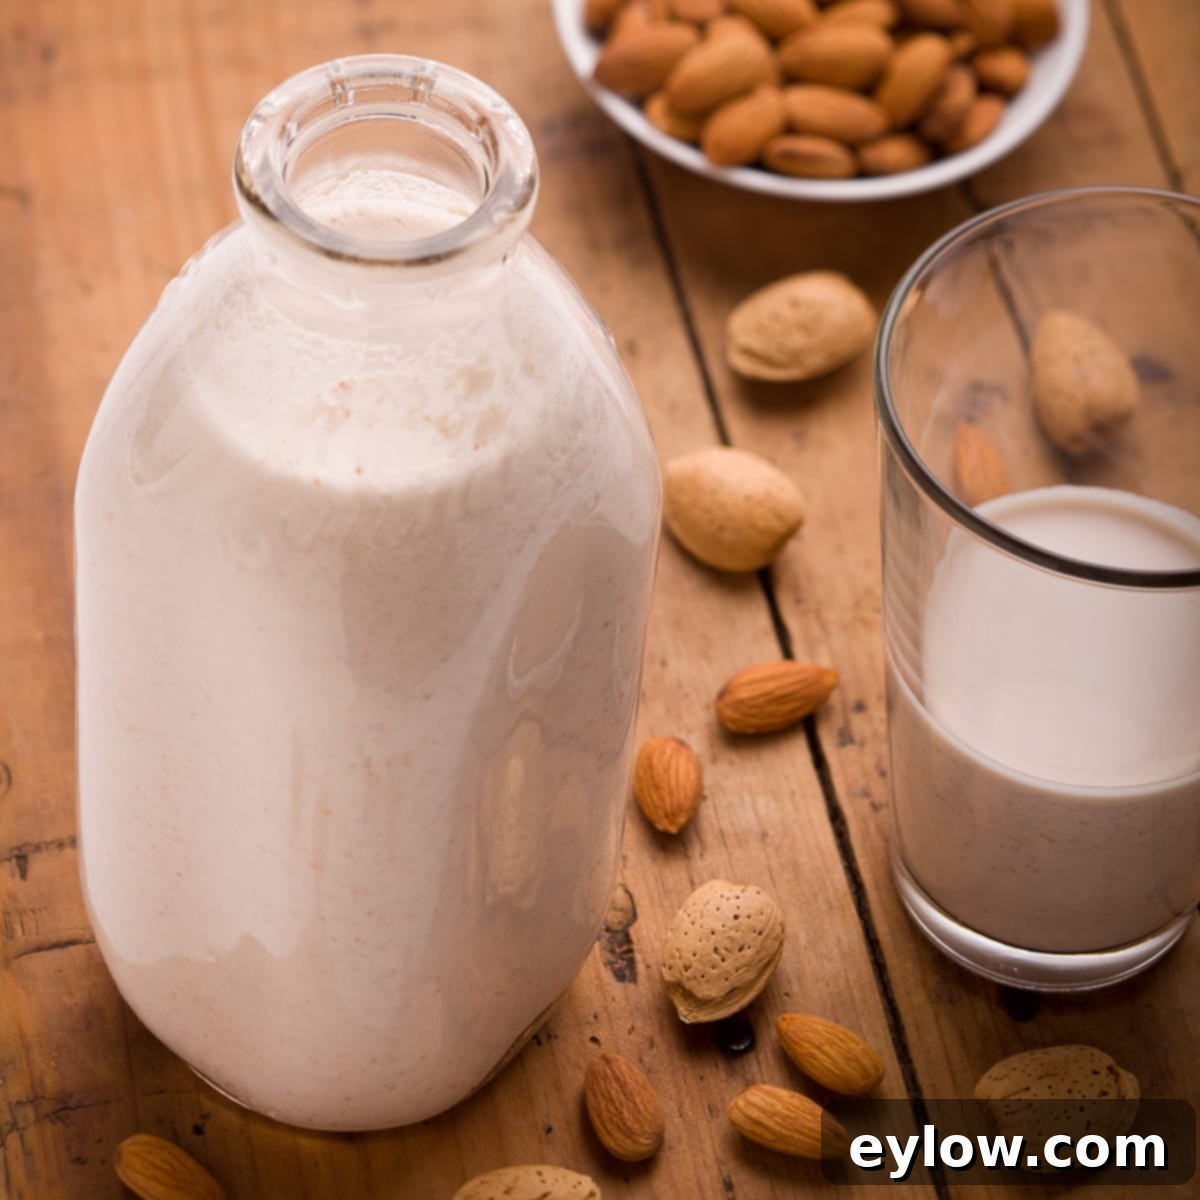
Tired of store-bought almond milk packed with unwanted additives, gums, and artificial flavors? It’s time to take control of what you consume and easily make your own fresh, wholesome, and incredibly nutritious homemade almond milk. This clean, plant-based dairy alternative is a game-changer for anyone seeking a healthier lifestyle. Perfect for all your non-dairy needs, from morning coffee to rich sauces, this recipe ensures you enjoy pure almond goodness without compromise. We especially love incorporating it daily into our protein smoothies for a healthy start to the day or a revitalizing post-workout refuel. The process is remarkably simple: soak raw almonds, blend them in a high-speed blender with fresh water, and enjoy. Once you try it, you’ll agree: homemade truly is better, offering unparalleled taste, texture, and nutritional value.

My journey into making homemade almond milk began the moment I started carefully reading the ingredients labels of popular store brands. I was astonished by the long list of stabilizers, emulsifiers, and added sugars in something as seemingly simple as almond milk. Given how incredibly easy it is to prepare from scratch, I wondered why anyone wouldn’t choose the homemade route. Now, I always keep a generous supply of high-quality raw almonds in my pantry, often buying them in bulk to ensure we never run out of fresh almond milk for our essential morning smoothies. This homemade version far surpasses the processed, often additive-laden varieties found in cartons, providing a cleaner, richer, and more authentic taste experience. It’s a small change that makes a huge difference in your daily nutrition.
[feast_advanced_jump_to]
Why You’ll Love Making Your Own Almond Milk
Ditching the carton for a homemade batch comes with a myriad of benefits. Here’s why making your own almond milk will quickly become a cherished part of your kitchen routine:
- Unmatched Simplicity: Making almond milk at home is surprisingly easy, requiring just a few minutes of active preparation time after an initial soak.
- Always on Hand: Keep raw almonds in your pantry, and you’ll never face the frustration of running out of your favorite plant-based milk.
- Cost-Effective: Buying raw almonds in bulk from warehouse stores or online retailers significantly reduces the cost compared to repeatedly purchasing cartons of almond milk.
- Pure Ingredients, No Additives: Enjoy a clean, additive-free product. You control every ingredient, avoiding thickeners, emulsifiers (like carrageenan), and artificial flavors often found in commercial versions.
- Superior Taste and Creaminess: Homemade almond milk boasts a richer, fresher, and more pronounced almond flavor and a wonderfully creamy texture that store-bought versions simply can’t match.
- Customizable to Your Preference: Easily adjust the sweetness, flavor, and consistency to suit your specific dietary needs or taste preferences.
- Strain or Not to Strain: The choice is yours! I often skip straining for a thicker, more nutrient-rich milk, but you can strain for a super-smooth texture for specific uses.
For more creative ideas and guidance on crafting wholesome protein-packed beverages, be sure to read my Ultimate Guide to Making Healthy Smoothies, which will further inspire your culinary adventures.
Recipe Ingredients
Crafting delicious homemade almond milk requires only two primary ingredients, plus a few optional additions to personalize your brew. Quality matters here, so choose wisely:
- Almonds: The star of our recipe! It is crucial to use plain raw almonds. Avoid any almonds that are roasted, salted, or flavored, as these will impart an undesirable taste to your milk. For the best value and to ensure a steady supply, consider purchasing raw almonds in bulk from reputable warehouse clubs or online suppliers. Look for steam-pasteurized almonds, as explained further below, for both safety and quality.
- Water: The quality of your water directly impacts the taste of your almond milk. Therefore, pure, clean, filtered water is highly recommended. Tap water often contains chlorine, minerals, or other impurities that can subtly alter the flavor of your finished product. If you don’t have a good water filter at home, consider using bottled filtered water for the best results.
If you’ve encountered criticisms regarding the water usage in almond farming, I encourage you to read this informative article on almond cultivation and water efficiency. It provides factual insights that help demystify common misconceptions and highlight the industry’s sustainable practices.
Chef’s Tip: This principle applies to all alternative milks – always opt for unsweetened and unflavored varieties when available. This gives you complete control over the quality, sweetness level, and flavor profile, allowing you to customize your milk precisely to your liking for any recipe or beverage.
Substitutions and Flavorful Variations
One of the greatest advantages of making almond milk at home is the freedom to customize it to your exact preferences. Here are some popular substitutions and exciting variations:
- Vanilla Almond Milk: For those who adore the classic vanilla flavor, a touch of vanilla extract or a tiny scrape of ground vanilla bean can transform your plain almond milk. Add it during the blending process for an even distribution. This is entirely optional but highly recommended for a comforting taste.
- Sweetened Almond Milk: If you prefer your almond milk with a touch of sweetness, natural sweeteners are your best bet. Consider options like a tablespoon or two of brown rice syrup, liquid stevia (use sparingly as it’s potent), pure maple syrup, or honey. For zero-sugar alternatives, a monk fruit/allulose blend or a monk fruit simple syrup works wonderfully. Another excellent choice is zero-sugar maple syrup or honey. While some people like to add soft, pitted dates for sweetness, their chewy texture can sometimes make them less ideal for smooth blending, so you might need a very powerful blender or a finer strain if you choose this option.
- Flavored Almond Milk: Expand your palate with various flavor additions! Try a tablespoon of unsweetened cocoa powder for a chocolatey kick, a pinch of cinnamon for warmth, a spoonful of pumpkin spice blend for a seasonal treat, or a teaspoon of vibrant Japanese matcha powder for an earthy, energizing beverage. Additionally, adding maca powder can impart a unique butterscotch-earthy flavor, and studies suggest that maca may offer various health benefits, making it a functional addition.
Chef’s Tip on Flavored Almond Milk: While the possibilities for flavoring almond milk are endless, my personal recommendation is to prepare your almond milk plain and simple. Instead, add your desired flavorings directly to whatever you are making, such as your protein smoothie, coffee, or oatmeal. This approach offers greater flexibility, allowing you to achieve the perfect flavor level and concentration for each individual dish or drink without committing an entire batch of milk to a single flavor profile.
Recipe Instructions
Making your own almond milk is a straightforward process that yields incredibly fresh results. Follow these simple steps:

Step 1: Soak the Almonds
Place your raw almonds in a bowl or container and cover them completely with cold, filtered water. Ensure there’s enough water to fully submerge the almonds, as they will expand slightly. Cover the container and refrigerate for a minimum of 8 hours, or ideally, overnight. Soaking softens the almonds, making them easier to blend into a smooth milk and enhancing nutrient absorption (more on this below).
Step 2: Blend to Perfection
After soaking, drain off the soaking water completely. Discard this water as it contains enzyme inhibitors. Rinse the soaked almonds under fresh running water. Transfer the rinsed almonds to a high-speed blender container. Add fresh, filtered water according to your desired ratio (see “Almond to Water Ratios” below). Secure the lid tightly and blend on high speed for approximately 60 seconds, or until the mixture appears creamy and smooth. For optimal results, start the blender at a lower speed and gradually increase to high. Allow the foamy top to subside for a moment, or gently scoop it off if you need a precise measurement of milk. Your homemade almond milk is now ready to use immediately, whether you choose to strain it or not.
To Strain or Not to Strain: That is the Question
Many traditional recipes for homemade nut milk instruct you to strain the mixture through a fine-mesh sieve or a specialized nut milk bag to achieve a perfectly smooth, pulp-free texture. While this certainly results in a very thin, silky milk, I personally choose not to strain my almond milk most of the time. My reasoning? Why discard all those healthy, nutritious bits of almond pulp? By not straining, you retain more fiber, protein, and other beneficial nutrients, resulting in a thicker, richer, and more substantial milk. We genuinely appreciate the robust texture of unstrained almond milk; it feels more hearty and satisfying.
Ultimately, the decision to strain or not is a matter of personal preference and how you intend to use the milk. If you prefer a lighter, ultra-smooth consistency, or if you require a very thin, fluid milk for a specific recipe (such as delicate sauces or certain baked goods), then straining through a nut milk bag is the way to go. Otherwise, embrace the thickness and added nutrition!
Store your fresh homemade almond milk in a sealed container in the refrigerator for 3-4 days. Before each use, give it a good stir or whisk, as natural separation will occur. If you notice a sour smell or taste, it’s a sign that the milk has spoiled and should be discarded.
Almond to Water Ratios for Your Perfect Milk
The ideal ratio of almonds to water depends on your blender’s capacity and your desired volume and creaminess. The water listed here refers to the fresh water added during the blending process, not the soaking water, which is always discarded.
- For a very rich and thick milk: 9 ounces raw almonds to 6 cups fresh filtered water.
- For a balanced, creamy milk: 7 ½ ounces raw almonds to 5 cups fresh filtered water.
- For a standard 1-quart batch: 6 ounces raw almonds to 4 cups fresh filtered water.
- For a slightly lighter milk: 4 ½ ounces raw almonds to 3 cups fresh filtered water.
Experiment with these ratios to find your perfect consistency. For those eager to explore beyond almond milk, discover my other delightful plant-based milk recipes, including creamy homemade pumpkin seed milk, rich cashew milk, or a quick and easy homemade coconut milk from canned ingredients.
Why Almonds? The Nutritional Powerhouse
Almonds are not just delicious; they are often hailed as one of the most nutritious nuts available, offering an impressive array of health benefits. Incorporating almonds, and by extension, homemade almond milk, into your diet can significantly boost your nutrient intake.
From a nutritional standpoint, almonds are a rich source of plant-based protein, essential for muscle repair and growth. They are packed with dietary fiber, which aids in digestion and promotes a feeling of fullness. Almonds also contain beneficial omega-3 and omega-6 fatty acids, crucial for heart health and reducing inflammation. Furthermore, these versatile nuts are an excellent source of Vitamin E, a powerful antioxidant that protects cells from damage, and vital minerals such as magnesium (important for nerve and muscle function), calcium (essential for strong bones and teeth), and zinc (which supports immune function).
Beyond their impressive nutritional profile, almonds simply taste great, providing a subtly sweet and creamy base for delicious plant-based milk that complements a wide variety of dishes and beverages.
The Science Behind Soaking: Why Soak Your Almonds?
Soaking almonds before blending is not just a suggestion; it’s a crucial step that offers significant benefits for both digestion and the final texture of your almond milk. Raw almonds, like many nuts, contain naturally occurring enzyme inhibitors and phytic acid. These compounds can interfere with your body’s ability to properly digest the almonds and absorb their valuable nutrients.
The soaking process helps to neutralize these enzyme inhibitors and reduce phytic acid, making the almonds easier to digest and allowing your body to absorb more of their beneficial vitamins and minerals. This is why it’s important to discard the soaking water – it contains these released compounds. Beyond the nutritional advantages, soaked almonds also become significantly softer, which allows them to puree into a far smoother, creamier, and more luxurious milk when blended in a high-speed blender, free from a gritty texture.

Tips For Buying Raw Almonds Wisely
Understanding how your almonds are processed is essential, especially when aiming for the purest homemade almond milk. While a 2007 USDA law mandates that all almonds grown in the United States or Mexico must be sanitized or pasteurized to prevent salmonella outbreaks, not all pasteurization methods are created equal. There are two primary methods used:
- Steam Pasteurization: This is the preferred method. Steam pasteurization uses a short burst of steam to sanitize only the surface of the nut. It is considered non-toxic and, crucially, does not “kill” the nut’s enzymes or alter its nutritional integrity. Steam-pasteurized almonds can still sprout, indicating they are still considered “alive” and truly raw. When purchasing, look for packaging that explicitly states “steam pasteurized.”
- Propylene Oxide (PPO) Gas Treatment: This is the other common method, often chosen by the industry because it is cheaper. However, Propylene Oxide (PPO) gas is classified by the U.S. Environmental Protection Agency (EPA) as a probable human carcinogen. Many health-conscious consumers prefer to avoid almonds treated with PPO due to these potential health concerns.
If the packaging does not clearly list the pasteurization method, don’t hesitate to call the producer and inquire. For ultimate peace of mind and to avoid PPO, seek out brands that specifically state “steam pasteurized” or “unpasteurized” (which are typically imported from Europe, as U.S. almonds must be treated). I personally opt for organic almonds that are steam pasteurized for the highest quality. Here are the almonds I typically buy from Amazon or at Costco, always prioritizing organic and steam-pasteurized options.
Creative Serving Suggestions & Uses
Homemade almond milk is incredibly versatile and can elevate countless dishes and beverages. Here are some of our favorite ways to enjoy it:
- Morning Smoothies: Our absolute favorite! We use it daily in our protein smoothies for a nutritious breakfast or a powerful post-workout recovery drink.
- Coffee and Tea: A wonderful dairy-free creamer for your morning coffee, latte, or afternoon tea.
- Cereal and Granola: Pour it over your favorite breakfast cereals, homemade granola, or muesli for a wholesome meal.
- Overnight Oats: The perfect liquid base for creamy overnight oats with chia seeds or traditional Bircher muesli. Try our high-protein overnight oats recipe!
- Baking and Cooking: Substitute it for dairy milk in most baking recipes, pancakes, waffles, or savory dishes like creamy soups and sauces.
- Enjoy it Plain: Sometimes, the simplest pleasure is a tall, cold glass of fresh homemade almond milk on its own, perhaps with your favorite healthy cookie.
- Desserts: Use it as a base for dairy-free puddings, custards, or ice cream.
Homemade Almond Milk Recipe FAQs
Yes, soaking is highly recommended and almost essential for optimal results. Soaking softens the almonds significantly, making them much easier to blend into a smooth, creamy milk. More importantly, it helps to break down enzyme inhibitors and phytic acid present in raw almonds, which can otherwise interfere with digestion and nutrient absorption. Discard the soaking water and use fresh water for blending.
The amount of water you use dictates the creaminess and thickness of your almond milk. For a standard 1-quart (about 4 cups) batch of creamy almond milk, a good starting point is 6 ounces of raw, soaked almonds blended with 4 cups of fresh filtered water. If you prefer a thicker, richer milk, reduce the water slightly (e.g., 3.5 cups). For a thinner consistency, you can increase the water by half a cup or so.
You can indeed freeze almond milk, although the texture might change slightly upon thawing, potentially becoming a bit grainier or separated. It’s best to freeze it in ice cube trays or portioned silicone trays for easy thawing. While I personally prefer to make fresh batches due to the simplicity of the process and the superior fresh taste, freezing is a viable option if you need to extend its shelf life or batch prep.
As mentioned in the recipe, I often choose to skip the straining process entirely, keeping all the nutritious almond fiber in the milk. This is my preferred method to maximize nutrition and create a thicker milk. However, if you do strain your almond milk and end up with pulp, don’t throw it away! Almond pulp is highly nutritious. It can be used in various ways: incorporate it into energy balls, stir it into porridge or oatmeal for added fiber, or even dehydrate it to make almond flour for baking. It’s also excellent for composting if you have a garden.
A high-speed blender is ideal for achieving the smoothest, creamiest almond milk. Brands like Vitamix or Blendtec are excellent choices as their powerful motors can break down the almonds into a very fine consistency, minimizing the need for straining. While a regular blender can work, you might get a slightly less smooth texture, and it may require longer blending times and more frequent pauses to prevent overheating.
Homemade almond milk, being free of preservatives, typically lasts for about 3 to 4 days when stored in an airtight container in the refrigerator. Always smell it before consuming; if it smells sour or has an off-odor, it’s best to discard it.
More Homemade Plant Milk Recipes
If you’ve fallen in love with homemade almond milk, I highly encourage you to explore other easy-to-make nut and seed milks. Each offers a unique flavor profile and nutritional benefits, making them wonderful alternatives to dairy. Expand your plant-based repertoire with these delicious options. And for a wide array of delicious and healthy blendable options, remember to check out my dedicated protein smoothie recipe page.
- Hemp Mylk (Hemp Seed Milk Recipe)
- Homemade Coconut Milk (from Canned in 1 Minute)
- Homemade Pumpkin Seed Milk (Dairy-free)
- Cashew Milk Recipe
Did You Make This Recipe?
If you give this homemade almond milk recipe a try, I’d love to hear your thoughts! Please share your comments below. Your feedback is invaluable and I genuinely enjoy connecting with my readers. If you loved it as much as we do, please consider giving it a 5-star rating! Your ratings help other readers discover and enjoy this fantastic recipe.
📖 Recipe

Homemade Almond Milk
Sally Cameron
Pin Recipe
Equipment
-
High speed blender
-
Nut milk bag (optional, for straining)
Ingredients
- 6 ounces raw almonds
- Filtered water to cover the almonds for soaking
- 4 cups fresh filtered water for pureeing
Optional Flavor & Sweetener Additions
- 1/2 tsp vanilla extract or 1/4 tsp almond extract for flavoring
- 1-2 tbsp natural sweetener (e.g., maple syrup, honey, liquid stevia, or 1-2 soft pitted dates)
- 1 tbsp cocoa powder, 1/2 tsp cinnamon, or 1 tsp matcha powder for flavored milk
Instructions
-
Soak the Almonds: Place raw almonds in a bowl or container and cover them completely with filtered water. Ensure they are fully submerged. Cover the container and refrigerate for 8 to 24 hours. The longer the soak, the softer they become, yielding creamier milk.
-
Rinse and Blend: After soaking, drain off the soaking water and discard it. Rinse the soaked almonds thoroughly under fresh running water. Transfer the rinsed almonds and 4 cups of fresh filtered water into a high-speed blender. Add any optional flavorings (like vanilla extract or sweeteners) at this stage.
-
Process to Milk: Secure the blender lid tightly and process on high speed for about 60 seconds, or until the mixture is completely creamy and smooth. You can start slowly and gradually increase the speed to high.
-
Serve or Strain (Optional): Allow any foamy top to subside. Your almond milk is now ready! You can use it as is for a thicker, more nutrient-rich milk (my preferred method), or if you desire a super-smooth consistency, strain it through a nut milk bag or fine-mesh sieve into a clean bottle or jar.
-
Store: Transfer the finished almond milk to an airtight container and refrigerate. It will keep fresh for 3-4 days. Remember to stir or whisk well before each use, as natural separation will occur. Discard if it develops a sour smell.
Notes
- For a very rich milk: 9 ounces almonds to 6 cups water.
- For a creamy milk: 7 ½ ounces almonds to 5 cups water.
- For a standard 1-quart (4 cups) milk: 6 ounces almonds to 4 cups water.
- For a lighter milk: 4 ½ ounces almonds to 3 cups water.
Flavoring Options: Experiment with additions like cacao powder, matcha powder, vanilla extract, almond extract, a pinch of cinnamon, or pumpkin spice blend. Add these during the blending stage.
Sweetening Options: For a sweetened milk, incorporate natural sweeteners such as brown rice syrup, liquid stevia, pure maple syrup, honey, a zero-sugar sweetener blend (like monk fruit/allulose), or 1-2 soft pitted dates. Adjust to taste.
