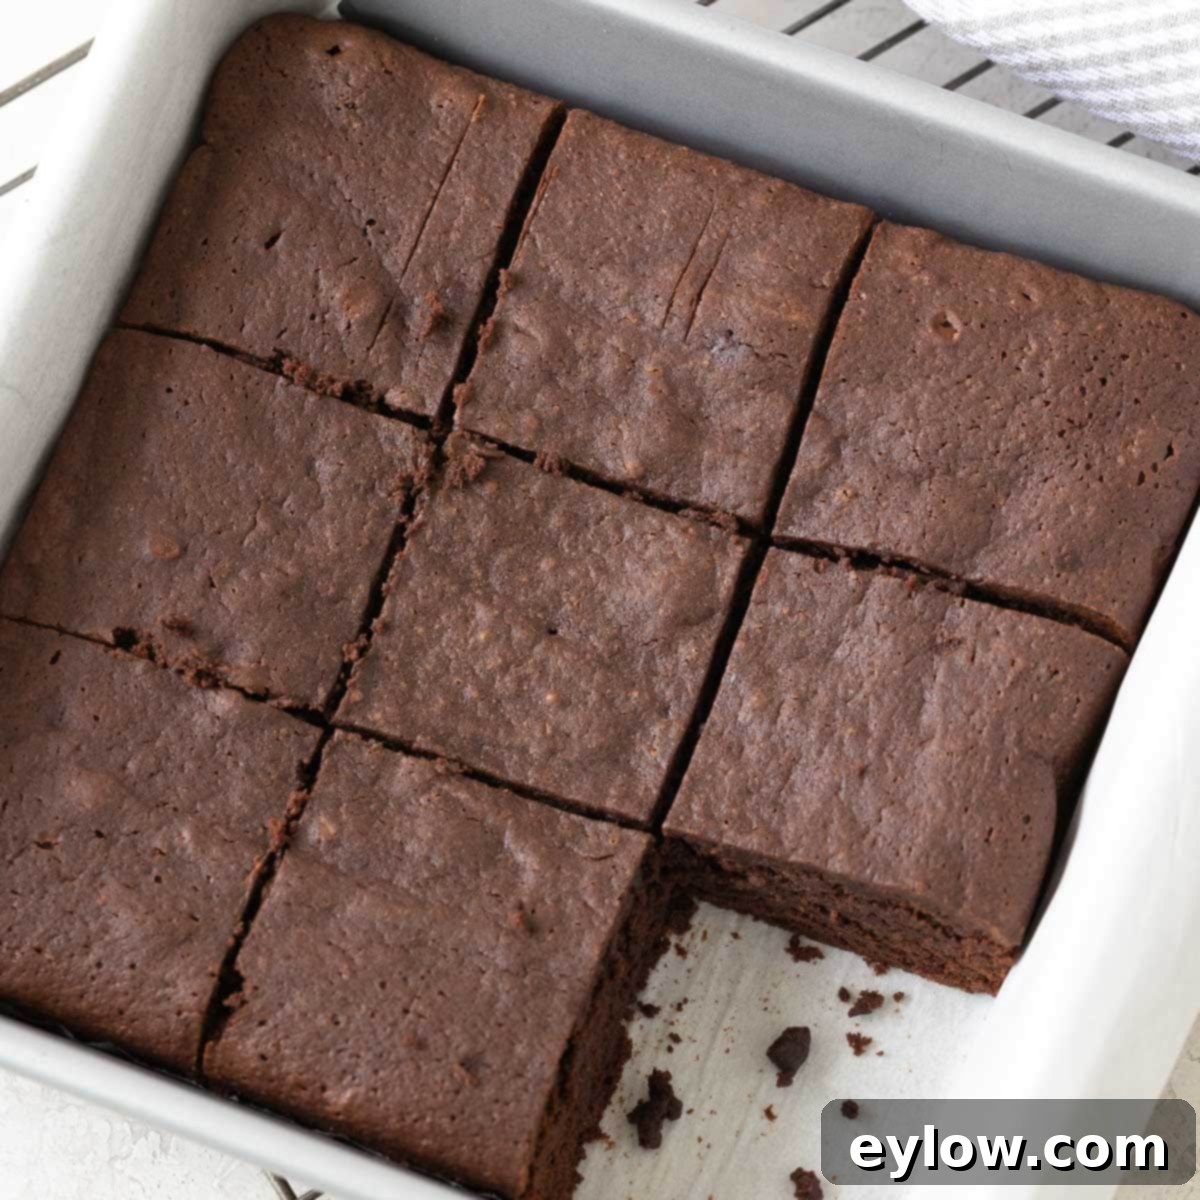
The Ultimate Fudgy Gluten-Free Brownies: Made with Melted Dark Chocolate
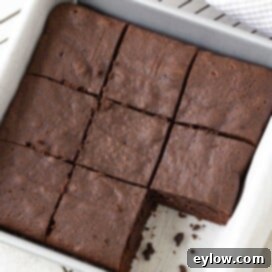
Prepare to discover your new favorite dessert: incredibly rich, deeply fudgy, and intensely chocolatey gluten-free chocolate brownies that are remarkably easy to make. Forget about mediocre boxed mixes; this recipe promises a homemade brownie experience that will redefine your expectations. The secret to their unparalleled depth of flavor and luscious texture lies in a simple yet revolutionary ingredient swap: instead of traditional cocoa powder, we use real melted dark chocolate. This isn’t just a gluten-free dessert; it’s a decadent treat so good, no one will ever suspect it caters to dietary needs. With an optional dairy-free variation also available, these brownies are perfect for satisfying any chocolate craving, any time.
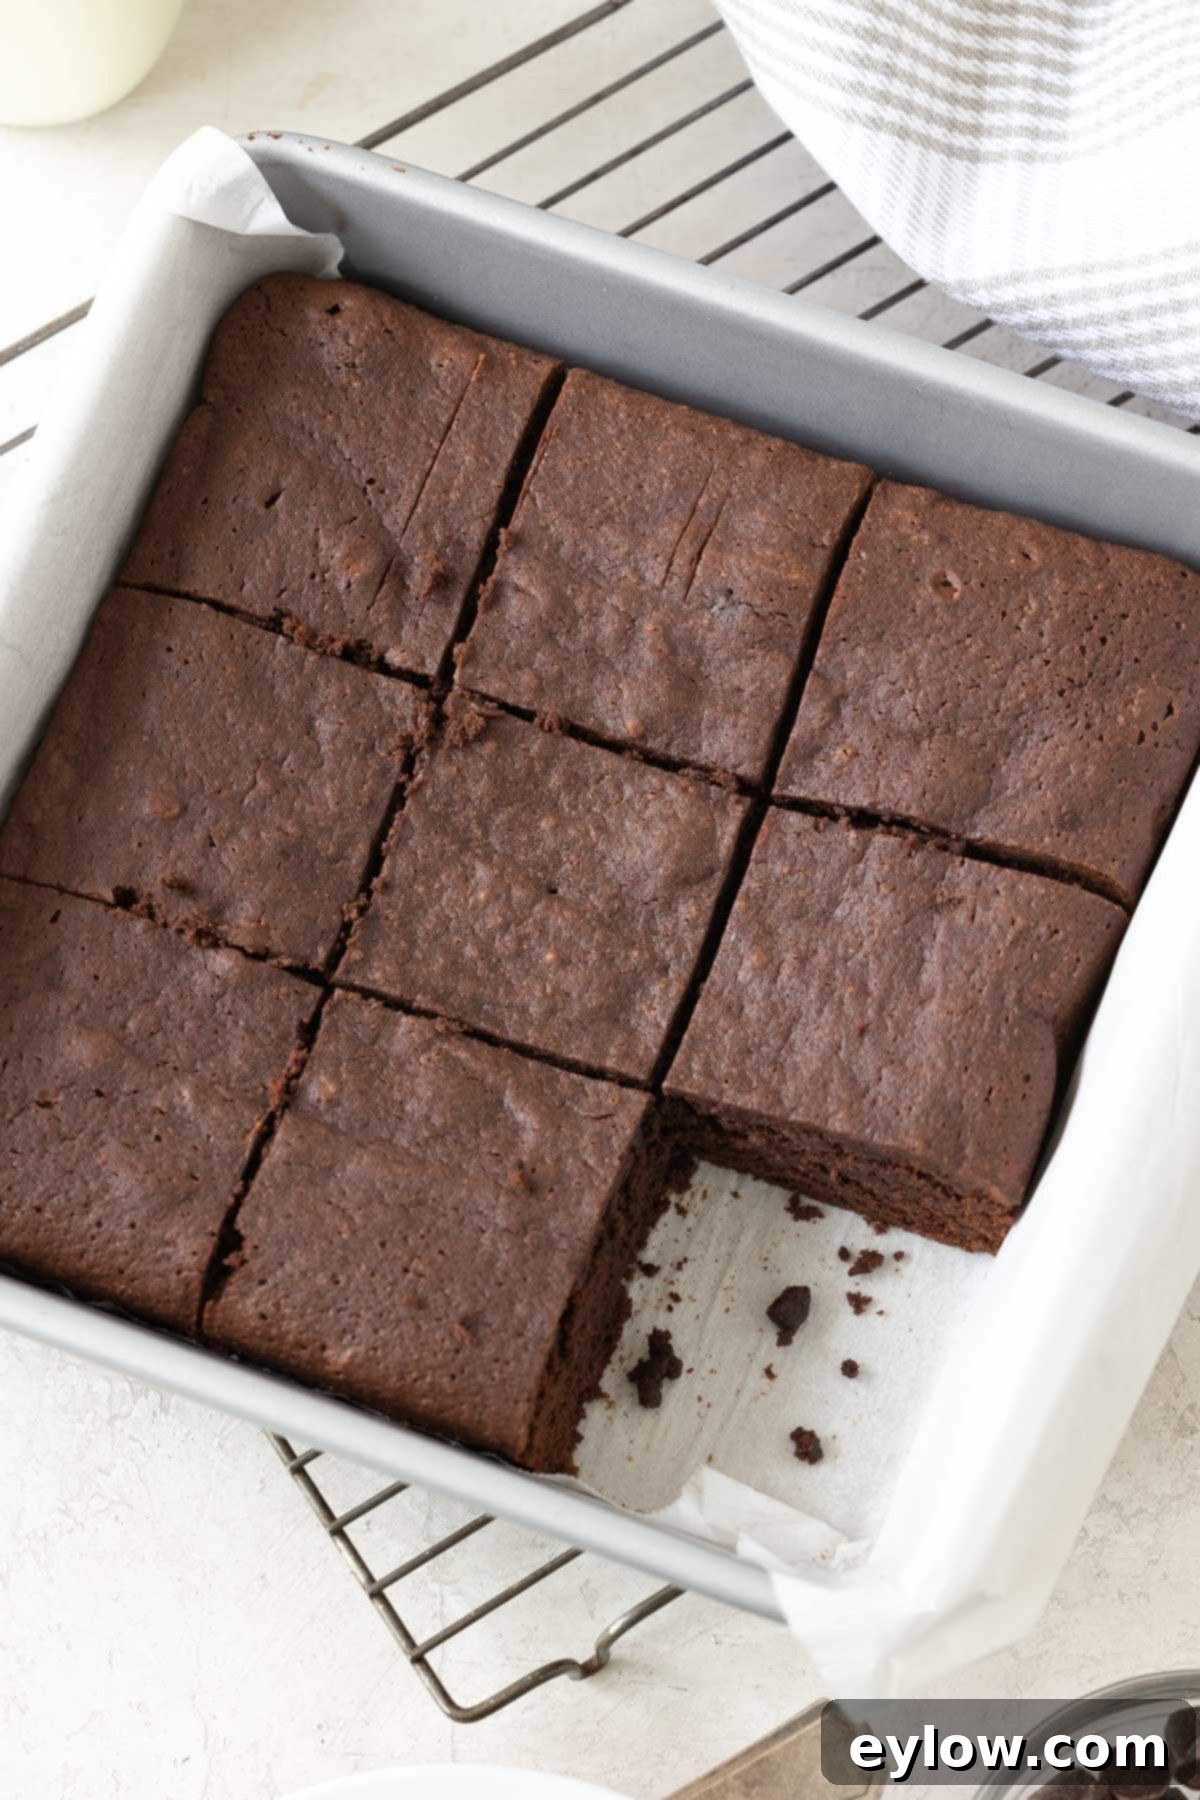
There’s nothing quite like a rich chocolate brownie to lift your spirits and delight your taste buds. This particular recipe for gluten-free chocolate brownies is designed to hit every chocolate-loving note, delivering a texture that’s perfectly fudgy without being overly dense or cakey. While many brownie recipes rely on either Dutch-processed cocoa powder or natural cocoa powder for their chocolate base, integrating melted dark chocolate was a game-changer for me. The moment I tried the first bite of these brownies, I knew this was the ultimate method for achieving truly spectacular results. It transforms a good brownie into an extraordinary one.
Craving these delectable treats already? Jump straight to the recipe card and start baking!
Why You’ll Absolutely Love This Gluten-Free Brownie Recipe
These aren’t just any gluten-free brownies; they’re the kind of brownies that will become a staple in your recipe collection. Here’s why you’ll find yourself returning to this recipe again and again:
- Unforgettable Chocolate Flavor: Thanks to the generous use of melted dark chocolate, these brownies boast an incredibly intense, deep chocolate flavor that cocoa powder alone simply can’t match.
- Perfect Fudgy Texture: Achieve that sought-after, melt-in-your-mouth fudgy consistency every time, proving that gluten is not necessary for brownie perfection.
- Simple, Wholesome Ingredients: Made with easily accessible pantry staples, you won’t need to hunt for obscure ingredients to create this gourmet-level dessert.
- Effortlessly Gluten-Free & Dairy-Free Friendly: Designed to be naturally gluten-free, with a straightforward dairy-free adaptation that yields equally delicious results. Even your gluten-eating friends won’t guess they’re different!
- Versatile Serving Options: Whether enjoyed plain as a quick snack or dressed up with toppings for a sophisticated dessert, these brownies adapt beautifully to any occasion.
If you’re in the mood for another delightful, cake-like treat featuring chocolate, consider trying our easy pumpkin brownies with chocolate chips. It’s a fantastic option that can be enjoyed throughout the year.
Essential Ingredients for Your Fudgy Brownies
Crafting the perfect gluten-free brownie begins with selecting high-quality ingredients. Each component plays a vital role in achieving that rich flavor and delightful fudgy texture. Here’s a detailed look at what you’ll need:
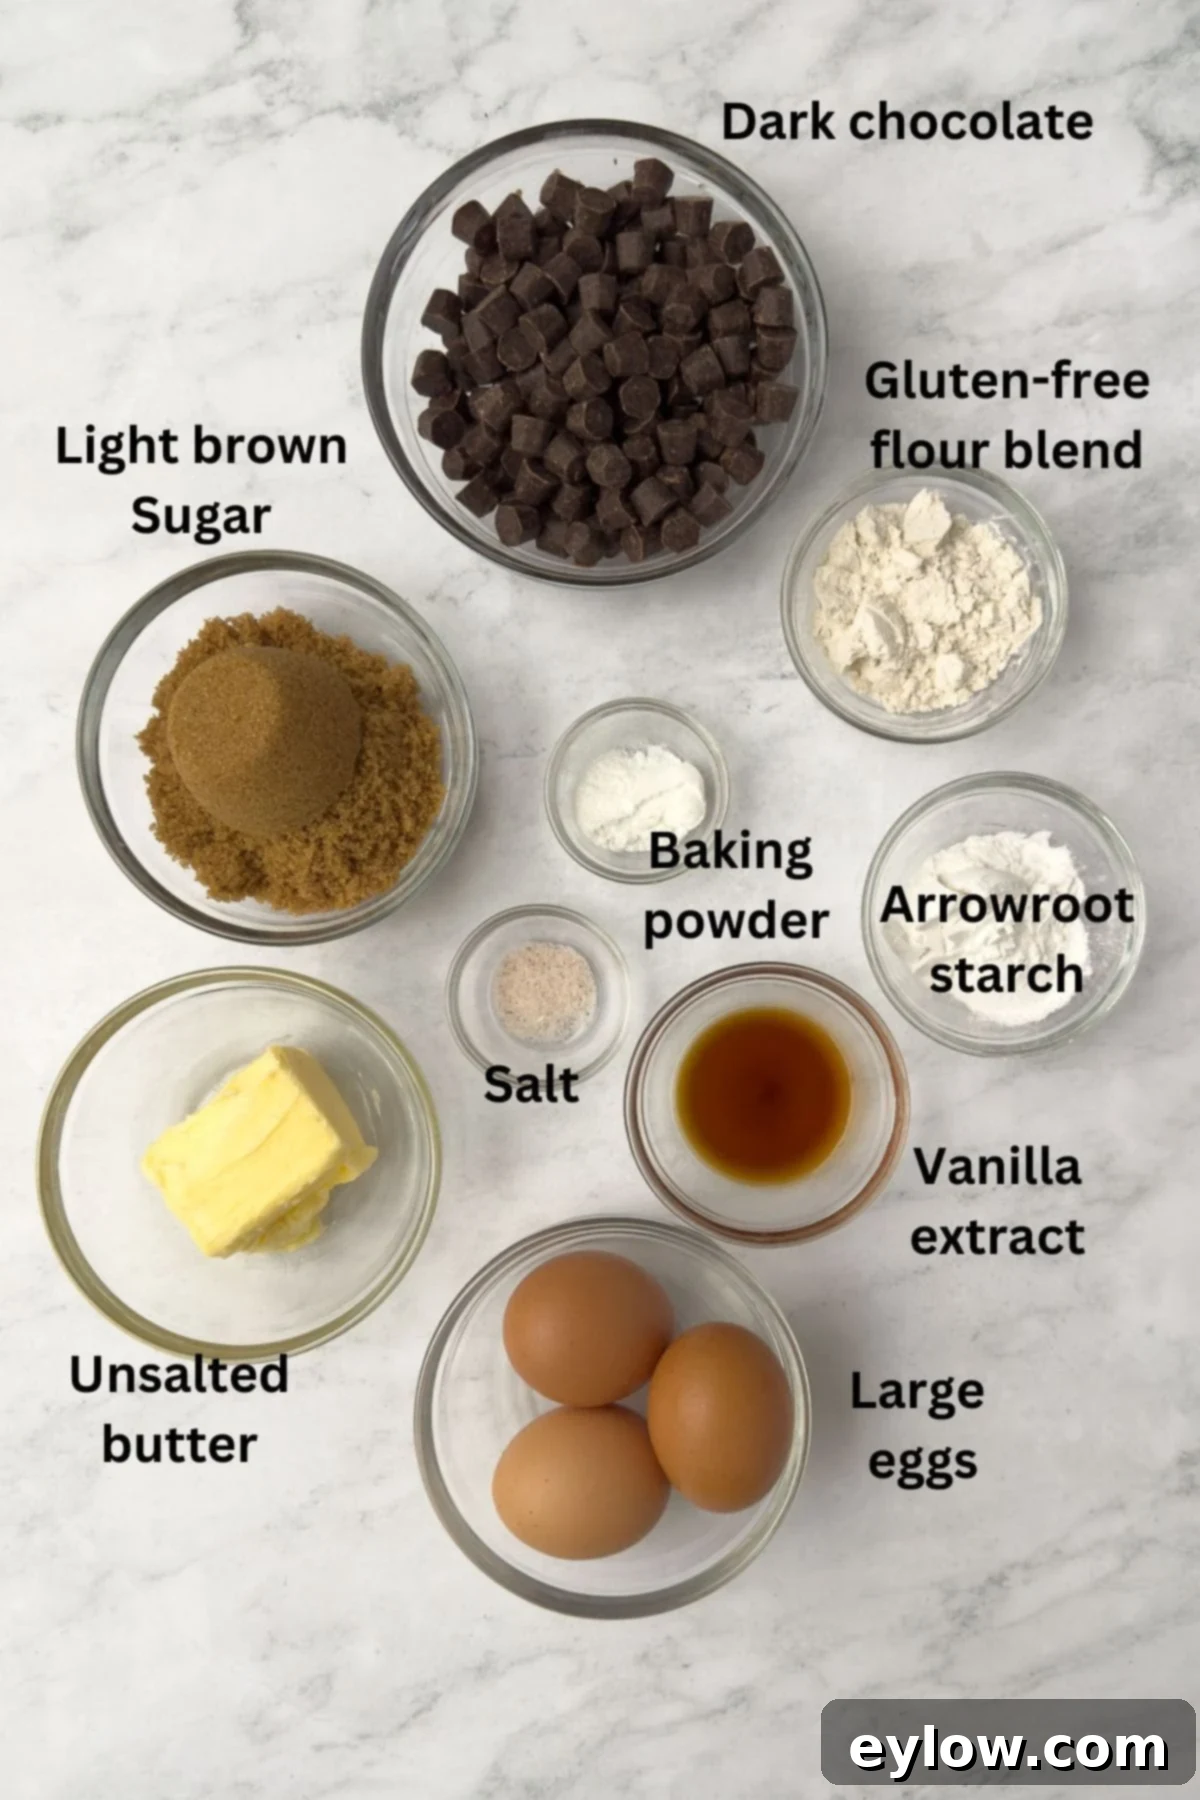
- Dark Chocolate: This is the star of our brownies! Unlike recipes that rely on cocoa powder, using melted dark chocolate provides an unparalleled depth of flavor and contributes significantly to the fudgy texture. Choose a good quality dark chocolate with a cacao content between 60-75% for the best balance of bittersweetness. Options include premium chocolate bars, baking blocks, or convenient organic chocolate gems, which are excellent for both baking and snacking.
- Vanilla Extract: A good quality vanilla extract enhances the chocolate notes and adds a layer of warmth and complexity to the brownies. Don’t skimp on this; real vanilla makes a noticeable difference. I highly recommend my favorite pure vanilla extract for its rich aroma and flavor.
- Fat (Butter or Oil): You have options here! Unsalted butter is classic for its rich flavor and contributes to a tender crumb. Ensure it’s at room temperature for optimal creaming with sugar. For a dairy-free alternative, melted coconut oil works beautifully, often resulting in an even fudgier brownie. If you are sensitive to coconut or prefer a neutral flavor, consider using avocado oil or another high-quality neutral oil.
- Sweetener (Brown Sugar or Monk Fruit): Light brown sugar provides a moist, chewy texture and a subtle molasses flavor that complements the dark chocolate wonderfully. For a lower-sugar option, a golden monk fruit blend is an excellent substitute, maintaining sweetness without excess sugar.
- Eggs: Eggs are crucial for structure, binding the ingredients, and acting as a natural leavener, contributing to the brownies’ rise. They also add richness and moisture, ensuring your brownies are never dry. Always use large eggs and allow them to come to room temperature before baking for better emulsification with other ingredients.
- Gluten-Free Flour Blend: To achieve the right structure and texture without gluten, use a good quality gluten-free all-purpose blend that includes xanthan gum. Xanthan gum mimics the elasticity of gluten, preventing your brownies from becoming crumbly. Alternatively, you could experiment with teff flour for a unique flavor profile and nutritional boost.
- Arrowroot Starch: This easily digestible starch is a fantastic binder in gluten-free baking. It helps to keep the baked goods light and tender, preventing them from becoming dense, which can sometimes be an issue with gluten-free flours.
- Baking Powder: As a leavening agent, baking powder gives these gluten-free brownies a slight lift, contributing to their soft interior.
- Sea Salt: A pinch of fine sea salt is essential. It balances the sweetness of the chocolate and sugar, enhancing all the flavors and preventing the brownies from tasting flat.
For precise measurements, please refer to the comprehensive recipe card below.
Customizing Your Gluten-Free Brownies: Substitutions and Variations
This recipe is highly adaptable, allowing you to tailor these rich gluten-free brownies to your specific dietary needs or personal preferences. Explore these easy substitutions and delightful variations:
- Oil Alternatives for Coconut Allergy: If you have a coconut allergy, or simply prefer a different fat, avocado oil or a neutral-flavored oil are excellent substitutes for coconut oil. You can also opt for a plant-based or vegan butter alternative, ensuring your brownies remain dairy-free and delicious.
- Sugar Choices: While light brown sugar offers a classic moistness and flavor, we’ve successfully tested these gluten-free chocolate brownies with coconut sugar for a refined sugar-free option. Another fantastic way to significantly reduce sugar content is by using a golden monk fruit blend, which sweetens beautifully without compromising taste.
- Egg-Free Brownies: For those avoiding eggs, flax eggs (1 tablespoon ground flaxseed meal mixed with 3 tablespoons water per egg, allowed to sit for 5 minutes) can often work as a binder. However, please note that I have not personally tested this specific gluten-free brownie recipe with egg substitutes. For more comprehensive guidance on egg replacements, refer to this informative article on egg substitutions.
- Embrace Coconut Flavor: If you’re a fan of coconut, folding in ⅓ cup of shredded unsweetened coconut into the batter adds a wonderful textural element and tropical aroma.
- Amp Up the Chocolate: For the ultimate chocolate indulgence, stir in ½ to ¾ cup of dark chocolate chips or chunks into the batter before baking. This creates pockets of gooey melted chocolate throughout the brownies.
- Nutty Crunch: Add a delightful crunch and earthy flavor by folding in ½ to ¾ cup of chopped walnuts or pecans into the brownie batter. Toasting the nuts lightly before adding them can further enhance their flavor.
Searching for another delightful chocolate treat for your family? Our chocolate bark bites are not only fun and easy to prepare but also perfectly bite-sized for snacking.
Chef’s Tip: Understanding the Double Boiler. A double boiler is a classic kitchen setup that provides gentle, indirect heat, ideal for melting delicate ingredients like chocolate without scorching them. It consists of a heatproof bowl (glass or stainless steel) placed over a pot of simmering water. Crucially, the bottom of the bowl should not touch the water. This indirect heat ensures the chocolate melts slowly and evenly, resulting in a smooth, glossy consistency. Learn more about using a double boiler here. For quicker microwave melting instructions, see the “Chef’s Note” further down in the recipe.
Step-by-Step Instructions for Perfect Gluten-Free Brownies
Baking these gluten-free brownies is a straightforward process, but a few key steps ensure the best results. Follow these instructions carefully for fudgy, delicious brownies every time.
Before You Begin: For optimal baking, ensure your unsalted butter and eggs are at room temperature. This allows them to cream together more smoothly with the sugar and emulsify better, leading to a more uniform and tender brownie batter.
Prepare Your Baking Setup: Lightly grease an 8×8-inch light-colored metal square baking pan. Then, line it with a piece of baking parchment paper, allowing the edges to extend over two opposite sides by a few inches. These “parchment wings” will serve as handles, making it significantly easier to lift the cooled brownies out of the pan. Preheat your oven to 325°F (160°C).
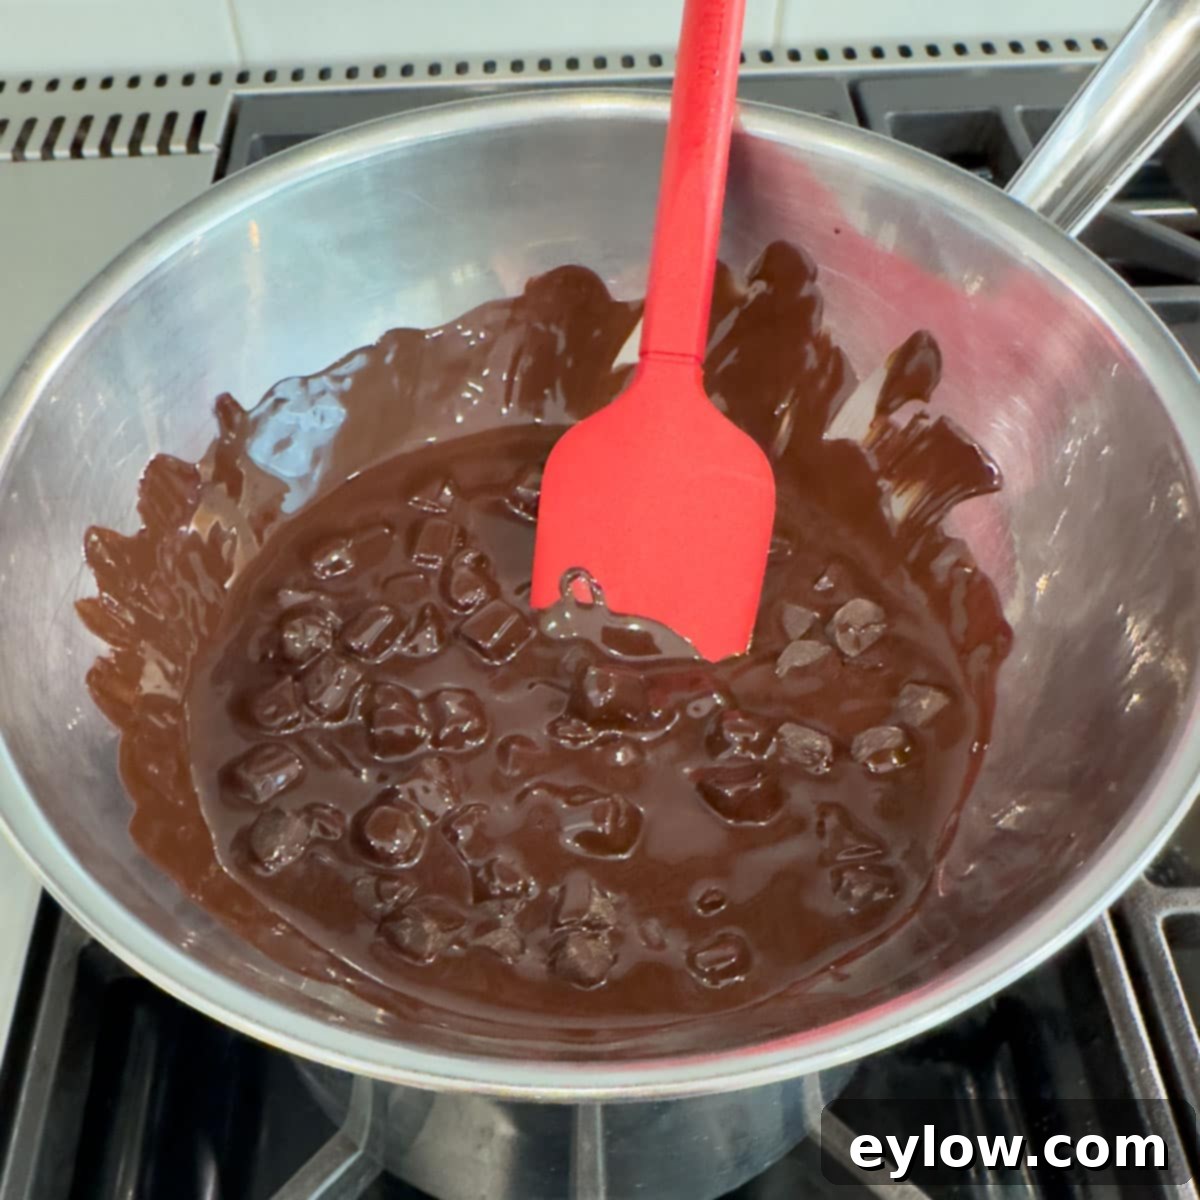
Once your ingredients are prepped and your chocolate is melting, you’re ready to assemble the delicious brownie batter.
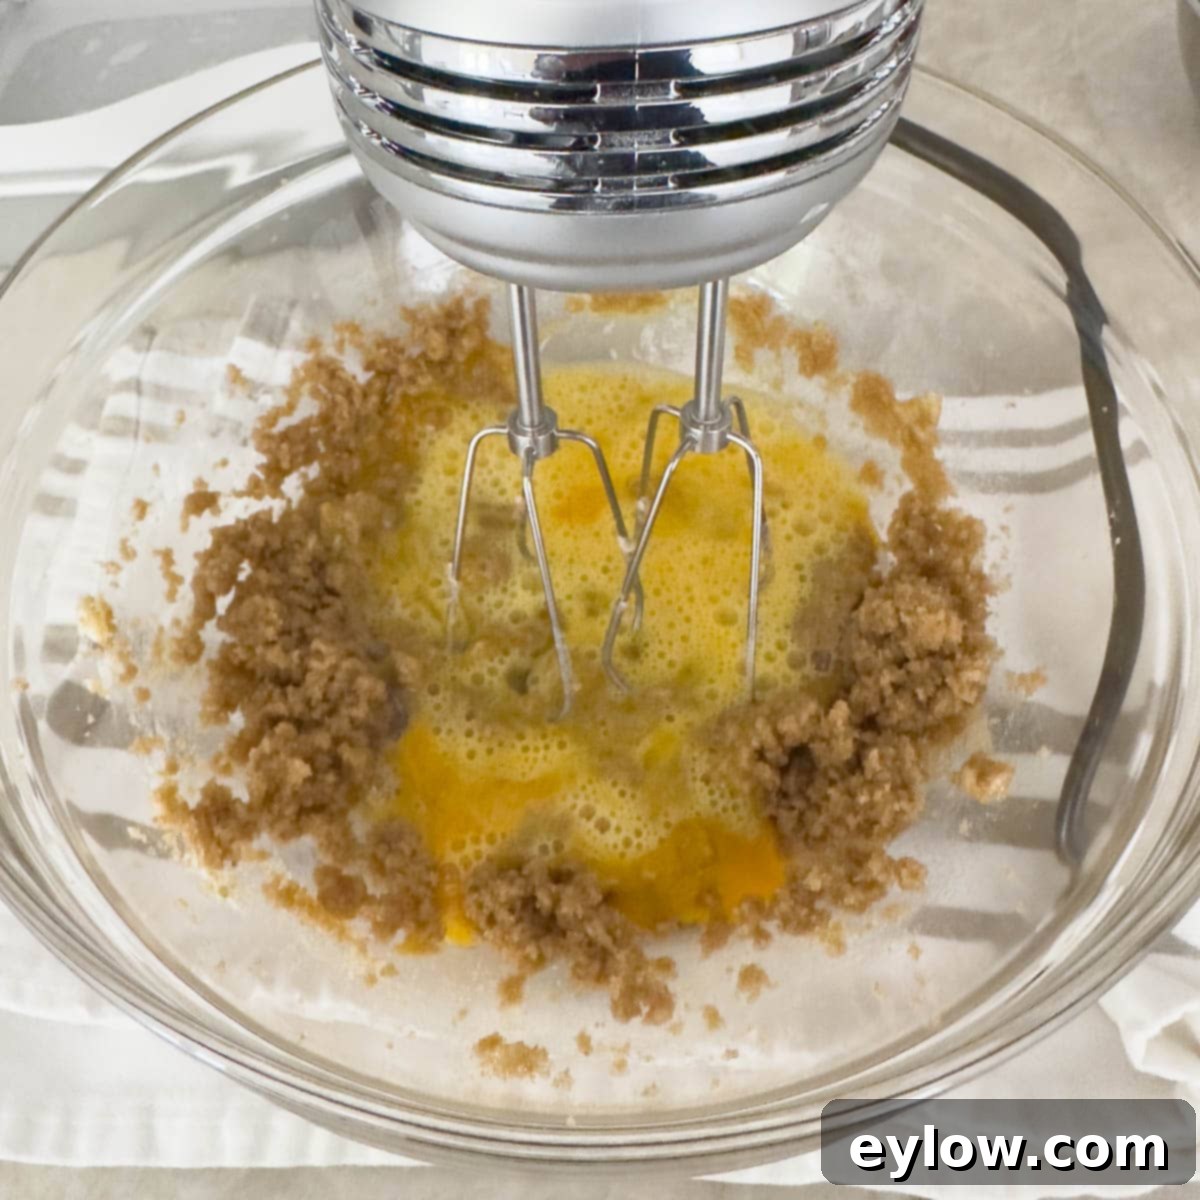
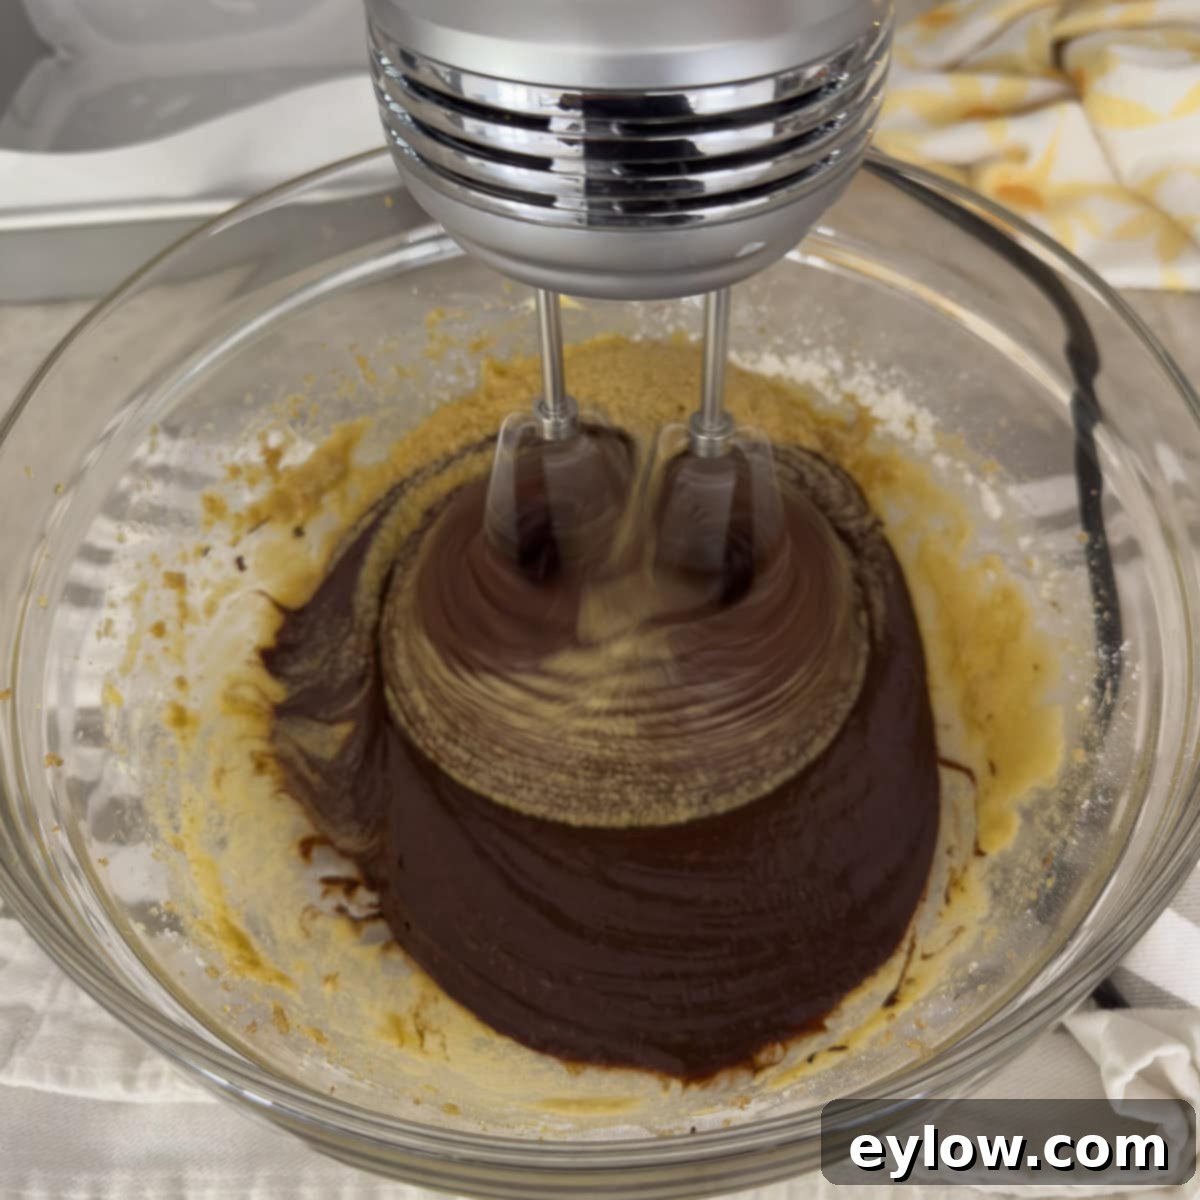
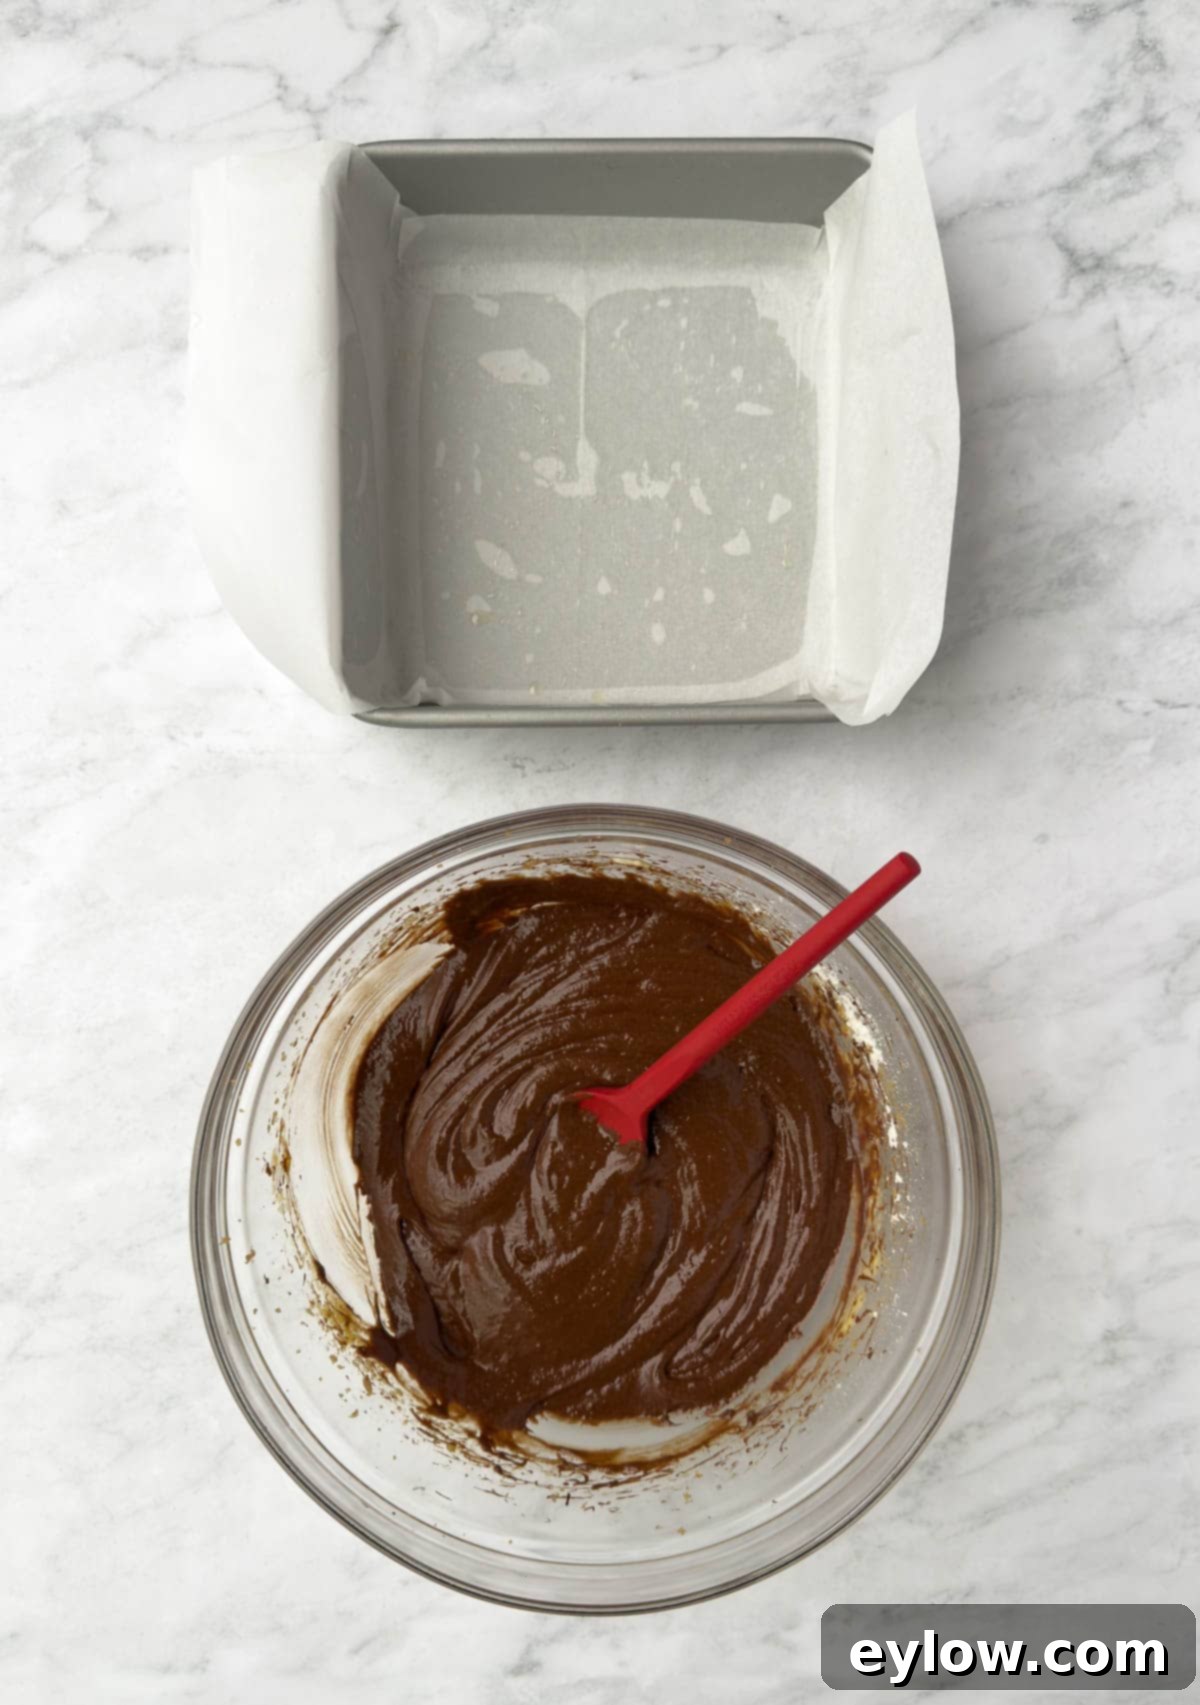
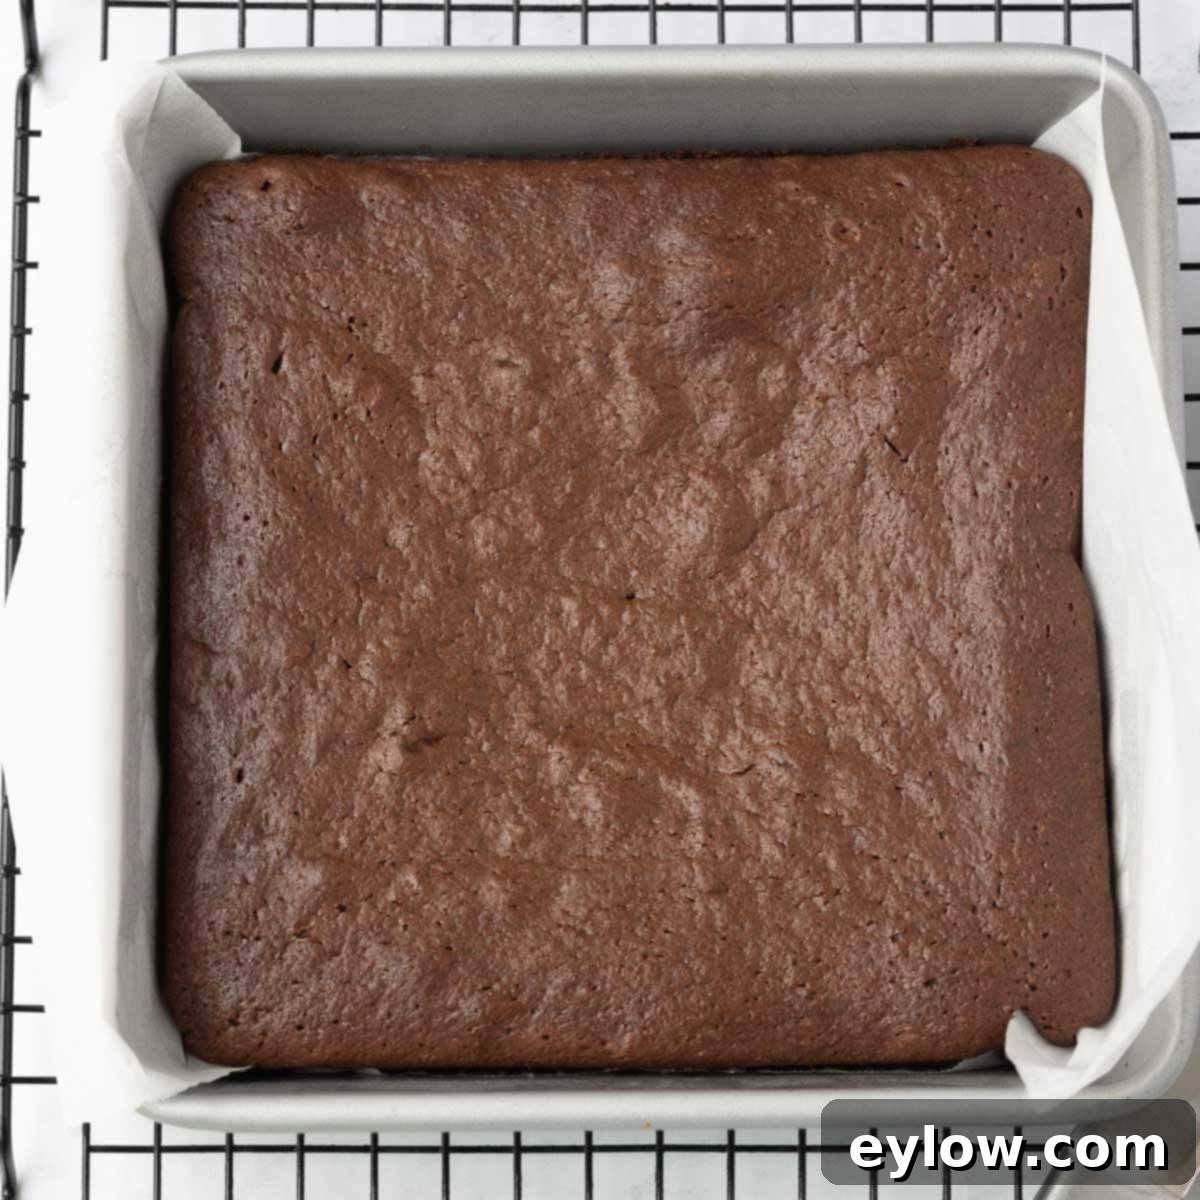
Step 6: Once baked, remove the brownies from the oven and let them cool in the pan for about 10-15 minutes. This cooling period is crucial for setting. Then, using the parchment paper overhangs (the “wings”), carefully lift the entire slab of gluten-free brownies out of the pan and transfer it to a wire cooling rack. Allow them to cool completely before attempting to slice them. Resisting the urge to cut into them while warm is the hardest part, but essential for clean, fudgy squares!
Chef’s Note: Quick Microwave Method for Melting Chocolate
For a fast alternative to the double boiler, you can melt your chocolate in the microwave. Place the chopped dark chocolate pieces or gems into a clean, dry, microwave-safe glass bowl. Microwave on 70% power for 1 minute. Remove and stir thoroughly with a flexible spatula or spoon. Continue melting in 15-second intervals, stirring well after each interval, until the chocolate is completely melted, smooth, and beautifully glossy. Be careful not to overheat it, as this can cause it to seize. Once melted, allow the chocolate to cool for about 5 minutes before stirring in the vanilla extract (and melted butter or coconut oil, if mixing directly). This ensures the chocolate isn’t too hot when combined with other ingredients.
Expert Tips for Baking the Best Gluten-Free Brownies
Achieving the perfect brownie texture and appearance involves a few helpful techniques. These baking tips will ensure your gluten-free brownies turn out flawless every time.
Choose the Right Baking Pan
The type of baking pan you use can significantly impact the final result of your brownies. We recommend baking these gluten-free brownies in a light-colored square metal baking pan. Here’s why:
- Light vs. Dark Pans: Light-colored metal pans reflect heat, leading to a more even and gentle bake. This helps prevent the edges from over-browning or becoming crispy while the center is still cooking. Dark metal pans, on the other hand, absorb and distribute heat more quickly. While they can achieve a darker, crisper crust, they can also lead to the edges and bottom of your brownies being more “done” than the center, sometimes even burnt, if not monitored closely.
- Adjusting for Dark Pans: If a dark metal pan is all you have, don’t worry! Just be extra vigilant with your baking time. Darker pans tend to bake more quickly, so you may need to reduce the baking duration by a few minutes to achieve a fudgy interior without overly crunchy edges. The results might have a slightly different texture balance.
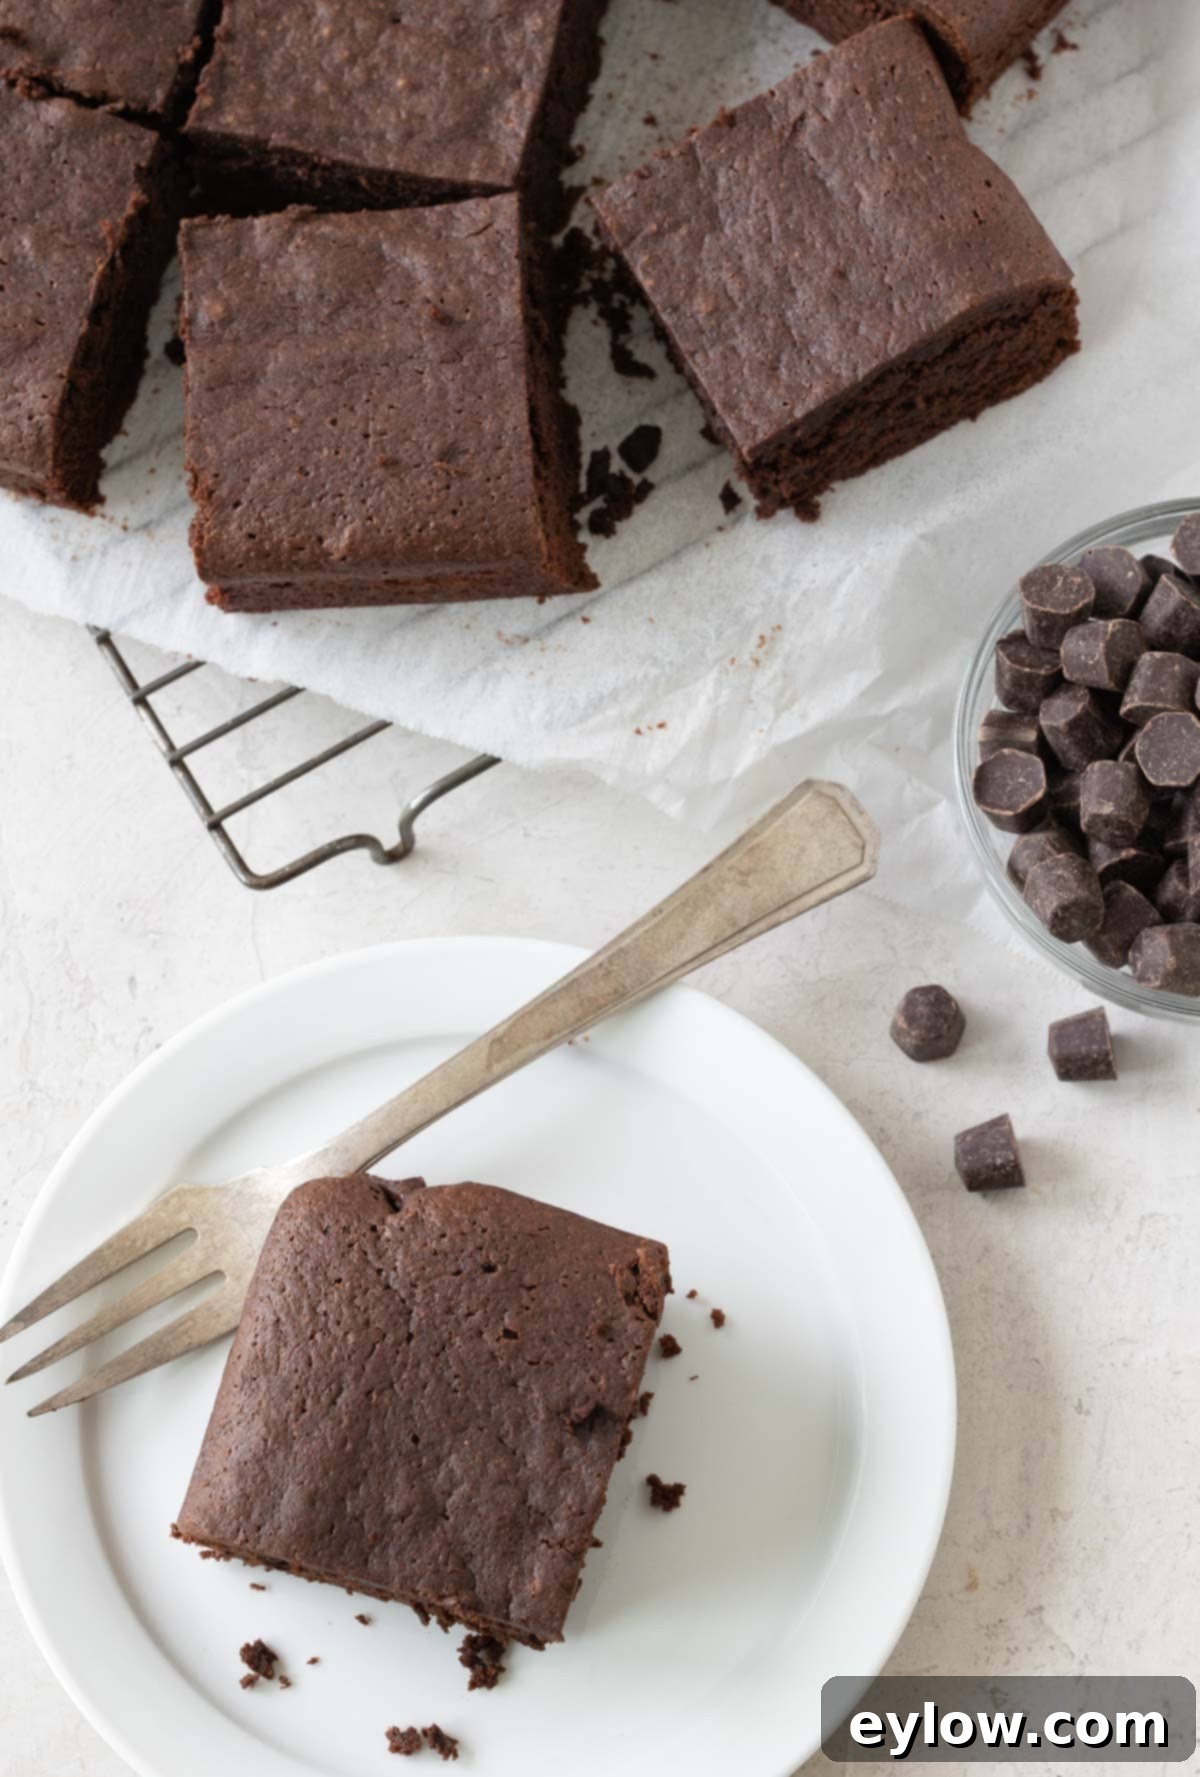
The Importance of Baking Parchment Paper
Using baking parchment paper is a simple yet incredibly effective trick for perfect brownies:
- Easy Removal: Cut a piece of baking parchment paper to fit your pan, ensuring it extends over two opposite sides by several inches. These overhangs act as “handles,” allowing you to easily lift the entire slab of cooled brownies out of the pan. This prevents sticking and ensures clean, intact squares.
- Protection from Direct Heat: Parchment paper provides a barrier between the brownie batter and the direct heat of the metal pan. This helps to prevent the bottom and sides of the brownies from overcooking or becoming too tough, contributing to the overall fudgy texture.
- Aluminum Foil vs. Parchment: While aluminum foil can also be used, parchment paper is generally preferred for baking brownies as it is non-stick by nature, less likely to tear, and doesn’t react with acidic ingredients.
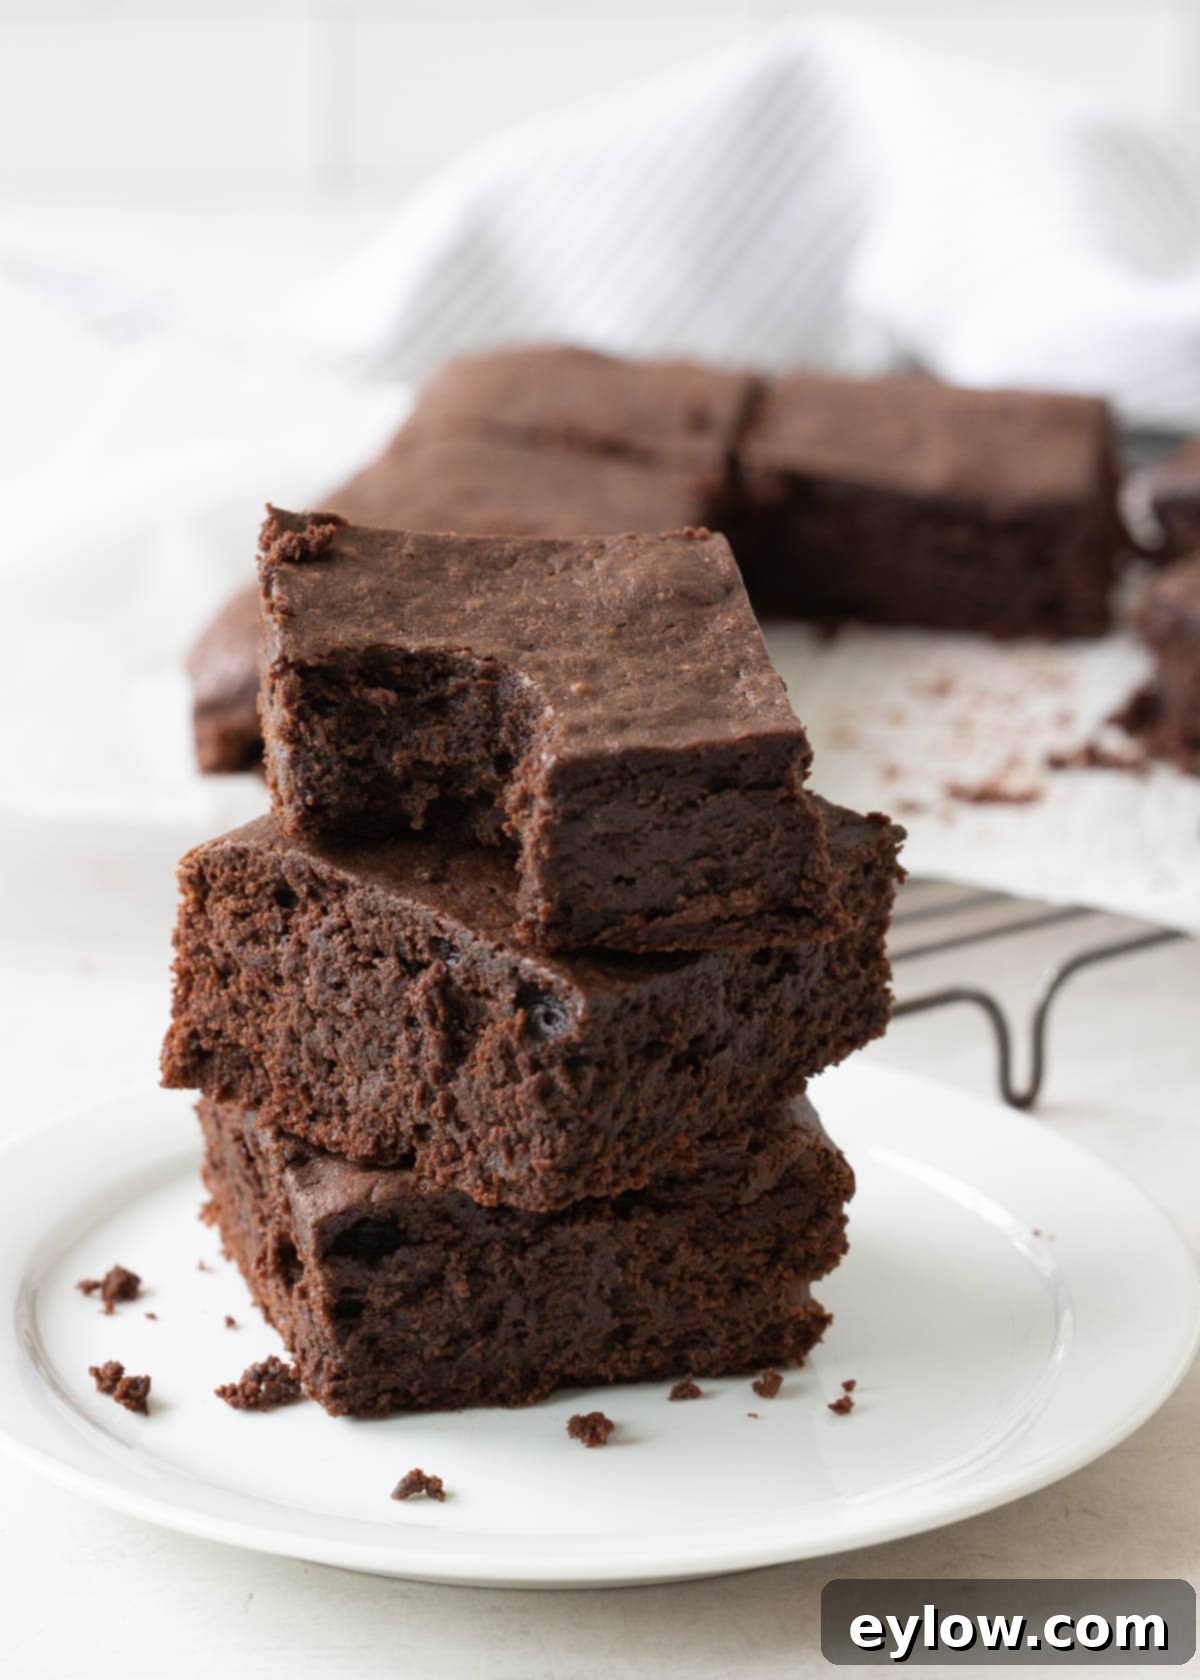
Delightful Serving Suggestions for Your Brownies
These rich gluten-free chocolate brownies are spectacular on their own, offering a perfect casual dessert or snack. But if you’re looking to elevate them for a more special occasion, here are some fantastic serving suggestions:
- Classic Perfection: Enjoy a simple brownie by itself, perhaps with a cup of coffee or a glass of milk. Its inherent richness is satisfying enough.
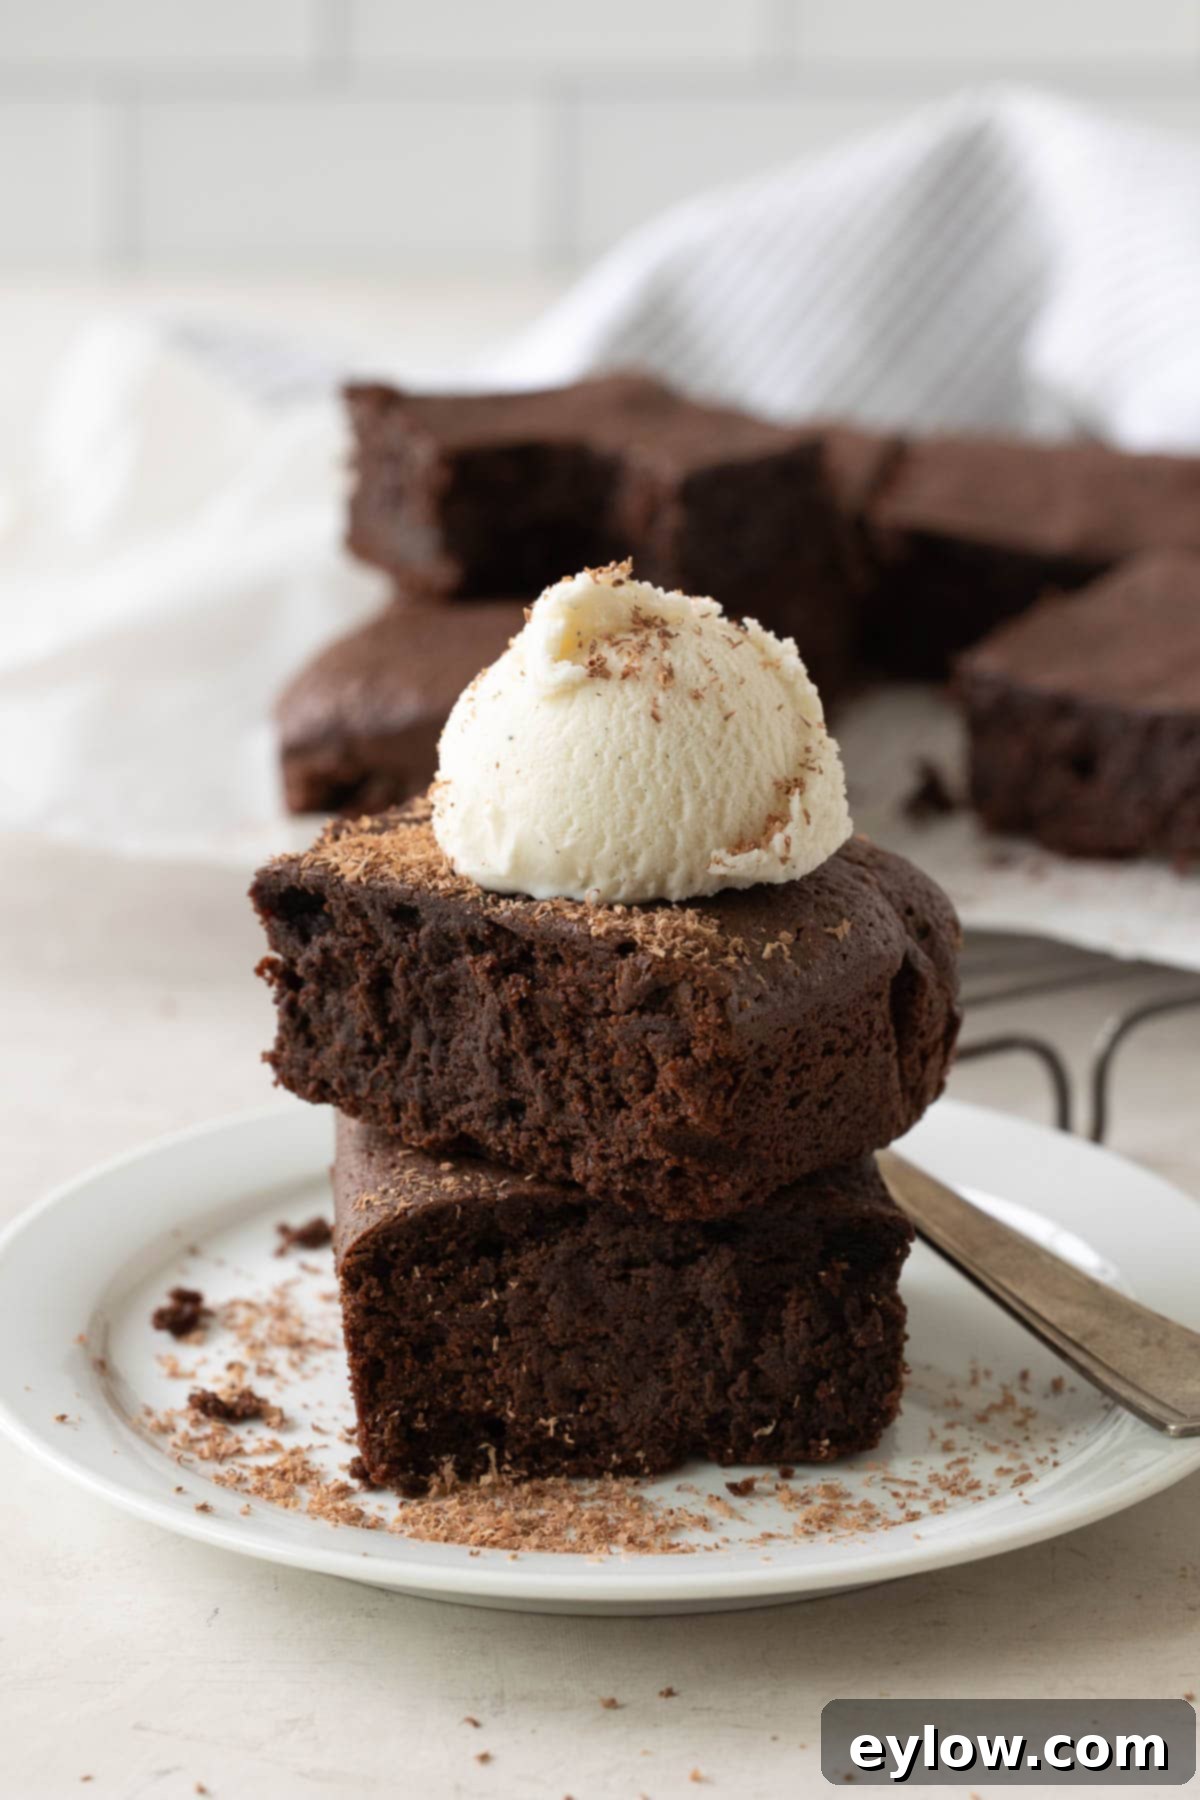
- A La Mode: A warm brownie paired with a scoop of creamy vanilla ice cream is an iconic duo. The contrast of warm and cold, and the melting ice cream, creates pure bliss.
- Elegant Drizzle: For a touch of fancy, pour a little easy strawberry coulis or a raspberry sauce over the top. The fruity tartness beautifully cuts through the chocolate’s richness.
- Chocolate Lover’s Dream: Drizzle extra melted chocolate over the top of the cooled brownies. For added texture and visual appeal, sprinkle with gourmet goodies like finely chopped nuts (walnuts, pecans, or hazelnuts), shredded toasted coconut, or colorful sprinkles.
- Frosted Indulgence: Transform them into celebration brownies by adding a layer of your favorite frosting – a classic buttercream, a rich chocolate ganache, or even a cream cheese frosting would be divine.
Frequently Asked Questions About Gluten-Free Brownies
Yes, standard brownie recipes typically use white all-purpose flour, which is derived from wheat and thus contains gluten. However, by substituting with high-quality gluten-free flours and binders, it’s incredibly easy to create fantastic gluten-free brownies. These taste so delicious and boast such a perfect texture that most people would never guess they are gluten-free. You truly don’t need gluten to achieve amazing, fudgy brownies!
Absolutely! Gluten-free brownies freeze beautifully. To freeze them, first allow them to cool completely. Then, wrap individual brownies or the entire slab tightly in plastic wrap, followed by a layer of aluminum foil, or place them in an airtight freezer-safe container. When properly wrapped, they can be stored in the freezer for up to two to three months. Thaw them at room temperature for a few hours or gently warm them in the microwave for a quick treat.
These gluten-free brownies will stay fresh and moist in an airtight container at room temperature for about 3-4 days. If you prefer to store them in the refrigerator, they will last approximately 5-7 days. However, given their irresistible taste, it’s highly doubtful they’ll last that long before being enjoyed!
The crackly top often associated with traditional brownies is largely due to the development of gluten during mixing and the interaction of sugar and egg proteins. With gluten-free flours, there’s no gluten network to form, so achieving that distinct crackly crust is less common. The amount of beating and the fat-to-flour ratio also play a role. While our gluten-free brownies may not develop that classic crackly top, they will still be incredibly moist, rich, and fudgy – delivering a delightful texture that’s equally satisfying.
More Fantastic Chocolate-Inspired Recipes to Try
If you’re a chocolate enthusiast, don’t stop here! Explore some of our other delicious chocolate recipes, including these unique chocolate chip meringue forgotten cookies, which you magically leave in the oven overnight for a perfect bake.
- Revitalizing Chocolate Banana Smoothie
- No-Bake Peanut Butter Oatmeal Protein Balls
- Decadent Chocolate Hazelnut Tart
- Dairy-Free Chocolate Pots de Creme
⭐️ Did You Make This Recipe?
If you’ve whipped up a batch of these glorious gluten-free chocolate brownies, we’d absolutely love to hear from you! Please take a moment to leave a comment below and share your experience. If you loved them as much as we do, a 5-star rating would be truly appreciated – it helps other readers discover and enjoy this fantastic recipe too!
📖 Recipe
Rich and Fudgy Gluten-Free Chocolate Brownies
Sally Cameron
Pin Recipe
Equipment
-
8×8 light colored metal baking pan
-
baking parchment paper
-
Electric hand mixer
Ingredients
- 8 ounces dark chocolate chopped into small chunks, or use chocolate gems (60-75% cacao)
- 2 teaspoons pure vanilla extract
- ¾ cup light brown sugar packed (or golden monk fruit blend for a lower sugar option)
- 6 tablespoons unsalted butter at room temperature, or melted coconut oil (for dairy-free)
- 3 large eggs at room temperature
- 3 tablespoons gluten-free all-purpose flour blend (ensure it contains xanthan gum for structure)
- 2 tablespoons arrowroot starch
- 1 teaspoon baking powder
- ¼ teaspoon fine sea salt
Instructions
Preparation & Setup
-
Lightly grease an 8×8-inch light-colored metal baking pan with a quick spritz of non-stick spray or a thin layer of melted coconut oil. Cut a piece of baking parchment paper to line the pan, ensuring it overhangs by a few inches on two opposite sides. This creates “wings” that will make removing the brownies much easier. Preheat your oven to 325°F (160°C).
Melt the Dark Chocolate (Two Convenient Methods)
-
If using a chocolate bar or block, begin by chopping the chocolate into small, uniform chunks using a serrated bread knife or a heavy chef’s knife. If using chocolate gems, they are ready to go.
Double Boiler Method: Pour a few inches of water into a medium saucepan and bring it to a gentle simmer over medium heat. Place your chopped chocolate in a heatproof stainless steel or glass bowl that is large enough to sit securely on top of the saucepan, ensuring the bottom of the bowl does not touch the simmering water. Reduce the heat to low, allowing the chocolate to melt slowly and evenly. Stir occasionally with a silicone spatula until completely smooth and glossy.
Microwave Method: For detailed instructions on melting chocolate in the microwave, please refer to the “Chef’s Note” section at the end of this recipe card.
Once melted, let the chocolate cool for several minutes until it’s just warm to the touch (not hot). Stir in the vanilla extract before proceeding with the next steps.
Combine Dry Ingredients
-
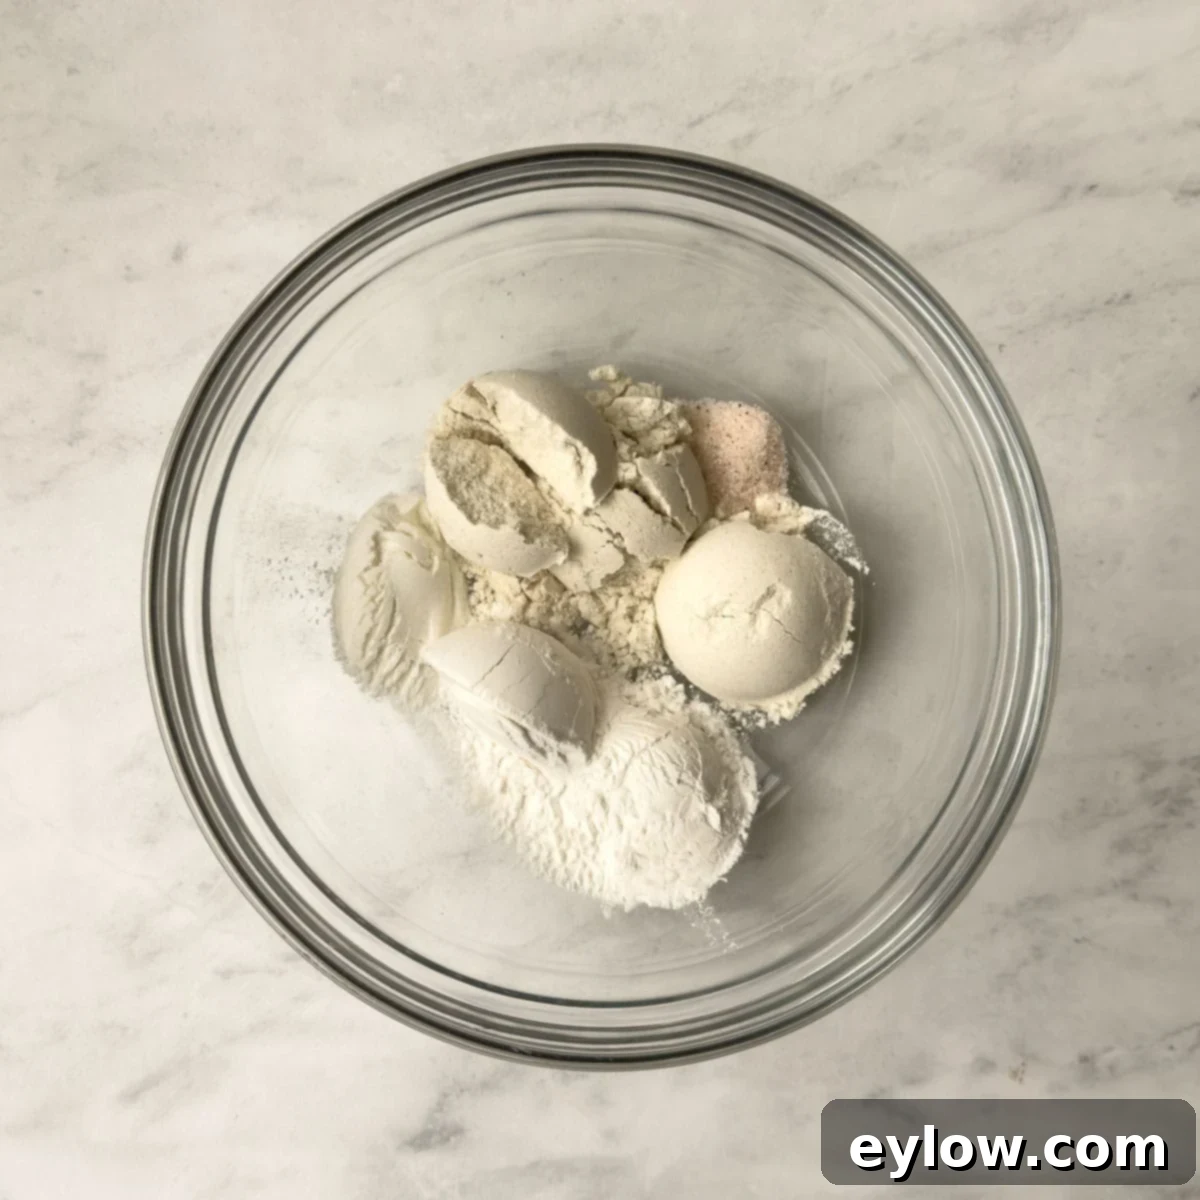
In a separate small bowl, add the gluten-free flour blend, arrowroot starch, baking powder, and sea salt. Whisk these dry ingredients together thoroughly to ensure they are well combined and evenly distributed.
Prepare the Brownie Batter
-
In a large mixing bowl, combine the light brown sugar, softened unsalted butter (or melted coconut oil), and room temperature eggs. Using an electric mixer, beat these ingredients together for 2-3 minutes, starting on low speed and gradually increasing as needed, until the mixture is light, fluffy, and smooth (this is the creaming process). Add the whisked dry ingredients to the bowl and beat again until everything is well incorporated and the batter is smooth. Next, slowly beat in the slightly cooled melted chocolate with the vanilla. The batter will become quite thick at this stage – this is exactly what you want for fudgy brownies!
Note: Since this recipe uses gluten-free flour, there’s no need to worry about over-beating the batter, as you would with wheat flour. In fact, thorough mixing helps achieve a uniform texture.
Bake to Perfection
-
Scrape the thick brownie batter into your prepared baking pan, using a flexible spatula to spread it evenly into the corners and create a smooth surface. Bake for approximately 30 minutes. The brownies are done when the edges appear set and the center feels slightly firm but still soft to the touch – a toothpick inserted into the center should come out with moist crumbs, not wet batter.
Cool and Serve
-
Once out of the oven, allow the brownies to cool in the pan for at least 10-15 minutes. This cooling period is vital for them to set properly and become truly fudgy. Using the parchment paper overhangs, carefully lift the entire brownie slab out of the pan and transfer it to a wire cooling rack. It’s crucial to let them cool completely on the rack before attempting to slice them. Resist the urge to cut into warm brownies, as they will be gooey and difficult to cut cleanly. Once fully cooled, slice into 9 even pieces.
Serving Suggestions
-
Serve these delectable brownies plain for a simple, satisfying treat. For an enhanced experience, top them with a scoop of vanilla ice cream, a sprinkle of shaved chocolate, chopped nuts, shredded coconut, or a vibrant strawberry coulis for an elegant touch.
Notes
For these fudgy brownies, select a high-quality dark chocolate with a cacao content between 60% to 75%. You can use large chocolate bars, baking blocks (which you’ll need to chop), or convenient chocolate gems. Always choose a chocolate that you genuinely enjoy the taste of on its own, as its flavor will shine through in the final brownies.
Microwave Method for Melting Chocolate (Detailed)
To melt chocolate in the microwave, place the chopped chocolate pieces or chocolate gems in a clean, dry, microwave-safe glass bowl. Microwave on 70% power for 1 minute. Remove the bowl and stir thoroughly with a flexible spatula or spoon. Continue melting the chocolate in shorter 15-second intervals, stirring well between each interval, until the chocolate is completely melted, smooth, and beautifully glossy. It’s crucial to stir frequently and use lower power to prevent scorching. Allow the melted chocolate to cool for about 5 minutes before stirring in the vanilla extract. If using melted coconut oil instead of butter, you can stir that in with the vanilla at this stage.
Gluten-Free Brownie Flavor Variations:
- Coconut Lovers: For a delightful texture and tropical hint, fold in ⅓ cup of shredded unsweetened coconut into the brownie batter just before baking.
- Nutty Crunch: If you enjoy nuts in your brownies, gently fold in ½ to ¾ cup of chopped walnuts or pecans into the batter. Toasting them briefly beforehand can intensify their flavor.
- Extra Chocolatey: Add ½ to ¾ cup of your favorite dark chocolate chips or chunks to the batter for even more gooey chocolate pockets throughout the brownies.
Looking for an elegant topping? Find our easy recipe for fresh strawberry coulis right here.
