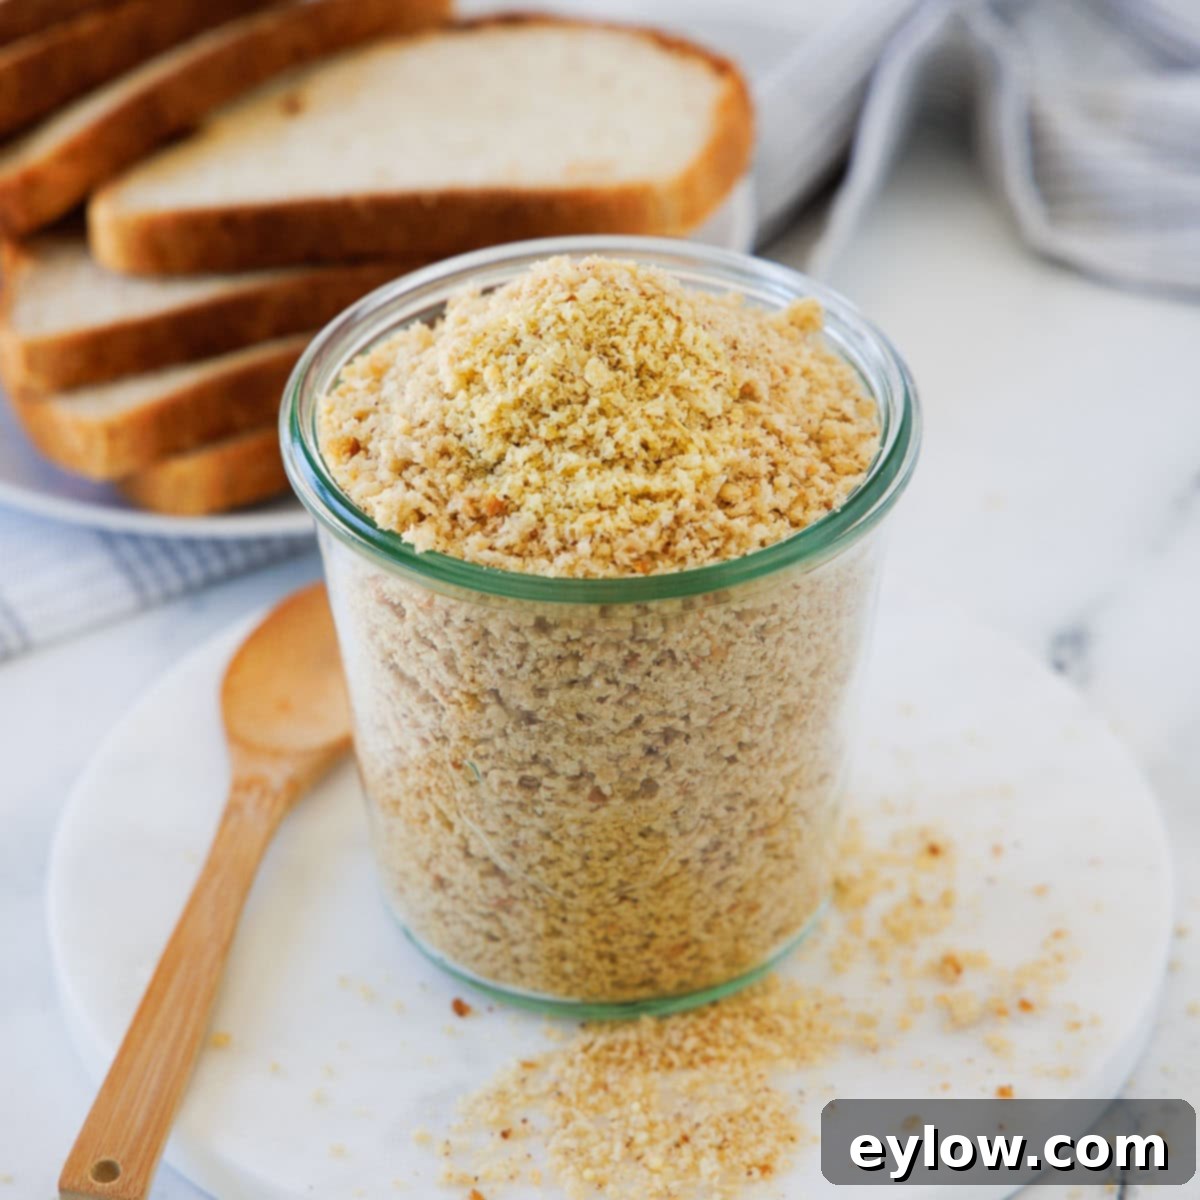
Mastering Homemade Gluten-Free Breadcrumbs: Your Ultimate Guide to Perfect Crumbs Every Time
Discover the secret to elevating your gluten-free cooking with fresh, homemade breadcrumbs. While store-bought options exist, crafting your own ensures unparalleled flavor, superior texture, and complete control over ingredients, free from unwanted additives. This comprehensive guide will walk you through the simple process of transforming stale gluten-free bread into versatile crumbs, whether you need fine, binding textures for meatballs or light, crispy panko-style flakes for fried dishes. It’s an economical and incredibly rewarding way to minimize food waste and infuse your meals with a truly artisanal touch.
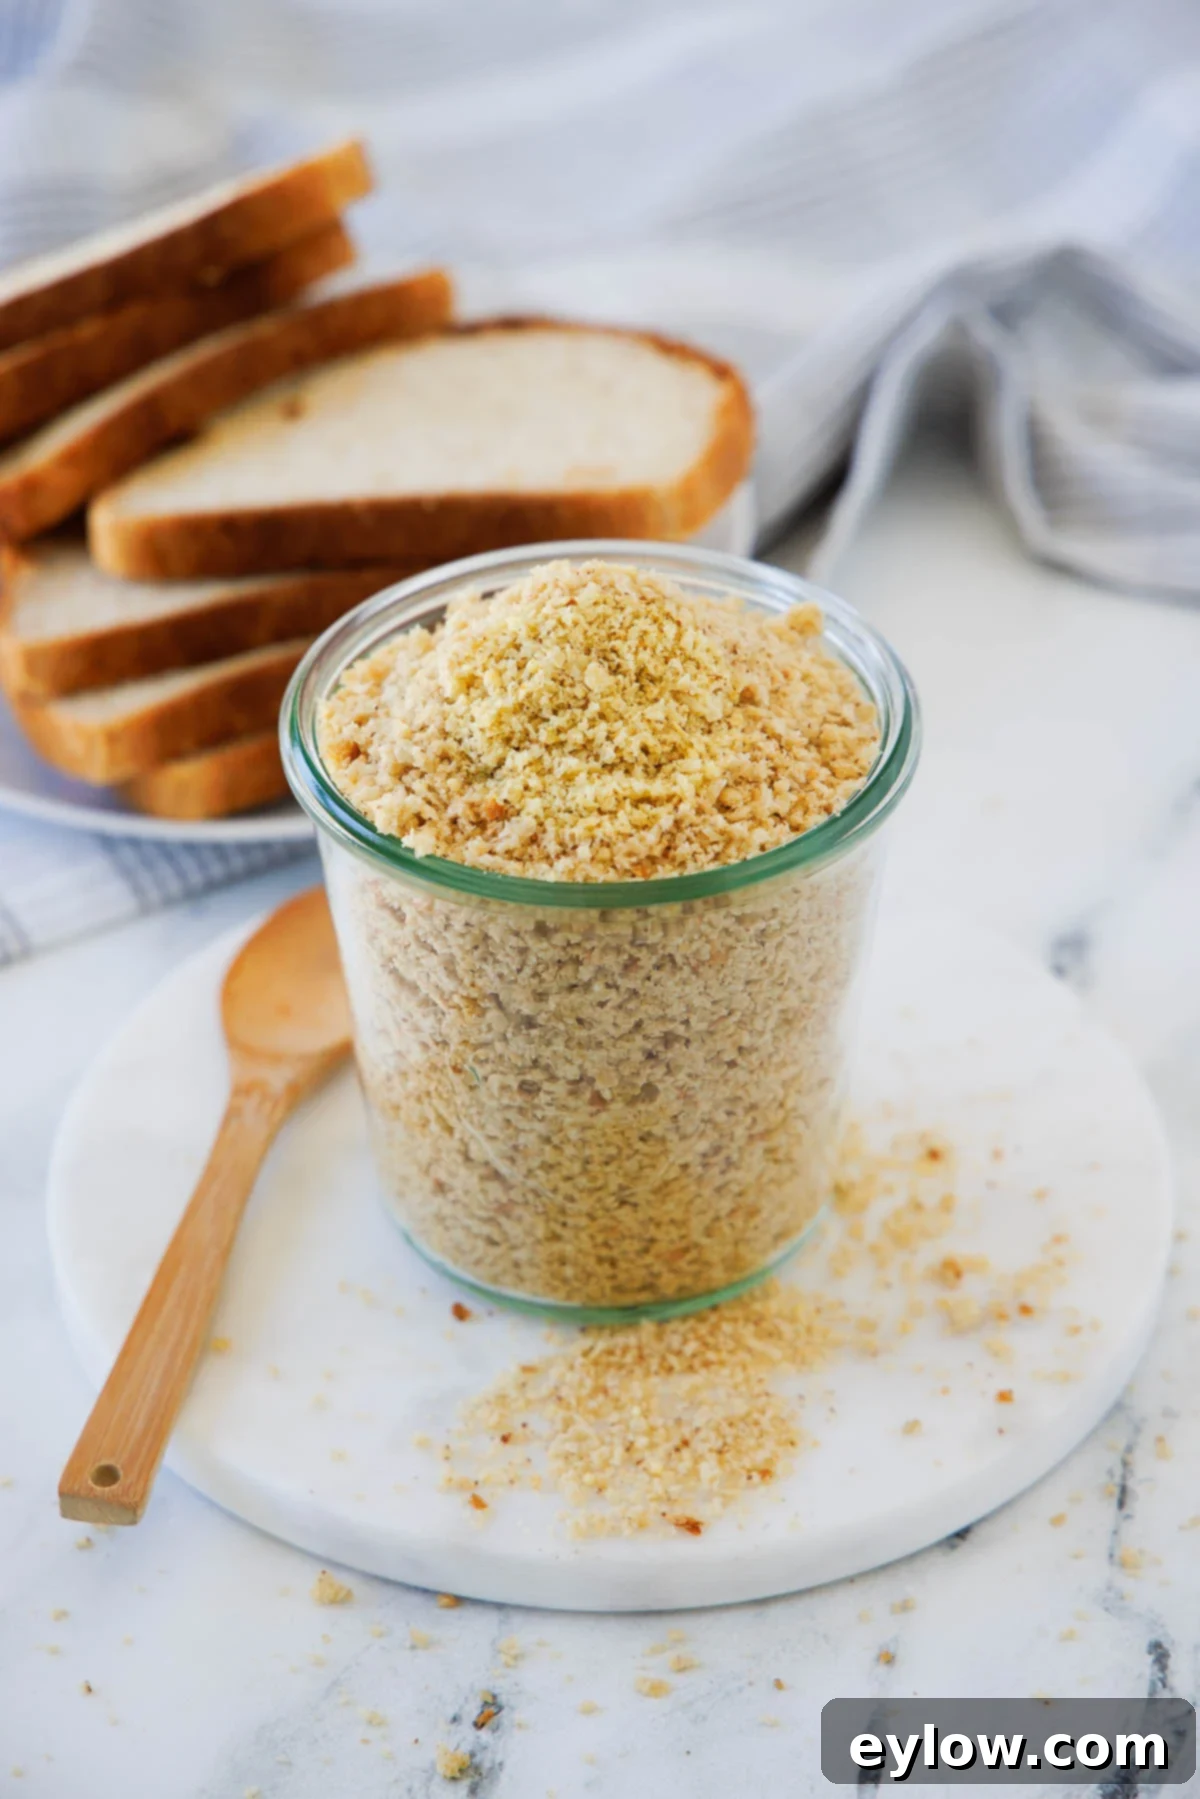
Unlock endless culinary possibilities by tailoring this gluten-free breadcrumbs recipe to your specific needs. Create light, airy gluten-free panko-style flakes for super-crispy coatings, or opt for finely seasoned gluten-free breadcrumbs to add a burst of flavor to your favorite dishes. Imagine perfectly bound meatballs, creamy mac and cheese with an irresistible crunch, or roasted vegetables elevated by a savory, golden topping. Starting with your preferred gluten-free bread, you can achieve fresh, flavorful crumbs in approximately 30 minutes, ready to use in a myriad of recipes. We’ve also included essential tips for making gluten-free breadcrumbs even without a food processor, along with expert advice for optimal storage.
- Why You’ll Love Homemade Gluten-Free Breadcrumbs
- What You’ll Need & Choosing Your Bread
- Substitutions & Flavor Variations
- How to Make Gluten-Free Breadcrumbs (Step-by-Step)
- Making Breadcrumbs Without a Food Processor
- Fresh vs. Toasted vs. Panko-Style Gluten-Free Breadcrumbs
- How to Use Gluten-Free Breadcrumbs in Your Cooking
- Storage & Shelf Life Guide
- Recipe FAQs
- Recipes Featuring Homemade Gluten-Free Breadcrumbs
Why You’ll Love Homemade Gluten-Free Breadcrumbs
Making your own gluten-free breadcrumbs is a game-changer for any home cook. Here’s why you’ll quickly fall in love with this simple yet impactful kitchen hack:
- Unbeatable Fresh Flavor – Unlike their often bland store-bought counterparts, homemade breadcrumbs burst with the fresh, nuanced flavor of the bread you choose. This instantly elevates any dish they’re added to, providing a more vibrant and satisfying taste experience.
- Customizable Texture, Your Way – Whether your recipe calls for finely ground crumbs to create a smooth panade (a binding agent in meat mixtures), lightly toasted crumbs for a crunchy gratin topping, or coarse, airy panko-style flakes for incredibly crispy cutlets in your air fryer, you have complete control over the texture. This versatility allows you to achieve the perfect result every time.
- Zero Waste Solution – Don’t let stale gluten-free bread go to waste! This recipe provides the perfect opportunity to utilize leftover bread that’s a day or two past its prime. It’s an environmentally conscious and budget-friendly approach to cooking.
- Clean Ingredients, No Mystery Additives – When you make breadcrumbs at home, you dictate what goes into them. Say goodbye to preservatives, excessive sodium, and unrecognizable additives often found in commercial brands. You get pure, wholesome crumbs every time.
- Convenient Freezer-Friendly Batches – Prepare a larger batch of these gluten-free breadcrumbs and store them in the freezer. Having a ready supply on hand means you’re always prepared for quick, last-minute meals or whenever inspiration strikes, making your cooking process smoother and more efficient.
And if you enjoy making things from scratch, homemade gluten-free croutons are another terrific and easy kitchen staple to master!
What You’ll Need & Choosing Your Bread
Crafting delicious gluten-free breadcrumbs requires minimal equipment and just one core ingredient: quality gluten-free bread. The type of bread you select will significantly influence the final taste, texture, and color of your crumbs, so choose wisely!

- Gluten-Free Bread – This is your foundational ingredient. You can use almost any variety of gluten-free bread: white, whole grain, artisan-style, or even sourdough. Each type will impart unique characteristics to your breadcrumbs.
- White Gluten-Free Bread: Ideal for milder, lighter-colored crumbs that won’t overpower delicate flavors.
- Whole Grain Gluten-Free Bread: Adds a heartier flavor and slightly darker hue, perfect for savory applications.
- Artisan Gluten-Free Bread or Sourdough: Offers a more rustic texture and complex flavor profile, great for gourmet dishes.
Substitutions & Flavor Variations
Personalize your homemade gluten-free breadcrumbs with these easy adjustments:
- Seasoned Gluten-Free Breadcrumbs (Italian-Style) – For classic Italian-flavored crumbs, add a blend of dried herbs like Italian seasoning, parsley, basil, and oregano. Incorporate a pinch of garlic powder, onion powder, and kosher salt. You can also mix in a tablespoon of finely grated Parmesan cheese (omit for dairy-free). Combine these seasonings with your breadcrumbs before or after toasting, depending on your preference for how deeply the flavors meld.
- Herbed Breadcrumbs – Experiment with other dried herbs such as thyme, rosemary, sage, or a specific blend like Herbes de Provence to complement your dish.
- Spicy Breadcrumbs – A touch of smoked paprika, chili powder, or a pinch of cayenne can add a delightful kick to your crumbs.
- Crusts or No Crusts – The choice is yours! Removing the crusts will result in a lighter, paler, and finer-textured crumb. Keeping them on provides a more rustic texture, deeper golden color, and a slightly richer flavor. For panko-style crumbs, removing the crusts is recommended for the signature airy flakes.
Once you have a batch of these versatile crumbs, consider using them to make delightful gluten-free croutons, which are fantastic in salads like this chicken pasta Caesar salad.
Chef’s Tip – Maximize Crispness: Skip the Parchment: For the fastest drying and most even crisping, use bare, light aluminum baking sheets. The direct contact with hot metal promotes quick evaporation. Parchment paper or silicone liners can insulate the crumbs and encourage steaming, leading to a less crispy result. If you must use parchment, increase baking time by 2-3 minutes and stir more frequently. Dark baking pans absorb more heat and can brown crumbs quicker, so monitor them closely. There’s no need for oil or cooking spray; the bread’s natural oils are sufficient for toasting.
How to Make Gluten-Free Breadcrumbs (Step-by-Step)
Making homemade gluten-free breadcrumbs is a straightforward process that yields fantastic results. Follow these steps for perfect crumbs every time:
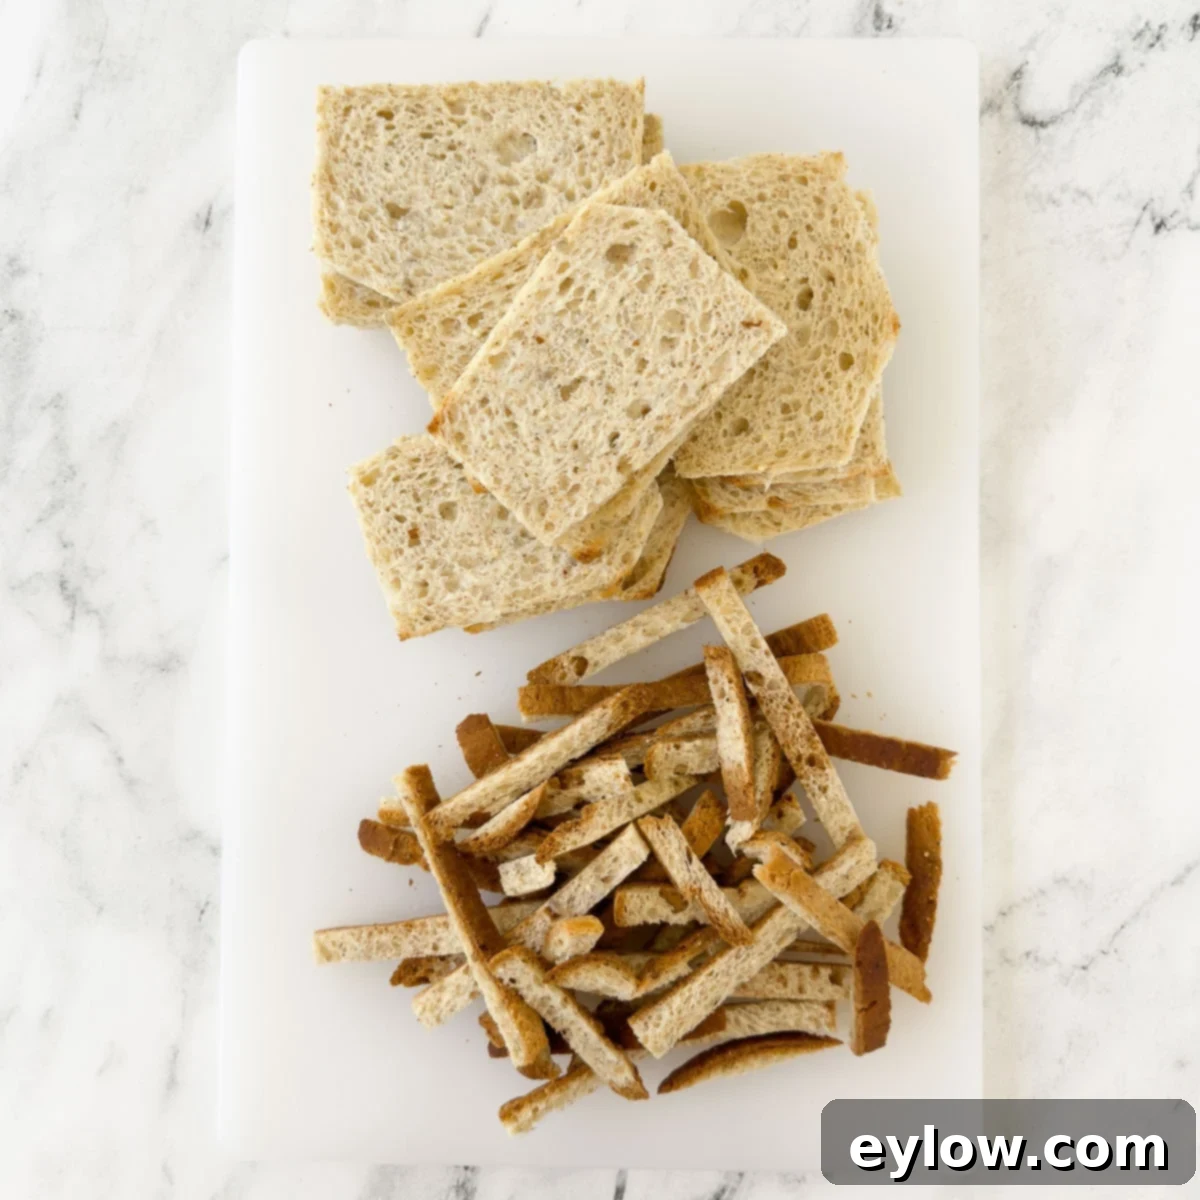
- Pre-heat Oven and Prep Bread: Pre-heat your oven to 300°F (150°C). Decide whether to trim the crusts from your bread slices. For a lighter, finer crumb, remove the crusts. For a more rustic texture and deeper flavor, leave them on.

- Cut or Tear Bread: Cut the bread into uniform 1-inch cubes or tear it into small, evenly sized pieces. Consistency in size is important for even drying. If you have a food processor, proceed to the next step. If not, toast these cubes directly, then crush them by hand as detailed in the “Without a Food Processor” section.
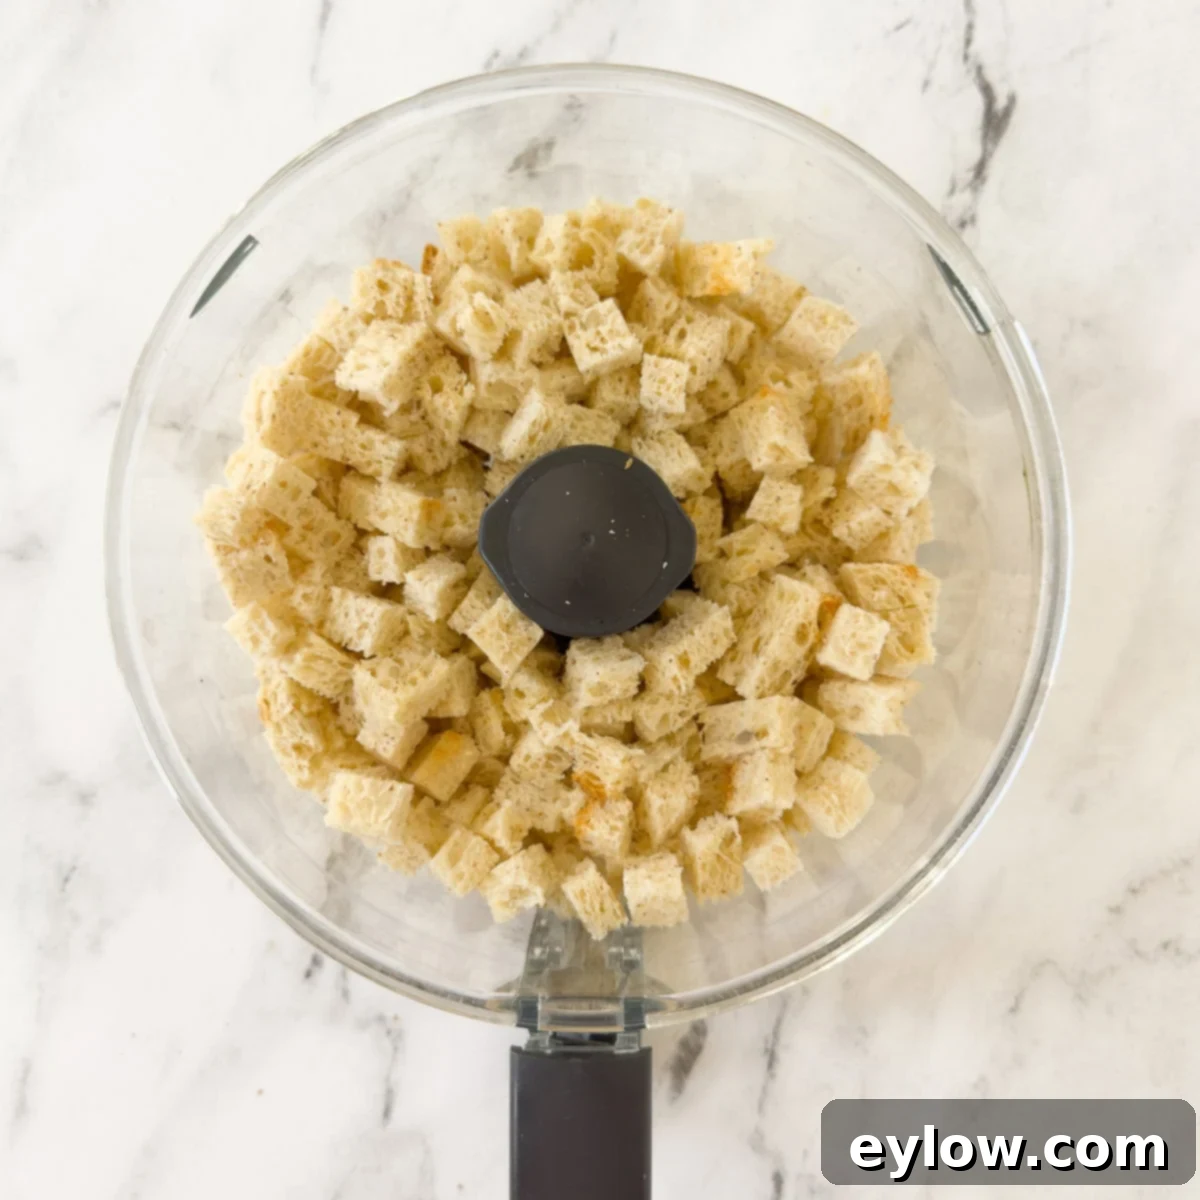
- Load Food Processor: Add the bread cubes to your food processor. Avoid overloading the bowl; process in two batches if necessary to ensure even grinding. Overloading can result in unevenly sized crumbs and put strain on your machine.
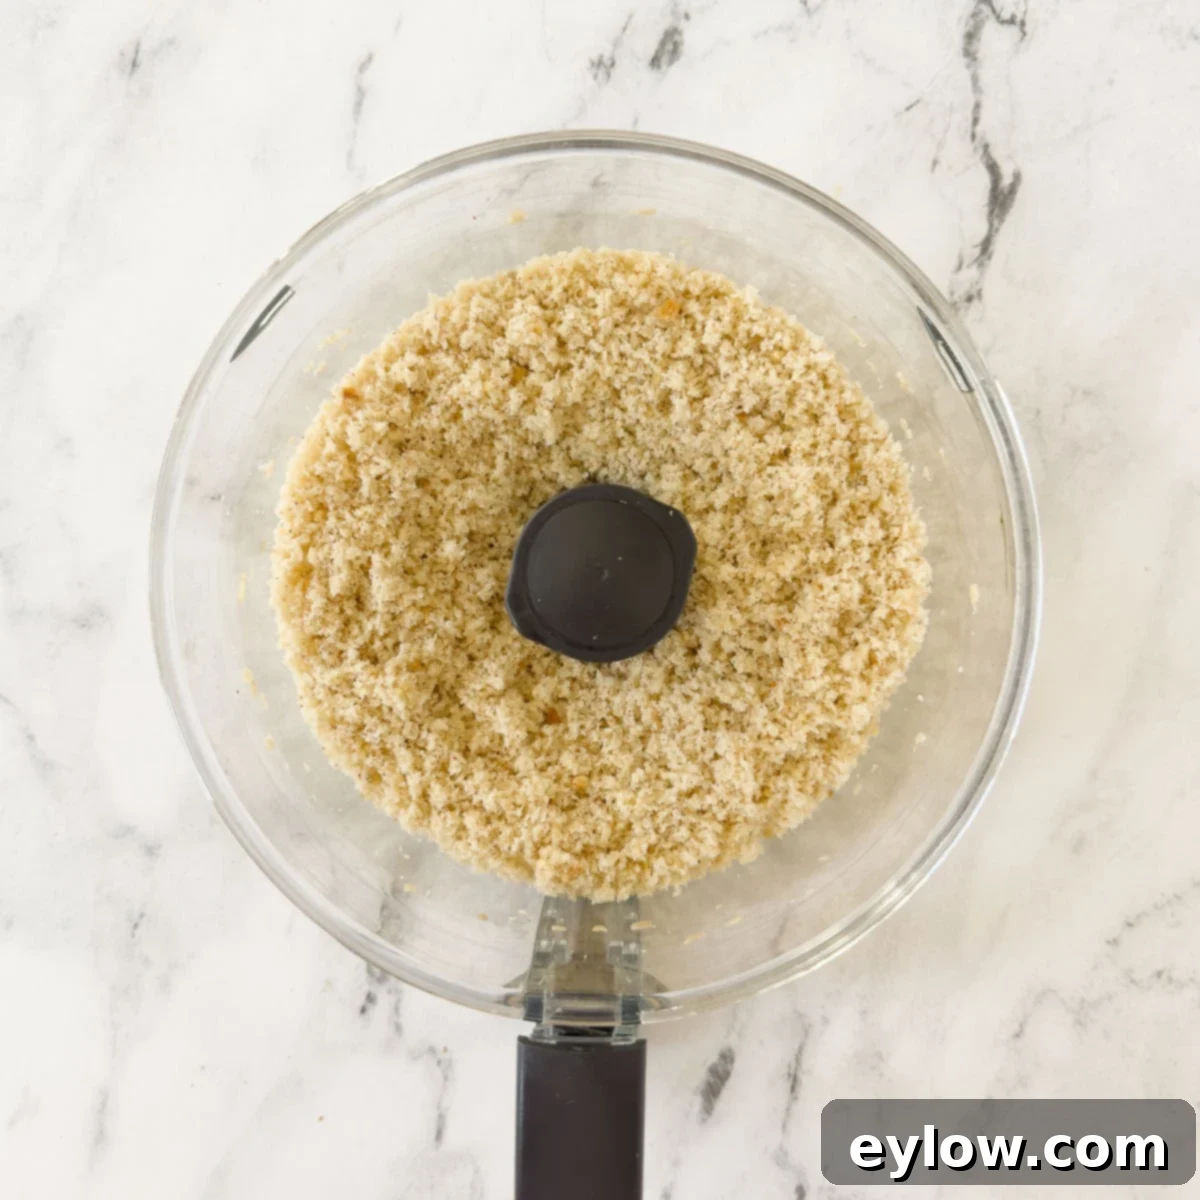
- Pulse to Crumbs: Pulse the food processor in short bursts until the bread forms fine, uniform crumbs. For panko-style crumbs, you’ll want coarser flakes (see dedicated panko instructions below). If preparing a large quantity, you might need to process the breadcrumbs in two or more batches to achieve the desired consistency.
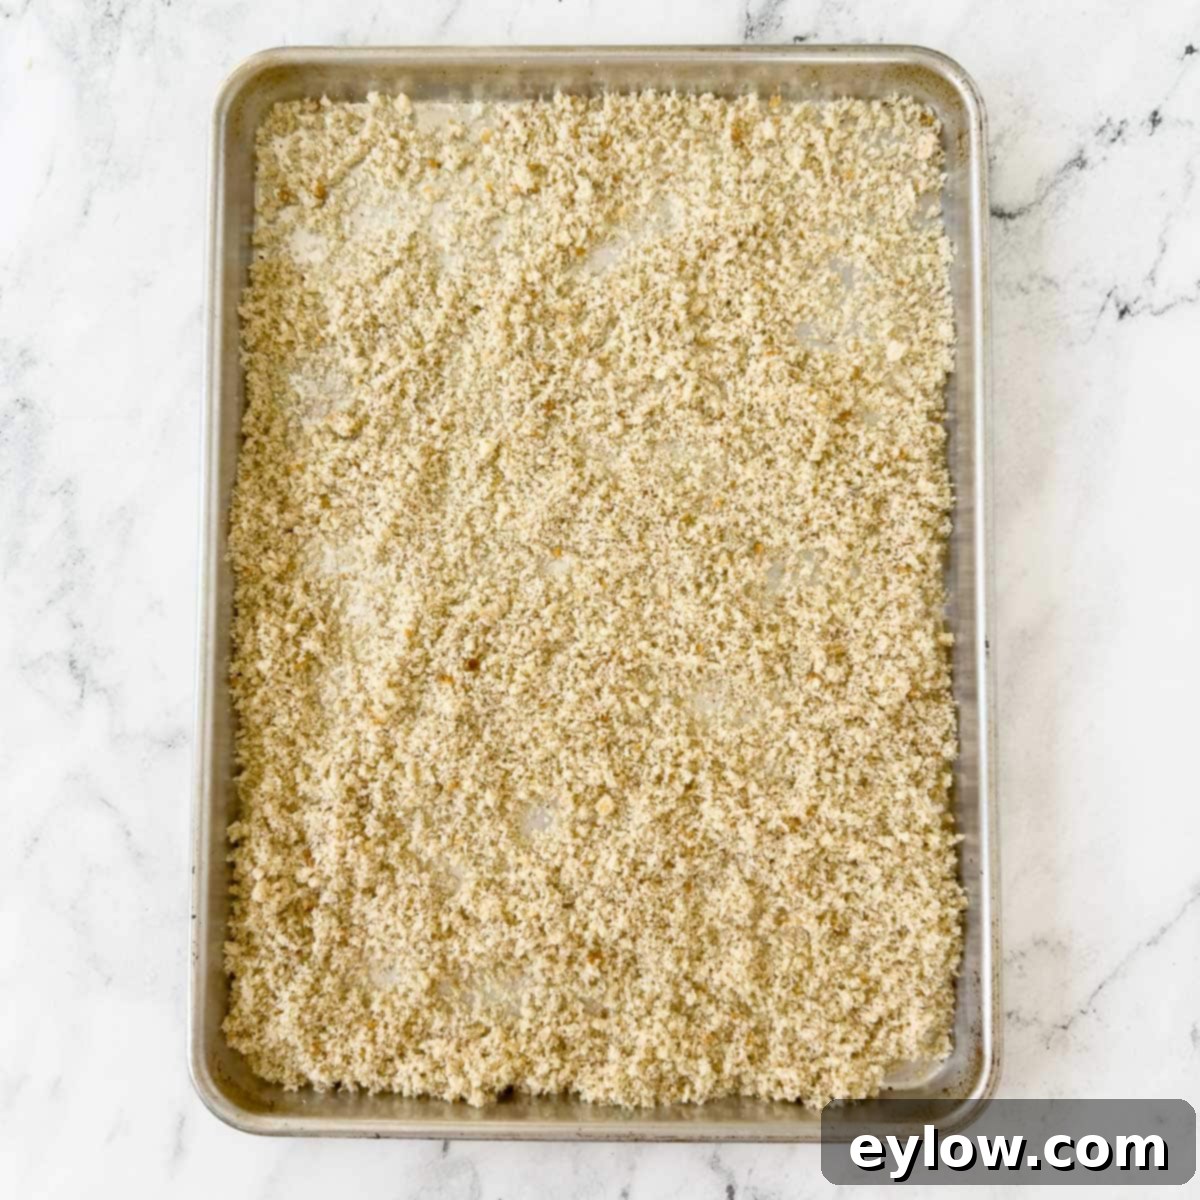
- Bake Until Golden and Dry: Spread the breadcrumbs evenly in a single layer on one or two rimmed baking sheets. Bake in the preheated oven until the crumbs are lightly golden and thoroughly dry. This usually takes about 25-30 minutes. If using a single baking sheet, stir the crumbs halfway through to promote even drying. For faster drying, use two baking sheets.
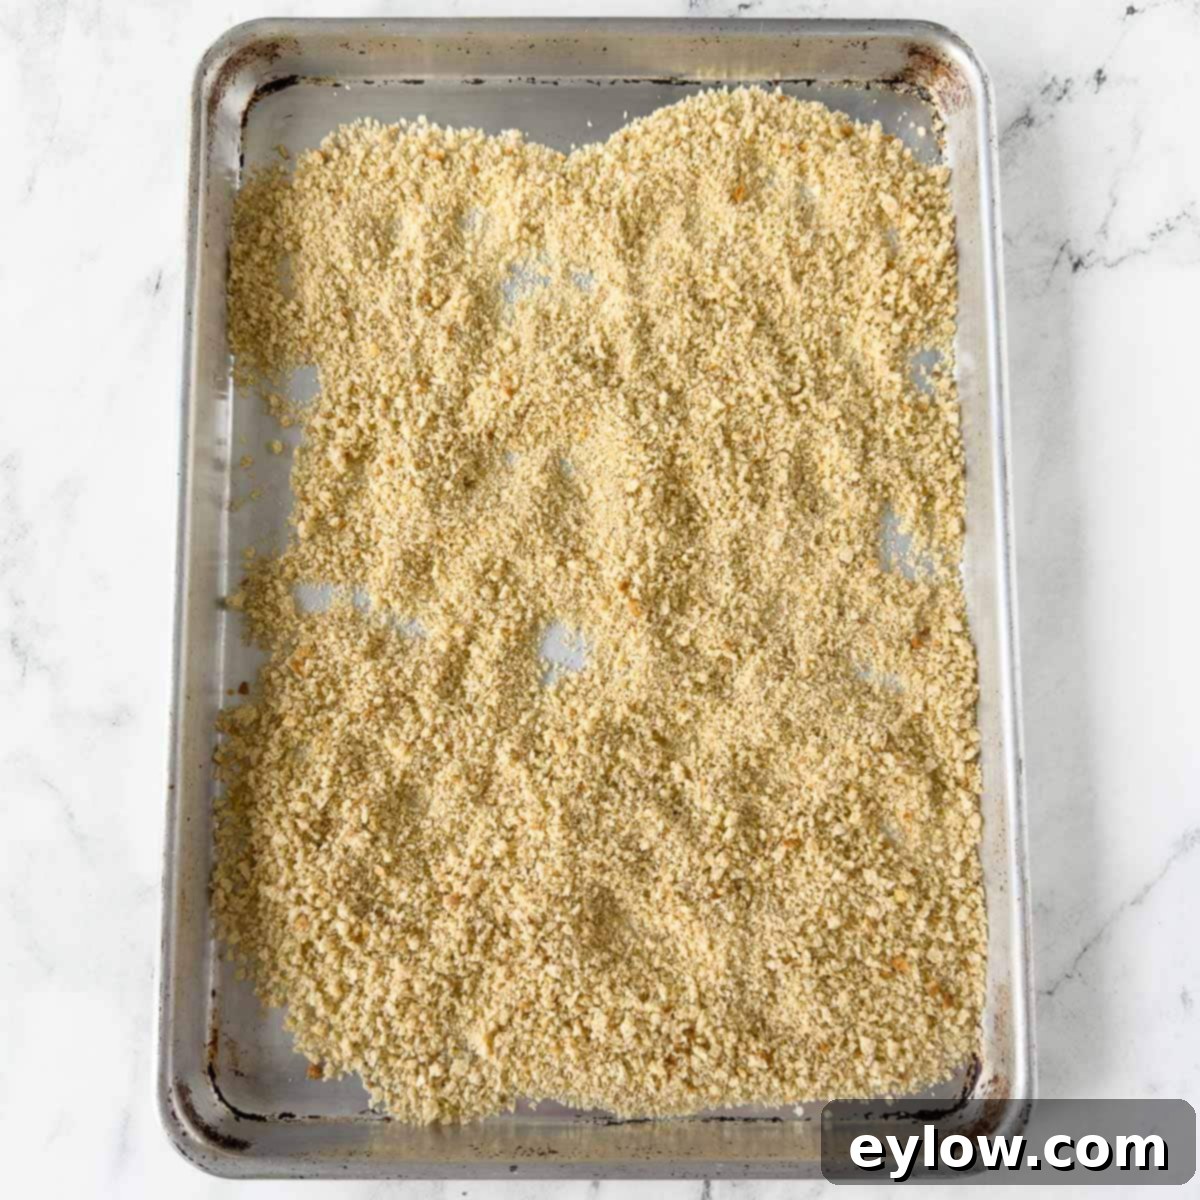
- Cool and Refine: Once baked, remove the breadcrumbs from the oven and let them cool completely on the baking sheet. They will become even crispier as they cool. You can leave them coarse for a rustic texture or, once cooled, return them to the food processor for a quick pulse (about 45 seconds) to achieve a finer, more uniform consistency if desired.
Chef’s Tip – How to Tell When Homemade Gluten-Free Breadcrumbs Are Dry Enough: The key to good, long-lasting breadcrumbs is ensuring they are completely dry. You’ll know they’re ready when you can detect a distinct, toasty aroma filling your kitchen. Visually, they should be lightly golden brown and, when you gently shake the baking sheet, they should move freely, without any clumps or noticeable damp spots. To refine the texture just a bit more, you can rub them between your hands after cooling; this helps break up any remaining small clumps and creates a more even consistency.

Chef’s Tip for Perfect Texture. The versatility of homemade gluten-free breadcrumbs lies in your ability to control their texture. Depending on your recipe’s requirements, you can always toss the cooled breadcrumbs back into the food processor for one last round of pulsing (about 45 seconds) to achieve a finer, more refined texture. The lead photo at the top of this article showcases coarse, panko-style breadcrumbs, while the image above demonstrates various stages and textures you can create, from fine to perfectly coarse.
Making Breadcrumbs Without a Food Processor
No food processor? No problem! You can still easily make delicious homemade gluten-free breadcrumbs with just a few simple tools and a bit of elbow grease. Here’s how:
- Prepare the Bread: Trim the crusts from your gluten-free bread slices if you prefer a lighter, finer crumb, or leave them on for a more rustic texture. Cut the bread into small, uniform 1-inch cubes.
- Toast the Cubes: Spread the bread cubes in a single layer on a bare, rimmed baking sheet. Bake in a preheated 300°F (150°C) oven until they are golden brown and completely crisp, about 20-30 minutes, stirring occasionally. Ensure they are thoroughly dry.
- Cool Completely: Remove the toasted bread cubes from the oven and let them cool completely on the baking sheet. This cooling step is crucial for them to become perfectly brittle and easy to crush.
- Crush by Hand: Once cooled, transfer the crisp bread cubes to a large, heavy-duty sealed bag (like a freezer bag). Using a rolling pin, a sturdy bottle, or even the bottom of a heavy pan, vigorously crush the toasted cubes until they form crumbs. You can control the texture: crush finely for traditional crumbs or leave some larger pieces for a rustic feel. While the texture might be slightly less uniform than with a food processor, it will still be incredibly delicious and perfect for most recipes.

Fresh vs. Toasted vs. Panko-Style Gluten-Free Breadcrumbs
Understanding the different types of breadcrumbs will help you choose the right one for your recipe, ensuring optimal texture and flavor. Most packaged breadcrumbs are toasted, which extends their shelf life and gives them a slightly nutty taste. With homemade gluten-free breadcrumbs, you have the flexibility to achieve various textures:
- Fresh (Untoasted) Breadcrumbs – These are soft, moist crumbs made from fresh bread that has been processed but not dried. They are excellent for recipes where moisture absorption and tenderness are crucial, such as acting as a panade in meatballs, meatloaf, or as a binder in stuffing. Their fresh quality helps to keep mixtures moist and tender.
- Toasted (Dry) Breadcrumbs – These are light, crisp, and fully dried crumbs. They offer a delightful crunch and a slightly nutty flavor from the toasting process. Toasted breadcrumbs are perfect for casserole or gratin toppings, providing a golden, crunchy crust, and as a finishing touch for roasted vegetables. They also have a longer shelf life and maintain their crunch better in storage.
- Panko-Style (Coarse, Airy Flakes) Breadcrumbs – True panko is made from a specific type of crustless bread that is baked with an electric current, then shredded into large, airy flakes. To create a gluten-free panko-style equivalent at home, use gluten-free sandwich bread (preferably with crusts trimmed for the lightest flakes), dry it lightly, then pulse in a food processor in short bursts to create very coarse, flaky crumbs. These are exceptional for breaded cutlets (like chicken or fish) and achieving super “fried” textures in an air fryer or oven, as their larger surface area provides extra crispness without absorbing too much oil. The goal is to keep these flakes pale in color initially, allowing them to build a beautiful golden color during the final cooking.
Chef’s Tip: What’s the difference between seasoned breadcrumbs, plain breadcrumbs, and gluten-free breadcrumbs?
- Seasoned breadcrumbs are typically store-bought and have a blend of dried herbs, garlic powder, onion powder, and salt added for convenience.
- Plain breadcrumbs are simply dried and ground bread, without any additional flavorings.
- Gluten-free breadcrumbs are distinguished by being made exclusively from gluten-free bread. They can be either plain or seasoned, depending on whether you add extra spices. The primary advantage of making them yourself is gaining complete control over both the texture and the seasoning, allowing you to customize them perfectly for any dish.
How to Use Gluten-Free Breadcrumbs
Homemade gluten-free breadcrumbs are incredibly versatile, offering a simple yet effective way to add flavor, texture, and structure to an array of dishes. Here are some popular and creative ways to incorporate them into your cooking:
- Coat Proteins for a Crispy Crust – Press toasted or panko-style breadcrumbs onto chicken cutlets, fish fillets, or roast pork before baking, pan-frying, or air-frying. They form a delicious, golden, and exceptionally crisp crust that locks in moisture and adds a satisfying texture.
- Create Crunchy Casserole Toppings – Sprinkle toasted breadcrumbs over baked pasta dishes, vegetable bakes, or a savory zucchini gratin. Mixed with a little melted butter or olive oil, they transform into an irresistible, golden-brown crunchy finish that elevates comfort food to the next level.
- Bind Mixtures for Structure and Moisture – Use fresh, finely ground breadcrumbs as a binding agent in recipes like homemade meatballs, classic meatloaf, or vegetarian patties. They absorb moisture, helping to hold the mixture together while keeping it tender and preventing dryness.
- Stuff Vegetables with Savory Fillings – Combine breadcrumbs with sautéed onions, garlic, fresh or dried herbs, cheese, and other vegetables to create a flavorful stuffing for bell peppers, mushrooms, tomatoes, or even roasted squash.
- Achieve Air-Frying Perfection – Panko-style gluten-free breadcrumbs are particularly fantastic for air-frying. Their coarse, airy texture creates an incredibly crispy “fried” effect on dishes like air-fryer chicken cutlets, onion rings, or fish sticks, with significantly less oil than traditional deep-frying.
- Add Texture to Soups and Salads – A sprinkle of toasted breadcrumbs can add an unexpected crunch and richness to creamy soups or garden salads.
- Thicken Sauces and Stews – In a pinch, finely ground breadcrumbs can be used to slightly thicken sauces or stews, especially if you’re looking for a gluten-free alternative to flour or cornstarch.
Storage & Shelf Life Guide
Proper storage is key to maintaining the freshness and crispness of your homemade gluten-free breadcrumbs. Follow these guidelines to ensure they last:
| Where | How Long | How to Store / Use |
|---|---|---|
| Pantry (toasted, fully dry only) | Up to 1 week | Cool completely before storing. Place in an airtight container, preferably a light aluminum or glass jar. If they lose crispness, re-crisp them in the oven at 300°F (150°C) for 3–5 minutes. |
| Refrigerator | 1–2 weeks | Store in an airtight container. Refrigeration can help extend their life slightly, but they may gradually lose some crispness. If you ever notice any moisture or mold, it means they weren’t dried enough, and you should discard them immediately to prevent foodborne illness. |
| Freezer | Up to 3 months | For best results, portion crumbs into recipe-size bags or use the Individual Quick Freeze (IQF) method: spread in a thin layer on a baking sheet, freeze for about 1 hour until solid, then transfer to an airtight freezer-safe bag or container. This prevents clumping and keeps crumbs loose. Use straight from frozen or re-crisp briefly in the oven if preferred. |
Chef’s Tip for Freezing Breadcrumbs: Always ensure your breadcrumbs are completely cooled to room temperature before storing them in any container, especially when freezing. Packaging warm crumbs will create condensation, leading to sogginess and potentially freezer burn or mold development.
Recipe FAQs
Yes, absolutely! Frozen bread is actually excellent for making breadcrumbs. Just make sure to thaw it completely first. Evenly thawed bread will process and toast much more uniformly, leading to better-textured crumbs.
Almost any variety of gluten-free bread works well, but choosing one with good inherent flavor and texture will enhance your crumbs. For mild, versatile crumbs, a classic white gluten-free sandwich bread is great. For a heartier flavor and darker color, opt for whole grain. If you want a rustic texture and a unique tang, gluten-free artisan bread or sourdough is an excellent choice. The most important factor is using bread you enjoy eating, as its flavor will translate directly into your crumbs.
Not necessarily! Removing the crusts is optional. If you desire a very pale, super-soft, and uniform crumb (especially ideal for panko-style), then removing the crusts is recommended. However, leaving the crusts on adds extra flavor, a lovely golden color, and a touch of rustic crunch to your breadcrumbs, which many find desirable for certain applications. It truly comes down to personal preference and the desired end result for your recipe.
Absolutely! If you don’t have a food processor, simply cut your gluten-free bread into small cubes, toast them in the oven until dry and crisp, and allow them to cool completely. Once cooled, place the toasted cubes in a sturdy zip-top bag and crush them with a rolling pin or the bottom of a heavy pan until you achieve your desired fine or coarse crumb consistency. The texture will be slightly more rustic but equally delicious.
A soggy topping usually indicates that the breadcrumbs weren’t fully dry before use or that moisture (from steam or excess oil) caused them to soften during baking. To prevent this, ensure your homemade breadcrumbs are thoroughly toasted and completely dry. Use toasted, dry crumbs, and if your recipe calls for fat, add it just before sprinkling the topping. For casseroles, consider baking uncovered for the last 10-15 minutes to allow the topping to crisp up.
Did You Make This Recipe?
If you take the time to make these homemade gluten-free breadcrumbs, please come back and let me know how they turned out in the comments below! Your feedback is invaluable. And if you loved the recipe, don’t forget to give it a 5-star rating! It truly helps other readers discover and enjoy this fantastic recipe.
Recipes With Breadcrumbs
Now that you’ve got a batch of fresh, homemade gluten-free breadcrumbs on hand, it’s time to put them to delicious use! These versatile crumbs can transform ordinary meals into extraordinary culinary experiences. Explore these mouth-watering recipes that make the most of every batch:
- Air Fryer Chicken Cutlets
- Pistachio Crusted Pork Rib Roast
- Baked Turkey Meatballs
- Zucchini Gratin with Parmesan Crust
📖 Recipe
Homemade Gluten-Free Breadcrumbs
Sally CameronEquipment
- Food Processor optional
- Rimmed baking sheet half sheet size
Ingredients
For plain breadcrumbs
- 1 ½ pound loaf of bread GF or wheat, your choice
Optional for Italian seasoned breadcrumbs (per 1 cup crumbs)
- 1-2 teaspoons dried Italian seasoning
- ½ teaspoon garlic powder
- ¼ teaspoon onion powder
- ¼ teaspoon kosher salt
- ⅛ teaspoon black pepper optional
- 1 tablespoon finely grated Parmesan skip for dairy-free
Instructions
Pre-heat oven and prep bread
-
Pre-heat the oven to 300°F (150°C). Decide whether to trim crusts from the bread slices or keep them on for more rustic breadcrumbs. Cut bread into uniform 1-inch cubes or tear into very small, even pieces.
Food Processor Instructions
-
Process bread cubes by pulsing in a food processor until fine crumbs are formed. Ensure not to overload; process in batches if needed. Spread the crumbs evenly across two rimmed baking sheets (or one if making a smaller batch). Bake until crumbs are golden and thoroughly dry, typically about 25-30 minutes. Stir them halfway through to ensure even toasting. Timing may vary depending on your oven and crumb thickness. If using a single baking sheet with a thicker layer, stir a few times throughout the baking process, as they may take slightly longer to dry completely.
By Hand (no food processor) Instruction
-
Cut the bread slices into small, even cubes. Bake these cubes as directed above until they are very dry and crisp. Once cooled completely, transfer the toasted cubes to a large, airtight bag (such as a zip-top freezer bag). Use a rolling pin or the bottom of a heavy pan to crush them until you achieve fine crumbs (or leave them more textured for a rustic feel).
Cooling and Storing
-
After baking, allow the breadcrumbs to cool completely to room temperature on the baking sheet. This is a crucial step for ensuring crispness and preventing moisture build-up during storage. Once fully cooled, transfer them to an airtight container and refrigerate or freeze according to the storage guidelines provided earlier in this article.
For panko-style breadcrumbs
-
For gluten-free panko-style breadcrumbs, dry cubed GF bread at 300°F (150°C) for a shorter period, about 10-15 minutes, just until slightly crisp but not fully toasted or browned. Then, pulse them in a food processor using short, controlled bursts, or crush them in a bag with a rolling pin. Stop pulsing while distinct large flakes remain; avoid over-processing into fine crumbs. You can sift out any overly fine crumbs to save for other toppings. If the flakes still feel slightly damp, return them to the oven for an additional 3-5 minutes to finish drying completely, ensuring they remain pale in color.
Notes
-
- Room temperature: Store fully toasted and completely dry breadcrumbs in an airtight container in the pantry for up to 1 week.
-
- Refrigerator: Keep in an airtight container for 1-2 weeks. While they remain safe for longer, they may start to lose their optimal crispness and fresh flavor after this period. Always discard if you observe any signs of moisture or mold, which indicates they were not sufficiently dried.
-
- Freezer: For extended storage, breadcrumbs can be kept in an airtight, freezer-safe container or bag for 3-4 months. To make meal prep easier, freeze them in recipe-sized portions. You can use them straight from frozen or toast them briefly in a skillet or oven to refresh their crispness.
