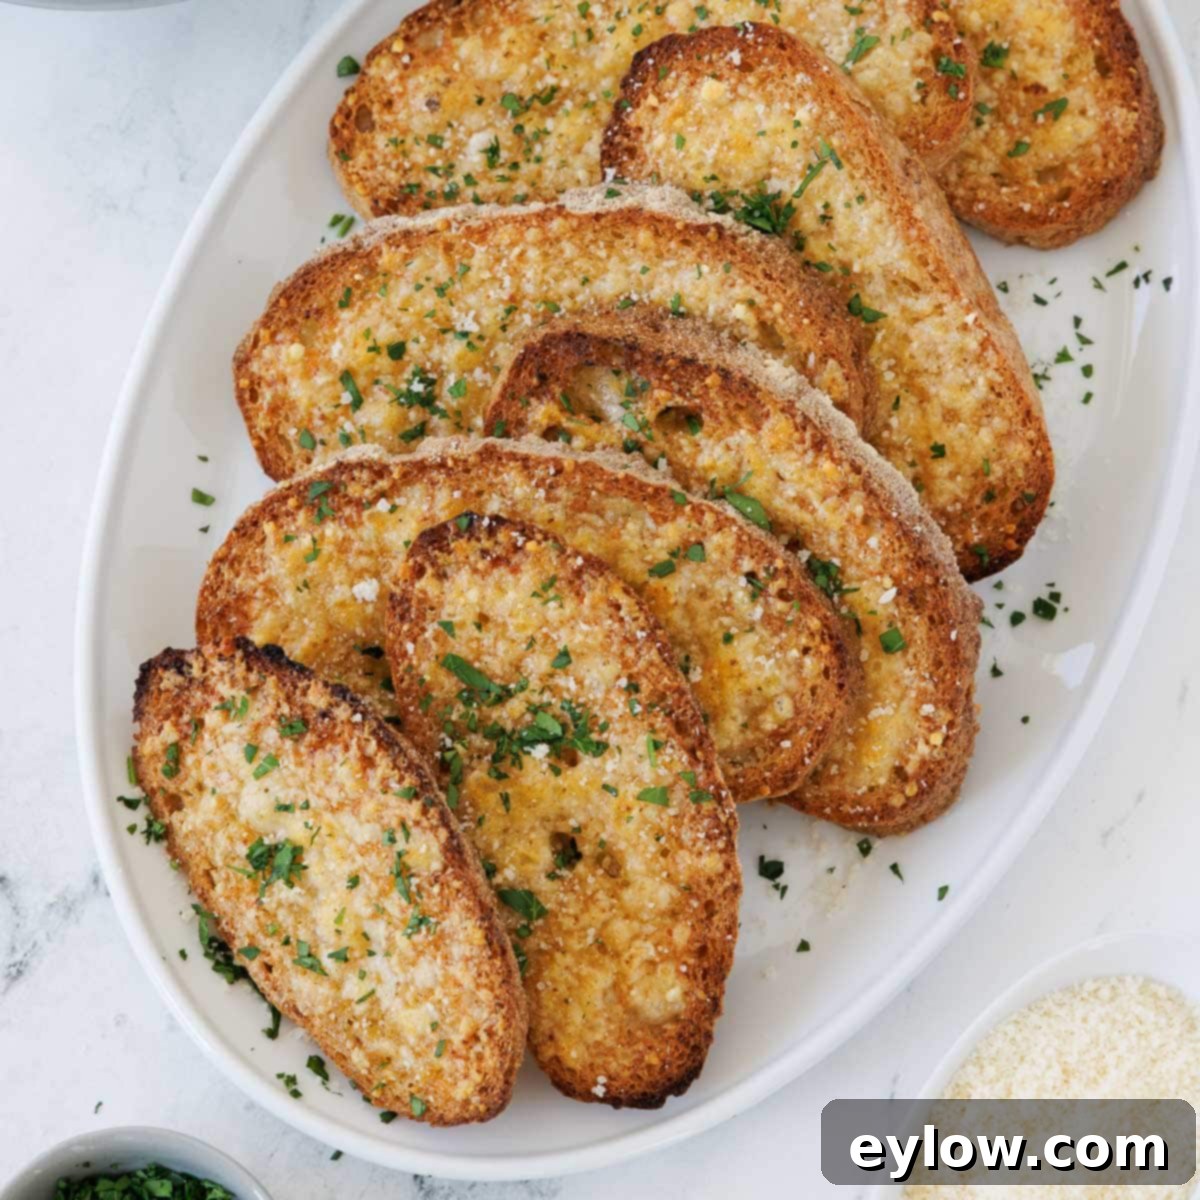
The Ultimate Crispy & Cheesy Gluten-Free Garlic Toast Recipe: A Simple Delight
Thinking that a gluten-free lifestyle means waving goodbye to the simple pleasure of warm, garlicky toast? Think again! This incredibly easy and delightfully cheesy gluten-free garlic toast recipe is here to prove you wrong. Prepare yourself for golden, irresistibly crunchy edges, a perfectly melty, savory Parmesan topping, and all the aromatic garlic goodness your heart desires. I’ve been perfecting this recipe for years, and it consistently disappears from the table the moment it’s served. It’s truly simple, deeply satisfying, and honestly, impossible to resist. Whether you prefer the classic broiler method or the speed of an air fryer, perfect garlic toast is just minutes away!
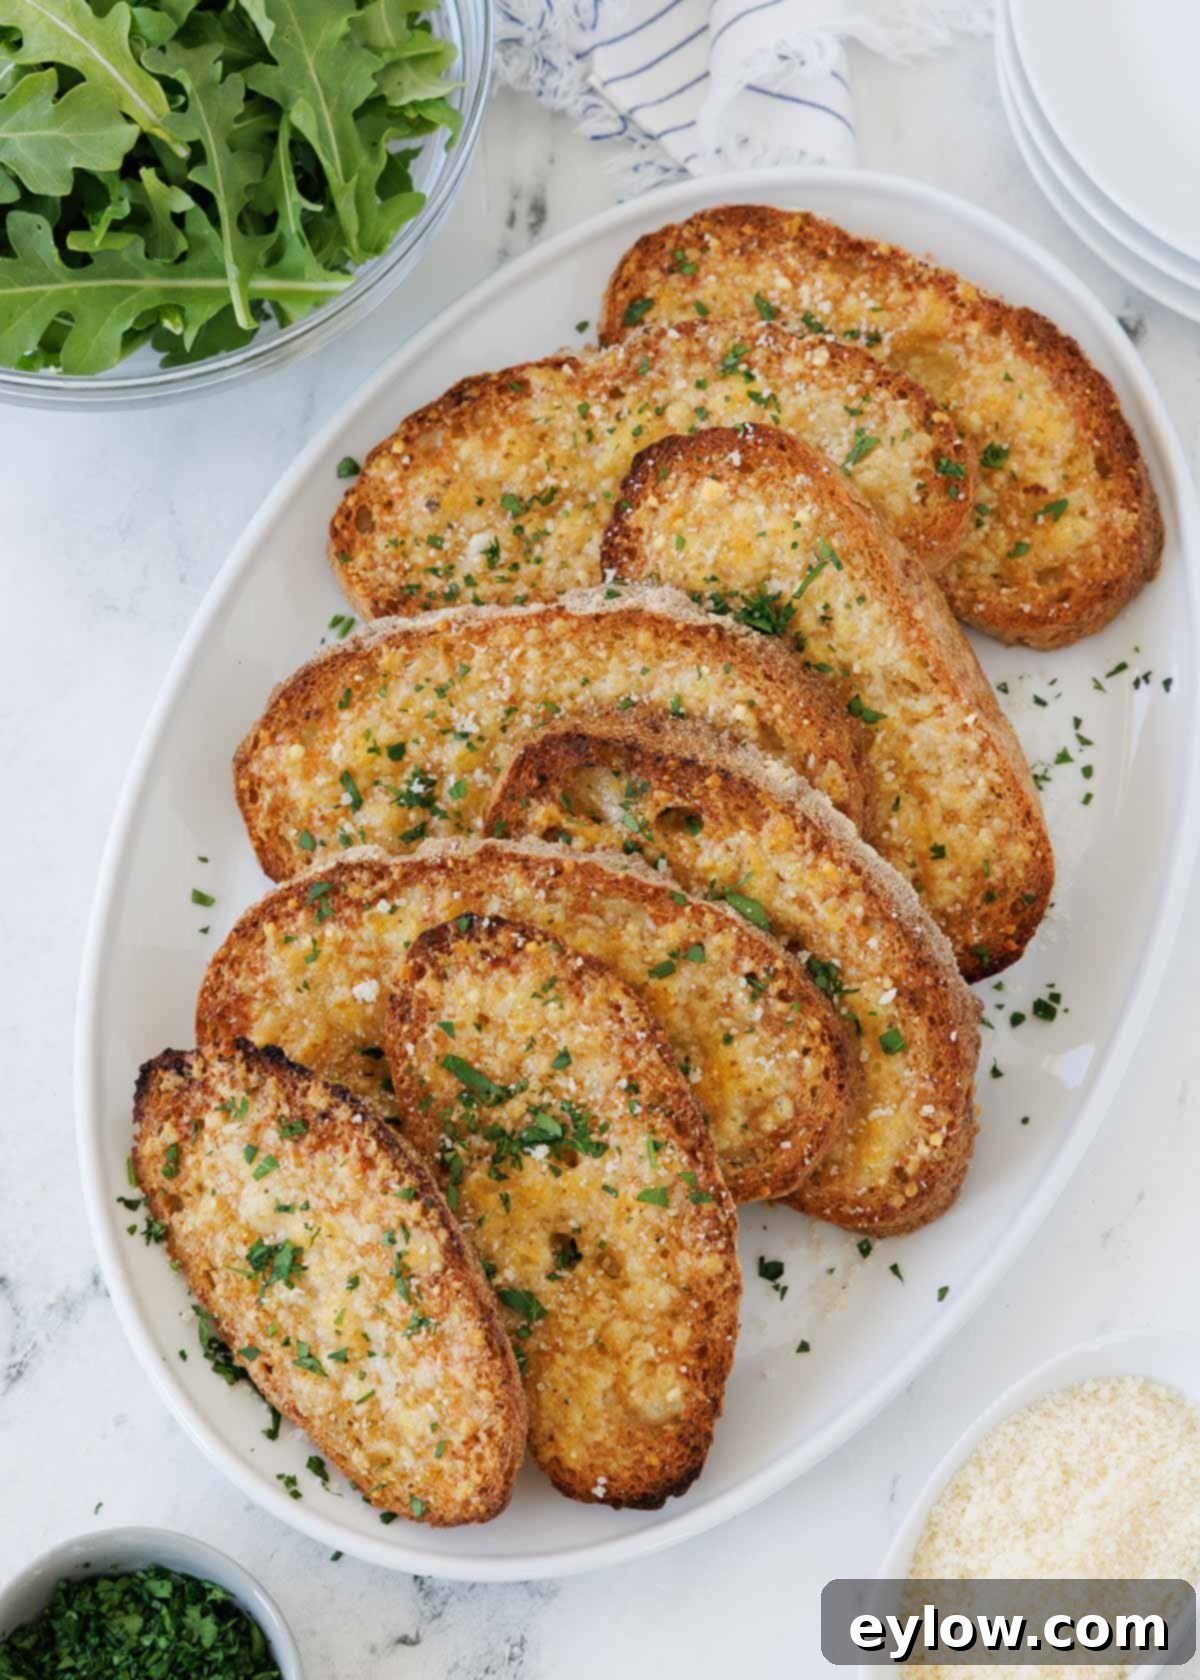
I’ve been making this fantastic homemade garlic bread for as long as I can remember, and it recently dawned on me that this simple, foolproof formula is something everyone should experience! It’s built on a few core principles: a quick, flavorful blend of butter and extra virgin olive oil, a strategic touch of granulated garlic powder, and a generous layer of finely grated Parmesan cheese. A quick broil in the oven (or a spin in the air fryer) is all it takes to transform humble slices of bread into a golden, crisp, and cheesy masterpiece. This isn’t just a side dish; it’s the kind of versatile garlic toast that complements nearly anything—from hearty soups and crisp salads to savory grilled meats, or simply enjoyed on its own as an irresistible snack straight from the baking sheet.
For those living a gluten-free lifestyle, finding truly delicious and satisfying bread alternatives can sometimes be a challenge. Many gluten-free breads can be prone to dryness or crumbling, making them less ideal for something like garlic toast. However, with the right choice of gluten-free bread and this perfected butter-garlic-cheese mixture, you’ll achieve a texture and flavor profile that rivals (and often surpasses) traditional garlic bread. This recipe focuses on creating that perfect balance of crispy exterior and tender, flavorful interior, ensuring every bite is a delightful experience.
[feast_advanced_jump_to]
Why This Gluten-Free Garlic Toast Will Become Your Go-To
This recipe isn’t just another way to make garlic toast; it’s a game-changer, especially for anyone navigating a gluten-free diet. Here’s why you’ll absolutely fall in love with it:
- Effortlessly Simple Recipe: You’ll be amazed at how easy it is to create such incredible flavor. Requiring just 5 basic ingredients and mere minutes of hands-on prep time, this recipe is perfect for busy weeknights or impromptu gatherings. No complex techniques or fancy equipment needed—just straightforward steps to deliciousness.
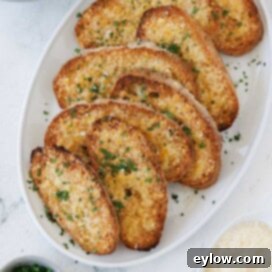
- Crispy, Cheesy, Garlicky Perfection: This toast hits all the right notes. Imagine biting into a slice with wonderfully crisp, golden-brown edges that give way to a soft, flavorful interior. The Parmesan cheese melts into a savory, slightly nutty crust, while the aromatic garlic butter permeates every crumb. It’s the quintessential garlic toast experience, elevated for a gluten-free palate.
- A Versatile Year-Round Favorite: While garlic toast is often associated with Italian meals, this recipe transcends seasons and cuisines. It’s a perfect savory side dish to warm you up during cooler months alongside hearty soups and stews, and equally fantastic with light summer salads or grilled main courses. Beyond main meals, it serves as an excellent base for various appetizers, making it incredibly adaptable to any occasion.
- Easily Adaptable for Dietary Needs: This recipe is naturally flexible! If you’re catering to dairy-free guests or following a vegan diet, simply swap the unsalted butter for your favorite vegan butter and use a high-quality dairy-free Parmesan-style topping. A touch of nutritional yeast can also enhance the cheesy flavor in dairy-free versions, ensuring everyone can enjoy this delightful treat.
This buttery gluten-free garlic bread is truly a crowd-pleaser and pairs wonderfully with robust dishes. For an absolutely fantastic dinner, try it alongside savory gluten-free meatballs or a rich, slow-cooked marinara sauce. Its ability to absorb flavors and add a textural contrast makes it an ideal accompaniment.
Essential Ingredients for Your Gluten-Free Garlic Toast
Crafting the perfect gluten-free garlic toast starts with selecting quality ingredients. Each component plays a vital role in achieving that sought-after golden crispiness, rich flavor, and aromatic experience. Here’s what you’ll need:
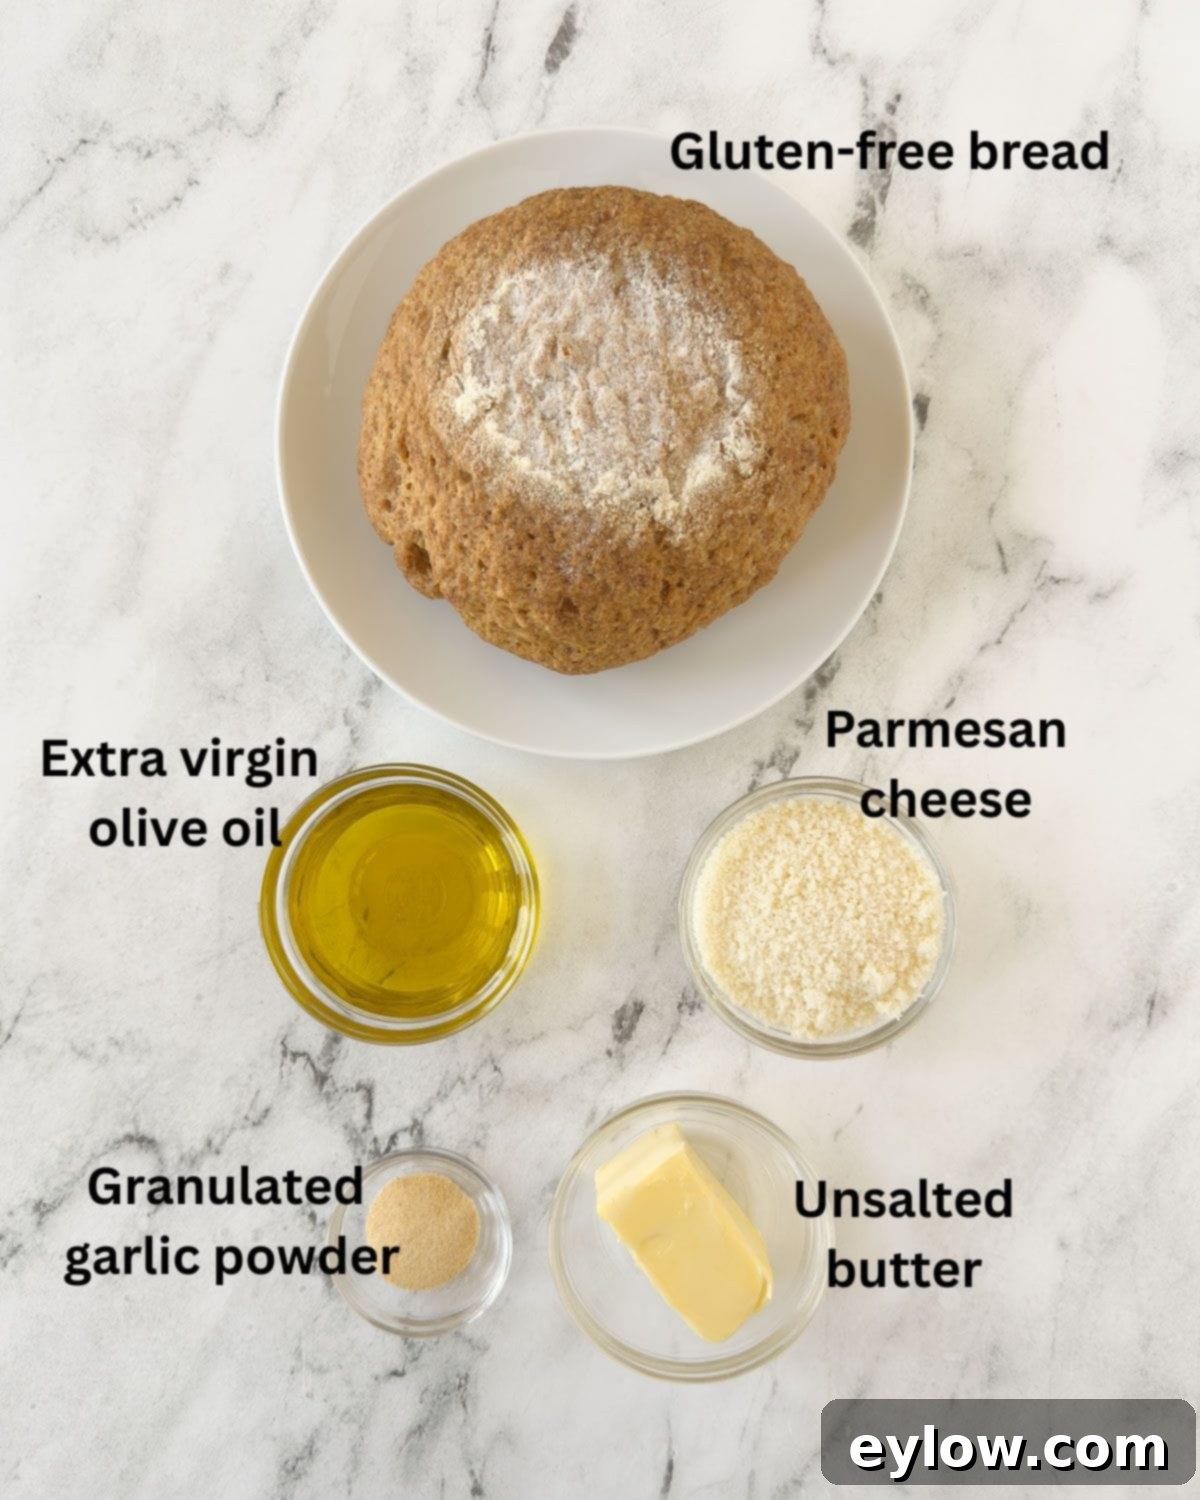
- Gluten-Free Bread: The foundation of our toast! The best choice will be a sturdy, artisan-style gluten-free loaf, a GF sourdough, or a baguette. These varieties typically hold up well to buttering and broiling, developing a satisfying crunch without becoming soggy. While sandwich bread can work, you might need to toast it a bit longer to achieve the desired structure. If you’re not strictly gluten-free, feel free to use your favorite wheat-based bread—the method remains the same for delicious results. Look for loaves that are not overly airy or dense.
- Extra Virgin Olive Oil: This adds a wonderful depth of flavor and richness to our garlic butter mixture. More importantly, it helps prevent the butter from burning too quickly under the high heat of the broiler, ensuring a beautiful golden-brown finish rather than a charred one.
- Unsalted Butter: I always opt for unsalted butter. This gives you complete control over the overall saltiness of your garlic toast, which is especially important since Parmesan cheese already contributes a significant amount of salt. If you only have salted butter on hand, simply omit any additional salt in the recipe.
- Garlic (Granulated or Powder): While fresh garlic is an option (see variations below), I find granulated garlic or garlic powder provides a more even distribution of flavor without the risk of burning tiny minced pieces. Garlic powder is finer and more concentrated than granulated garlic, so if using powder, use slightly less for the same intensity. Both offer that essential savory, pungent kick.
- Parmesan Cheese: Finely grated Parmigiano-Reggiano is the star here. Its salty, umami-rich flavor and delicate texture create that irresistible, crispy, and melty crust that makes garlic toast so addictive. Freshly grated is always best for superior flavor and melting consistency.
- Fresh Herbs (Optional): A light sprinkle of freshly chopped parsley at the very end adds a pop of vibrant color and a fresh, herbaceous note that brightens the entire dish. While optional, it’s a beautiful finishing touch that also enhances the presentation.
For precise measurements of these ingredients, including recommended amounts for salt and black pepper, please refer to the detailed recipe card below.
Chef’s Tips on Salt and Butter Control
When seasoning your garlic toast, it’s best to avoid garlic salt entirely. It’s incredibly easy to over-salt your dish, as the garlic flavor and salt content are combined. Instead, use granulated garlic powder or garlic powder to control the garlic intensity, and then season with sea salt separately, adjusting to your personal taste. This precise control is why I recommend unsalted butter. With Parmesan already bringing a savory saltiness to the party, using unsalted butter allows you to fine-tune the seasoning without making your toast too salty. If you’re using salted butter, remember to skip any extra salt in the butter mixture.
Creative Substitutions and Delicious Variations
One of the best things about this gluten-free garlic toast recipe is its adaptability. Feel free to get creative with these delicious twists:
- Dairy-Free and Vegan Option: Easily transform this into a dairy-free delight by swapping out traditional butter for a high-quality vegan butter. To mimic the savory, umami notes of Parmesan, stir in 1-2 teaspoons of nutritional yeast into the butter mixture. Finish with your favorite dairy-free Parmesan-style topping for that authentic cheesy crust.
- Boost with Fresh Garlic: For those who adore the pungent kick of fresh garlic, you have a couple of options. Instead of mixing garlic powder into the butter, finely mince 1-2 cloves of fresh garlic and sauté them lightly in the olive oil and butter until fragrant before brushing onto the bread. Alternatively, for a more rustic approach, once the bread is lightly toasted and brushed with butter, rub a cut fresh garlic clove directly onto the surface of the warm bread for an intense burst of flavor.
- Explore Other Cheeses: While Parmigiano-Reggiano is classic, don’t hesitate to experiment with other hard grating cheeses. Pecorino Romano offers a sharper, saltier profile; aged Asiago provides a nutty, robust flavor; and Grana Padano is a milder, slightly sweeter alternative to Parmesan. Each will bring its own unique character to the toast.
- Softer, Pull-Apart Garlic Toast: For a delightful texture variation that’s perfect for dipping, try using gluten-free hot dog buns or even dinner rolls. Slice them lengthwise or crosswise and prepare them as directed. The softer bread creates a wonderfully tender, pull-apart garlic toast that’s incredibly comforting.
- Melty Cheese Variation (Cheesy Garlic Bread): If you crave an extra layer of gooey goodness, sprinkle a generous amount of grated mozzarella cheese (or a blend of mozzarella and provolone) over the Parmesan before broiling. Broil until the cheese is bubbly, golden, and melted to perfection for an ultimate cheesy garlic bread experience.
This garlic toast truly elevates any meal. It’s especially phenomenal served alongside fast and crispy chicken parmesan, a reader-favorite recipe that perfectly complements the rich flavors of the toast. Its versatility knows no bounds!
Chef’s Tip: The Secret to Mixing Butter and Olive Oil
You might wonder why we combine butter with olive oil instead of using just one. This simple trick provides the best of both worlds: superior flavor and enhanced functionality. Butter delivers that rich, creamy, and deeply satisfying taste, contributing to beautiful browning. However, butter alone can easily burn under the high heat of a broiler. That’s where olive oil comes in! Its higher smoke point helps to stabilize the butter, preventing it from scorching while still allowing it to achieve a golden crisp. This ingenious blend ensures your garlic toast gets perfectly toasted without any unpleasant burnt notes—a technique I’ve relied on for years!
How to Make Gluten-Free Garlic Toast (Using Your Oven Broiler)
Achieving perfectly golden, crispy, and cheesy gluten-free garlic toast is incredibly simple with your oven’s broiler. Follow these steps for flawless results:
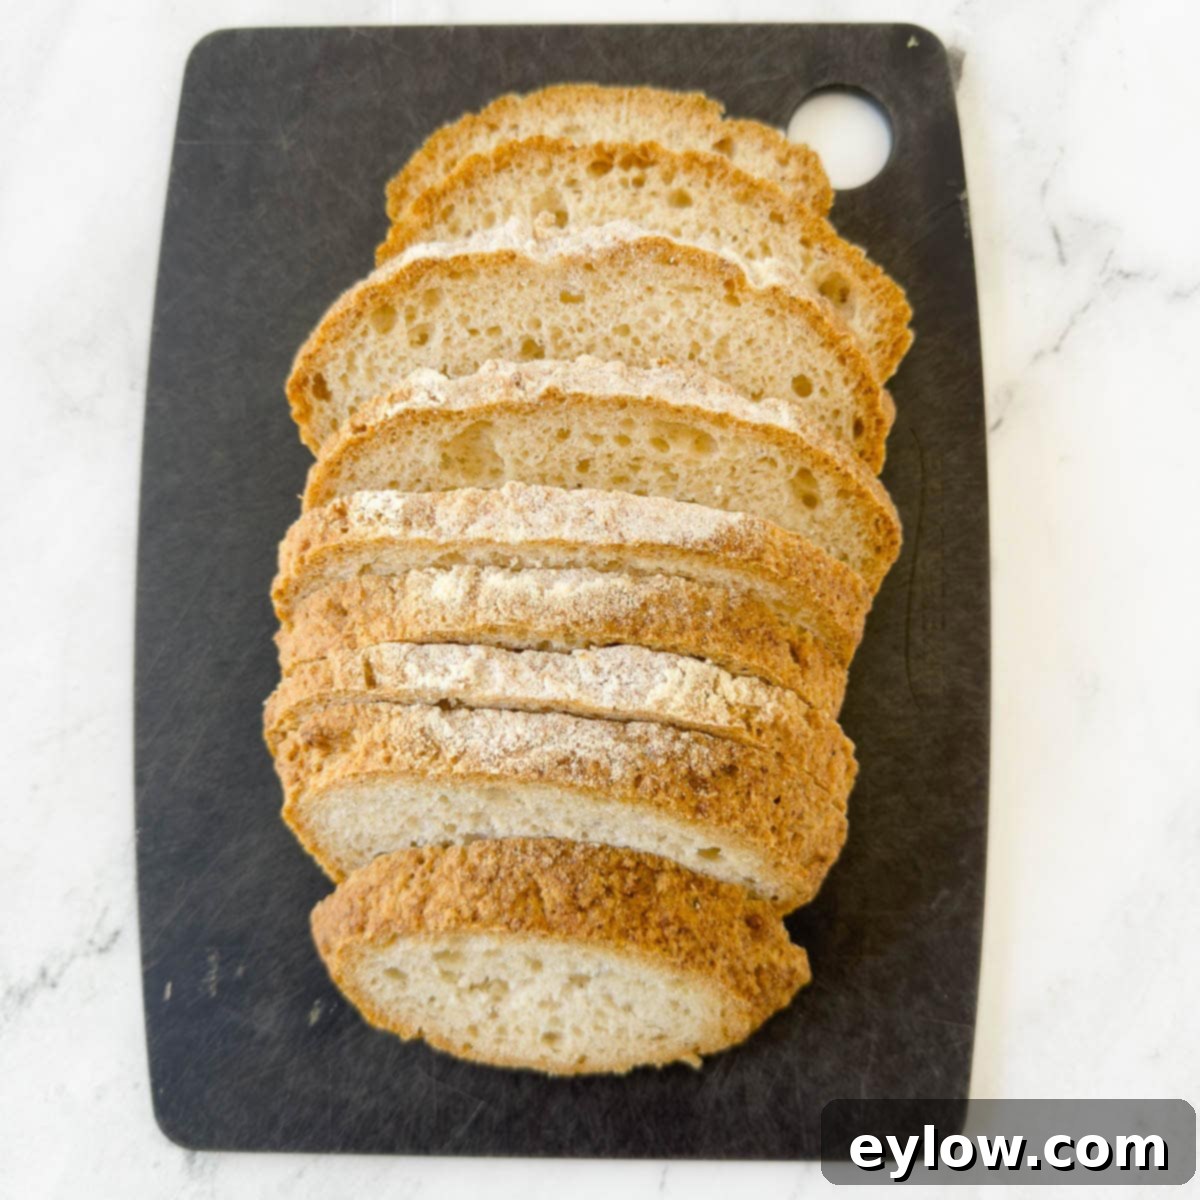
- Prepare Your Bread: Begin by slicing your chosen gluten-free bread into uniform 1-inch thick slices. This ensures even toasting and a perfect texture. Arrange the slices in a single layer on an aluminum foil-lined baking sheet. Using foil makes cleanup a breeze.
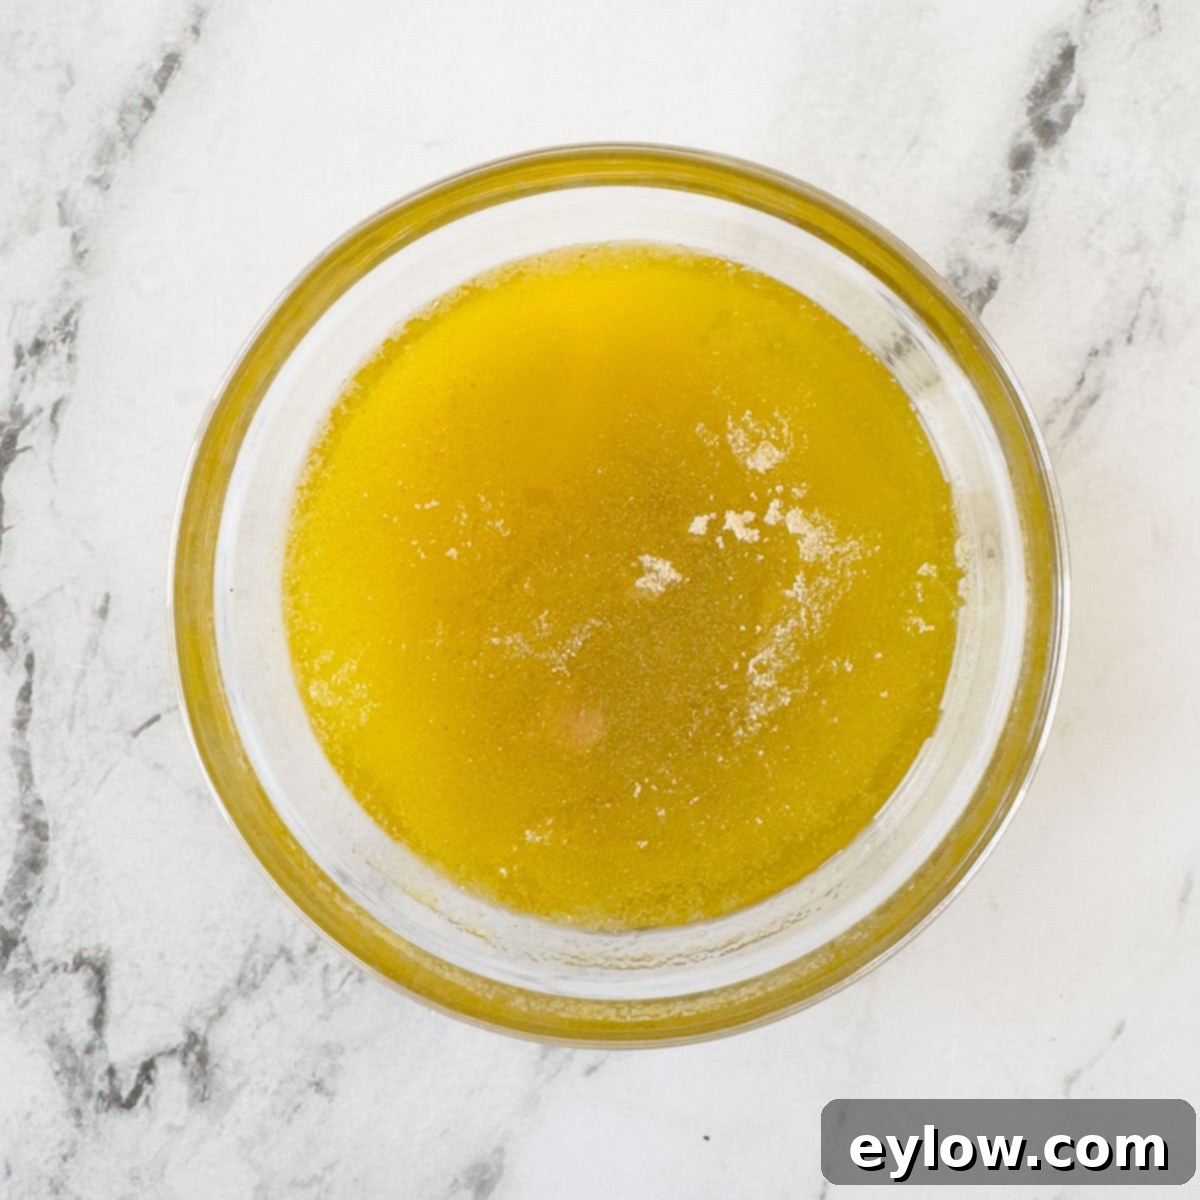
- Create the Garlic Butter Mixture: In a small, microwave-safe bowl, melt the unsalted butter. Once melted, stir in the extra virgin olive oil and granulated garlic powder until well combined. If using unsalted butter, add a pinch or two of sea salt and a touch of black pepper now.
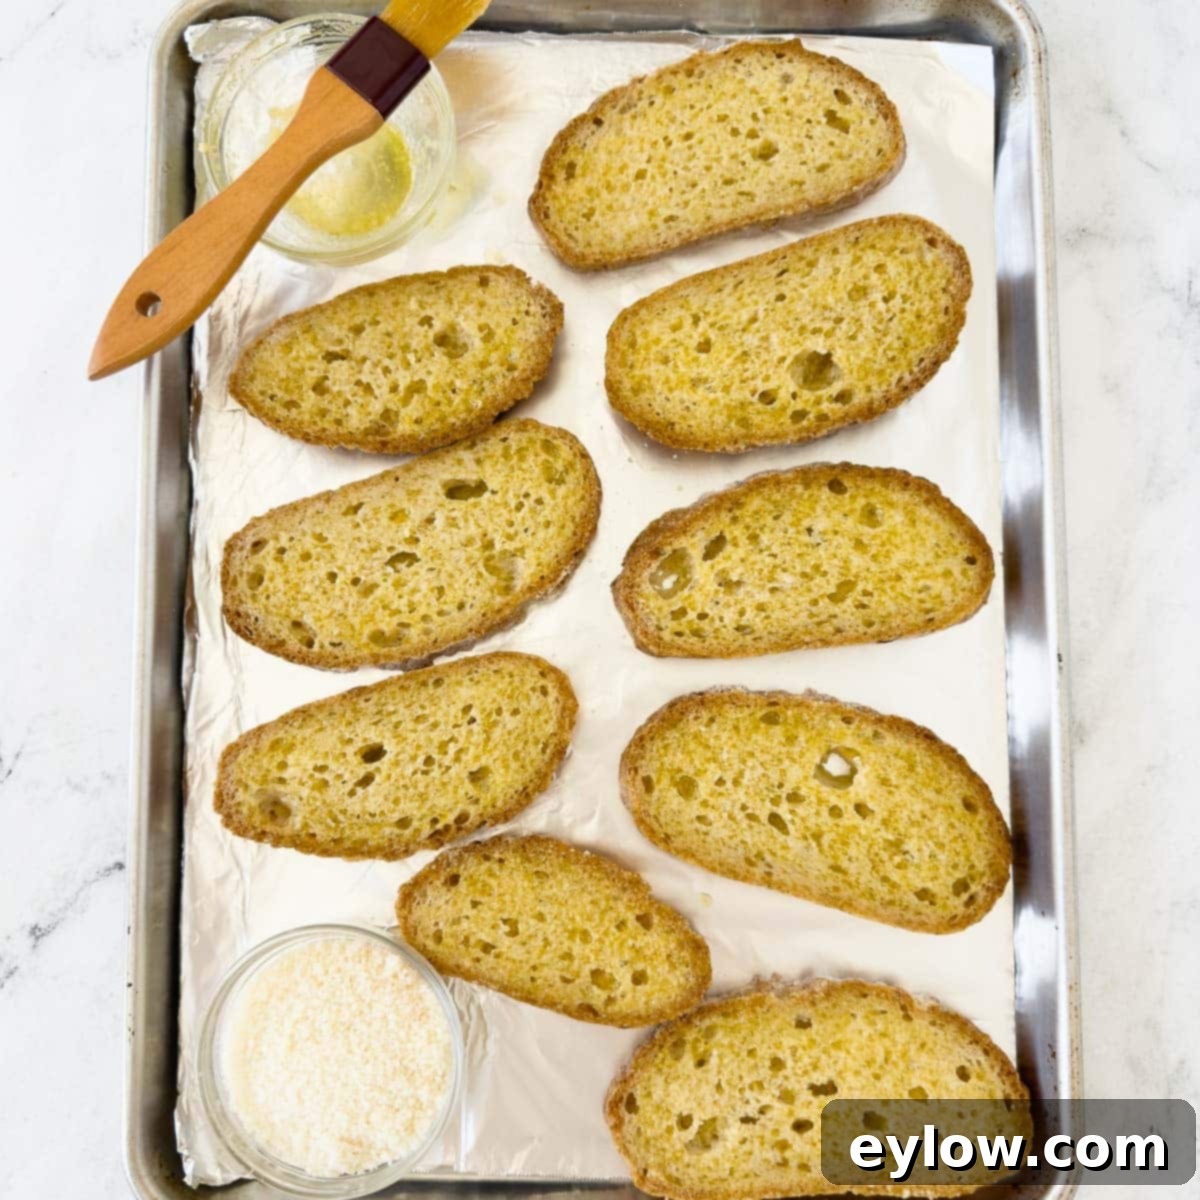
- Brush and Prepare for Broiling: Preheat your oven’s broiler and adjust the oven rack to the second level from the top (this is usually about 6-8 inches from the heat source). Using a pastry brush, generously coat one side of each bread slice with the garlic butter mixture. Ensure an even layer for consistent flavor and crispiness.
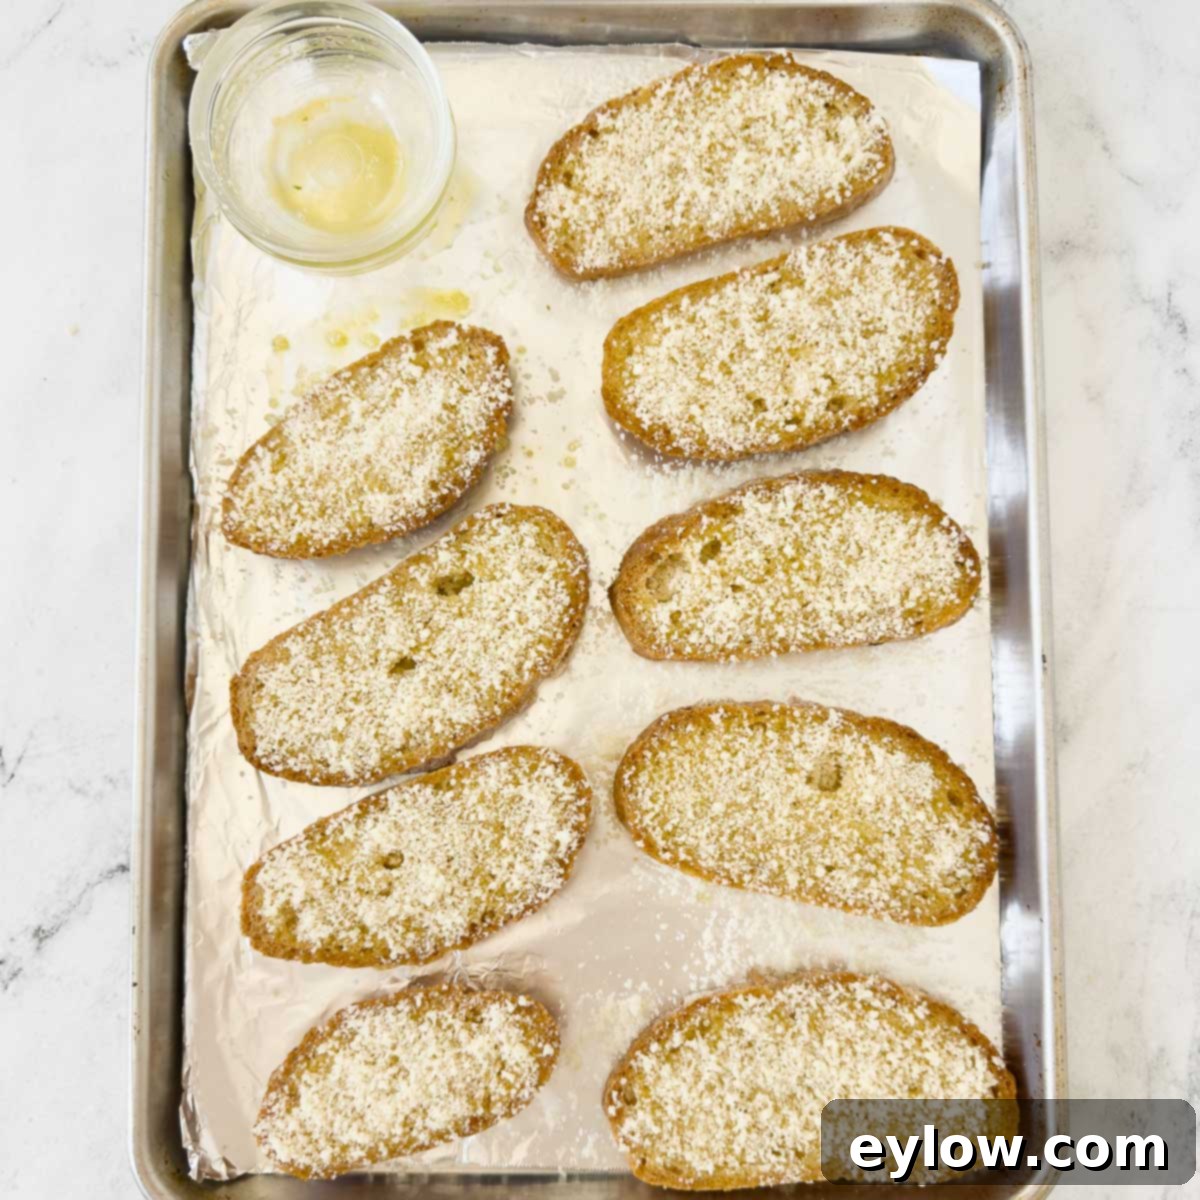
- Add the Cheese: Once buttered, evenly sprinkle a generous amount of finely grated Parmesan cheese over each slice. The cheese will melt beautifully under the broiler, forming a savory, golden crust.
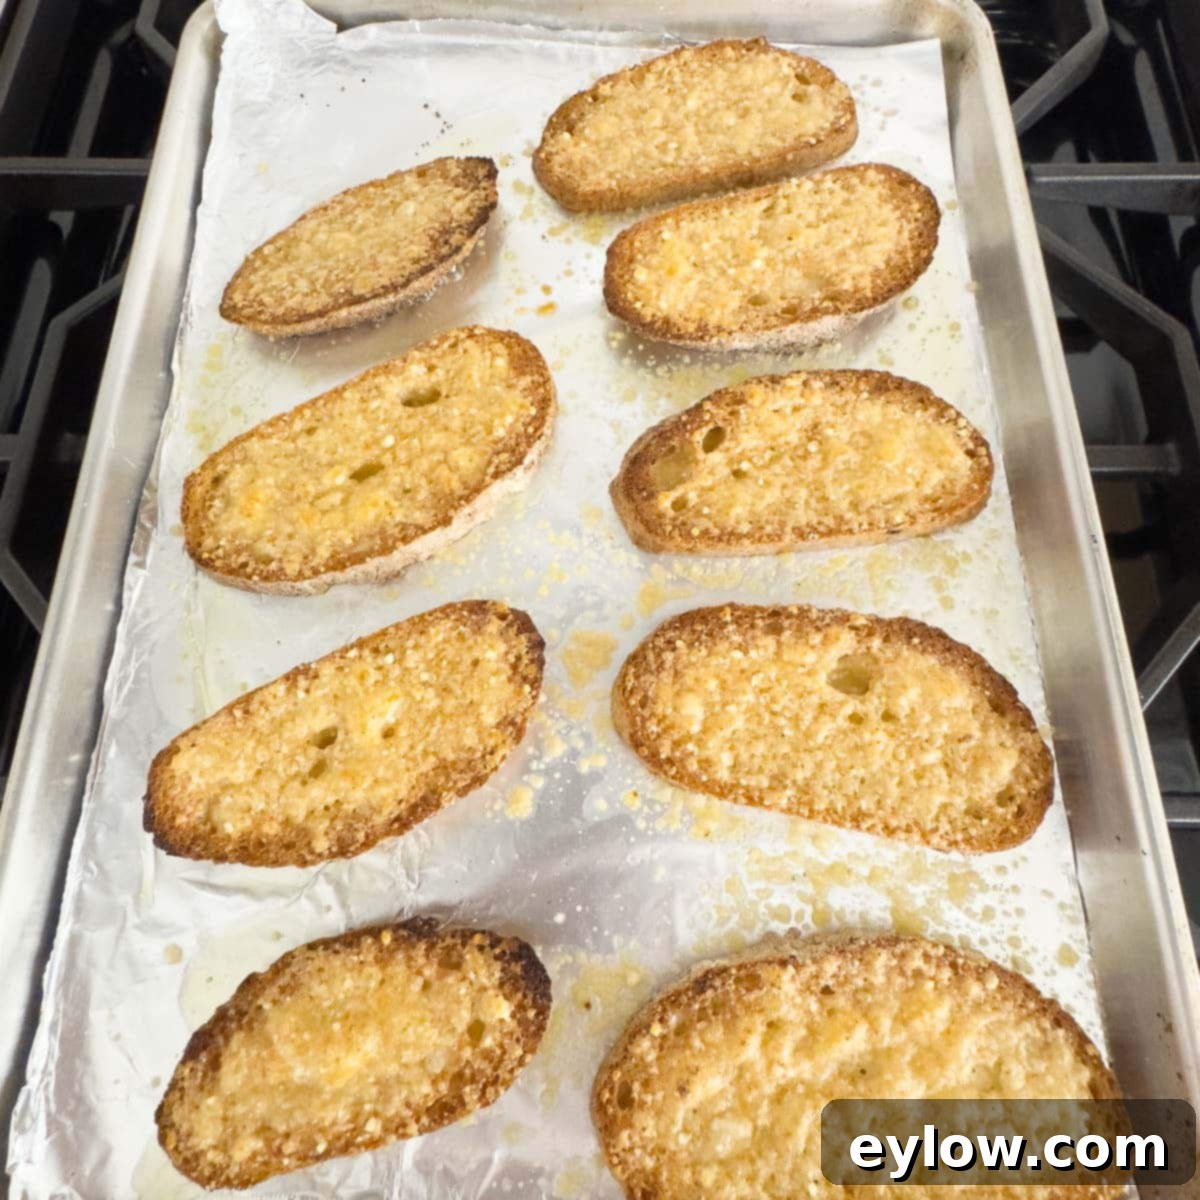
5. Broil to Perfection: Carefully slide the baking sheet into the oven. Broil the garlic toast until it’s beautifully golden brown and the cheese is bubbly and slightly caramelized, typically about 3-5 minutes. This step requires close attention—broilers can be very powerful, so watch continuously to prevent burning. The precise timing will vary depending on your specific broiler and its intensity.
Gluten-Free Garlic Toast (Air Fryer Option)
For a quicker method that still yields incredibly crispy and delicious results, your air fryer is a fantastic tool for making gluten-free garlic toast. Follow all the preparation steps above (slicing bread, mixing garlic butter, brushing, and sprinkling with Parmesan) until your toast is ready to bake, then proceed as follows:
- Pre-Bake for Structure: Place the prepared garlic toast slices in your air fryer basket in a single layer. Air fry at 350°F (175°C) for 2-3 minutes. This initial step warms the bread through and begins to crisp it up, preventing a soggy texture while preparing it for the final browning.
- Air Fry to Broil/Brown: Once the bread is slightly warmed and firm, increase the air fryer temperature slightly or switch to an “air broil” setting if your model has one. Continue to air fry for an additional 1-2 minutes, or until the cheese is melted and bubbly, and the edges are golden brown.
This dual-phase air frying method gives you the perfect combination: delightfully crispy edges, a wonderfully melty top, and crucially, no soggy bottoms! Always check your toast frequently during the broiling/browning phase as air fryers can cook quickly. If you prefer extra crispiness, you can air fry for an additional 1-2 minutes, but remember to watch closely to prevent burning. Results can vary slightly between different air fryer models.
Chef’s Tip: Skip the Frozen Texas Toast—Go Homemade!
While convenient, store-bought frozen Texas toast often leaves much to be desired. It’s typically thick, overly processed, and frequently loaded with less-than-ideal ingredients like palm oil and various additives. Our homemade gluten-free garlic toast offers a stark contrast. Made with real, quality gluten-free bread and just a few fresh, identifiable ingredients, you’ll avoid mystery fats, artificial flavors, and preservatives. The result is a garlic toast that’s genuinely crisp, satisfyingly crunchy, and bursts with the taste of real food—because that’s exactly what it is. Embrace the superior flavor and quality of homemade!
Delightful Serving Suggestions for Gluten-Free Garlic Toast
This versatile gluten-free garlic toast isn’t just a side dish; it’s a flavorful accompaniment that enhances almost any meal where you crave a bit of crunch and a burst of savory goodness. Here are some fantastic ways to serve it:
- With Grilled Mains: It’s the perfect crunchy complement to virtually any grilled protein. Serve it alongside delicate grilled fish, succulent seafood, zesty grilled lemon chicken, or a juicy steak. The garlic and cheese notes beautifully cut through the richness of meats and fish.
- Alongside Comforting Soups and Stews: Especially during the cooler months, a slice of warm garlic toast is divine for dipping into hearty soups and stews. It adds texture and flavor, turning a simple bowl into a more substantial and satisfying meal. Think tomato soup, lentil soup, or a rich beef stew.
- Paired with Fresh Salads: Elevate a big, crisp salad by adding this garlic toast. It transforms a light meal into a more satisfying and complete dining experience, offering a delightful contrast of textures and flavors.
- As Dippers for Sauces: Cut the garlic toast into convenient strips (much like breadsticks) and serve them as perfect dippers for creamy tomato soup, vibrant marinara sauce, or any rich tomato-based dip. The sturdy, crispy toast is ideal for scooping up every last drop.
- A Classic with Pasta Dishes: There’s a reason garlic bread is a staple with pasta. This gluten-free version is no exception! It’s a classic accompaniment to any pasta dish, from simple spaghetti with meatballs to complex lasagna, soaking up delicious sauces and adding an extra layer of flavor.
- Bruschetta-Style Base: Use your crispy garlic toast as a delicious foundation for bruschetta-style toppings. Get creative with diced fresh tomatoes, crumbled goat cheese, a dollop of tapenade, or a mix of roasted vegetables. For a true bruschetta experience, you might omit the Parmesan on the toast itself before adding toppings, letting the fresh ingredients shine.
Storing and Reheating Your Garlic Toast
If by some rare chance you happen to have any leftover gluten-free garlic toast (it’s truly a rare event in my kitchen!), proper storage will help maintain its deliciousness. Allow the slices to cool completely at room temperature before storing. To prevent them from sticking or becoming soggy, layer the cooled slices between sheets of parchment or wax paper and place them in an airtight container or a resealable bag. Refrigerate for up to 2-3 days.
To reheat, arrange the chilled garlic toast slices on a baking sheet and broil for 1-2 minutes, or warm them in a hot oven (around 350°F or 175°C) for 5-7 minutes until they are crisp and heated through. Avoid microwaving, as this will make them soft and chewy rather than crispy.
Any leftover garlic butter mixture can be stored separately in an airtight container in the fridge for 3-4 days. This flavorful blend is incredibly versatile! Use it to brush over steamed or roasted vegetables, melt it over grilled shrimp for a quick infusion of flavor, or simply spread it on fresh bread for an impromptu garlic toast whenever the craving strikes.
Freezer Friendly Tips
Gluten-free garlic toast is wonderfully freezer-friendly, making it perfect for meal prep or having a quick side on hand. Once your toast has cooled completely, layer the individual slices between pieces of parchment or wax paper to prevent them from sticking together. Store them in a heavy-duty freezer bag or an airtight freezer-safe container. They will keep well in the freezer for up to 1 month.
When you’re ready to enjoy, there’s no need to thaw! Reheat the frozen garlic toast directly from the freezer under the broiler for 3-5 minutes, or in a hot oven (around 400°F or 200°C) for 8-12 minutes. Broil or bake until the toast is thoroughly warmed through and crispy again, keeping a close eye on it to prevent burning.
Common Questions About Gluten-Free Garlic Toast
Here are answers to some frequently asked questions to help you master this delicious gluten-free garlic toast recipe:
While it’s best served fresh and hot for optimal crispiness, you can absolutely prepare parts of it in advance. The garlic-butter-oil topping can be mixed ahead of time and stored in an airtight container in the fridge for a few days. Before using, gently melt it if it has solidified. For the best texture and freshest taste, I recommend assembling and broiling (or air frying) the garlic toast just before you plan to serve it. This ensures those coveted golden edges and a perfectly melted cheese topping.
The key to great gluten-free garlic toast is choosing a bread that can stand up to the heat and develop a good crust. Look for artisan-style gluten-free loaves, robust gluten-free sourdough, or baguette-style breads. These tend to have a firmer texture that toasts beautifully. Avoid overly soft or crumbly sandwich breads, as they might not achieve the desired crispness unless you toast them plain first to give them more structure before adding the butter and cheese.
Yes, absolutely! Both a toaster oven and an air fryer are excellent alternatives for making perfect gluten-free garlic toast, especially if you’re making smaller batches. For a toaster oven, simply follow the broiler instructions, keeping a very close eye on it as toaster ovens heat up quickly and can brown rapidly. For an air fryer, follow the specific air fryer instructions provided in the recipe, using the dual-phase method to achieve a warm interior and crispy, golden exterior. In both cases, timing may vary, so always watch carefully to prevent burning and ensure a melty, golden finish.
Expand Your Gluten-Free Kitchen with More Easy Basics
Mastering a few fundamental gluten-free recipes can transform your cooking and expand your meal possibilities. Never made your own croutons? They’re surprisingly simple and elevate any salad to a new level of deliciousness. If you enjoy gluten-free baking, these versatile basics are excellent staples to have in your repertoire. And that Irish soda bread isn’t just for St. Patrick’s Day; it’s a wonderfully easy and hearty bread that’s good to enjoy year-round!
- How to Make Gluten-Free Croutons
- Gluten-Free Breadcrumbs (Easy Homemade Recipe)
- Gluten Free Cornbread (No Flour)
- Easy Gluten-Free Irish Soda Bread
⭐️Did You Make This Recipe?
If you’ve had the pleasure of making this crispy and cheesy gluten-free garlic toast, please take a moment to leave a comment below! I truly appreciate your feedback and always enjoy hearing about your cooking experiences. If you loved it as much as I do, please consider giving it a 5-star rating! Your ratings and reviews are incredibly helpful to other readers looking for delicious gluten-free recipes.
📖 Recipe
Gluten-free Garlic Toast
Sally Cameron
Prevent your screen from going dark
Pin Recipe
5 minutes
10 minutes
15 minutes
Garnish, Side Dish, Appetizer
American, Italian-American
6
351
kcal
Equipment
-
Baking sheet -
Pastry brush
Ingredients
-
12
ounces
slices artisan-style gluten-free bread
(see bread notes below for best choices) -
4
tablespoons
unsalted butter -
4
tablespoons
extra virgin olive oil -
¾
teaspoon
granulated garlic powder -
1-2
pinches
sea salt
(if using unsalted butter; omit if using salted butter) -
1-2
pinches
ground black pepper
(optional, to taste) -
4-5
tablespoons
finely grated Parmesan cheese
Instructions
-
Preheat your broiler and position the oven rack to the second level from the top (about 6-8 inches from the heat source). Line a baking sheet with aluminum foil for easy cleanup.
-
In a small, microwave-safe bowl, melt the unsalted butter. Add the olive oil, granulated garlic powder, and a pinch of sea salt (if using unsalted butter) and black pepper (optional). Stir until well combined. Arrange the sliced gluten-free bread on the prepared baking sheet.
-
Generously brush the garlic butter mixture over one side of each bread slice using a pastry brush, ensuring even coverage. Then, evenly sprinkle the Parmesan cheese over the buttered bread.
-
Carefully place the baking sheet under the preheated broiler. Broil the toast for 3-5 minutes, or until it’s beautifully golden brown and the cheese is bubbly and slightly caramelized. **Watch very carefully as broilers can brown quickly to prevent burning.** Remove from oven, garnish with fresh parsley if desired, and serve immediately.
Notes
Cheese Alternatives: If you’re out of Parmesan, or simply want to try something different, consider using other hard grating cheeses like Grana Padano, aged Asiago cheese, or Pecorino Romano. These will also create a delicious, savory crust.
Serving Note: The number of slices you get from a 12-ounce loaf will depend on the type of bread and how thickly it’s sliced. I typically cut my round French boule into 1-inch thick slices, usually yielding around 6-8 slices depending on the loaf.
California Bakery Recommendation: If you’re in California and looking for exceptional gluten-free bread, check out Deux Pates Bakery. They ship statewide and offer fantastic artisan loaves and baguettes that are perfect for this recipe. Consider ordering several to keep some frozen for future use! They are located in Orange County.
Nutrition
Calories:
351
kcal
Carbohydrates:
31
g
Protein:
4
g
Fat:
22
g
Saturated Fat:
7
g
Polyunsaturated Fat:
1
g
Monounsaturated Fat:
9
g
Trans Fat:
0.3
g
Cholesterol:
35
mg
Sodium:
354
mg
Potassium:
8
mg
Fiber:
2
g
Sugar:
5
g
Vitamin A:
413
IU
Calcium:
119
mg
Iron:
0.4
mg
Tried this recipe?
Let us know how it was with a comment and leave a star rating!
