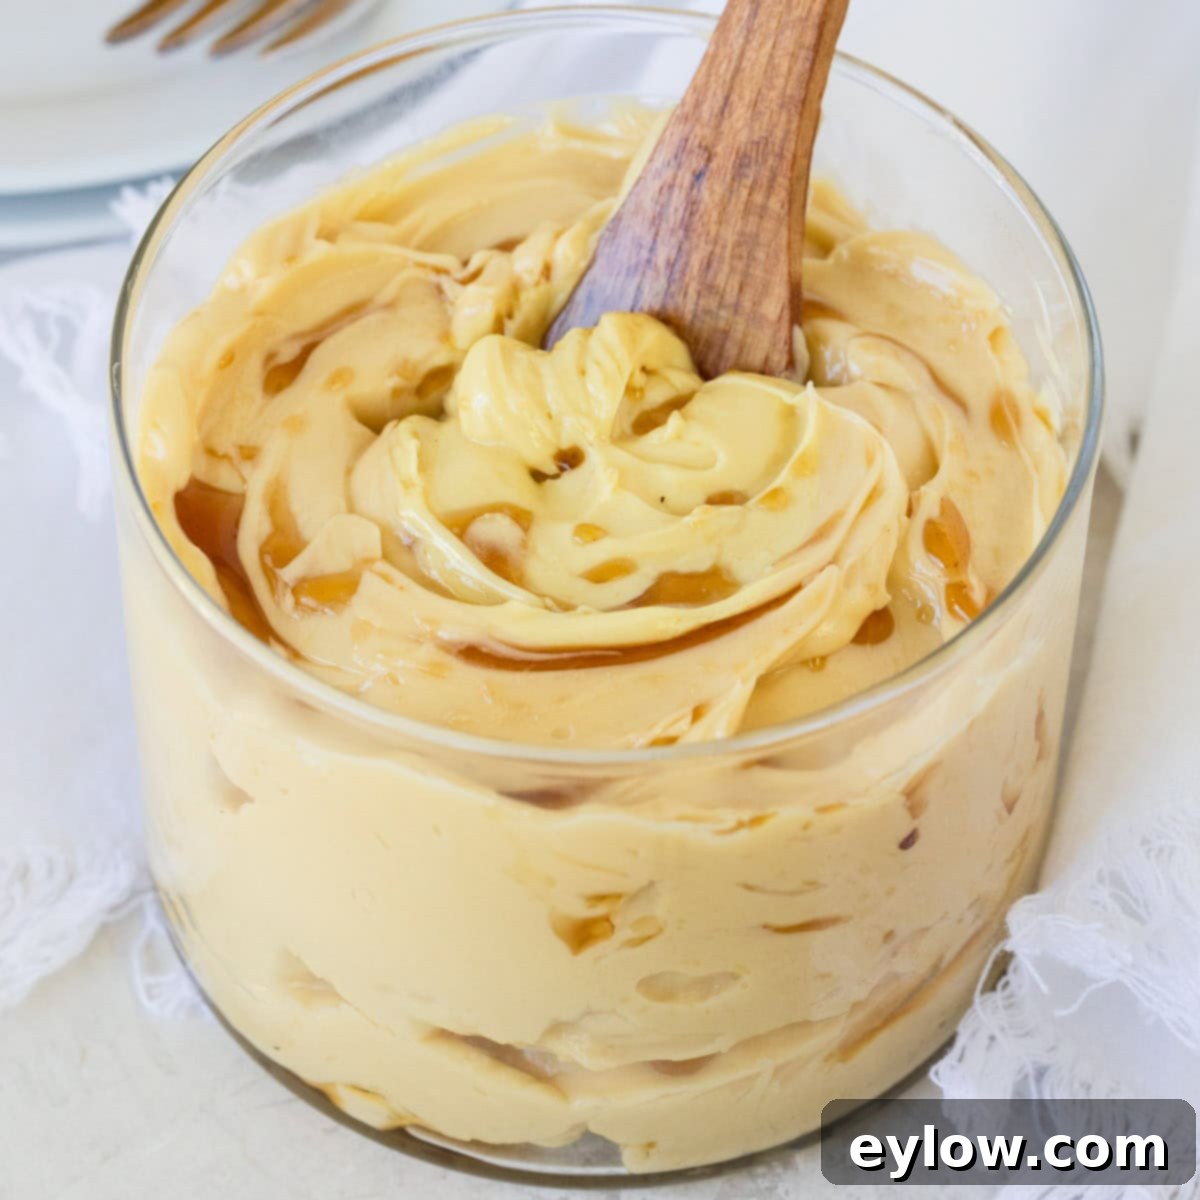
The Easiest Homemade Maple Butter Recipe: Creamy, Naturally Sweet, & Incredibly Versatile
Indulge in the simple luxury of **homemade maple butter**, a truly creamy, luscious, and naturally sweetened spread made with pure maple syrup and butter. This delightful creation requires just two basic ingredients and takes only a minute of active preparation, transforming ordinary butter into an extraordinary topping. Imagine spreading this golden goodness on warm, freshly baked cornbread, soft muffins, or dolloping it generously over fluffy waffles and golden pancakes. For those who love to experiment, this versatile recipe also opens doors to exciting variations like honey butter, various spiced butters, or even a dairy-free option, ensuring there’s a sweet, flavorful twist for every preference and dietary need. It’s an effortless way to elevate your breakfast, brunch, or even your savory dishes, adding a touch of natural sweetness and rich texture to your day.
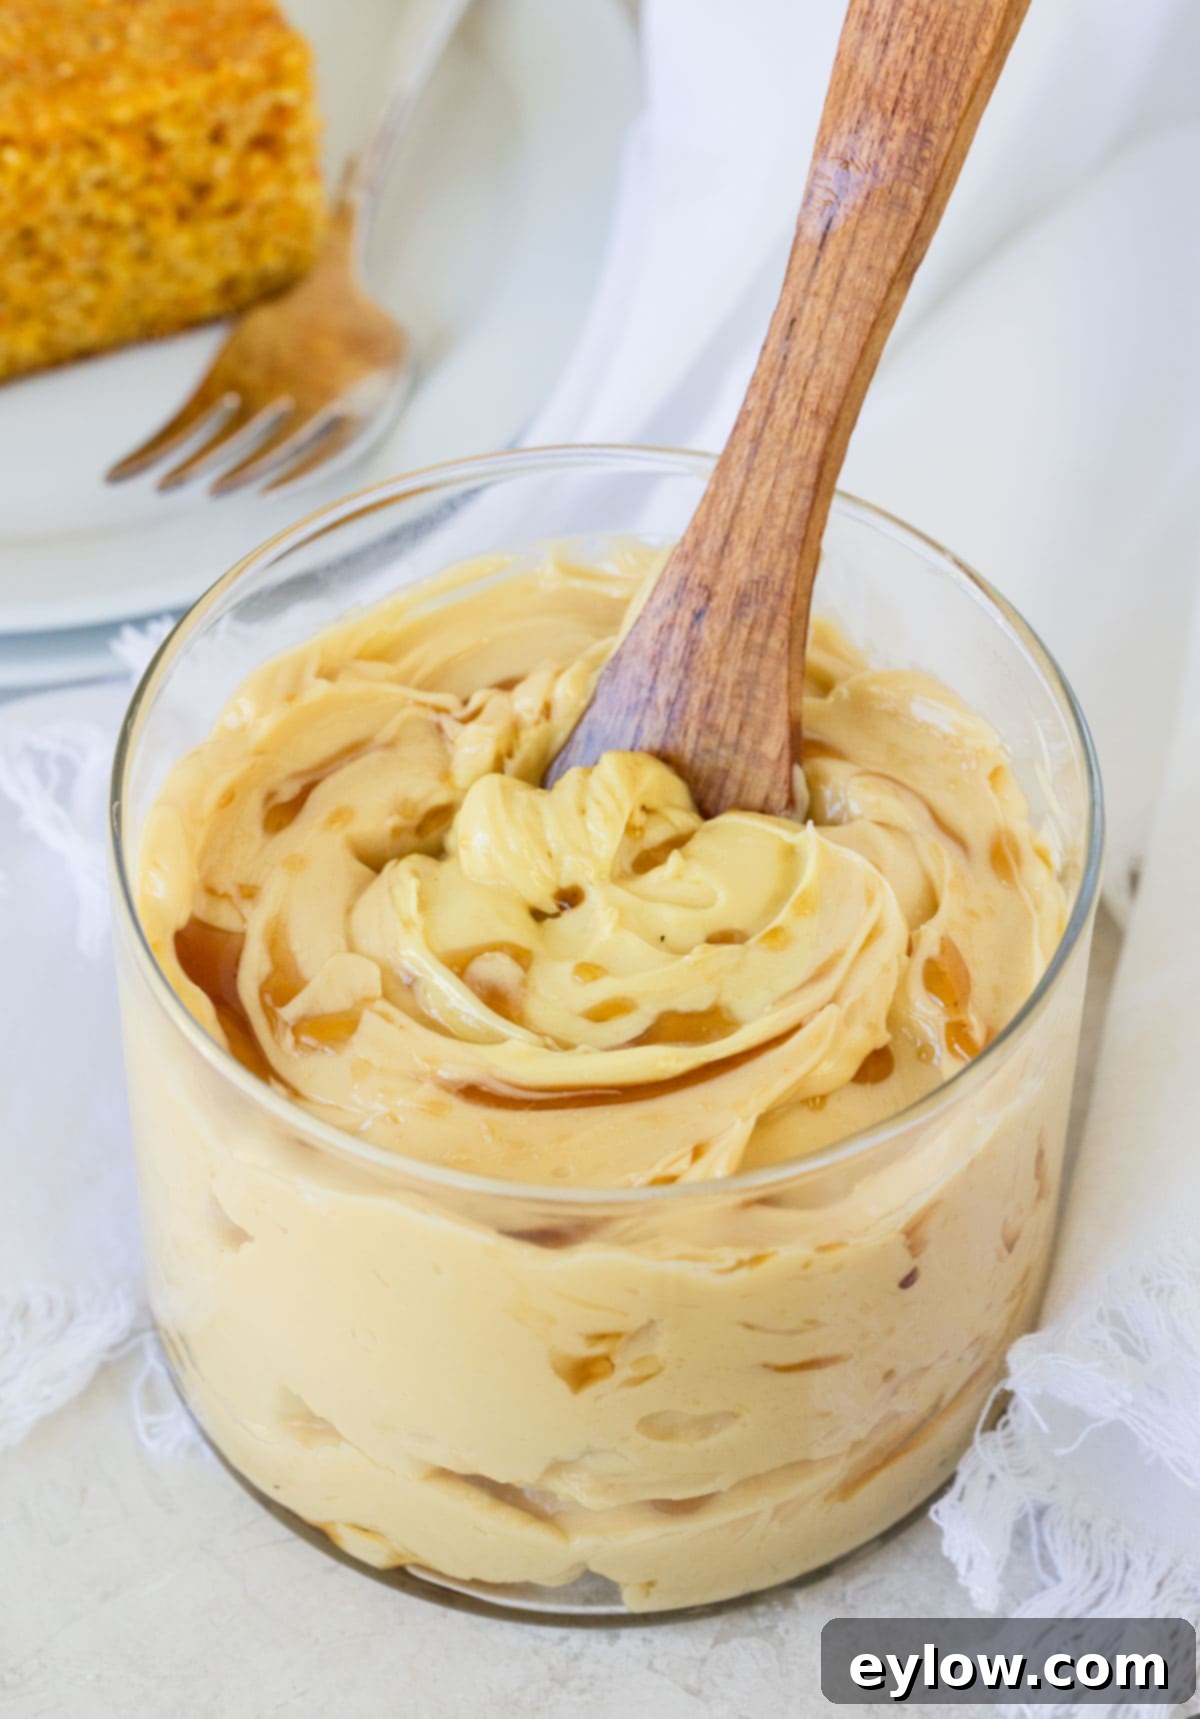
I recently whipped up this irresistible maple butter while my homemade cornbread was baking, and it was the perfect accompaniment. It’s important to clarify that this is a true maple butter recipe, distinct from maple cream. While maple cream involves cooking and whipping maple syrup to a specific temperature using a candy thermometer, this method is significantly simpler. Often referred to as “maple syrup butter,” our recipe bypasses the complex cooking process, offering a quick and straightforward way to achieve a rich, naturally sweet butter spread. You’ll be amazed at how easily you can create such a gourmet-tasting item with minimal effort and ingredients.
Why You’ll Love This Easy Maple Butter Recipe
There are countless reasons why this simple maple butter will become a staple in your kitchen. It’s not just a spread; it’s a delightful enhancement to many meals and treats. Here are the top benefits that make this recipe a must-try:
- Incredibly Fast to Make: From start to finish, homemade maple butter takes just a minute of active prep time. Once your butter is at room temperature, it’s a quick whip away from deliciousness, making it perfect for busy mornings or spontaneous cravings.
- Remarkably Versatile: This isn’t just for toast! Maple butter can elevate a wide array of dishes, from breakfast staples to savory meals. Its sweet and creamy texture makes it an ideal topping, spread, or even a unique ingredient in glazes.
- Only Two Ingredients: You read that right! All you need is high-quality butter and pure maple syrup. This simplicity means you likely already have the ingredients on hand, making it an accessible treat anytime.
- Naturally Sweetened: With pure maple syrup as its star sweetener, this butter offers a natural, unrefined sweetness that’s far superior to processed sugars. You get rich, complex flavors without artificial additives.
- Perfect for Any Skill Level: Whether you’re a seasoned chef or a kitchen novice, this recipe is foolproof. There are no complicated techniques or specialized equipment required, just a mixer and a bowl.
Imagine spreading this creamy delight atop these crispy golden gluten-free waffles for a truly memorable weekend breakfast. Its melt-in-your-mouth texture and warm maple notes will transform your morning meal.
Essential Ingredients for Perfect Maple Butter
Crafting delicious maple butter is incredibly straightforward, thanks to its minimal ingredient list. However, the quality of these few ingredients truly makes all the difference in the final taste and texture. Opting for the best quality butter and authentic maple syrup will ensure your maple butter is rich, flavorful, and incredibly smooth.
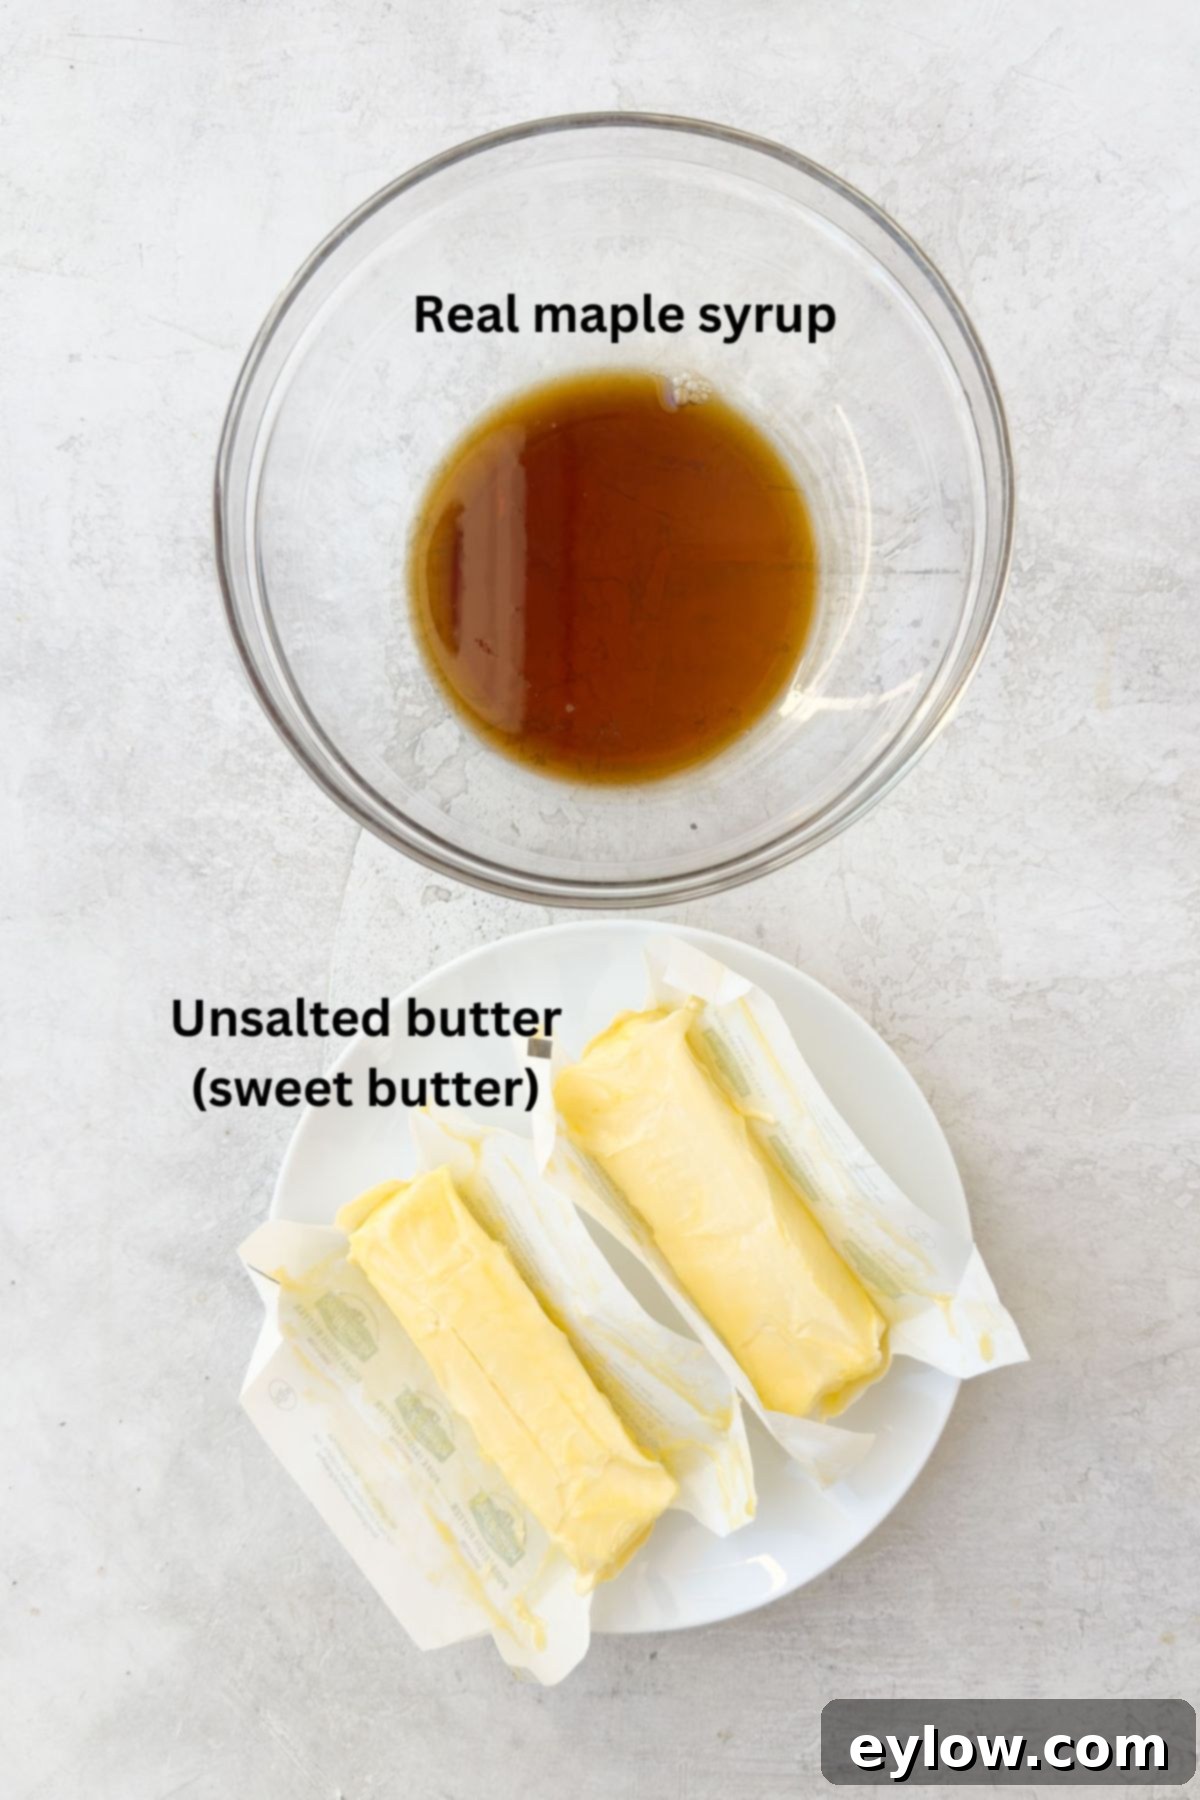
- Unsalted Butter: The foundation of this recipe is butter, so choose a good quality unsalted variety. Unsalted butter (also known as sweet cream butter) allows you to control the salt content precisely, ensuring the maple flavor shines without competition. European-style butter, often richer and with a higher fat content, can yield an even creamier, more luxurious texture. For a **dairy-free maple butter**, select a high-quality unsalted plant-based butter. Look for options sold in stick form rather than tubs, as these typically have a better consistency for whipping. Miyoko’s Kitchen Cultured Vegan Butter is an excellent choice for its taste and texture.
- Pure Maple Syrup: This is the star of the show and there’s no substitute for the real deal. Always buy 100% pure maple syrup. Avoid “pancake syrup” or “table syrup,” which are typically made from corn syrup, artificial colors, and synthetic flavorings. These imposters lack the complex, natural sweetness and depth of true maple syrup and will not deliver the same delicious results. Authentic maple syrup provides a unique caramel-like sweetness with earthy undertones that is impossible to replicate.
For precise measurements, please refer to the detailed recipe card below.
Chef’s Tip: Choosing Your Maple Syrup. The grading system for maple syrup was updated some years ago to simplify consumer understanding. The old A, B, and C classifications are gone. Now, all pure maple syrup is labeled “Grade A,” followed by a descriptor of its color and flavor profile. This new system helps you better select the perfect syrup for your needs.
- Grade A Golden, Delicate Taste: This is the lightest in color and has the most subtle, delicate maple flavor. It’s excellent for drizzling over fruit or in lighter desserts where you want a hint of sweetness without overpowering other flavors.
- Grade A Amber, Rich Taste: A medium-colored syrup with a more pronounced and robust maple flavor. This is a highly versatile grade, perfect for pancakes, waffles, baking, and even coffee. It’s often a favorite for its balanced and rich sweetness.
- Grade A Dark, Robust Taste: This darker syrup boasts a strong, hearty maple flavor. It’s ideal when you want the maple taste to really stand out, such as in glazes for meats, cooking, or in dishes where a deep, rich sweetness is desired. It’s my preferred choice for maple butter to ensure a distinctly maple-forward flavor.
- Grade A Very Dark, Strong Taste: The darkest and most intensely flavored syrup, often used for cooking or commercial purposes where a powerful maple essence is needed. Its robust profile can stand up to other strong flavors.
When making maple butter, I highly recommend using **Grade A Amber** or **Grade A Dark** maple syrup. These grades offer a wonderfully rich and prominent maple flavor that truly shines through the butter. If you’d like to dive deeper into understanding maple syrup grades, you can find more detailed information on the grades here.
Creative Substitutions and Delicious Flavor Variations
While classic maple butter is a treat in itself, this simple technique provides a fantastic foundation for endless flavor experiments. You can easily adapt this recipe to create an array of sweet, flavored butters that will tantalize your taste buds. Here are some delightful ideas to get you started:
- Honey Butter: For a delightful alternative, simply swap the maple syrup for your favorite honey. The result is a wonderfully sweet and floral honey butter that’s perfect on warm biscuits, toast, or even a slice of apple.
- Cinnamon Butter: Introduce a touch of warmth by adding about ½ teaspoon of ground cinnamon (or to taste) to your maple or honey butter. This cinnamon butter is heavenly on pumpkin bread, apple slices, or morning toast.
- Vanilla Bean Butter: Elevate your butter with the rich aroma of vanilla. Incorporate ¼ to ½ teaspoon of vanilla bean paste or the seeds scraped from half a vanilla bean. The tiny black specks of vanilla bean add a sophisticated touch and intense flavor.
- Zero-Sugar Honey Butter: If you’re looking to reduce sugar intake, you can achieve a sweet honey butter by using a monk-fruit based honey alternative. This offers the familiar sweetness without the added sugars.
- Zero-Sugar Maple Butter: Similarly, for a zero-sugar maple option, try incorporating a monk-fruit based maple syrup alternative into your butter.
- Combine These Flavors: Don’t be afraid to mix and match! A combination of vanilla, cinnamon, and maple creates an incredibly complex and comforting butter – truly delish!
- Seasonal Spice: During the fall season, stir in ½ to 1 teaspoon of pumpkin pie spice for a festive and aromatic spread that complements all your autumn baked goods.
- Citrus Zest: Add the zest of an orange or lemon for a bright, refreshing twist that cuts through the richness of the butter.
- Nutty Crunch: Fold in finely chopped toasted nuts like pecans or walnuts for added texture and a deeper flavor profile.
Of course, the world of flavored butters also extends to savory creations (often called compound butters), which are fantastic for steaks, roasted vegetables, or garlic bread. That, however, is a different post in the works, so stay tuned!
For a surprising savory application, try dolloping maple butter with a little Dijon mustard whipped in over this simple stovetop seared salmon. The sweet and tangy combination is unexpectedly delicious and adds a gourmet touch to your meal.
How to Make Maple Butter: A Step-by-Step Guide
Making creamy, irresistible maple butter is incredibly simple, but the key to success lies in one crucial step: ensuring your butter is perfectly soft and at room temperature. This allows it to whip effortlessly into a smooth, fluffy consistency with the maple syrup.
Step 1: Soften the Butter to Room Temperature
Start by bringing two sticks (half a pound or 227g) of unsalted butter to room temperature. This means it should be very soft to the touch, but not melted. Depending on your kitchen’s temperature, this can take about an hour or two. To expedite the process, you can unwrap the butter sticks and leave them on your counter. Alternatively, if you’re in a hurry, you can cut the butter into smaller cubes, which will soften faster. Avoid microwaving it to soften, as this can lead to uneven melting and an undesirable texture.
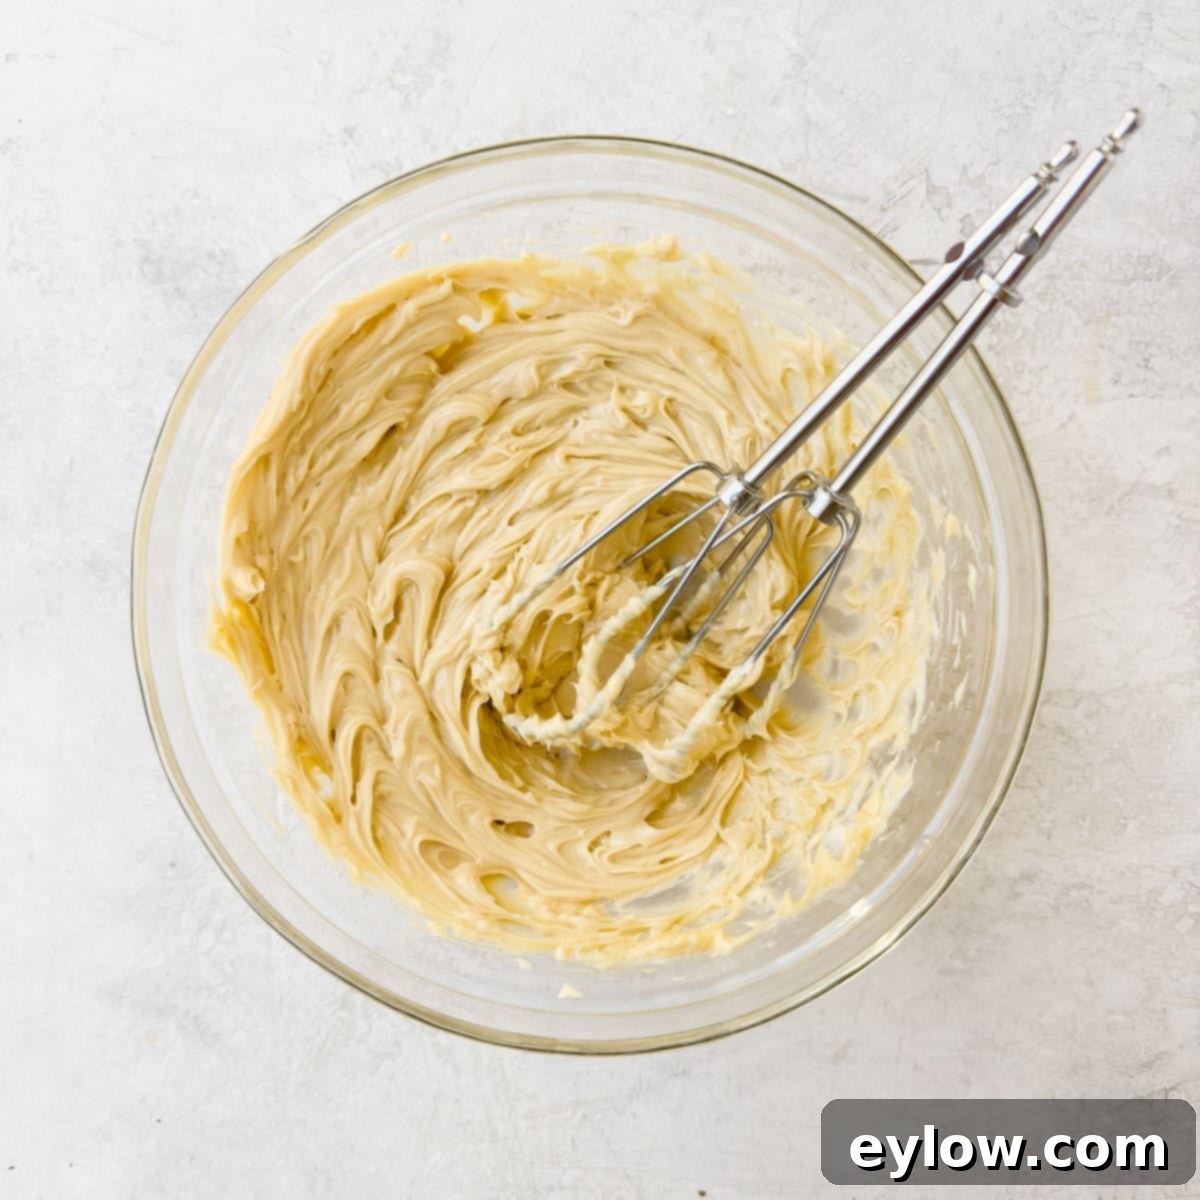
Step 4: Whip Until Light and Fluffy
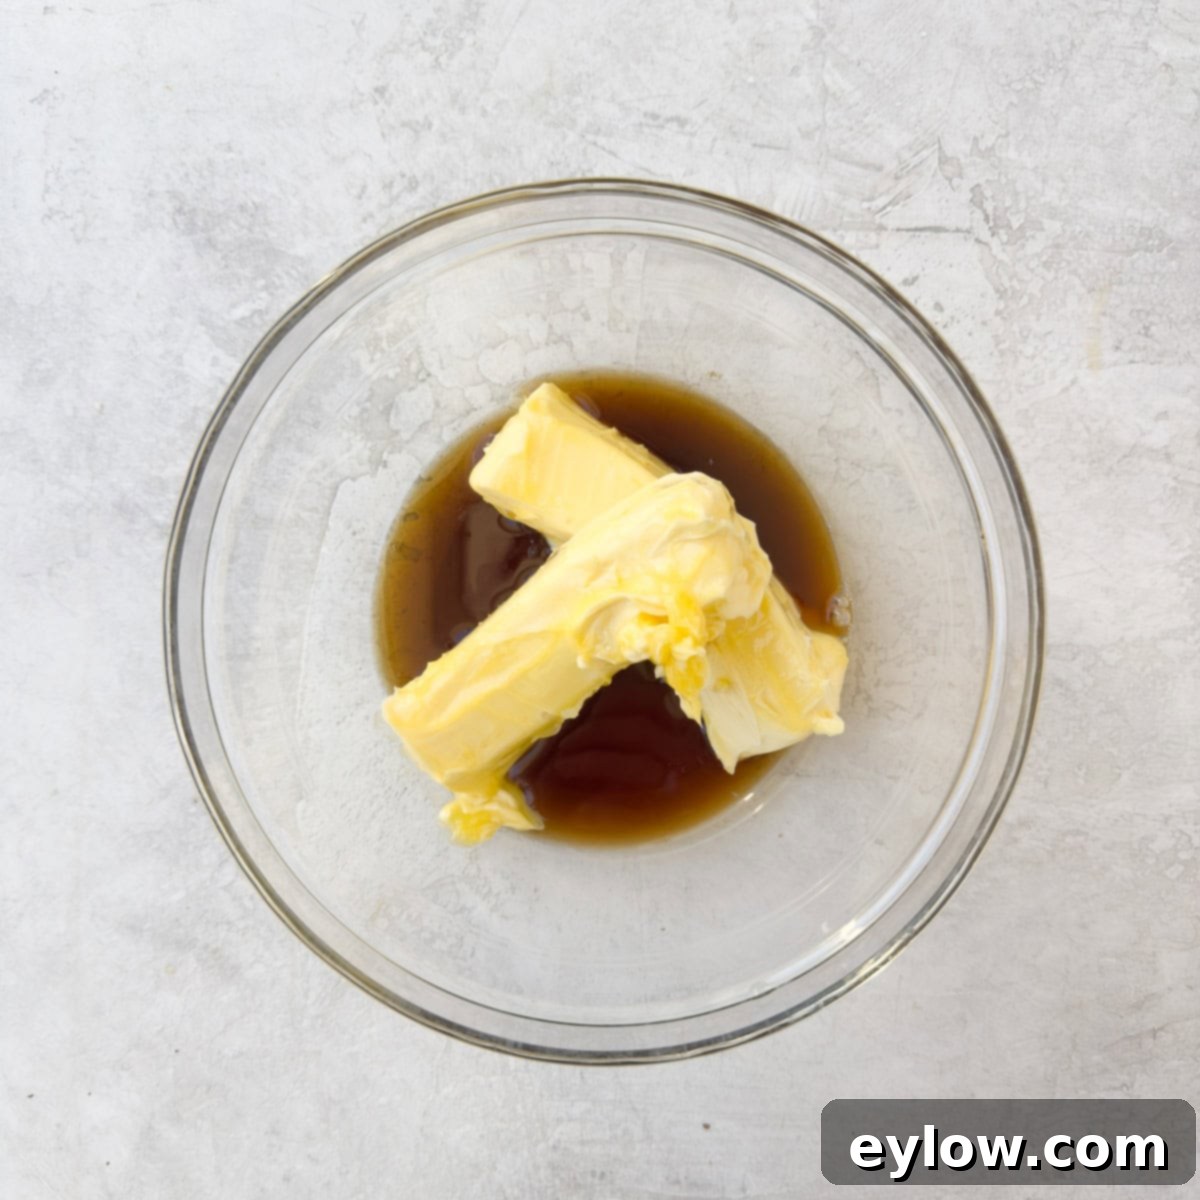
Once your butter is perfectly soft, transfer it to a medium-sized mixing bowl. Pour in the pure maple syrup. Using an electric hand mixer, begin to whip the butter and syrup together. Start on a low speed to incorporate the ingredients without splatter, then gradually increase to medium-high speed. Continue whipping for approximately 1 minute, or until the mixture becomes wonderfully creamy, smooth, and slightly fluffy. The color should lighten slightly, and the texture will be uniform.
Step 5: Taste and Adjust
After whipping, taste a small amount of your maple butter. This is your opportunity to adjust the flavor profile. If you prefer a stronger maple taste, add another teaspoon or two of maple syrup and whip briefly to combine. If you’re experimenting with variations like cinnamon or vanilla, now is the time to add them and mix them in thoroughly.
Your homemade maple butter is now ready to be enjoyed! It’s best served at room temperature when it’s at its most soft and spreadable, allowing its rich flavor to fully shine.
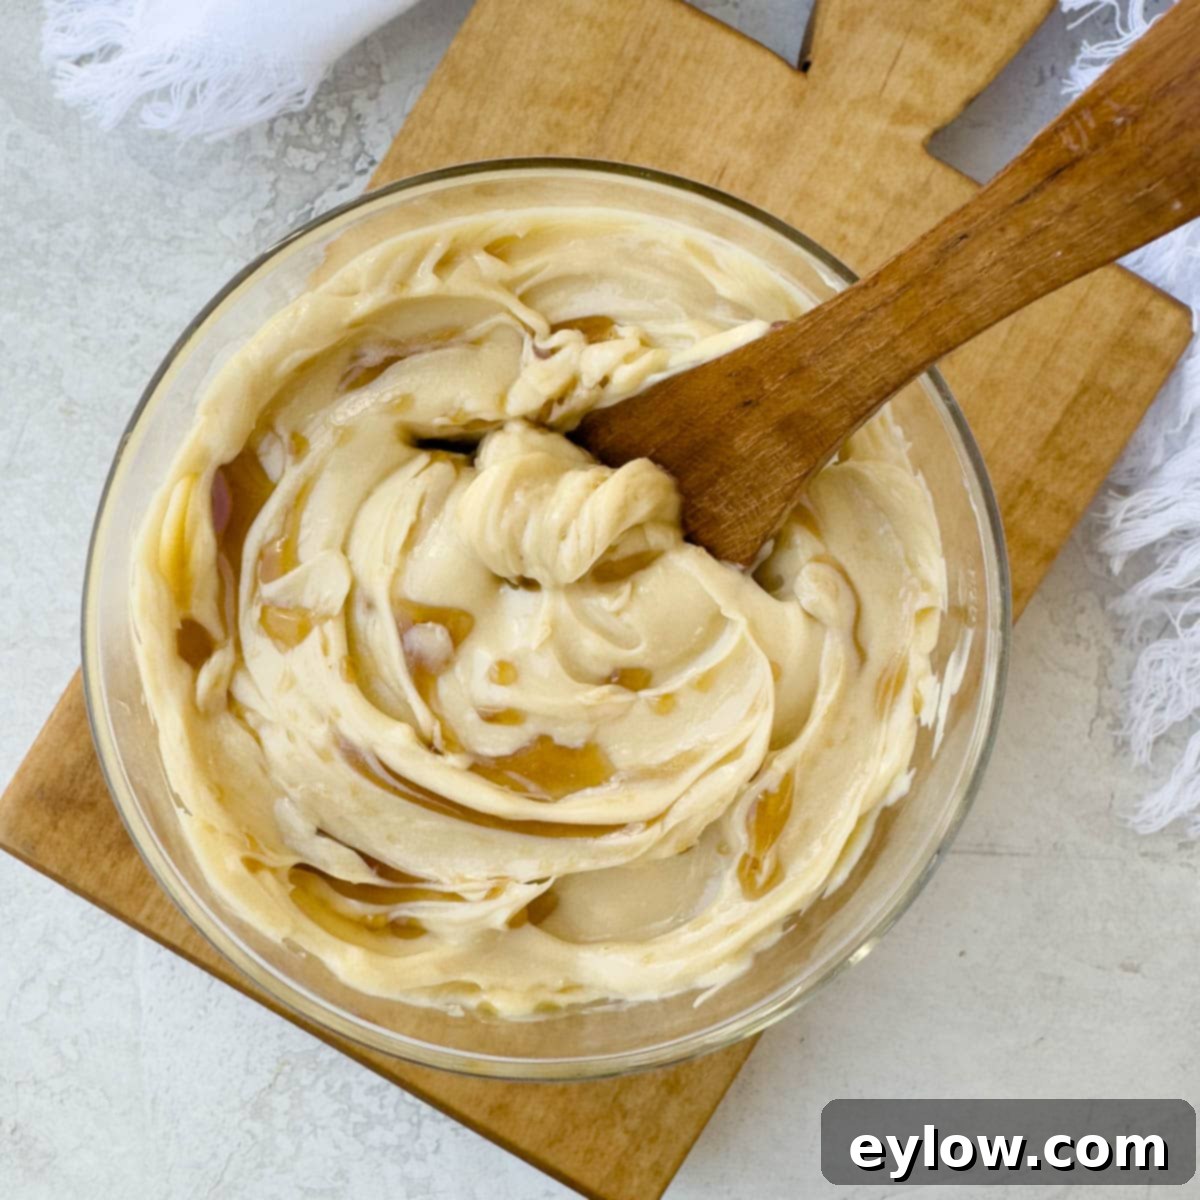
Chef’s Tip: For Bigger Batches. If you’re preparing a larger quantity of maple butter for a crowd, or simply prefer the convenience, you can easily use a stand mixer. Fit it with the paddle attachment (for a creamy texture) or the whisk attachment (for an even fluffier result). Follow the same steps, whipping until the butter and syrup are thoroughly combined and light.
Delightful Ways to Enjoy Your Maple Butter
The versatility of homemade maple butter is truly remarkable. Its sweet, creamy texture and rich maple flavor make it an ideal accompaniment for a wide range of dishes, from breakfast classics to unexpected savory pairings. Here are some inspiring serving suggestions to help you make the most of your delicious creation:
- Breakfast & Brunch Staples:
- Pancakes, Waffles, or French Toast: This is arguably the most classic and satisfying way to enjoy maple butter. Dollop it directly onto warm stacks, letting it melt into every crevice for an explosion of flavor.
- Muffins & Scones: Spread generously on warm muffins (especially corn, pumpkin, or blueberry muffins), pumpkin bread, or freshly baked scones. The butter melts into the crumb, adding moisture and sweetness.
- Cornbread: A match made in heaven! Slather it on warm cornbread for a truly comforting and authentic experience.
- Banana Bread: Elevate a slice of banana bread with a smear of maple butter; it perfectly complements the banana and spice notes.
- Warm Toast & Biscuits: A simple yet profound pleasure. Spread it on warm toast, fluffy biscuits, English muffins, or dinner rolls for an instant upgrade.
- Crepes: Spread a thin layer inside warm gluten-free crepes before folding them for a simple yet elegant dessert or breakfast.
- Savory Pairings:
- Roasted or Steamed Vegetables: Drizzle melted maple butter over roasted carrots, sweet potatoes, Brussels sprouts, or even green beans. The sweetness caramelizes the vegetables and adds incredible depth.
- Whipped Sweet Potatoes: Mix it directly into whipped sweet potatoes for a naturally sweet and rich side dish that’s perfect for holiday meals or any family dinner.
- Glazes for Meats: Maple butter can create a fantastic glaze for ham, pork chops, chicken, or even salmon. For a tangy twist, try adding a little Dijon mustard to the butter before glazing.
- Other Creative Uses:
- Oatmeal & Porridge: Stir a spoonful of maple butter into your morning oatmeal, overnight oats, or hot porridge for a boost of flavor and creamy texture.
- Sweet Potatoes: Mix it into whipped sweet potatoes for a naturally sweet and rich side dish.
- Fruit Topping: A dollop over baked apples, pears, or even a simple fruit salad can add a luxurious touch.
Proper Storage and Re-Using Maple Butter
Due to its butter content, maple butter is perishable and must always be stored in the refrigerator to maintain its freshness and prevent spoilage. Never leave it at room temperature for extended periods. When stored in an airtight container in the refrigerator, it will keep wonderfully for 1-2 weeks. For longer preservation, maple butter can be safely frozen for several months without losing its quality. This makes it an excellent candidate for making ahead or preparing a large batch.
When you’re ready to use refrigerated or frozen maple butter, it will likely be quite firm. To bring it back to that delightful, usable, and spreadable consistency, you have a couple of simple options:
- Room Temperature Softening: The easiest method is to simply remove the airtight container from the refrigerator and allow it to stand at room temperature. Depending on your kitchen’s warmth and how much butter you have, this can take anywhere from 30 minutes to a couple of hours. The butter will gradually soften to a perfect spreadable state.
- Microwave and Re-Whip Method: If you’re short on time, you can briefly microwave the maple butter on a very low power setting. Be careful not to fully melt it, as this will separate the butter and syrup, making it look like a messy, oily puddle. Microwave in very short bursts (5-10 seconds) until it’s just softened, or if it melts, don’t worry! Let it cool back in the refrigerator just until it starts to solidify again (it will look somewhat lumpy and separated). Then, using a hand mixer or whisk, re-whip it vigorously until it becomes beautifully creamy and spreadable once more. I’ve personally used this method, and it works wonderfully to restore the butter to its original smooth, luscious texture.
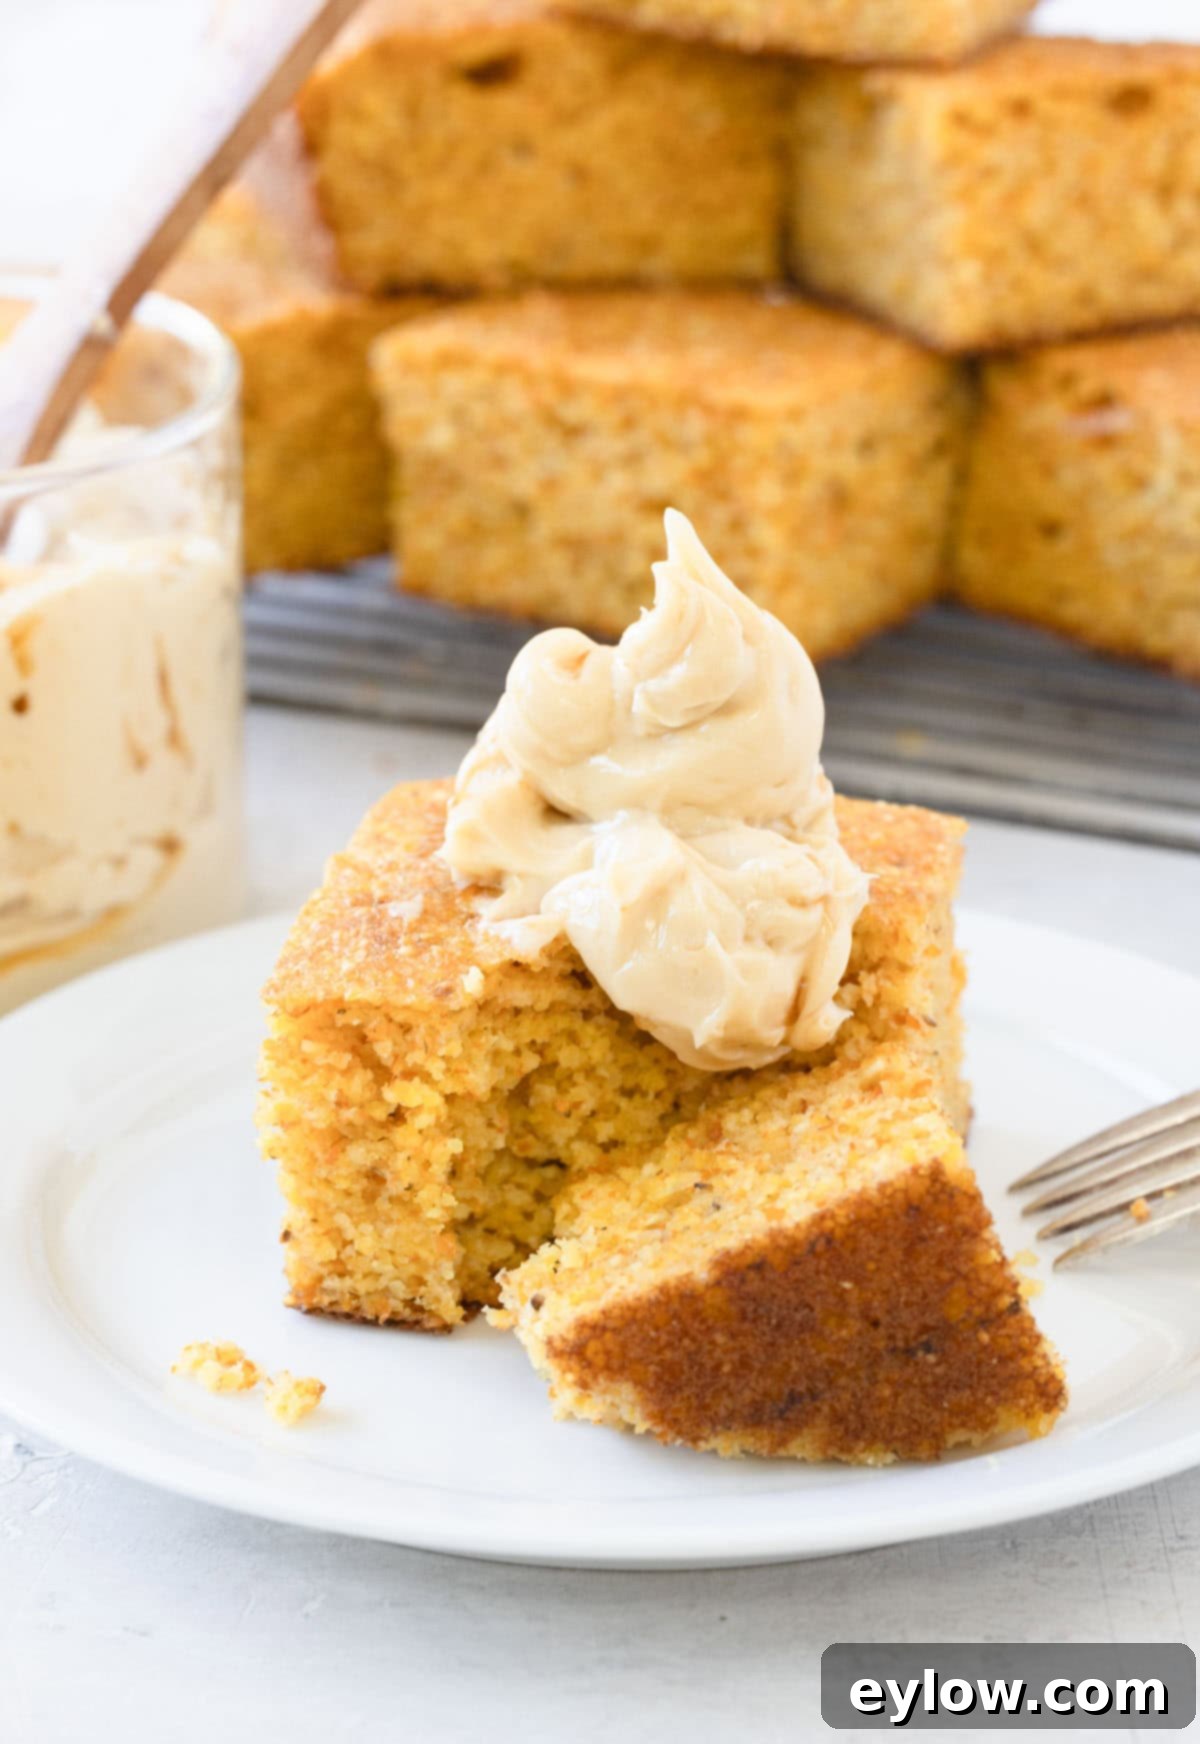
Common Questions About Maple Butter
This is a common point of confusion! The first question to ask is often, “Am I making maple cream or maple butter?” While they are sometimes called by similar names, they are two distinct products. Maple cream (also known as maple spread or maple candy cream) is made by cooking pure maple syrup to a specific temperature, then cooling and whipping it until it transforms into a thick, spreadable, creamy texture. This process requires a candy thermometer and takes approximately 45 minutes to an hour. In contrast, true maple butter, as described in this recipe, is simply good quality unsalted butter whipped together with pure maple syrup. It’s a quick and easy process, taking only about 1 minute of active whipping time.
For maple butter with a truly pronounced and rich maple flavor, I highly recommend using Grade A Amber, Rich Taste or Grade A Dark, Robust Taste maple syrup. The darker the color of the maple syrup, the more intense and robust its flavor will be. While Grade A Golden, Delicate Taste syrup will also work, its lighter flavor might be somewhat subdued when mixed with butter. Opting for a darker grade ensures that the wonderful maple notes truly shine through in your creamy butter spread.
Yes, absolutely. Since maple butter contains dairy (butter), it is perishable and must be stored in the refrigerator to prevent spoilage and maintain its freshness. Do not leave it out on the kitchen counter at room temperature for more than a few hours. When properly stored in an airtight container in the fridge, it will last for 1-2 weeks. For longer storage, it can also be safely frozen for several months, making it a great make-ahead option.
While unsalted butter is recommended to give you full control over the flavor, you can use salted butter if that’s all you have. However, be aware that the final product might have a slightly saltier taste, which could slightly mask the delicate maple flavor. If using salted butter, you might want to adjust any additional salt you might add in other recipes where you use the maple butter.
Soft butter is crucial for a smooth, lump-free maple butter. If your butter isn’t soft enough, it won’t incorporate well with the maple syrup, resulting in a grainy or separated texture. The best approach is to let it sit at room temperature for an hour or two. You can speed this up by cutting the butter into smaller pieces. Avoid melting it completely in the microwave, as this will change the emulsion and prevent it from whipping into a creamy consistency. If it’s still a bit firm, you can warm your mixing bowl slightly by rinsing it with warm water (and thoroughly drying it) before adding the butter.
Delightful Pairings: Recipes to Enjoy with Maple Butter
Maple butter’s incredible versatility means it pairs beautifully with a wide array of dishes. From hearty breakfast items to comforting baked goods, there are lots of yummy ways to use maple butter and its flavorful variations. Here are some related recipes that are perfect for slathering with your freshly made maple butter:
- Gluten Free Cornbread (no flour)
- Easy Gluten-Free Pumpkin Bread Recipe
- Gluten-Free Carrot Cake Muffins (dairy-free)
- The Best Buckwheat Pancakes Recipe
⭐️Did You Make This Easy Maple Butter Recipe?
If you’ve tried making this delicious homemade maple butter, I’d love to hear about your experience! Please take a moment to leave a comment below and let me know how you liked it. If you absolutely loved it and found it helpful, kindly consider giving it a 5-star rating! Your ratings and feedback are incredibly valuable – they not only help other readers discover and enjoy this recipe but also provide me with wonderful insights. I genuinely enjoy hearing from you and seeing your culinary creations!
📖 Recipe
Maple Butter
Sally Cameron
Pin Recipe
Equipment
-
Hand mixer
Ingredients
- ½ pound unsalted butter two sticks, at room temperature (or dairy-free butter)
- ⅓ cup amber or dark real maple syrup
Instructions
Maple Butter
-
Allow the butter to come to a very soft room temperature before whipping, which usually takes about an hour or two. For quicker softening, unwrap the butter and cut it into smaller pieces.
-
Add the very soft butter and pure maple syrup to a medium-sized mixing bowl. Using an electric hand mixer, whip the mixture together until it is creamy, fluffy, and completely smooth. This should take approximately 1 minute. Taste and adjust with more maple syrup or desired flavorings if preferred. Your maple butter is now ready to serve and is best enjoyed at room temperature when soft and spreadable.
Storing and Re-Using
-
Maple butter is perishable and must be stored in an airtight container in the refrigerator, where it will last for 1-2 weeks. It can also be frozen for several months. If the maple butter hardens in the refrigerator and you wish to make it creamy and spreadable again, you have two options: either leave it out on the counter at room temperature for about an hour until it softens, or briefly melt it in the microwave on low power (be careful not to completely liquefy it). If it melts, place it back in the refrigerator until it begins to solidify again, then re-whip it with a mixer until it regains its creamy texture.
Notes
- Swap the maple syrup for your favorite honey to make a delicious honey butter.
- Add a dash of ground cinnamon for a fragrant and warming cinnamon butter.
- For an elegant touch, create vanilla bean butter by adding vanilla bean paste or the seeds from a ground vanilla bean.
- Looking for a zero-sugar honey butter? Use a monk-fruit based honey alternative.
- To make a zero-sugar maple butter, incorporate a monk-fruit based maple syrup alternative.
- Feel free to combine these flavors! Vanilla, cinnamon, and maple together make an absolutely delish blend!
- In the autumn, mix in some pumpkin pie spice for a seasonal treat.
- Add a pinch of fresh citrus zest (like orange or lemon) for a bright, refreshing zing.
- Fold in finely chopped toasted nuts, such as pecans or walnuts, for a delightful textural contrast.
