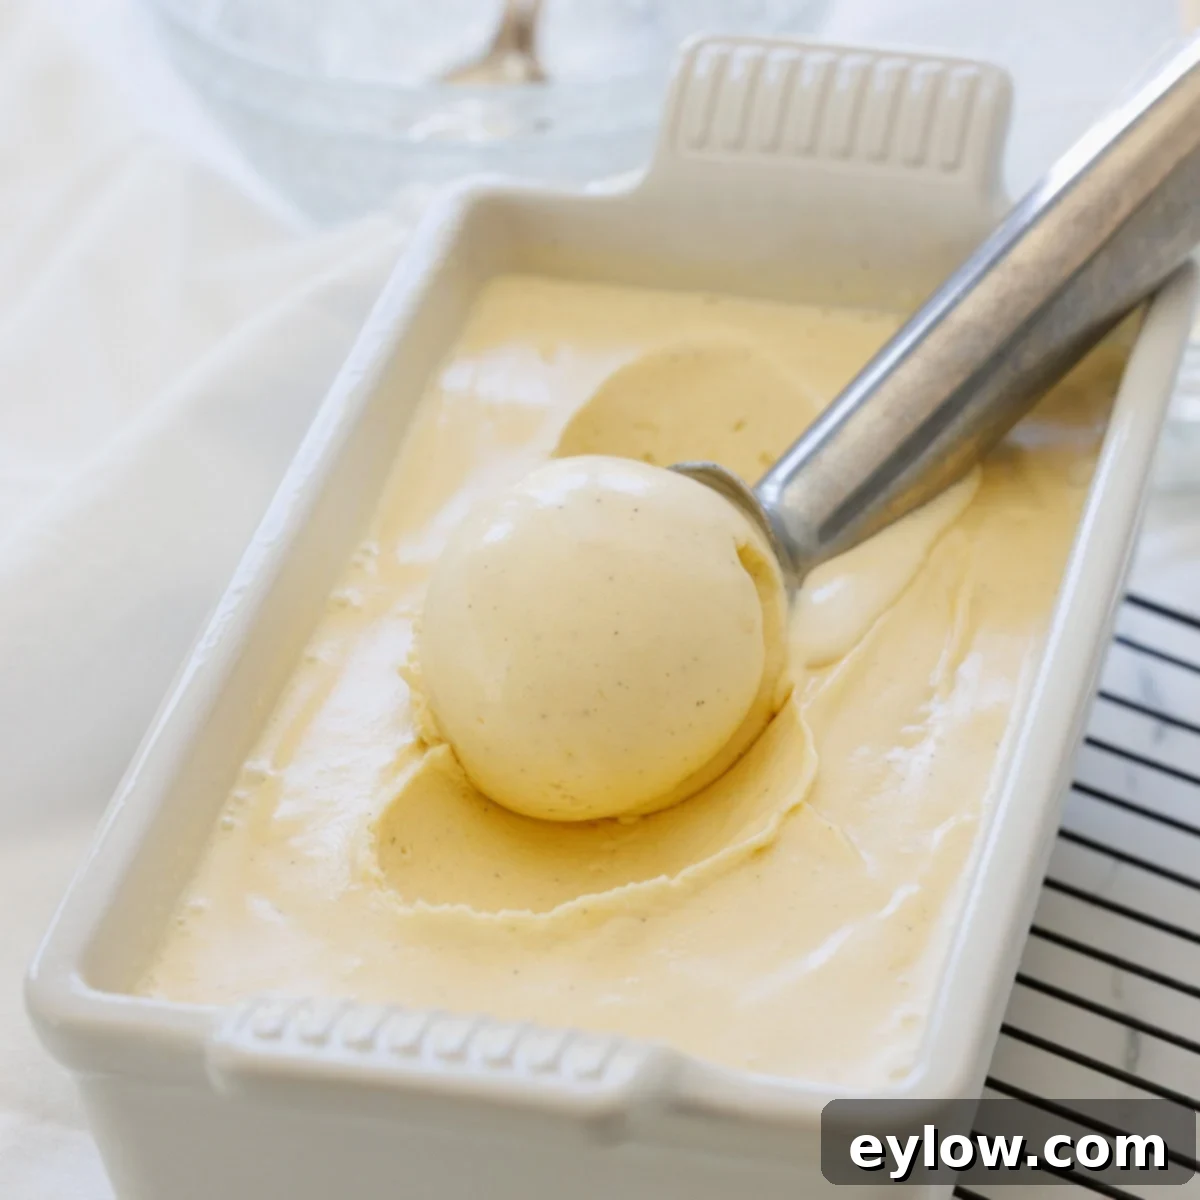
Indulge in Homemade French-Style Vanilla Bean Ice Cream: Your Ultimate Guide to Rich, Creamy Perfection
Prepare to unlock the secrets to crafting the most exquisite, ultra-premium vanilla bean ice cream right in your own kitchen. This isn’t just any vanilla ice cream; it’s a meticulously developed French-style custard base, perfected through extensive testing and fine-tuning. Say goodbye to the artificial additives, corn syrup, and questionable ingredients found in commercial brands. Our recipe champions pure, wholesome ingredients: a harmonious balance of heavy cream, whole milk, and egg yolks, elevated by a clever secret ingredient that transforms both texture and flavor. The undisputed star of this delightful dessert is, of course, the vanilla itself – specifically, high-quality vanilla bean paste, which delivers a profound, aromatic depth and those coveted visual specks of real vanilla, all with greater ease than wrestling with whole vanilla bean pods.
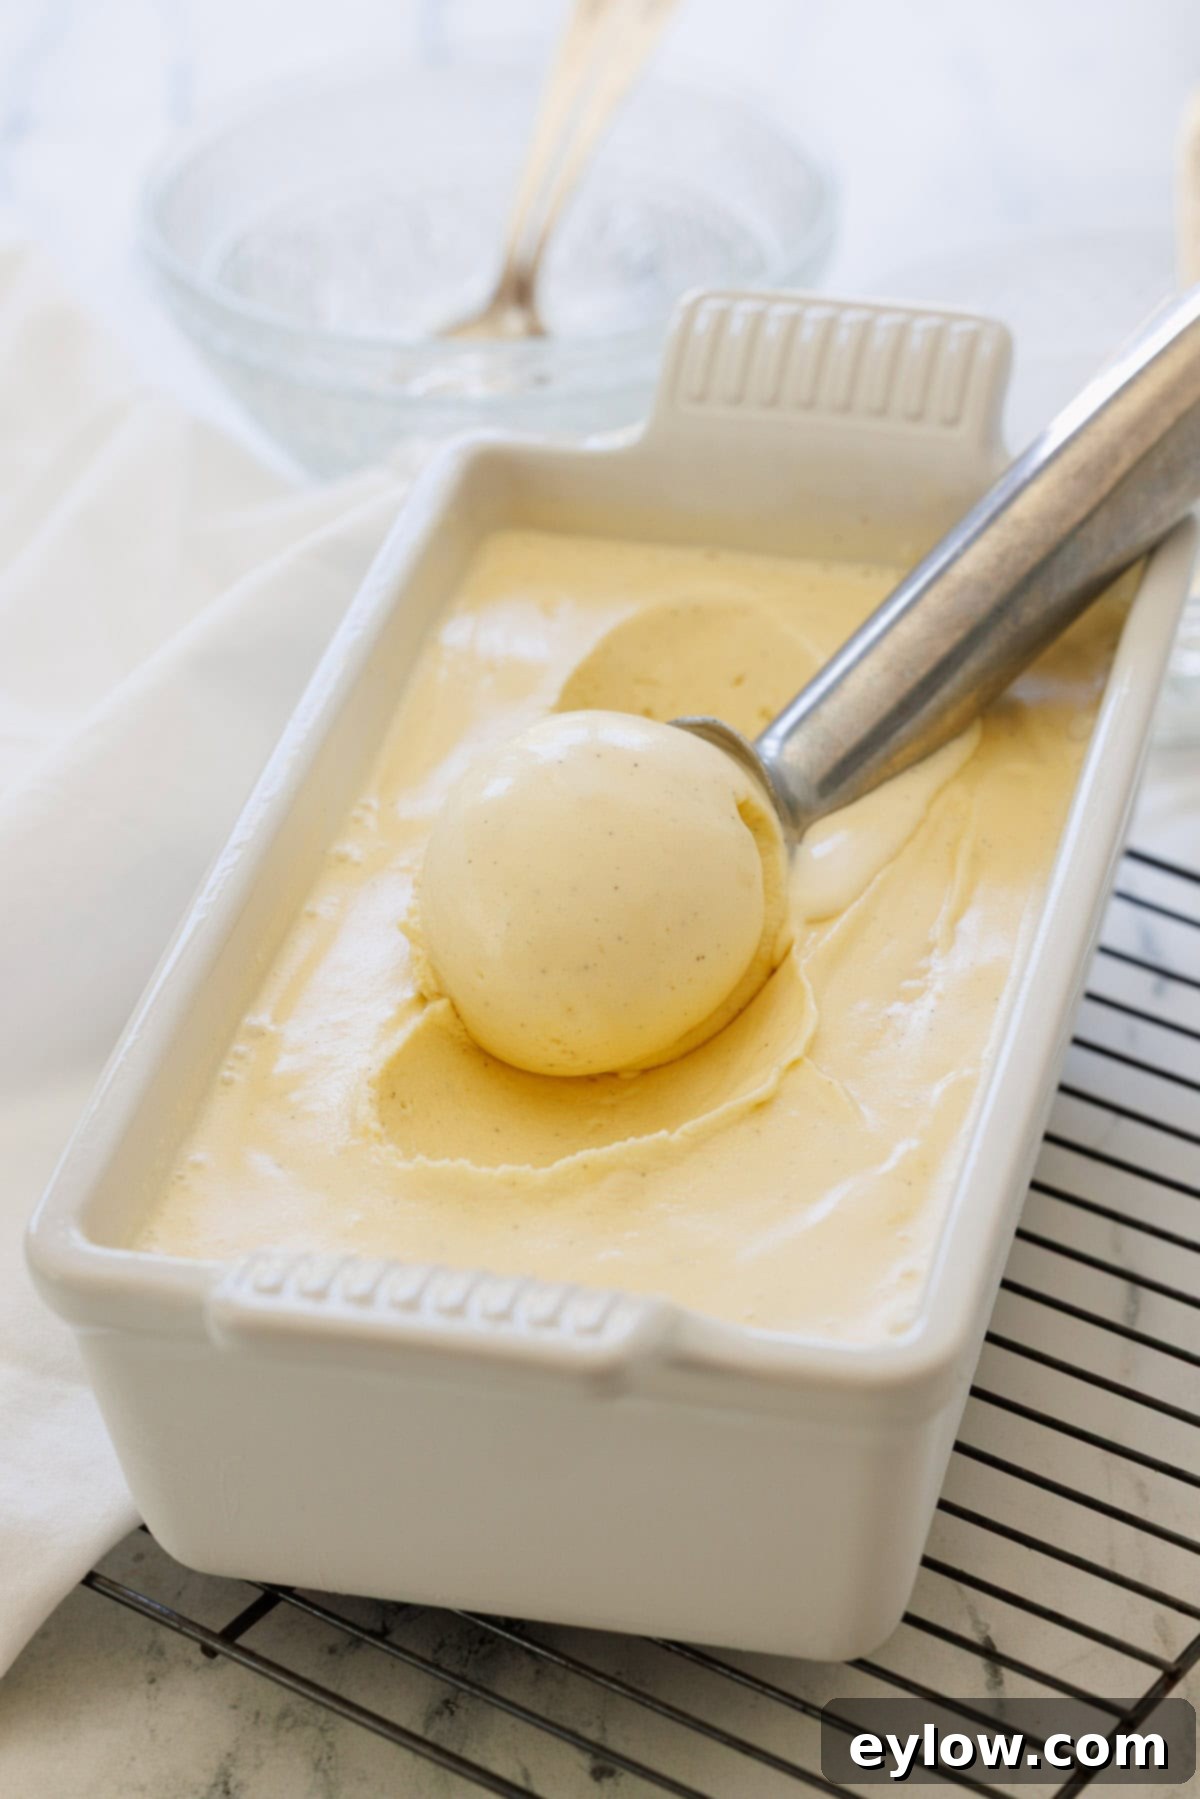
The phrase “plain vanilla” often brings a chuckle, as it profoundly misunderstands the true essence of this magnificent flavor. Real vanilla is a marvel of nature – complex, aromatic, and undeniably luxurious, even if it comes with a higher price tag. It’s a flavor too often taken for granted, but when transformed into homemade vanilla bean ice cream, it truly shines, offering a cool, creamy, and utterly indulgent experience that is simply unparalleled. I’ve dedicated years to perfecting this recipe, continuously tweaking and refining it until I achieved what I genuinely believe is the best vanilla bean ice cream you’ll ever taste. Now, I’m thrilled to share this culinary gem with you. Be warned, though: to create this masterpiece, an ice cream maker is an essential tool in your dessert arsenal.
[feast_advanced_jump_to]Why You’ll Adore This Homemade Vanilla Bean Ice Cream
Once you experience the sublime richness and pure flavor of this homemade French-style vanilla bean ice cream, you’ll understand why it’s worth every bit of effort. Here’s what makes it truly exceptional:
- Pure Ingredients, No Nasties – Unlike many store-bought options that rely on corn syrup, artificial flavors, titanium dioxide for color, or propylene glycol for texture, our recipe uses only real, wholesome food ingredients. You can take pride in knowing exactly what goes into every delicious spoonful, offering a healthier and more authentic treat.
- Authentic French-Style Custard Base – This isn’t just vanilla ice cream; it’s genuine French vanilla bean ice cream, crafted using the traditional method. This means a rich, velvety custard base made with a generous amount of egg yolks and a high butterfat ratio, ensuring an unparalleled creamy consistency and a luxurious mouthfeel that only true French methods can deliver.
- Unbelievably Creamy Texture & Deep Flavor – Prepare for an ultra-creamy, smooth texture that melts beautifully on your tongue, completely devoid of any iciness. Paired with the profound, aromatic vanilla flavor derived from real vanilla bean paste, this ice cream rivals the finest premium pints you’d find in specialty stores. It’s a truly sophisticated flavor profile that lingers delightfully.
- High Butterfat for Ultimate Richness – With approximately 19% butterfat, this homemade ice cream boasts a richness and scoop-ability that can go head-to-head with top-shelf, high-quality brands like Häagen-Dazs. This high butterfat content is key to its luxurious texture, preventing it from freezing too hard and ensuring every scoop is perfectly smooth and delightful.
To elevate any summer dessert experience, consider pairing this incredible vanilla bean ice cream with a slice of our easy one-pan cherry cake. The rich, creamy vanilla provides a perfect counterpoint to the sweet-tart cherries, creating a truly memorable combination.
Essential Ingredients for Your Premium Vanilla Bean Ice Cream
Crafting exceptional vanilla bean ice cream starts with selecting the right ingredients. Each component plays a vital role in achieving that perfect balance of richness, creaminess, and deep vanilla flavor. Here’s a closer look at what you’ll need and why:
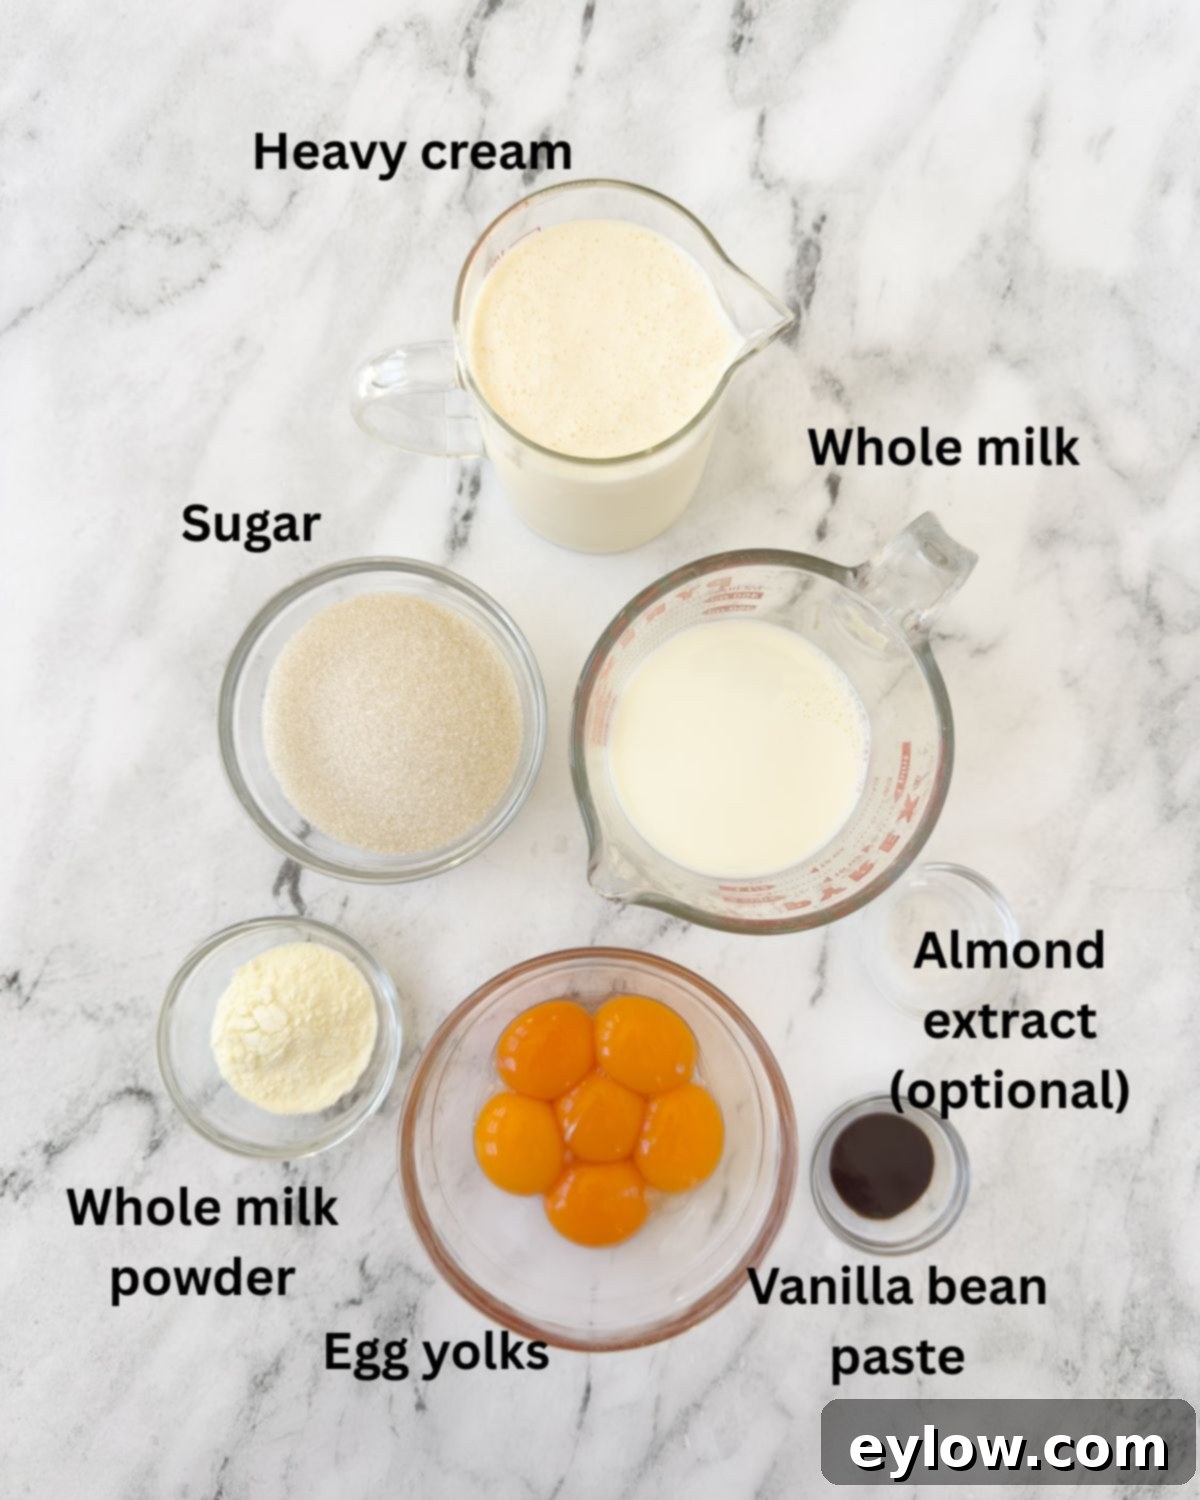
- Dairy: Heavy Whipping Cream and Whole Milk – The cornerstone of any French-style ice cream, our recipe uses a carefully calculated blend of heavy whipping cream and whole milk. This precise ratio is crucial for achieving the ideal balance of richness and a silky-smooth texture. The heavy cream contributes significant butterfat for that luxurious mouthfeel, while the whole milk helps to lighten the base slightly, preventing the ice cream from becoming overly dense or cloying. Together, they create a perfect canvas for the vanilla flavor.
- Eggs: Yolks are Key – Egg yolks are indispensable for a true French-style custard ice cream. They act as natural emulsifiers and thickeners, lending the ice cream its characteristic silky, almost velvety texture and a beautiful, often pale yellow hue. The proteins and fats in the yolks contribute significantly to the overall richness and smoothness, making the ice cream incredibly decadent.
- Sugar: More Than Just Sweetness – Granulated cane sugar not only provides the necessary sweetness but also plays a critical role in the ice cream’s texture. It acts as an “anti-freeze,” lowering the freezing point of the mixture and preventing it from becoming rock-hard and icy. This ensures your homemade vanilla ice cream remains perfectly scoopable. While you can experiment with alternative sweeteners like monk fruit to reduce sugar content, be aware that these alternatives may result in a harder-frozen ice cream due to their different chemical properties.
- Vanilla: The Star – Vanilla Bean Paste – For an unparalleled deep, aromatic vanilla flavor and those visually appealing flecks of real vanilla bean, we highly recommend vanilla bean paste. It offers the intensity of extract combined with the aesthetic appeal of actual vanilla beans, all without the effort of scraping pods. This delivers a premium vanilla experience that truly stands out.
- Whole Milk Powder: The Secret Weapon for Creaminess – This unassuming ingredient is my personal secret to exceptional homemade ice cream. Whole milk powder boosts the milk solids in the base without introducing additional water. This concentrated dairy content significantly enhances richness, contributes to a smoother texture, and most importantly, reduces the formation of ice crystals. It’s particularly valuable when you’re aiming for an ultra-creamy result without resorting to commercial stabilizers or corn syrup.
- Almond Extract (Optional): A Subtle Flavor Enhancer – A tiny dash of almond extract, while optional, can subtly elevate the vanilla flavor and add an intriguing layer of complexity. It doesn’t make the ice cream taste distinctly like almonds; instead, it deepens and rounds out the overall vanilla profile, adding a professional touch that connoisseurs will appreciate.
- Sea Salt: Flavor Balance – A small pinch of sea salt is crucial for balancing the sweetness and enhancing all the other flavors, particularly the rich vanilla. It brings a subtle contrast that makes every spoonful more vibrant.
For precise quantities and detailed instructions, please refer to the comprehensive recipe card below.
Chef’s Tip: Understanding Vanilla Paste vs. Extract. Vanilla bean paste truly offers the best of both worlds: the robust, concentrated flavor typically associated with high-quality vanilla extract, coupled with the distinctive, beautiful visual flecks of actual vanilla beans. This makes it far easier to use than meticulously scraping whole vanilla pods, yet significantly more flavorful and visually appealing than extract alone. It’s crucial to check the label of your vanilla bean paste, as brands vary in strength; some are single-strength, while others are double or even triple-strength. I personally favor Tahitian Gold, a triple-strength paste, meaning a little goes a very long way. In this recipe, I specify ½ teaspoon, which provides ample, deep vanilla flavor without overpowering the delicate custard base. If you’re using a single-strength paste or a standard vanilla extract, you might need to increase the amount to 1½ teaspoons, or adjust to your personal taste preference, to achieve the same intensity of flavor.
Exciting Substitutions and Variations for Your Ice Cream
While this vanilla bean ice cream recipe is absolutely divine in its pure, unadulterated form, it also serves as a fantastic base for countless creative variations. Feel free to experiment and customize it to your heart’s desire. Here are some delightful ideas to get you started:
- Chocolate Chip Vanilla Ice Cream: For a classic twist, simply add finely chopped chocolate or mini chocolate chips towards the very end of the churning process. The residual warmth of the freshly churned ice cream will slightly soften the chocolate, creating a delightful texture.
- Berry Swirl Ice Cream: Transform your vanilla base into a vibrant strawberry swirl ice cream (or any other berry swirl) by gently folding in a homemade berry puree or small, finely chopped fresh strawberries after churning. Other excellent choices include raspberry, blueberry, or mixed berry swirls.
- Caramel Ribbon Ice Cream: Drizzle rich, homemade or store-bought caramel sauce into the ice cream as you transfer it to a freezer-safe container, creating beautiful caramel ribbons throughout. A pinch of sea salt in the caramel will make it even more irresistible.
- Nutty Delights: Add a delightful crunch and nutty flavor by incorporating finely chopped nuts such such as toasted walnuts, pecans, pistachios, or even macadamia nuts. Fold them in during the last few minutes of churning or layer them as you transfer the ice cream to its container.
- Coffee or Espresso Infusion: For coffee lovers, dissolve 1-2 teaspoons of instant espresso powder or fine coffee grounds into the warm milk mixture before cooling. This will create a subtle coffee-vanilla blend.
- Spiced Vanilla: Enhance the warmth of vanilla by adding a tiny pinch of ground cinnamon, nutmeg, or even a very small amount of cardamom to the custard base while it’s heating.
For an indulgent pairing, serve a generous scoop of this creamy vanilla bean ice cream atop rich gluten-free chocolate brownies. The contrast of warm, fudgy brownie with cold, smooth ice cream is pure bliss.
Chef’s Tip: The Magic of Whole Milk Powder. Whole milk powder is truly a game-changer for homemade ice cream, quietly working its magic behind the scenes to deliver a significantly smoother and creamier texture. Its secret lies in adding concentrated milk solids (like proteins and natural sugars) without introducing excess water. Excess water is the enemy of creamy ice cream, as it forms larger ice crystals, leading to a grainy or icy texture. By boosting milk solids, the powder helps to bind free water molecules, thereby reducing iciness and improving the body and structure of the ice cream. This is an especially valuable technique when you’re making recipes that intentionally skip commercial stabilizers or emulsifiers. To ensure it dissolves perfectly and integrates seamlessly into your custard base, always stir the whole milk powder into the heavy cream and whole milk mixture while it’s heating gently on the stovetop. This simple addition is my absolute favorite secret ingredient for achieving truly professional-level creaminess at home.
How to Make Homemade Vanilla Bean Ice Cream (Step-by-Step Guide)
Making truly incredible vanilla bean ice cream at home is a rewarding process, and while it requires a bit of patience, the steps are straightforward. The most crucial piece of equipment you’ll need is an ice cream maker. These machines come in various price points and styles, suitable for every budget and kitchen. I highly recommend investing in an electric model for consistent, effortless churning. While some intrepid home cooks attempt to make ice cream without a dedicated machine, I haven’t personally explored those methods, as an ice cream maker ensures the best texture and prevents large ice crystals.
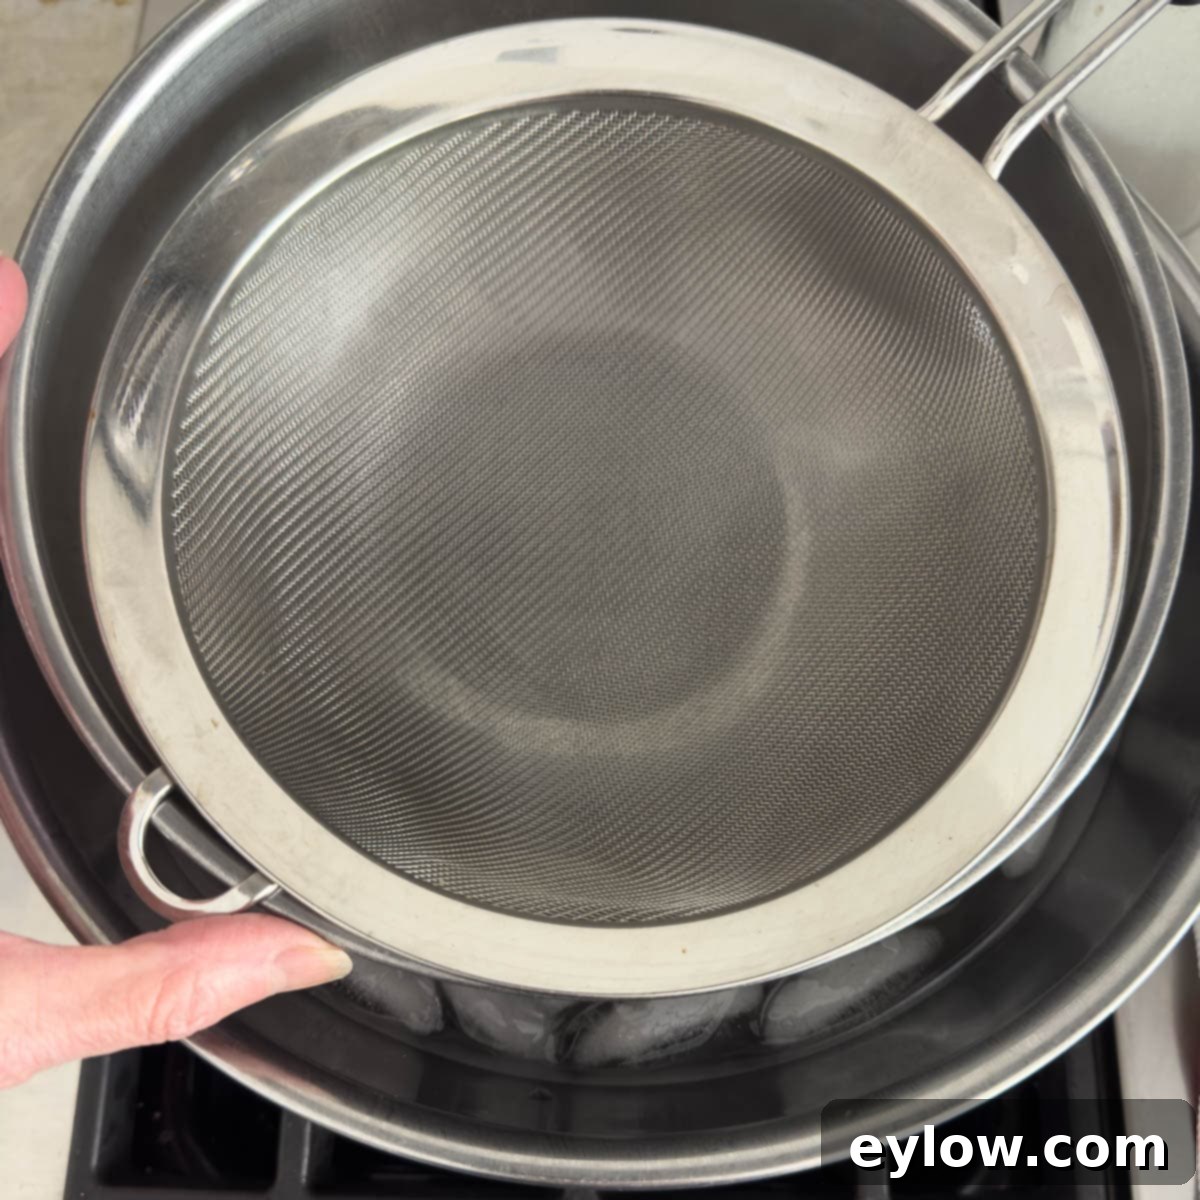
- Set up an ice bath by filling a large bowl halfway with ice and cold water. Place a smaller, medium-sized bowl inside, ensuring it’s stable. Then, nest a fine-mesh sieve over the top of the inner bowl. This setup is crucial for rapidly chilling your cooked custard base, a step that helps prevent bacterial growth and ensures a smooth, creamy texture by minimizing ice crystal formation.
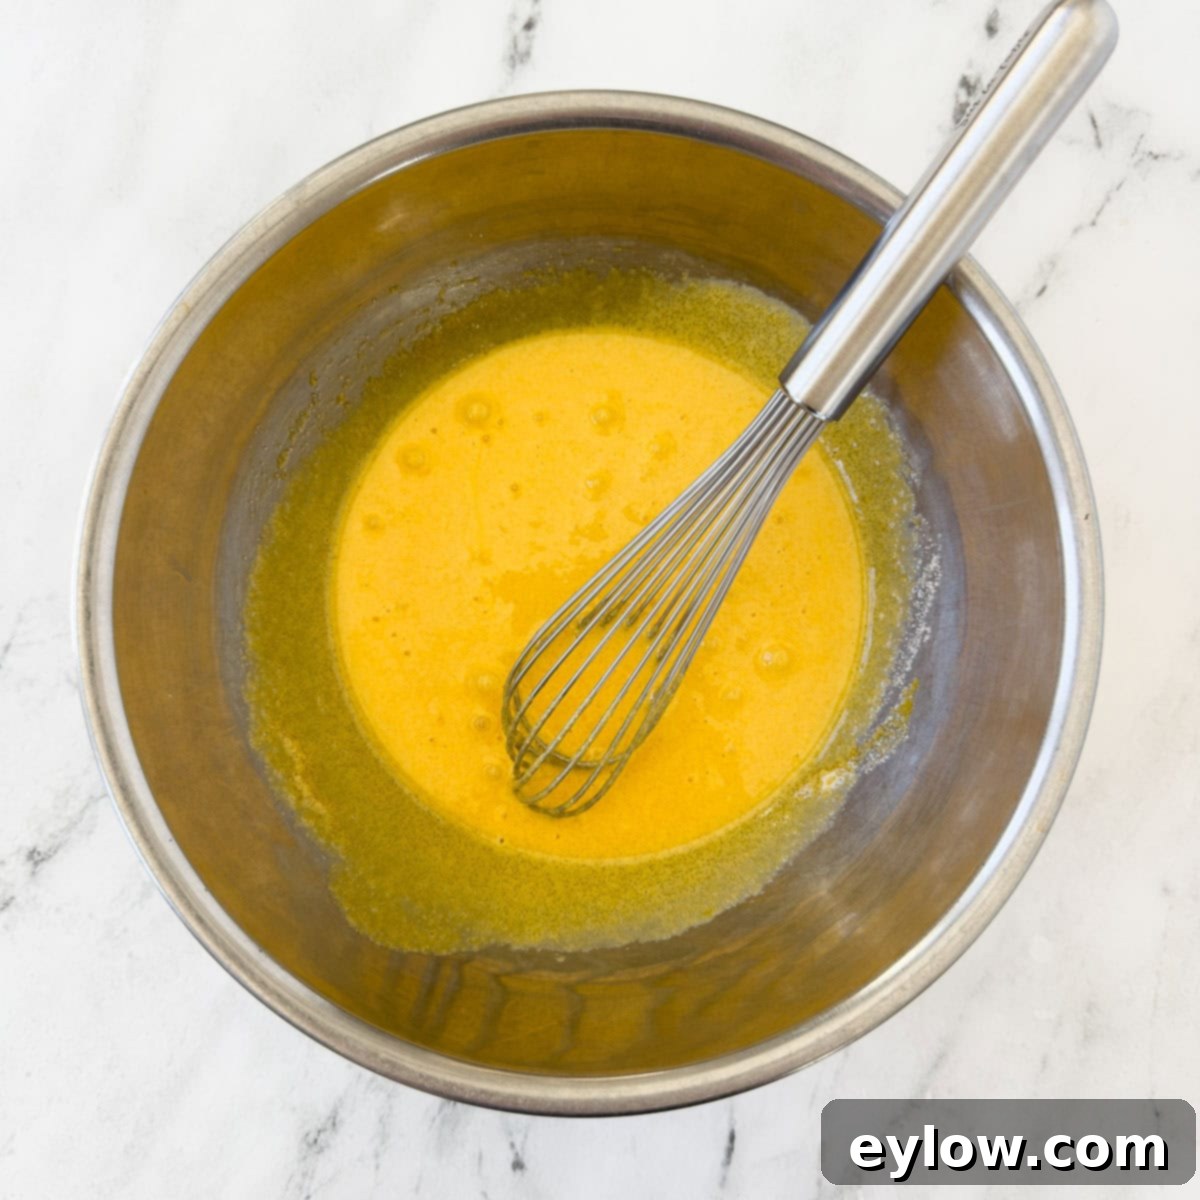
- In a separate medium bowl, combine your egg yolks and granulated sugar. Whisk them vigorously until the mixture is completely smooth, pale yellow, and slightly thickened. This process helps to dissolve the sugar and prepares the yolks to be incorporated into the hot dairy without curdling, forming a rich and stable emulsion.
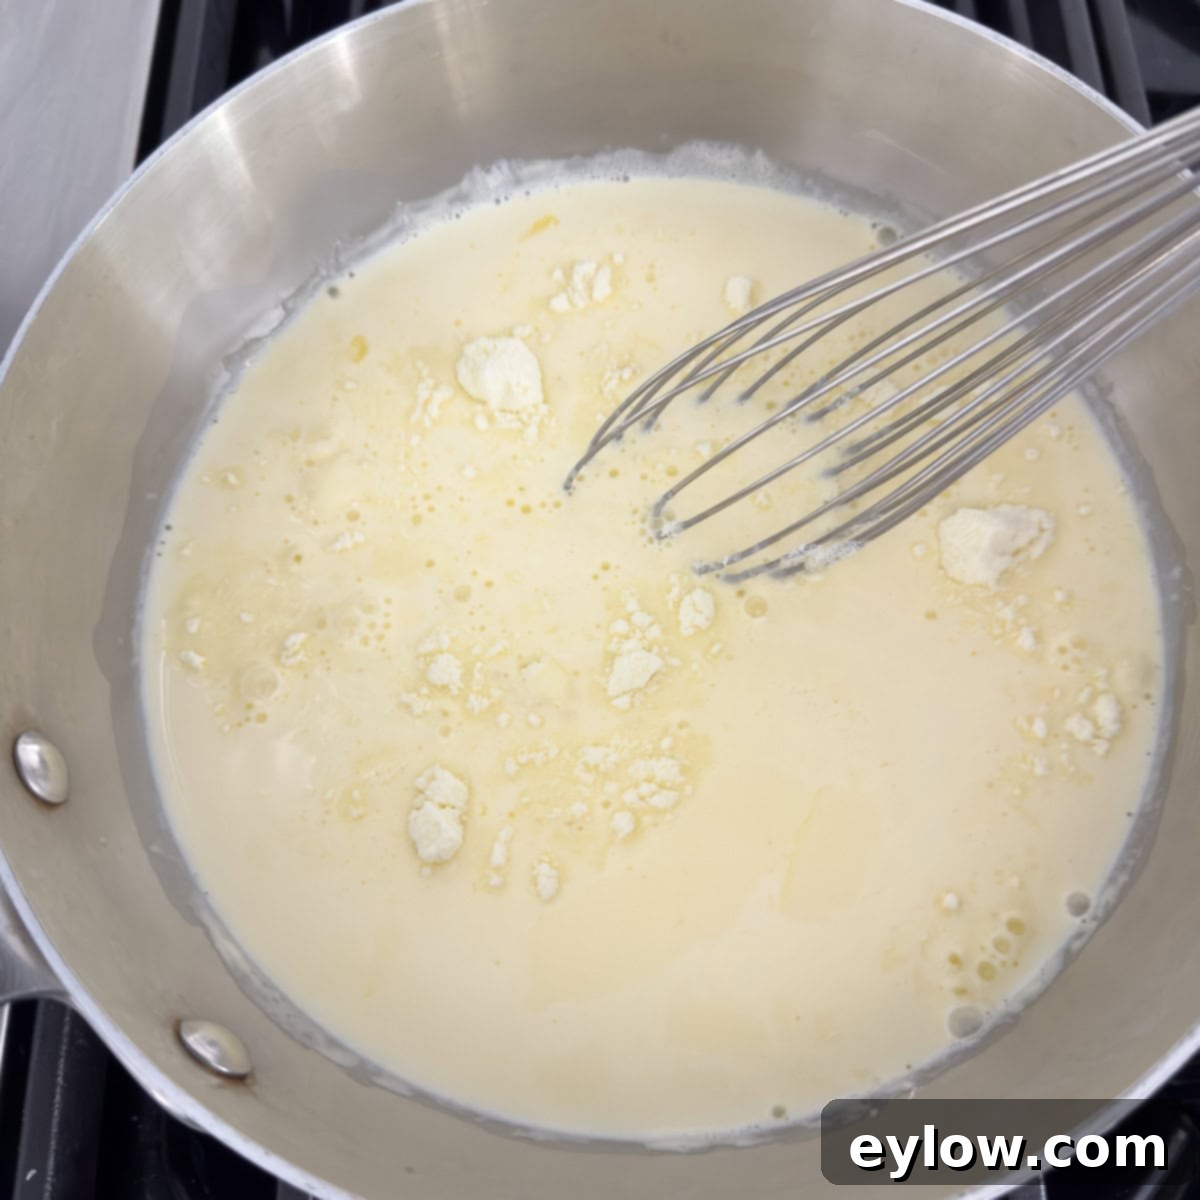
- In a medium saucepan, combine the heavy cream and whole milk. Gradually whisk in the whole milk powder until it is completely smooth and dissolved. Heat this dairy mixture over medium-low heat, stirring occasionally, until it begins to steam gently around the edges but does not come to a rolling boil. This gentle heating helps the milk powder fully incorporate and prepares the base for tempering.
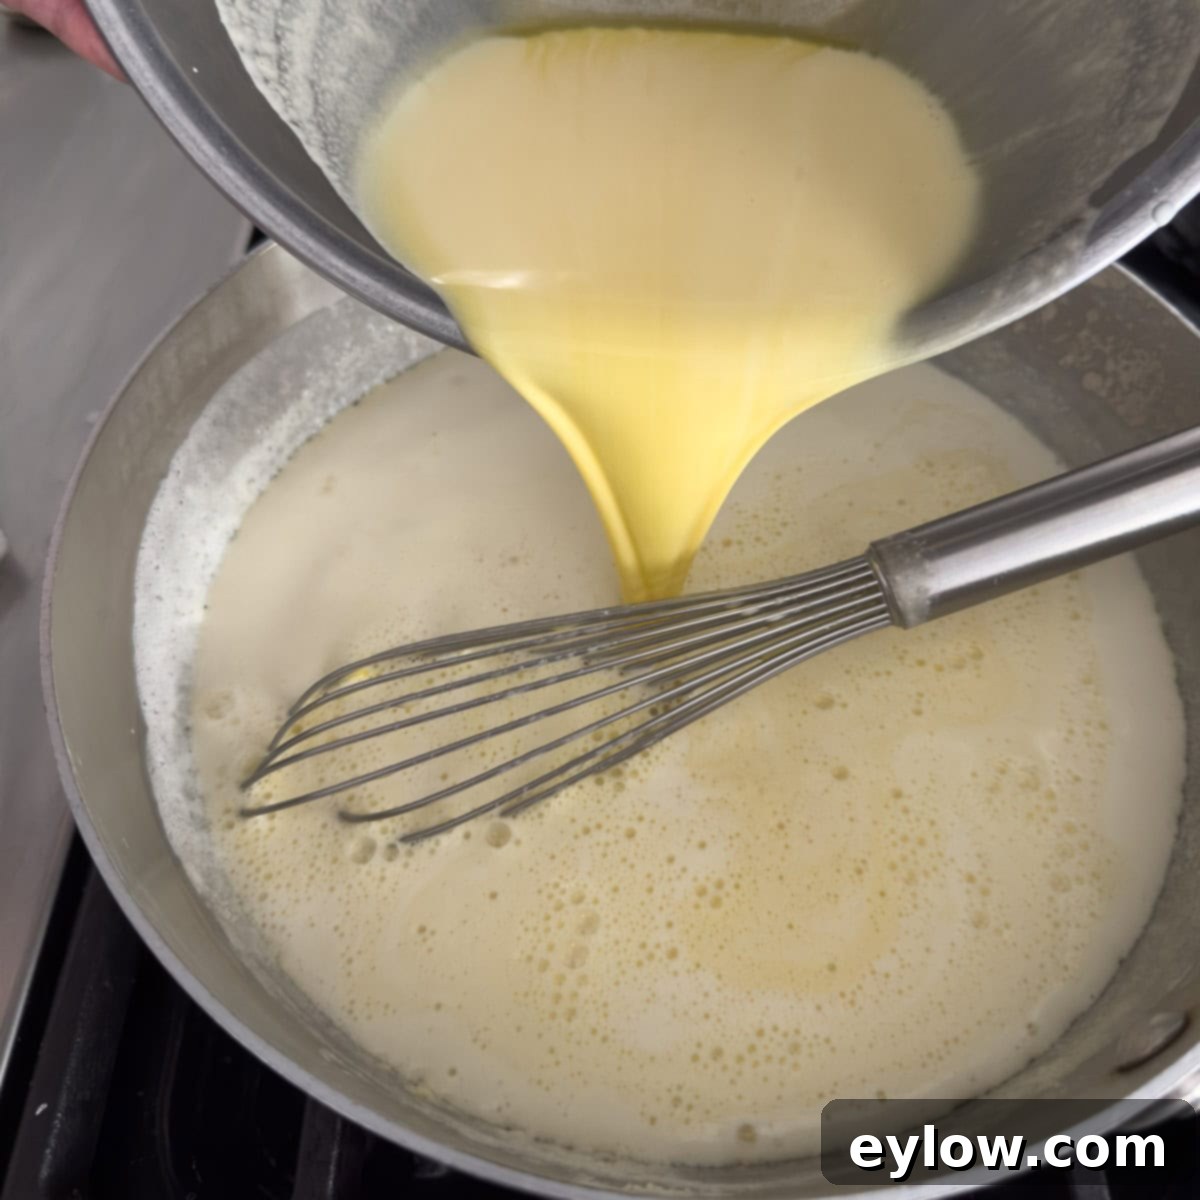
- Once the cream mixture is steaming, remove the pan from the heat. This is the crucial tempering step: slowly pour a small amount (about ½ cup at a time) of the hot cream into the bowl with the whisked egg yolks and sugar, whisking continuously and vigorously. Continue adding hot cream in small increments until approximately half of the dairy mixture has been incorporated into the yolks. This gradually raises the temperature of the egg yolks, preventing them from scrambling when they are added back to the hot saucepan. Finally, pour the warmed yolk mixture back into the saucepan with the remaining hot cream, ensuring a seamless blend.
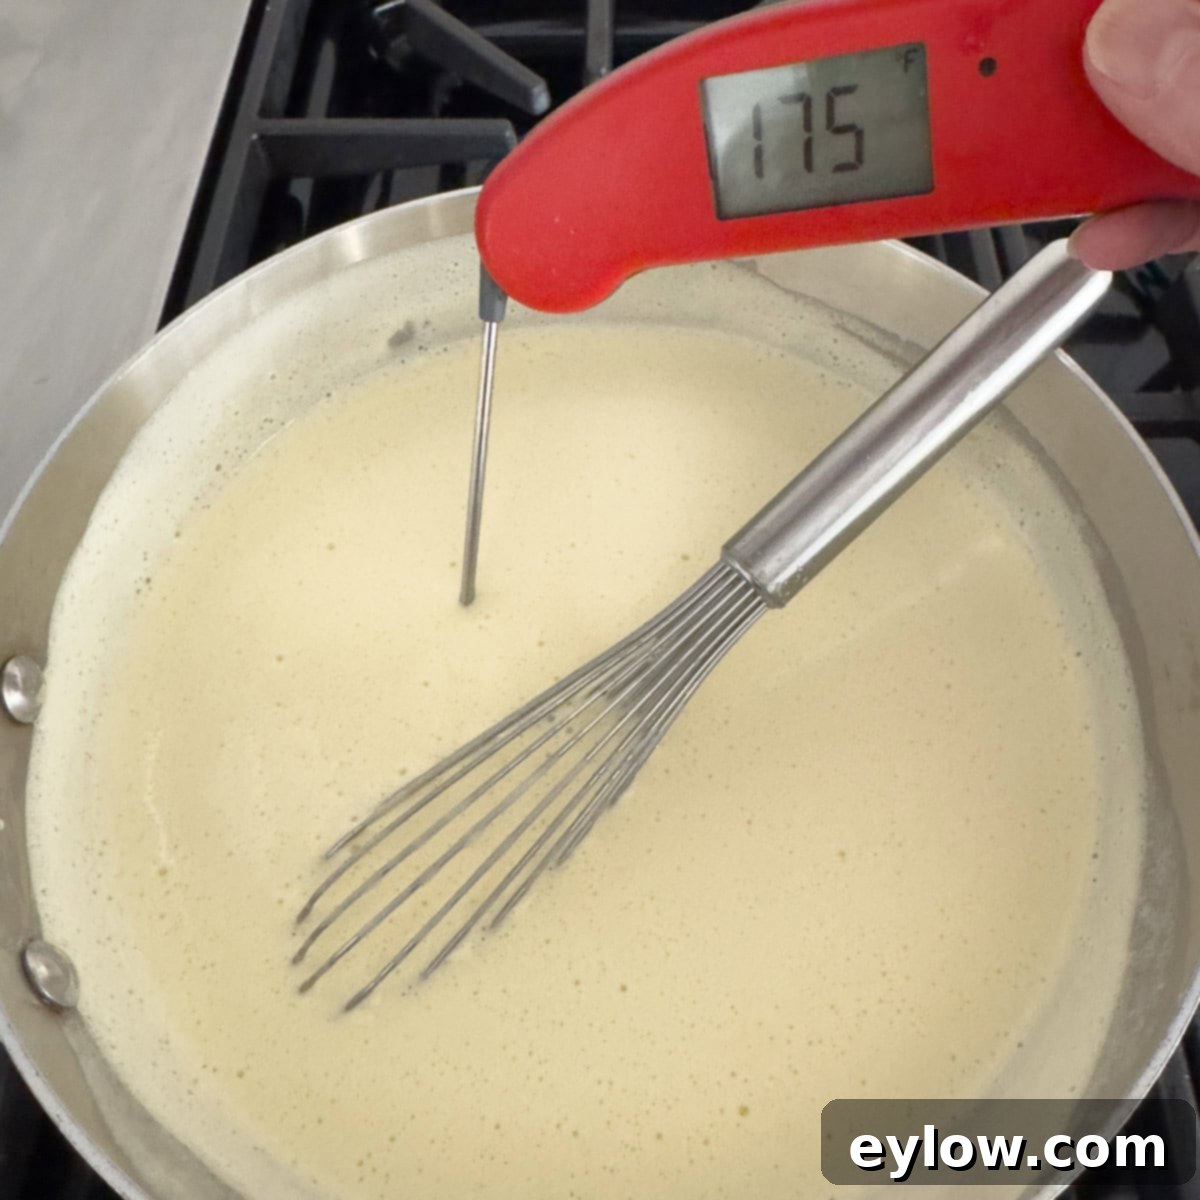
- Return the saucepan to medium-low heat and cook the custard base, stirring constantly with a wooden spoon or spatula, until it thickens slightly and reaches a temperature between 170°F and 175°F (77°C-79°C). This step won’t take long, so pay close attention. It’s vital not to exceed 180°F (82°C), as this can cause the eggs to curdle and result in a grainy texture. A reliable digital thermometer is your best friend here.
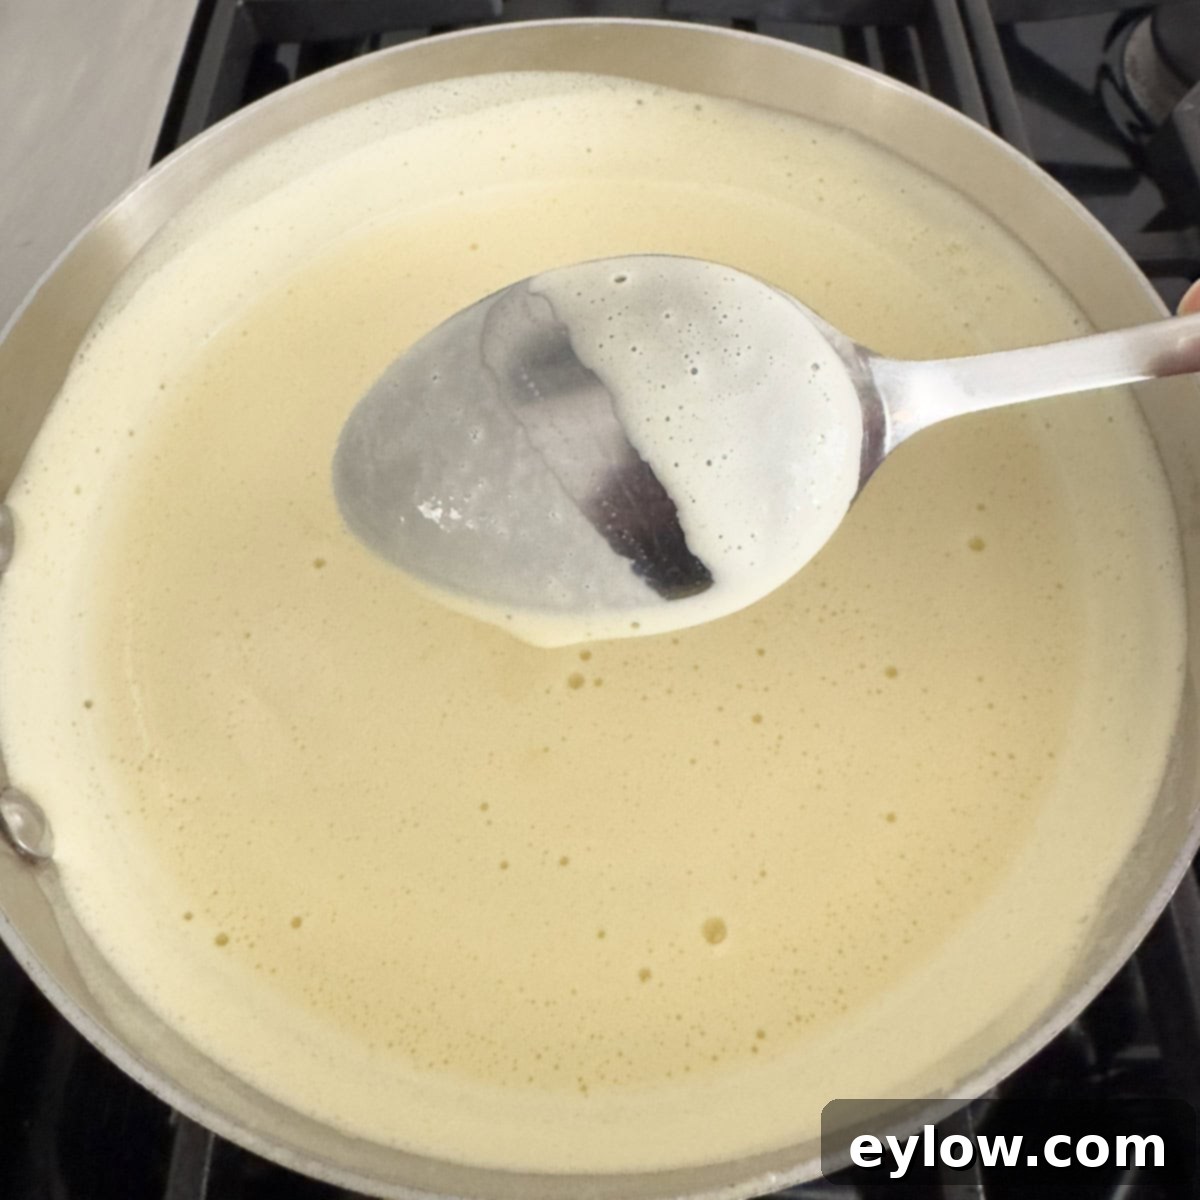
- If you don’t have a digital thermometer, you can use the traditional “spoon test” to gauge readiness. Dip a spoon into the custard, then draw your finger across the back of the spoon. If the line holds and the custard doesn’t run back together, it’s ready. However, remember that temperature reading is always more accurate and provides better control to prevent over-cooking, which can lead to a grainy or curdled custard.
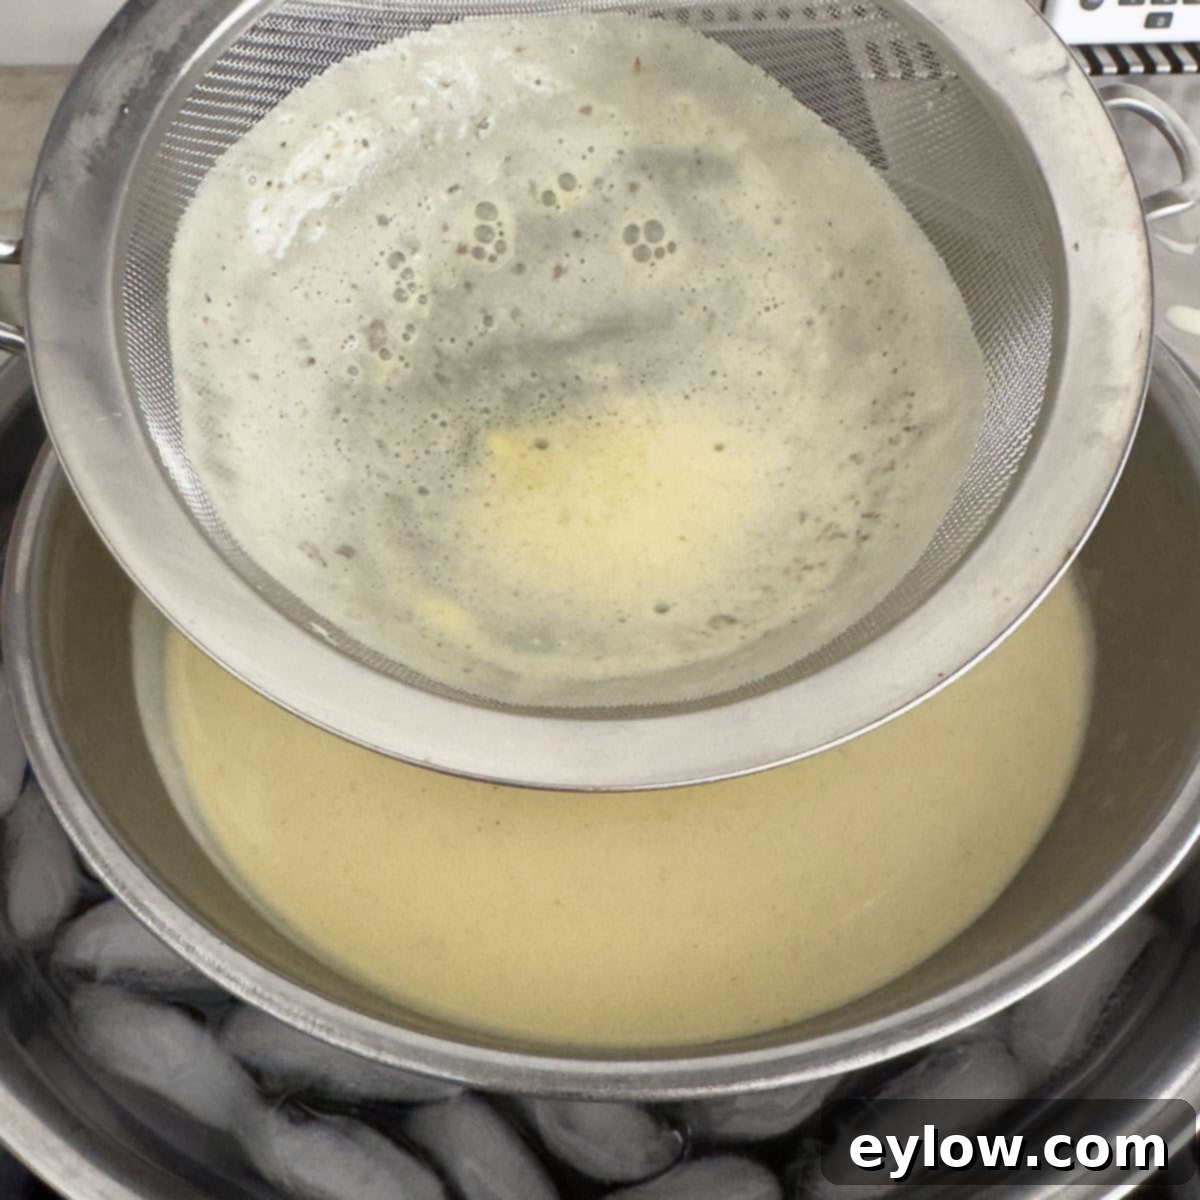
- Immediately pour the hot custard base through the fine-mesh sieve positioned in your prepared ice bath. This straining step is essential to catch any tiny bits of cooked egg that might have formed, ensuring a perfectly smooth custard. Stir the custard gently over the ice bath to help it cool down quickly and efficiently. Continue stirring until the custard reaches a temperature of 70°F (21°C) or less, which usually takes about 15-20 minutes. Once cooled, cover the bowl tightly with plastic wrap, pressing it directly onto the surface of the custard to prevent a skin from forming.
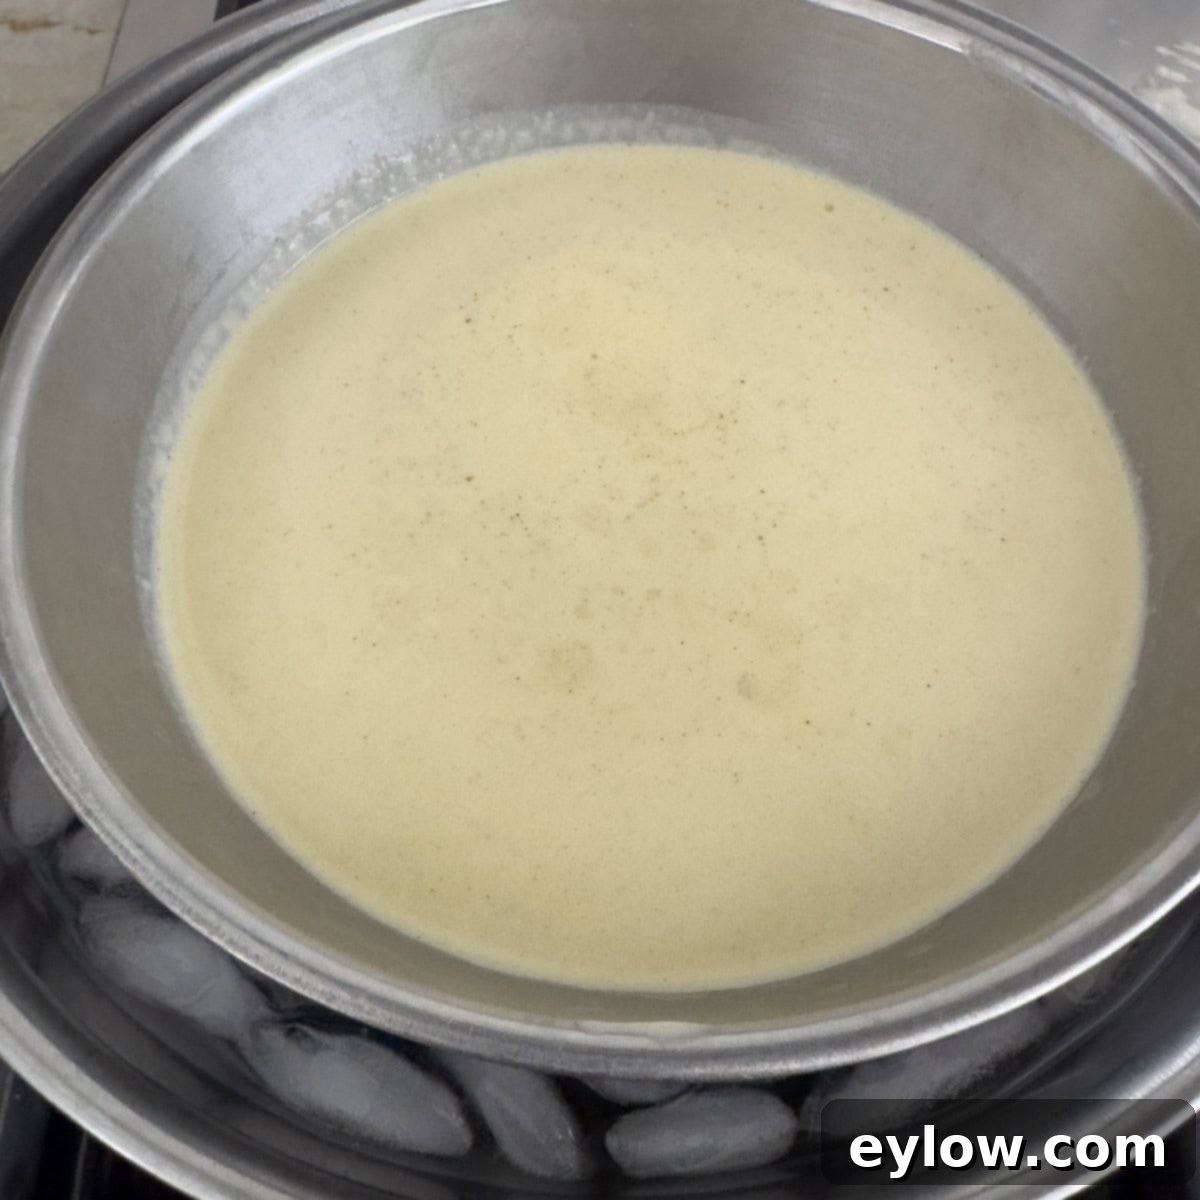
- Transfer the covered vanilla bean ice cream base to the refrigerator to chill thoroughly. For the best results and creamiest texture, it should chill for at least an hour or, even better, for several hours or overnight until it is very cold (around 40°F/4°C). This extended chilling period allows the flavors to meld and the fat to fully firm up, which is crucial for optimal churning. Once completely chilled, your rich custard base is ready to be churned according to the specific instructions of your ice cream machine. This thorough chilling is the key to achieving that smooth, desirable scoop-able consistency.
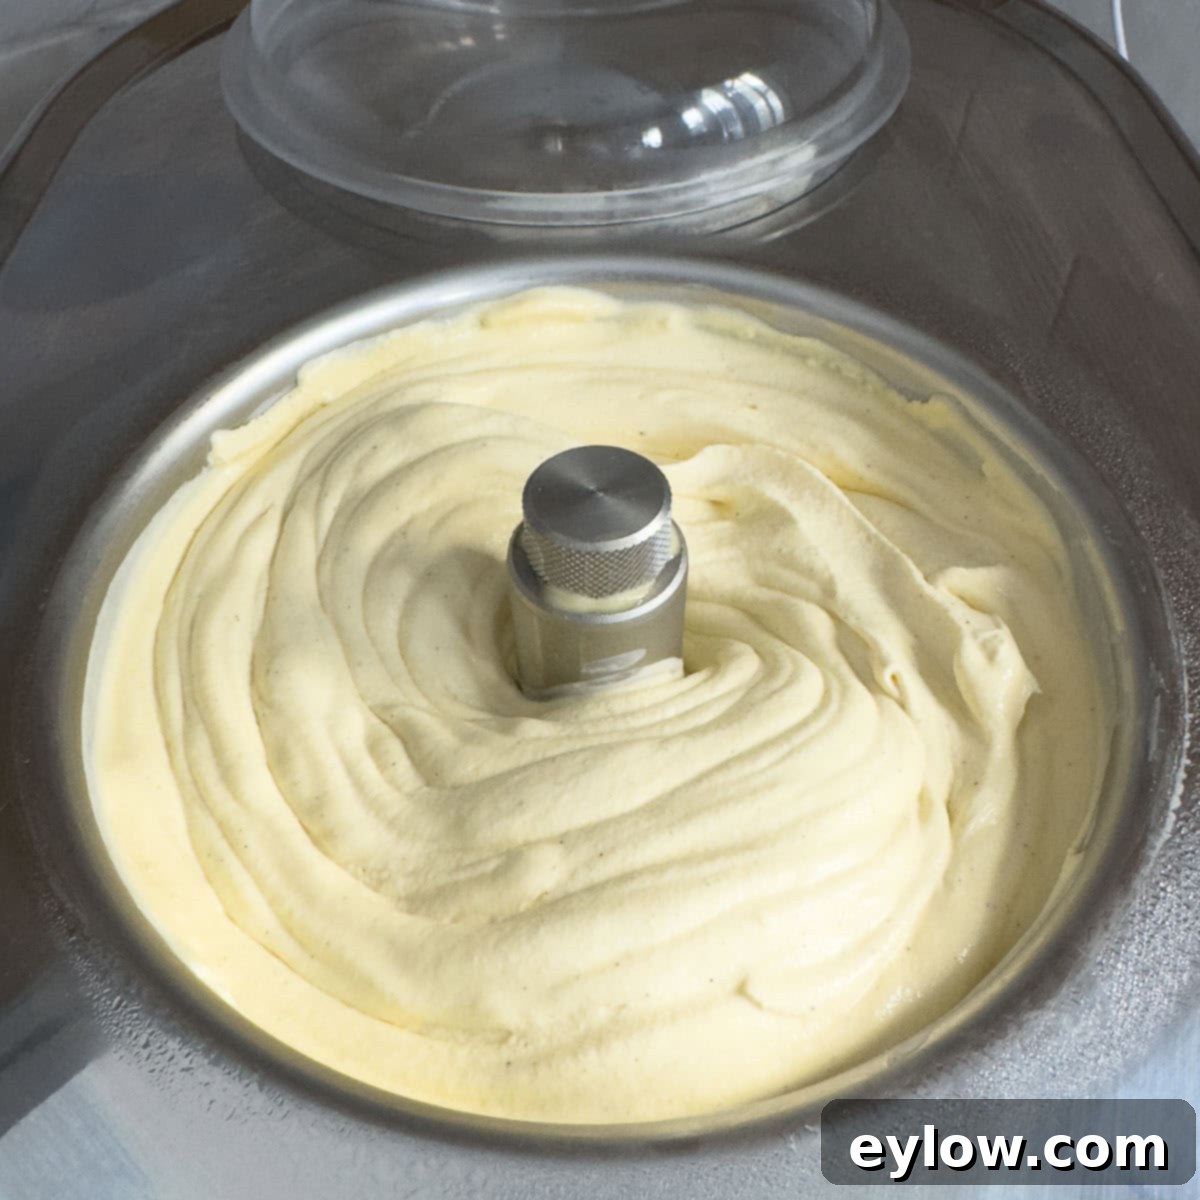
After churning, your ice cream will have the consistency of soft-serve. For a firmer, more traditional scoop, transfer it to an airtight container and freeze for several hours or overnight. Enjoy the fruits of your labor!
How to Serve Your Perfect Vanilla Bean Ice Cream
Serving ice cream might seem self-explanatory, but to truly showcase the beauty of your homemade vanilla bean creation, a few tips can make all the difference. For those coveted, perfectly round scoops that look like they came straight from a gourmet parlor, the right tool is indispensable. I wholeheartedly recommend investing in the best ice cream scooper I’ve ever used – its ergonomic design and sharp edge glide effortlessly through even the firmest ice cream, creating those beautiful, uniform spheres. Serve your ice cream immediately after scooping for the freshest taste and texture. Garnish with fresh berries, a drizzle of chocolate or caramel sauce, or a sprinkle of toasted nuts for an extra touch of elegance. This versatile vanilla base pairs beautifully with almost any dessert or stands gloriously on its own.
Chef’s Tip: Crème Anglaise Bonus!
Here’s a delightful secret: before you even think about churning this magnificent custard into ice cream, you’ve already created a classic French dessert – Crème Anglaise! This rich, pourable custard sauce is exquisite on its own. You can serve it warm, as a comforting accompaniment to warm cakes and fruit crisps, or chill it and serve it cold over a medley of fresh berries, delicate tarts, or simple sponge cakes for an elegant and sophisticated touch. It’s like getting two exquisite desserts from one preparation! This bonus sauce is particularly fantastic poured over my tender gluten-free pound cake or a slice of our cherry cake, adding a layer of creamy indulgence that takes them over the top.
Optimal Storage for Homemade Vanilla Bean Ice Cream
Proper storage is key to maintaining the ultra-creamy texture and exquisite flavor of your homemade vanilla bean ice cream. Over the years, I’ve experimented with countless containers – from stainless steel to glass loaf pans, and even traditional cardboard tubs with lids. While many options “work,” a few truly excel at keeping your ice cream fresh, soft, and perfectly scoopable for days, or even weeks:
- Best Overall: Dedicated Freezer-Safe Ice Cream Tubs – For superior results, a high-quality freezer-safe ice cream tub, especially those with a tight-fitting silicone lid, is unbeatable. These containers are specifically designed to minimize air exposure and prevent freezer burn, ensuring your ice cream remains wonderfully fresh, soft, and easy to scoop every time. Their durable construction also helps maintain an even temperature, which is crucial for preventing ice crystal formation.
- Also Excellent: Long, Narrow Containers – A long, narrow container, such as the one linked here, is another fantastic option. Its shape is particularly adept at facilitating those beautiful, elegant, rolling scoops that professional ice cream shops achieve. It also helps to distribute the cold evenly, contributing to a consistent texture throughout the batch.
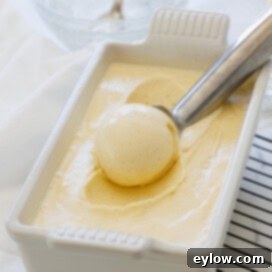
- Loaf Pans: A Cautionary Note – While metal loaf pans are often used, I generally don’t recommend them for this ultra-creamy custard base, as they tend to freeze ice cream too hard and can lead to unappealing icy edges. The high conductivity of metal can cause uneven freezing. However, a ceramic loaf pan (like the charming Le Creuset loaf pan featured in the lead photo) performs significantly better due to its insulating properties, allowing for more even freezing and preventing excessive hardening. If using a loaf pan, ceramic is definitely the way to go.
Pro Tip for Preventing Ice Crystals: Regardless of the container you choose, always press a piece of parchment paper or wax paper directly against the surface of the ice cream before sealing it with a lid. This simple step creates an airtight barrier, effectively preventing air from reaching the ice cream and forming unsightly and texturally unpleasant ice crystals on the surface. This ensures your scoops remain ultra-smooth and delicious from the first to the last spoonful.
Frequently Asked Questions About Vanilla Bean Ice Cream
The primary difference lies in the source of the vanilla flavor and visual appeal. Regular vanilla ice cream is typically flavored with vanilla extract, which is derived from vanilla beans but lacks the visible specks. Vanilla bean ice cream, on the other hand, is made with actual vanilla bean seeds or vanilla bean paste, giving it a richer, more complex aromatic flavor and distinctive dark flecks that you can see and taste. Since vanilla is one of the world’s most expensive spices, some commercial “vanilla” ice creams may even use artificial vanilla flavorings. Always read the label carefully to ensure you’re getting the genuine article with real vanilla bean for that robust, authentic flavor.
While you certainly can use vanilla extract in this recipe, it will result in delicious vanilla ice cream, but not true vanilla bean ice cream. The visual flecks and the nuanced, deeper flavor profile provided by actual vanilla beans or paste are what make vanilla bean ice cream distinctly special. Vanilla extract delivers the flavor, but the overall experience of “vanilla bean” is elevated by the presence of those tiny black seeds. For the ultimate premium experience, vanilla bean paste is highly recommended.
Absolutely! Vanilla bean paste is an excellent, convenient, and often superior alternative to using whole vanilla beans. It offers the intense, aromatic flavor of vanilla beans along with those coveted black specks, giving your ice cream a gourmet appearance. It saves you the time and effort of splitting and scraping pods, making the process much faster and easier without compromising on the rich vanilla flavor or aesthetic appeal.
The key distinctions between gelato and ice cream lie in their composition and churning process. Gelato is traditionally churned at a much slower speed than ice cream, which incorporates less air into the mixture. This results in a denser, often silkier texture. Additionally, traditional gelato typically uses more milk and less cream, and many authentic gelato recipes omit egg yolks entirely. Ice cream, on the other hand, usually boasts a higher proportion of heavy cream and often includes egg yolks, contributing to its richer, custard-like base and generally higher butterfat content. These differences in fat, air, and churning create distinct textural experiences.
Yes, absolutely! This versatile vanilla bean ice cream recipe is designed to work beautifully in any electric ice cream maker, including popular models like the Cuisinart. Simply ensure your machine’s bowl is properly pre-frozen (if it’s a freezer-bowl model) and follow your appliance’s specific churning instructions once your custard base is thoroughly chilled.
More Delightful Summer Dessert Recipes
This homemade vanilla bean ice cream is incredibly versatile and pairs wonderfully with a variety of desserts. Here are a few suggestions to serve alongside your creamy creation, or consider drizzling our fresh strawberry sauce over the top for a vibrant fruity touch. For even more inspiration, be sure to explore our extensive dessert recipe page!
- Fudgy Gluten-Free Chocolate Brownies
- Easy One-Pan Cherry Cake with Fresh Cherries
- Super Moist Lemon Olive Oil Cake Recipe
- Fast and Fresh Strawberry Coulis
⭐️Did You Make This Recipe?
If you’ve had the pleasure of making this homemade vanilla bean ice cream, I would absolutely love to hear about your experience! Please feel free to comment below and share your thoughts. If you truly loved it and found it to be the best vanilla ice cream recipe, a 5-star rating would be incredibly helpful! Your ratings and feedback genuinely assist other readers in discovering and enjoying this recipe.
📖 Recipe
Vanilla Bean Ice Cream
Sally CameronEquipment
- Ice Cream Maker
Ingredients
- 2 cups heavy whipping cream
- 1 ½ cups whole milk
- 5-6 large egg yolks
- ⅔ cup sugar
- 2 tablespoons whole milk powder
- ½ teaspoon vanilla bean paste see note below
- ½ teaspoon almond extract optional
- 1 pinch sea salt
Instructions
Set up an ice bath
- Prepare your ice bath: fill a large bowl halfway with ice and cold water. Carefully place a medium-sized bowl inside, ensuring it sits securely. Then, rest a fine-mesh sieve over the top of the inner bowl. This essential setup will allow you to quickly chill the cooked custard base, a critical step that helps prevent bacterial growth and ensures a luxuriously smooth, crystal-free ice cream texture.
Separate eggs and prepare yolks
- Carefully separate the eggs, reserving the egg yolks for the custard and setting aside the egg whites for another culinary use (like meringues or omelets). In a medium bowl, vigorously whisk the egg yolks and sugar together until the mixture is completely smooth, significantly lighter in yellow color, and slightly thickened. This process helps dissolve the sugar and prepares the yolks for tempering.Chef’s Tip: Eggs are generally easier to separate when they are cold, as the yolks are firmer and less likely to break.
Craft the velvety custard ice cream base
- In a medium saucepan, combine the whole milk, heavy cream, and whole milk powder. Heat this mixture over medium-low heat, stirring occasionally, until it just begins to steam around the edges and tiny bubbles form, but do not allow it to boil vigorously. Remove the pan from the hot burner. Using a measuring cup or a large ladle, carefully add small portions of the hot cream mixture, little by little, into the bowl containing the whisked egg yolks and sugar. Whisk continuously and quickly as you add each portion. This crucial step, known as tempering, gradually raises the temperature of the egg yolks, preventing them from scrambling when fully combined with the hot dairy. Once about half of the dairy mixture has been added to the yolks and fully incorporated, pour the tempered yolk mixture back into the saucepan with the remaining hot cream, stirring to combine.
- Return the saucepan to medium-low heat and cook the custard base, stirring constantly with a heat-proof spatula or wooden spoon. Continue stirring until the custard thickens slightly and reaches a temperature of 170°F-175°F (77°C-79°C). It’s crucial not to exceed 180°F (82°C), as doing so can cause the eggs to curdle, resulting in a grainy texture. For precision, always use a reliable digital kitchen thermometer.Alternatively, you can perform the “spoon test”: the custard should be thick enough to coat the back of a spoon, and when you draw your finger through it, the line should hold without the custard running back together. However, remember that the temperature reading is significantly more accurate and reliable, making it easier to avoid over-cooking.
- Immediately pour the cooked custard through the fine-mesh sieve into the chilled bowl that is nestled within your ice bath. The sieve will effectively catch any stray bits of cooked egg, ensuring a perfectly smooth and luxurious custard. Stir the custard gently but consistently over the ice bath to help it release its heat rapidly and cool down. Continue stirring until the custard reaches a temperature at or below 70°F (21°C), which typically takes about 15-20 minutes. This quick cooling is essential for a smooth texture and food safety.
- Once the base is cooled to 70°F or less, cover the bowl tightly with plastic wrap, pressing it directly onto the surface of the custard to prevent a skin from forming. Transfer it to the refrigerator to chill further and get as cold as possible – ideally for an hour or two, but even better if left overnight. This extended chilling allows the flavors to deepen and the fat globules to solidify, which is vital for achieving the creamiest consistency during churning. This base can even be made a day ahead. When the base is thoroughly cold, process it according to the specific directions of your ice cream machine.
- Upon completion of churning, your vanilla bean ice cream will have a soft-serve consistency. To serve it immediately, enjoy it straight out of the machine. For a firmer, more traditional scoop, carefully scrape the freshly churned ice cream into a freezer-safe, airtight container and freeze for several hours, or ideally, overnight, to allow it to fully set.If your ice cream becomes too hard after prolonged freezing, simply allow it to stand at room temperature for approximately 15-20 minutes before serving. Check its consistency periodically to ensure it doesn’t get too soft. Scoop and savor your homemade masterpiece!
