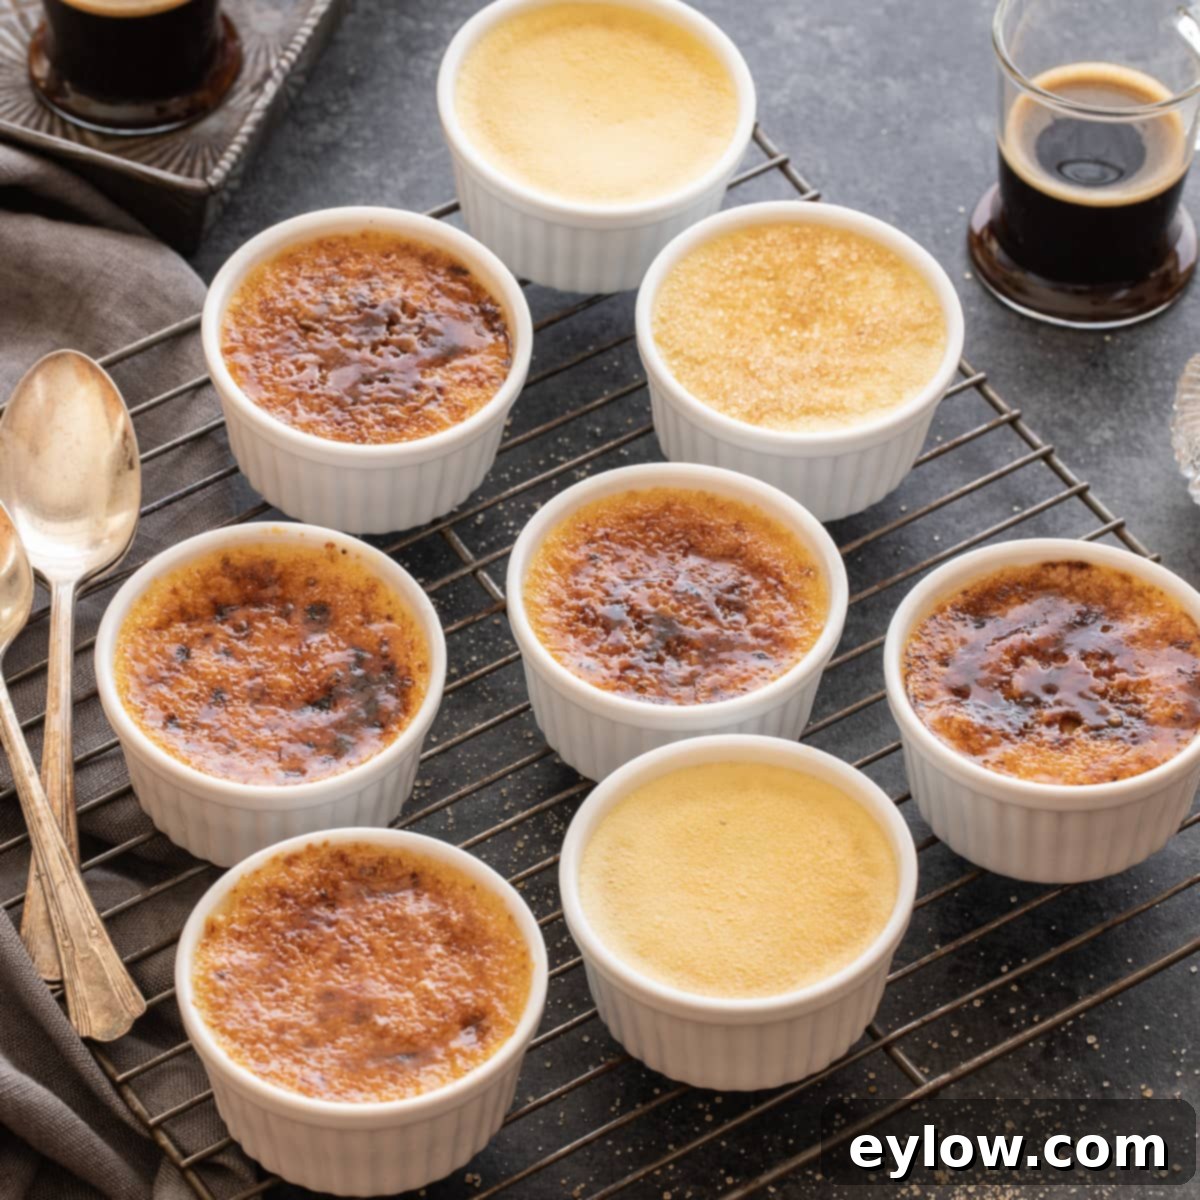
Easy Homemade Vanilla Bean Crème Brûlée: A Step-by-Step Blender Method for Perfect Results
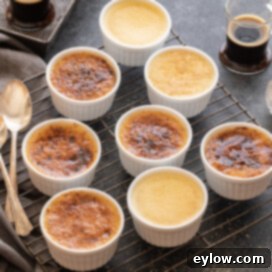
Indulge in the exquisite pleasure of a classic French dessert, right in your own kitchen! This recipe for vanilla bean crème brûlée delivers a rich, creamy custard crowned with a perfectly caramelized sugar crust. What makes it even better? It’s surprisingly easy to achieve at home. Using just four simple ingredients and a clever blender method, we streamline the process for truly foolproof results. These delightful mini crème brûlées are the ideal sweet conclusion to any meal, especially a holiday dinner, offering just enough decadence to satisfy a sweet tooth without overdoing it. Plus, they can be prepared ahead of time, making entertaining a breeze.
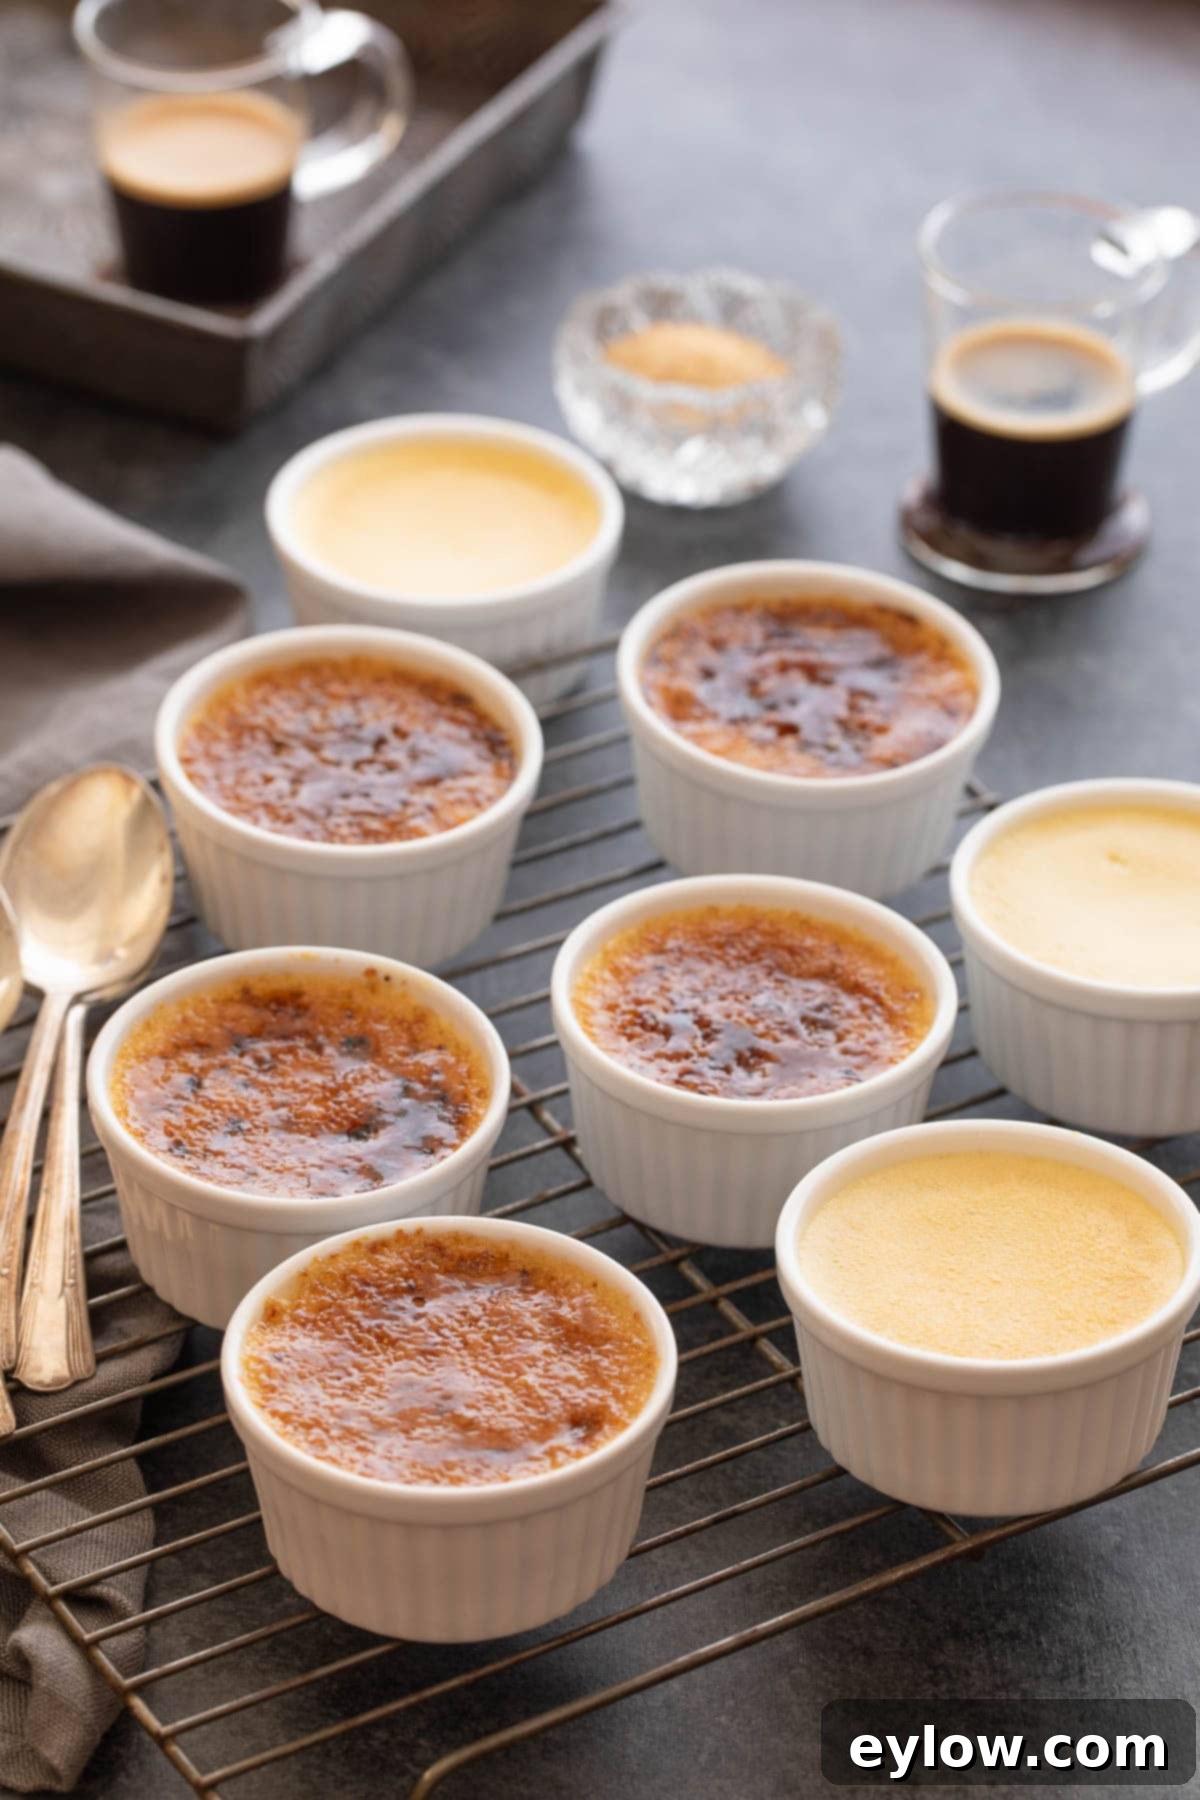
My journey into developing this simplified blender method for making mini vanilla bean crème brûlée stems from years of catering dinner parties. The traditional method can be time-consuming and prone to inconsistencies, especially when preparing multiple servings. The blender technique makes it incredibly easy and fast to produce anywhere from a few to dozens of these individual desserts. This particular recipe yields 12-13 two-ounce crème brûlées, a perfect mini size that allows guests to enjoy a few satisfying, sweet bites after a substantial meal without any feelings of dessert guilt. It’s truly a win-win for both the host and the guests!
Why You’ll Adore This Easy Crème Brûlée Recipe
There are countless reasons to fall in love with making homemade crème brûlée, and this recipe highlights the best of them:
- Restaurant-Quality Dessert at Home: Impress your family and friends with a sophisticated dessert typically found on high-end restaurant menus, all created in your own kitchen with minimal fuss.
- Simple and Foolproof Method: Forget complicated whisking and tempering. Our blender method streamlines the custard preparation, ensuring a smooth, air-bubble-free mixture every time, even for beginner bakers.
- A Timeless and Indulgent Classic: Crème brûlée is a beloved dessert for a reason. Its rich, velvety texture paired with the crisp, caramelized sugar crust offers an irresistible contrast that delights the senses.
- Perfect for Any Occasion: Elegant enough for special gatherings and simple enough for a weeknight treat, this dessert is versatile and always a crowd-pleaser.
- Make-Ahead Convenience: The custards can be prepared days in advance, leaving only the fun torching step for just before serving, freeing up your time when entertaining.
If you’re looking to explore more classic French desserts, don’t miss our recipe for easy gluten-free crepes! They are delightful, versatile, and fun to make for breakfast or dessert.
Essential Ingredients for Perfect Crème Brûlée
Achieving the perfect crème brûlée relies on a few high-quality, simple ingredients. Here’s what you’ll need and why:
- Heavy Cream: This is the backbone of your rich custard. It’s crucial to use heavy whipping cream, which has a butterfat content of at least 36%. Do not substitute with regular whipping cream or lighter dairy products, as the lower fat content will result in a less creamy, less stable custard. Higher fat content contributes significantly to the luxurious texture we seek in crème brûlée.
- Eggs: For this recipe, you’ll only need the egg yolks. The yolks provide the thickening power and contribute to the custard’s signature rich flavor and silky texture. The whites, while useful for other recipes like meringues, would make the custard rubbery.
- Sugar: You’ll need two types of sugar for this recipe. For the custard itself, either superfine sugar or regular granulated sugar works perfectly. Superfine sugar dissolves more quickly, but granulated sugar is also fine since the blender ensures it integrates smoothly. For the iconic caramelized top, turbinado or demerara sugar is ideal due to its larger crystals, which create a more distinct and satisfyingly crunchy crust when torched.
- Vanilla: Vanilla is the star flavor. While vanilla beans are traditionally used, vanilla bean paste offers a fantastic alternative. It’s easier to measure and use than scraping fresh beans, yet still provides those beautiful vanilla speckles and an intense, authentic vanilla flavor. Vanilla extract can be used in a pinch, but paste offers a superior aroma and visual appeal.
Chef’s Tip: Heavy Whipping Cream vs. Whipping Cream: Understanding the difference is key to a perfect custard. Heavy whipping cream contains no less than 36% butterfat, making it exceptionally rich and ideal for creating a dense, stable custard. Whipping cream, on the other hand, has a slightly lower fat content, typically between 30-36%. Some dairies even offer extra-rich heavy whipping cream with up to 40% butterfat. Always opt for heavy whipping cream for the best results in crème brûlée.
Crème Brûlée Substitutions and Flavorful Variations
While the classic vanilla bean crème brûlée is undeniably delicious, there’s plenty of room for creativity and adaptation:
- Vanilla Options: If vanilla bean paste isn’t available, you can substitute with pure vanilla extract. Use 1.5 to 2 times the amount of extract as paste for comparable flavor intensity. Alternatively, for a truly authentic experience, scrape the seeds from one vanilla bean directly into the cream.
- Sugar for the Top: While turbinado or demerara sugar provides the best crunch, you can also use regular granulated sugar or superfine sugar to caramelize the top. Just be aware that finer sugars melt and burn more quickly, so watch them closely under the torch.
- Flavor Infusions: Experiment with different flavorings! You can infuse the cream with citrus zests (lemon, orange, grapefruit), spices like cinnamon stick or star anise, coffee beans, or even lavender. Simply steep your chosen flavoring in the warm cream before chilling and blending.
- Chocolate Crème Brûlée: Add high-quality melted dark chocolate or cocoa powder to the custard mixture for a decadent chocolate version.
- Liqueur Enhancements: A tablespoon or two of a complementary liqueur, such as Grand Marnier, Kahlúa, or Frangelico, can add an adult twist to your crème brûlée. Add it to the blender with the other ingredients.
For another exquisite French-inspired dessert, explore the ethereal Sabayon, a delicate sauce made with Champagne and often served with fresh berries. It’s a light and elegant alternative!
Chef’s Tip on Vanilla Quality: For the most pronounced and delightful vanilla flavor, I highly recommend using vanilla bean paste. It’s more concentrated and holds up better to heat than extract, ensuring that rich vanilla essence permeates your custard. My personal favorite is Tahitian Gold, known for its bold, rich profile and the beautiful flecks of vanilla bean it leaves in the custard. If you’re a true vanilla aficionado, it’s definitely worth checking out!
The Easy Blender Method: How to Make Crème Brûlée
This recipe breaks down the process into simple, manageable steps, leveraging the power of your blender for a smooth and effortless custard.
Step 1: Prepare the Silky Custard
The beauty of this recipe starts with the blender. Add all your custard ingredients—heavy cream, egg yolks, and sugar—into the blender container. Blend on the lowest speed for exactly one minute. This duration is sufficient for the sugar to fully dissolve into the liquid. It’s crucial to avoid blending on high speed, as this will aerate the custard excessively, creating unwanted bubbles that can compromise the final texture. A smooth, dense custard is the goal.
After blending, allow the mixture to stand for a few minutes. This resting period gives any minor bubbles that did form a chance to subside naturally. Once you’ve filled your ramekins, you can gently pop any remaining large bubbles on the surface with a toothpick. Don’t stress too much over tiny imperfections; they will be perfectly concealed and transformed by the coarse sugar and the blow torch caramelization just before serving.
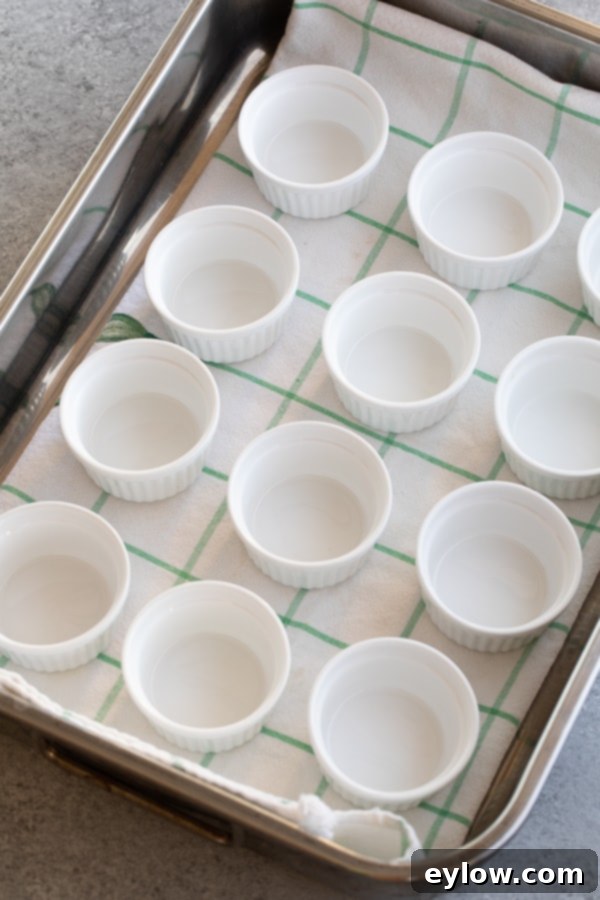
Step 2: Setting Up the Essential Water Bath (Bain-Marie)
A water bath, also known as a bain-marie, is an indispensable technique for baking delicate custards like crème brûlée. It ensures gentle, even cooking, preventing the custard from curdling, cracking, or cooking too quickly around the edges. This controlled environment results in an incredibly smooth, velvety texture. Here’s how to set up your water bath for success:
- Choose Your Pan: Select a large casserole dish or a roasting pan with a flat bottom that is spacious enough to comfortably hold all your ramekins without crowding.
- Cushion the Bottom: Line the bottom of your chosen pan with a folded kitchen towel or a few layers of paper towels. This serves two important purposes: it prevents the ramekins from sliding around during transport and baking, and it helps insulate them, further promoting even heat distribution.
- Arrange Ramekins: Place your empty ramekins inside the lined pan, ensuring there’s a little space between each for the hot water to circulate freely.
- Fill with Custard: Once your liquid custard is prepared and de-bubbled, carefully pour it into the ramekins, distributing the mixture as equally as possible, filling them almost to the very top. A funnel can be helpful for precise pouring and to minimize drips.
- Add Hot Water: Slowly and carefully pour boiling hot water (from a tea kettle or saucepan) into the roasting pan, around the ramekins. Be extremely cautious to avoid splashing any water into the custards themselves. Fill the pan until the water reaches about halfway up the sides of the ramekins.
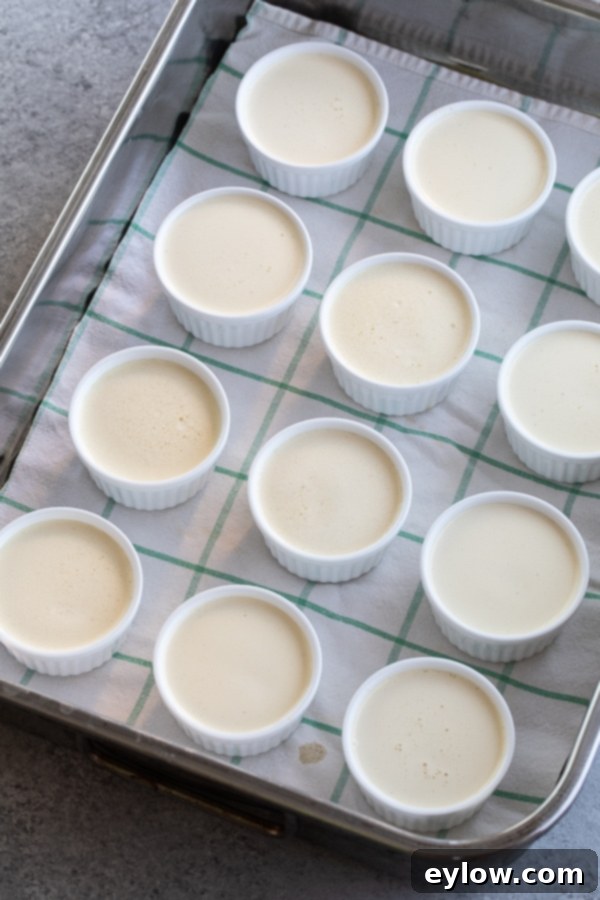
Step 3: Baking and Cooling Your Crème Brûlée
With your water bath assembled and the oven pre-heated to 325°F (160°C), it’s time to bake! Carefully lift the entire pan, ensuring a steady hand to prevent any water from sloshing into the ramekins. Gently place the pan into the preheated oven, ideally on the center rack, to ensure even baking.
Bake the crème brûlée for approximately 35-45 minutes. The exact timing can vary slightly depending on your oven and the size of your ramekins, so keep a close eye on them. The custards are ready when they are almost entirely set, but still have a slight, delicate jiggle in the very center when gently shaken. A digital kitchen thermometer inserted into the center of a custard (without touching the bottom of the ramekin) should read around 175°F (79°C). Overbaking can lead to a rubbery texture, so err on the side of slightly underbaked if unsure, as they will continue to set as they cool.
Once baked, carefully remove the pan from the oven. Using tongs (silicone-tipped tongs are excellent for grip, or wrap rubber bands around regular metal tongs for extra stability), gently lift each hot ramekin from the water bath and place it on a wire cooling rack. This allows air to circulate, facilitating even and complete cooling.
Allow the crème brûlée to cool completely at room temperature before covering them. Once cooled, cover the ramekins tightly (individual plastic wrap or a single sheet over a baking tray) and refrigerate them for at least 4 hours, or preferably overnight. The chilling process is crucial for the custards to fully set and achieve their optimal creamy consistency.
Chef’s Tip for Making Ahead: If you’re preparing these delicious desserts in advance, place the completely cooled ramekins on a rimmed baking sheet. Before wrapping the entire tray tightly with plastic wrap, lay a single layer of paper towels directly over the ramekins. This simple trick will absorb any condensation that might collect inside the plastic wrap, preventing it from dripping onto and diluting your perfectly smooth custards.
Essential Tips and Tools for Crème Brûlée Success
Equip yourself with the right knowledge and tools to ensure your homemade crème brûlée turns out perfectly every time:
- Separating Eggs: Always separate your egg yolks from whites while the eggs are cold. Cold eggs have firmer yolks, which are less likely to break, making separation much easier and cleaner.
- Ramekin Choice: Standard two-ounce or two-and-a-half-ounce white porcelain ramekins are ideal for individual servings. These are widely available at cooking stores and online. Keep in mind that ramekin sizes can vary slightly, so you might yield 12 or 13 mini crème brûlées per batch.
- The Right Baking Pan: Utilize a large, flat-bottomed baking pan, such as a roasting pan, to ensure your ramekins sit completely flat and stable in the water bath. This prevents uneven cooking.
- Stabilize with a Cloth: Placing a folded dish cloth or paper towels at the bottom of the baking pan before arranging the ramekins is a simple yet effective way to stabilize them and prevent them from shifting or tipping during baking. You can even cut up an old dish towel specifically for this purpose.
- Invest in a Good Torch: While some recipes suggest a broiler, a proper blow torch provides far superior control for caramelizing the sugar crust. Skip the slow, expensive mini torches often sold in cooking stores. Instead, buy a robust blow torch top that attaches to a standard butane can. This setup is faster, more efficient, and often more economical, giving you professional results.
- Digital Thermometer: A digital kitchen thermometer is a great tool to ensure your custards are cooked to the perfect temperature (175°F or 79°C), guaranteeing a smooth, creamy set.
- Funnel for Filling: A simple funnel can make filling the ramekins much easier and cleaner, especially when dealing with hot liquid and small openings.
For another delightful crème brûlée variation, be sure to try this vibrant orange crème brûlée with a hint of ginger. And if you’re a fan of classic desserts, don’t miss our recipe for a perfect cheesecake made in a pressure cooker!
Serving Your Crème Brûlée and Storage Tips
The final touches before serving are what elevate crème brûlée from a simple custard to a truly spectacular dessert experience.
The Art of Caramelizing: Time to Torch!
To serve your chilled vanilla bean crème brûlée, remove the ramekins from the refrigerator. Sprinkle about 1 to 1.5 teaspoons of turbinado or demerara sugar evenly over the top of each custard. Gently tilt and tap the ramekin to ensure the sugar forms a uniform, thin layer across the entire surface. A light, even coating is key for the best caramelization; too much sugar can lead to a thick, overly hard, or even burnt crust.
Next, grab your blow torch. Light it and adjust the flame to a soft, broad cone rather than a sharp pinpoint. Hold the torch a few inches above the sugar, moving it constantly in small circles. Watch the sugar intently as it begins to melt, bubble, and transform. Aim for a beautiful, deep golden-brown color. Be careful not to hold the flame in one spot for too long, as this can easily burn the sugar and impart a bitter taste. The process typically takes 30 seconds to 1 minute per ramekin, but practice will help you understand the perfect timing.
Once torched, allow the crème brûlée to cool for a few minutes. The caramelized sugar will harden into a brittle, glossy crust. Serve immediately, perhaps with a few fresh berries on the side for a touch of color and tartness.
Make-Ahead Convenience and Storage
One of the many benefits of crème brûlée is its make-ahead potential. The vanilla bean custards can be prepared and refrigerated for up to 3 days, provided they are stored tightly covered. This flexibility makes them an ideal dessert for dinner parties, as you can do most of the work in advance.
However, it’s crucial to remember that the caramelized sugar top is always best when freshly made. Once burned, the sugar crust will begin to “weep” and soften as it absorbs moisture from the air and the custard, losing its crisp texture. For this reason, always burn (or brûlée) the sugar just before you plan to serve. This final flourish is not only easy and fun but also provides a captivating show for your guests, adding an extra layer of excitement to their dessert experience!
Crème Brûlée Recipe FAQs
For the richest, creamiest crème brûlée, heavy cream (also known as heavy whipping cream) is essential. Look for a product with a minimum of 36% butterfat. Some premium brands offer cream with up to 40% butterfat, which will yield an even more luxurious result. Avoid regular whipping cream or lighter dairy alternatives like whole milk or half-and-half, as their lower fat content will prevent the custard from setting properly and achieving the desired velvety texture.
Yes, using a water bath (bain-marie) is absolutely a must when baking crème brûlée and other custards. This method ensures that the custard cooks gently and evenly, preventing the edges from overcooking and becoming rubbery while the center remains unset. It also helps prevent cracking on the surface. Setting up a water bath is straightforward: simply place your ramekins in a large, flat-bottomed roasting pan or casserole dish, add a kitchen towel to the bottom to stabilize them, and pour boiling water around them until it reaches halfway up their sides.
For the best results and that iconic, perfectly crisp sugar crust, a culinary blow torch is highly recommended. Torches provide precise control, allowing you to achieve an even golden-brown caramelization without cooking the custard further. You can find inexpensive torch heads that attach to butane cans online or at hardware stores; these are often more powerful and cost-effective than the small mini torches sold in cooking supply shops. While some recipes suggest using a broiler, it offers less control and a higher risk of burning the sugar or overheating the custard, which can cause it to crack. Investing in an inexpensive torch is well worth it for consistently excellent crème brûlée.
A rubbery or curdled texture is typically a sign of overbaking. Custards are delicate and set gently. Baking them for too long or at too high a temperature can cause the egg proteins to seize up, resulting in an undesirable texture. Always use a water bath to regulate heat, and remove the custards from the oven when they still have a slight jiggle in the center. They will continue to set as they cool and chill.
While some custard recipes use whole eggs, crème brûlée traditionally calls for only egg yolks. The yolks provide the rich flavor, deep yellow color, and velvety, dense texture characteristic of this dessert. Using whole eggs would introduce too much water and protein from the whites, which can result in a lighter, less rich, and more rubbery custard that doesn’t hold its shape as well. It’s best to stick to just the yolks for authentic crème brûlée.
Explore More Decadent Dessert Recipes
If you have a sweet tooth and enjoyed mastering this classic, delve into a world of other exquisite desserts. From rich chocolate tarts to creamy mousses, comforting cookies, and luscious cakes, you’ll find the perfect treat for any occasion by checking out our comprehensive dessert recipes index page. Discover new favorites and elevate your baking repertoire!
- Decadent Chocolate Ganache Tart
- How to Make White Chocolate Mousse
- Pumpkin Mousse (Easy No-Bake Dessert)
- Orange Creme Brulee
⭐️Did You Make This Recipe?
If you make this vanilla bean crème brûlée, please leave a comment below and let me know how it turned out. If it was a hit, please give the recipe a 5-star rating! Your feedback truly helps other readers, and I always love hearing from you.
📖 Recipe
Easy Vanilla Creme Brulee
Sally Cameron
Pin Recipe
Equipment
-
12-13 2-ounce porcelain ramekins
-
a large flat bottom roasting pan
-
blow torch (see post)
-
digital kitchen thermometer
-
funnel
Ingredients
Mini Vanilla Bean Creme Brûlée
- 3 cups heavy cream not whipping cream
- 9 extra large egg yolks reserve whites for other use
- 7 tablespoons natural sugar
- 2 teaspoons vanilla bean paste
- 6 tablespoons turbinado or demerara sugar for top
Instructions
-
Prepare your baking environment: Start by preparing your water bath setup. Choose a large, flat-bottomed roasting pan or baking dish that is spacious enough to hold all 12-13 ramekins without them touching. Line the bottom of the pan with a folded kitchen towel or several layers of paper towels to stabilize the ramekins. Arrange the empty ramekins evenly in the pan, ensuring they sit perfectly flat and have some space for water circulation. Begin boiling a kettle of water for the water bath. Finally, pre-heat your oven to 325°F (160°C) with an oven rack positioned in the center.
-
Make the velvety custard: In a blender, combine the egg yolks, heavy cream, and vanilla bean paste (or extract). Blend the mixture on the lowest speed for exactly one minute. This gentle blending ensures the sugar dissolves completely without incorporating too much air. After blending, allow the blender container to stand undisturbed for 1-2 minutes; this crucial step gives any surface bubbles time to dissipate, leading to a smoother custard. Carefully pour the de-bubbled custard mixture into the prepared ramekins, filling each one almost to the very top. If any large bubbles remain on the surface, gently pop them with a toothpick.
-
Bake the custards in a water bath: Place the roasting pan with the filled ramekins on a stable surface. Using a funnel to avoid splashing, slowly and carefully pour the boiling hot water from your kettle into the pan, around the ramekins, until the water level reaches approximately halfway up their sides. With a steady and cautious hand, carefully transfer the entire pan to the preheated oven. Bake the crème brûlée custards for approximately 35-45 minutes. Baking times can vary by oven, so begin checking around 35 minutes. The custards are done when a digital kitchen thermometer inserted into the center reads 175°F (79°C) and the center of the custards still shows a slight, gentle wobble.
-
Cool and chill for optimal texture: Once baked, carefully remove the roasting pan from the oven. Using silicone-tipped tongs (or metal tongs wrapped with rubber bands for better grip and insulation), gently lift each ramekin from the hot water bath and transfer it to a wire cooling rack. Allow the custards to cool completely to room temperature before covering them. Once cooled, cover the ramekins tightly with plastic wrap and refrigerate them for at least 4 hours, or ideally overnight, to allow them to fully chill and set into their perfectly creamy consistency.
-
Caramelize and serve: When ready to serve, have your culinary blow torch at hand. Take one chilled custard and sprinkle approximately 1.5 teaspoons of turbinado or demerara sugar evenly over its top surface. Gently tilt and tap the ramekin to ensure the sugar is spread in a thin, uniform layer. Pour any excess sugar onto the next custard and repeat the process for all. Light your blow torch and adjust the flame to a soft, broad cone. Hold the torch a few inches above the sugar, moving it constantly in small circles. Watch carefully as the sugar melts, bubbles, and turns a beautiful deep golden-brown. Avoid burning it to black. Allow the caramelized top to cool for a minute or two until it hardens, then serve immediately. Fresh berries on the side make a wonderful accompaniment.
Notes
- To ensure maximum stability and insulation for your ramekins, you can fold a dishtowel or cut an old one to precisely fit the bottom of your roasting pan. Just make sure the ramekins sit completely flat and evenly.
- For safely and easily transferring hot ramekins from the water bath to the cooling rack, use silicone-tipped tongs. Alternatively, you can wrap standard steel tongs with rubber bands for improved grip and heat protection.
- For detailed recommendations on choosing and using a blow torch, please refer to the “Tips and Tools For Success” section within the main article.
