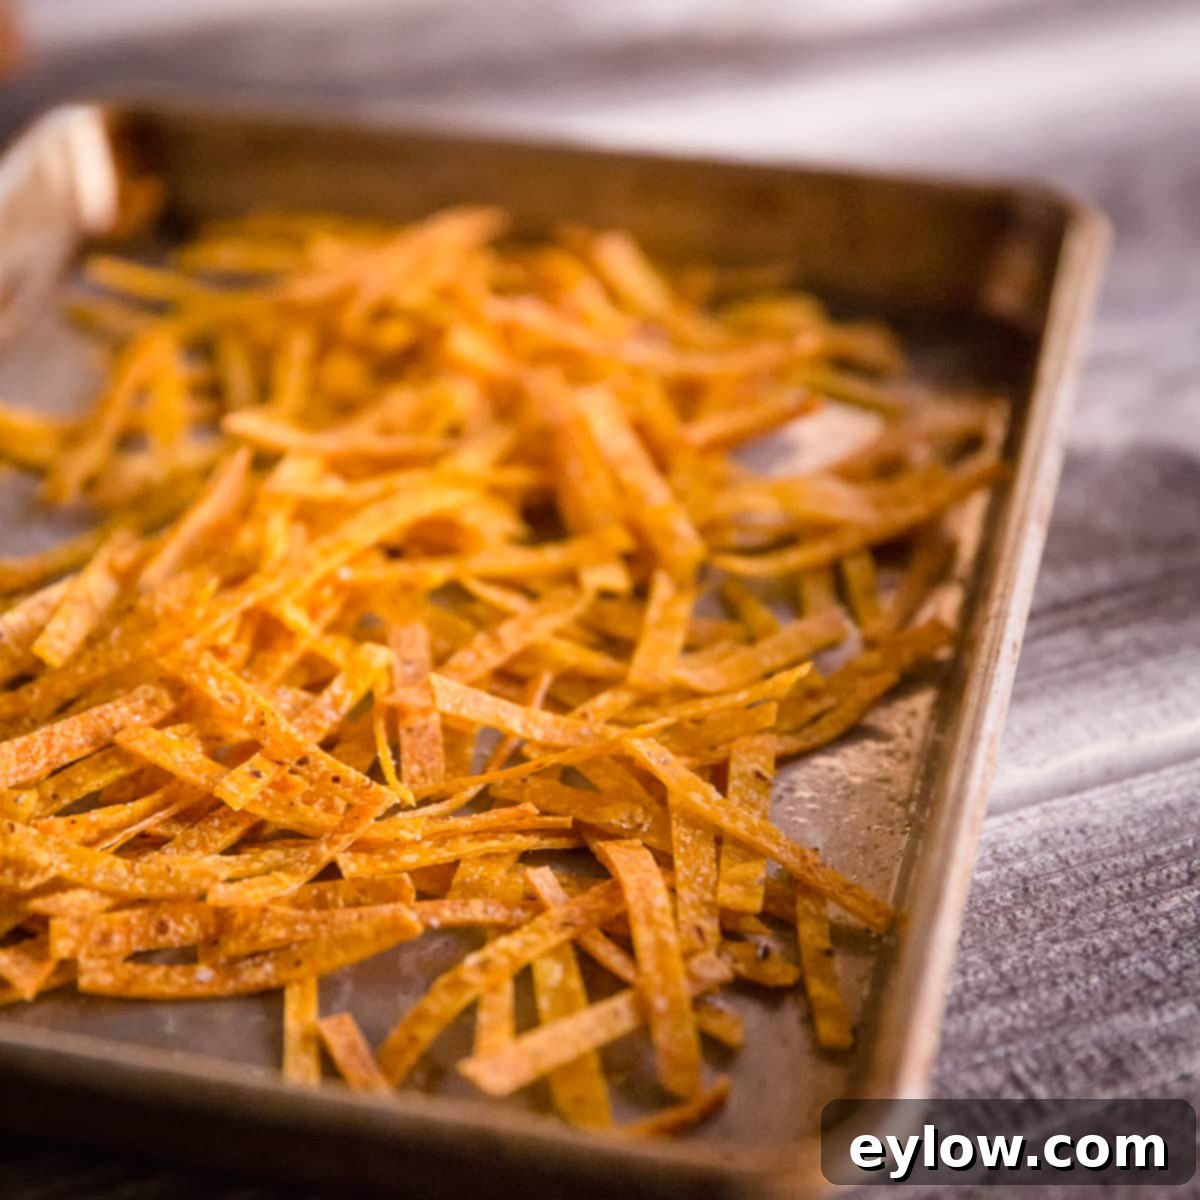
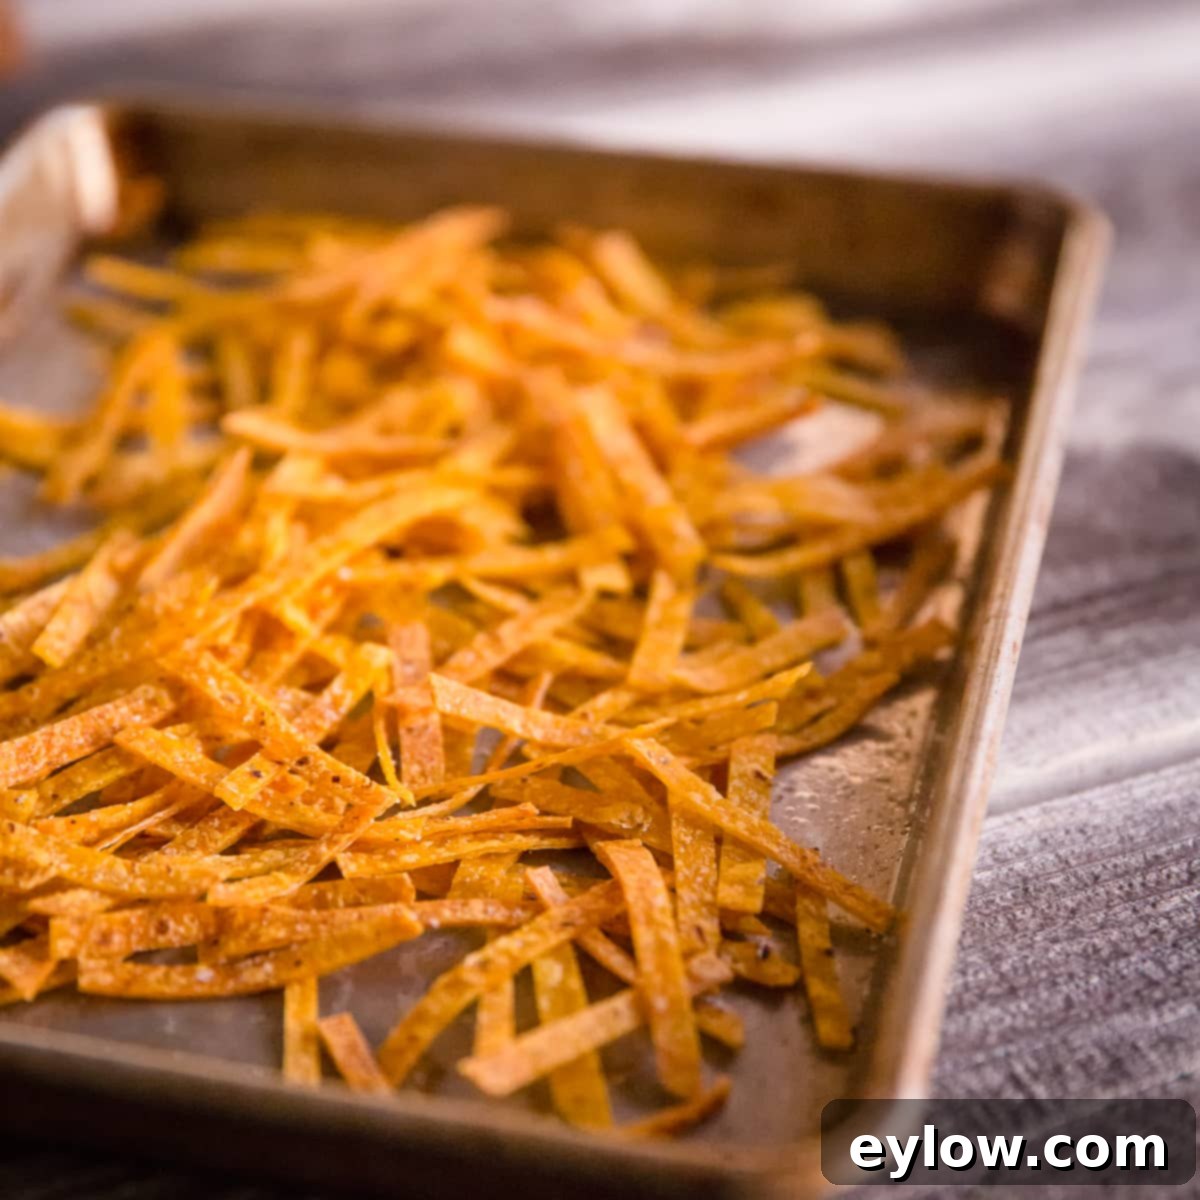
Crispy Homemade Baked Corn Tortilla Chips & Strips: Your Ultimate Guide
There’s nothing quite like the irresistible crunch of homemade tortilla chips or strips. My family absolutely adores these baked corn tortilla creations, which is why I’m thrilled to share my incredibly easy and healthy recipe with you. Whether you’re looking for the perfect garnish to elevate a simple soup or salad, or just craving a delicious, satisfying snack, these baked tortilla delights are an absolute game-changer. They provide that delightful texture and burst of flavor that transforms ordinary dishes into something extraordinary. And trust me, you’ll want to bake extra because they disappear fast!

Why Bake Your Own Tortilla Chips and Strips?
Making your own tortilla chips and strips at home is not only incredibly simple but also offers a multitude of benefits over their store-bought counterparts. The primary advantage is health: by baking instead of frying, you significantly reduce the amount of added fat and calories, making them a much lighter and guilt-free option. This method allows you to control every ingredient, from the type of tortilla you choose to the amount and quality of oil and salt. You can opt for organic, non-GMO corn tortillas and use healthy fats like olive oil, ensuring a cleaner snack for you and your family.
Beyond health, homemade chips deliver a freshness and flavor that pre-packaged versions simply can’t match. The aroma of warm, freshly baked corn tortillas seasoned to perfection is truly inviting. Plus, it’s a budget-friendly way to enjoy a versatile ingredient. A pack of tortillas is often less expensive than a bag of specialty chips, and you get to customize them exactly to your taste preferences.
Choosing the Best Corn Tortillas for Baking
The foundation of great baked tortilla chips lies in selecting the right tortillas. While any good quality corn tortilla will work, I highly recommend exploring the world of sprouted corn tortillas for an even healthier and more flavorful experience. I initially discovered sprouted corn tortillas made by Food For Life, and they truly transformed my baked chip recipe.
These fantastic tortillas are crafted from freshly sprouted 100% organic whole kernel corn, distinguishing them from standard tortillas made with corn meal or corn flour. The “organic” label is key here, as it guarantees they are not made with GMO (genetically modified) corn, which is a common concern with conventional corn products. Sprouted corn tortillas tend to have a more rustic texture and a deeper, nuttier flavor that enhances the final product.
The Benefits of Sprouted Tortillas
If you’re new to sprouted grains, you might wonder what makes them so special. The process of sprouting a grain, in this case corn, initiates a natural biochemical change that unlocks a wealth of nutritional benefits. Sprouting significantly increases the digestibility of the grain, making it easier for your body to process and absorb nutrients. It also enhances the bioavailability of essential minerals that might otherwise be less accessible. Furthermore, sprouting releases more antioxidants that are naturally stored within the grains and seeds, boosting their nutritional profile.
You can often find sprouted corn tortillas in the refrigerated deli or health food sections of grocery stores like Whole Foods. Their unique texture and enhanced nutritional value make them an excellent choice for this recipe. However, if sprouted tortillas aren’t available, don’t fret! You can absolutely use regular corn tortillas. When choosing regular corn tortillas, I strongly encourage you to opt for organic varieties whenever possible, as corn is one of the most frequently genetically modified crops.

Fresh Baked in Minutes: Simple Steps for Perfect Crispy Tortilla Chips
The beauty of this recipe lies in its simplicity and speed. You’ll have fresh, crispy tortilla chips or strips ready in just a matter of minutes. Here’s a detailed breakdown of the preparation and baking process:
- **Pre-heat Your Oven:** Start by pre-heating your oven to 350°F (175°C). For best results and even crisping, consider using the convection setting if your oven has one, as it circulates hot air more effectively.
- **Prepare Your Tortillas:** Take your corn tortillas and cut them to your desired shape. For thin strips, cut each tortilla in half, then cut the halves crosswise into thin, uniform strips, approximately ¼ to ½ inch wide. If you prefer chips, you can cut the tortillas into wedges (triangles) or even larger, squarer chips for dipping. Consistency in size helps ensure even baking.
- **Seasoning & Coating:** Scatter the cut tortilla pieces in a single layer on a metal rimmed baking sheet. Avoid overcrowding the pan, as this can lead to steaming instead of crisping. Drizzle them lightly with about two teaspoons of good quality olive oil. The oil helps them crisp up beautifully and allows the salt to adhere. Sprinkle a generous pinch of sea salt (about ⅛ teaspoon, or to taste) evenly over the tortillas.
- **Toss to Coat:** Using your hands, gently toss the tortilla pieces on the baking sheet to ensure they are evenly coated with both the olive oil and salt. Every piece should have a light sheen of oil.
- **Bake Until Golden:** Place the baking sheet in your pre-heated oven. Bake for 9-10 minutes, or until the strips or chips are golden brown and perfectly crisp. The exact timing may vary slightly depending on your oven’s calibration and whether you’re using convection. Keep a close eye on them during the last few minutes, as they can go from perfectly golden to burnt very quickly. For optimal crispiness, you might want to flip them halfway through the baking process.
- **Cool and Serve:** Once baked, remove the chips from the oven and let them cool on the baking sheet for a few minutes. They will crisp up even further as they cool.
This simple method yields incredibly satisfying and healthy baked tortilla chips and strips that are perfect for any occasion.
Creative Ideas to Use Your Homemade Baked Tortilla Chips & Strips
The versatility of these crispy baked tortilla creations knows no bounds. They are not just for garnishing; they can be the star of many dishes or a delightful snack on their own. Here are some fantastic ideas to incorporate them into your meals:
Garnishes That Elevate
- **Soups & Chilis:** Transform any bowl of soup or chili with a handful of these crunchy delights. They are the essential topping for Chicken Tortilla Soup, but also excellent with Gazpacho, hearty Vegetable Chili, black bean soup, creamy tomato soup, or even a simple lentil soup. The contrast of the crispy texture against the warm, soft soup is simply delightful.
- **Salads:** Use them as a healthier, more flavorful alternative to croutons. They’re perfect for adding a Tex-Mex flair to salads, like the Southwestern chicken salad I prepared for a catered lunch. Imagine chopped hearts of Romaine lettuce topped with black beans, sweet corn kernels, diced tomatoes, creamy avocado, and tender sliced chicken breast. Drizzle it all with a bright cumin-lime vinaigrette, then finish with a generous scattering of these crunchy strips for an explosion of flavor and texture. They also work wonderfully on a classic taco salad or even a simple mixed green salad for an unexpected crunch.
Beyond the Garnish Bowl
- **Dipping Power:** These chips are robust enough to stand up to your favorite dips. Serve them with fresh homemade guacamole, vibrant salsa, creamy queso, or any bean dip for a satisfying appetizer or party snack.
- **Healthier Nachos:** Layer them on a baking sheet, sprinkle with cheese, beans, jalapeños, and bake for a healthier take on classic nachos.
- **Standalone Snack:** Honestly, they are so good on their own that you might find yourself munching on them straight from the pan! Their light crispiness and subtle corn flavor make them a perfect healthy snack to satisfy those afternoon cravings.
- **Textural Topping:** Crush them into coarse crumbs and use them as a crunchy topping for casseroles, baked fish, or even as a gluten-free breading for chicken or vegetables.
Flavor Variations & Customization
While a simple sprinkle of salt is delicious, you can easily customize your baked tortilla chips with various seasonings to match your mood or meal:
- **Spicy Kick:** Add a pinch of chili powder, smoked paprika, or a tiny dash of cayenne pepper to the olive oil before tossing.
- **Garlic & Onion:** Mix in ¼ teaspoon of garlic powder or onion powder for an aromatic twist.
- **Herbal Notes:** A sprinkle of dried oregano or cilantro can enhance the Mexican-inspired flavors.
- **Lime Zest:** For a brighter, zesty flavor, add some finely grated lime zest along with the salt. A squeeze of fresh lime juice after baking also works wonders.
- **Cheesy Goodness:** Sprinkle with a bit of nutritional yeast (for a dairy-free “cheesy” flavor) or finely grated Parmesan cheese before baking.
- **Sweet Treat:** For a surprising dessert chip, omit the salt and sprinkle with cinnamon sugar before baking.
Experiment with different combinations to find your family’s favorite! The possibilities are endless.
Storage and Re-Crisping Tips
One of the best things about these homemade baked tortilla chips and strips is that they store well, meaning you can make a big batch and enjoy them throughout the week. Once completely cooled, transfer them to an airtight container. Store them at room temperature in your pantry. They typically stay fresh and crispy for 3-5 days.
If they lose some of their crunch over time, don’t worry! You can easily re-crisp them. Simply spread them in a single layer on a baking sheet and bake in a 300°F (150°C) oven for 5-7 minutes, or until they are crisp again. Keep a close eye on them to prevent burning.
Troubleshooting & FAQs
- **”Why aren’t my chips crispy?”** This is usually due to overcrowding the baking sheet (which steams them instead of bakes), or not enough olive oil (which helps with crisping), or insufficient baking time/temperature. Ensure chips are in a single layer and baked until truly golden.
- **”Can I use flour tortillas instead of corn?”** Yes, you can! Flour tortillas will yield a different, often softer, crisp texture. They may also need slightly less oil and a watchful eye as they can brown faster.
- **”Can I air fry these?”** Absolutely! Air frying is a fantastic way to make these even quicker. Preheat your air fryer to 350°F (175°C). Work in batches, arranging the tortilla pieces in a single layer in the air fryer basket. Air fry for 3-6 minutes, shaking the basket halfway through, until golden and crisp.
With these tips and tricks, you’ll be making perfect, healthy, and delicious baked corn tortilla chips and strips every time!
📖 Recipe

Baked Corn Tortilla Chips or Strips
Sally Cameron
Pin Recipe
Ingredients
- 4 corn tortillas organic if possible
- 2 teaspoons olive oil
- ⅛ teaspoon sea salt
Instructions
-
Pre-heat oven to 350 degrees. Cut tortillas in half, then cut them crosswise into thin strips or wider for chips. Scatter the strips on a metal rimmed baking sheet. Drizzle with olive oil and sprinkle with salt. Toss with your hands to coat the strips. Bake for 9-10 minutes (convection oven) or until crisp and golden. The timing will depend on your oven.
